
1. Introduction
This manual provides essential instructions for the safe and efficient operation of your Gevi 10-Cup Drip Coffee Maker with Built-in Burr Grinder. Please read all instructions carefully before first use and retain for future reference.
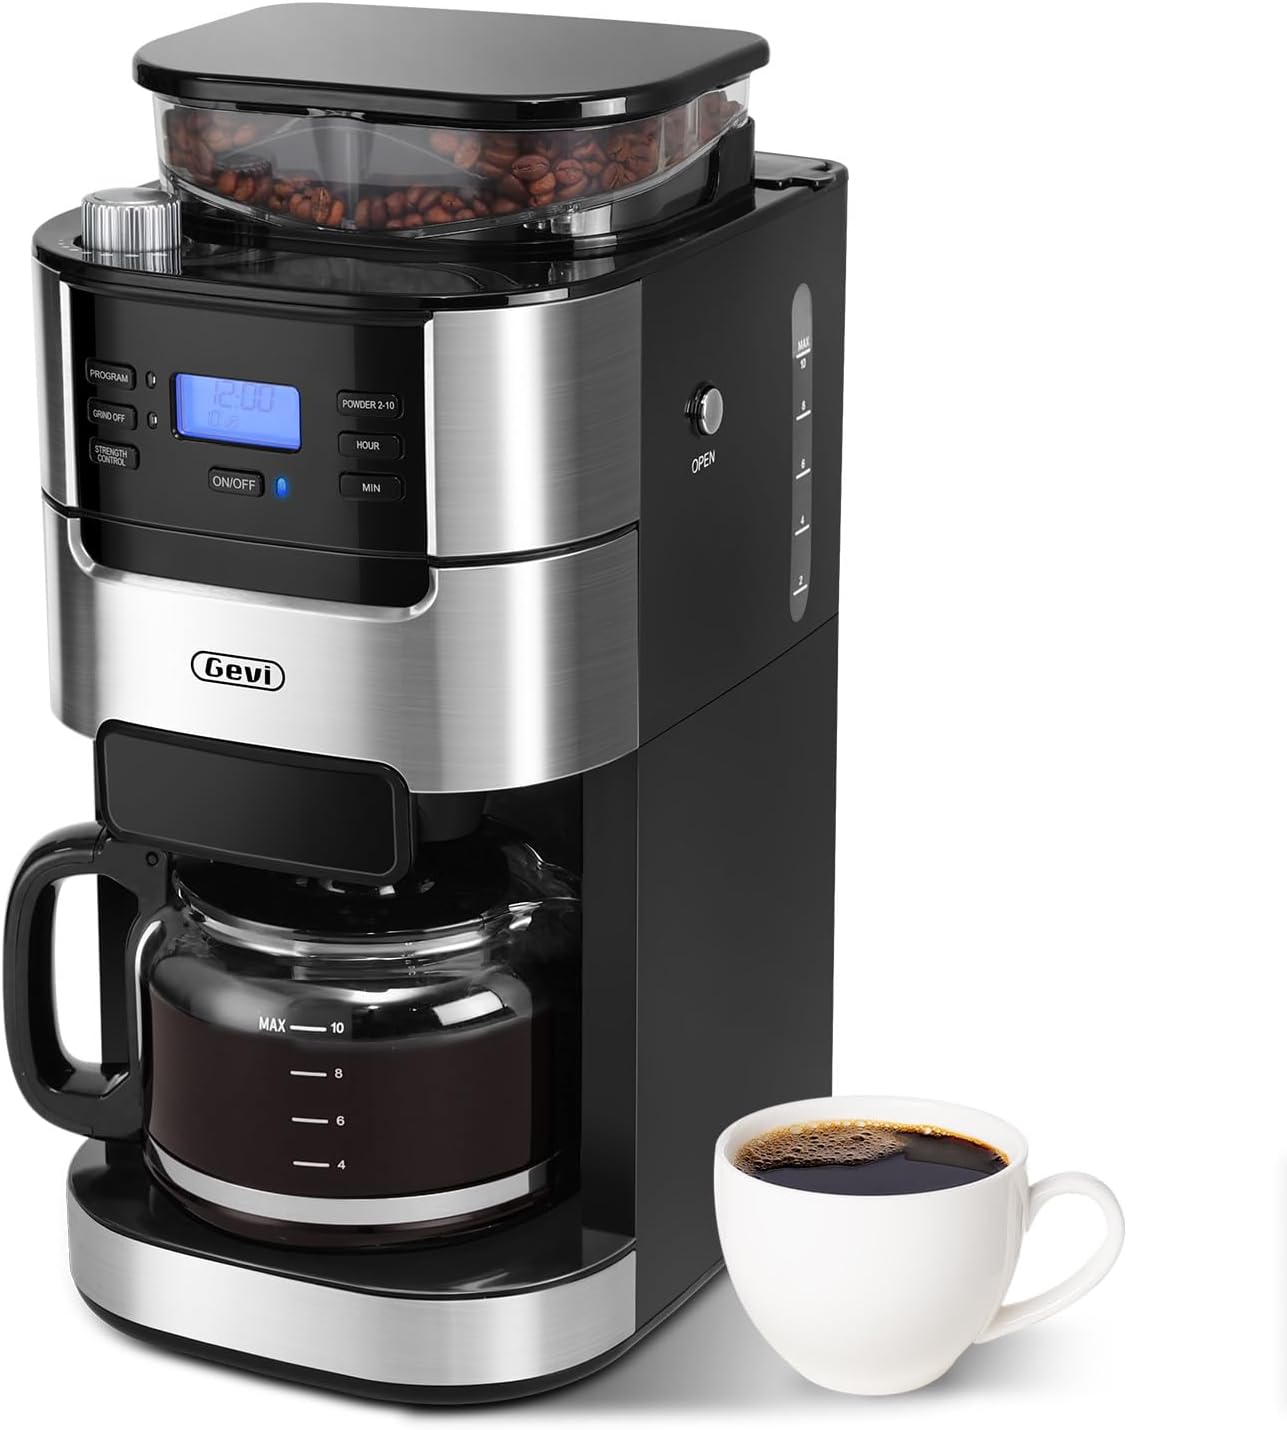
Image 1: Gevi 10-Cup Drip Coffee Maker, front view with a cup of coffee.
2. Important Safety Instructions
When using electrical appliances, basic safety precautions should always be followed to reduce the risk of fire, electric shock, and/or injury to persons, including the following:
- Read all instructions.
- Do not touch hot surfaces. Use handles or knobs.
- To protect against fire, electric shock, and injury to persons, do not immerse cord, plugs, or appliance in water or other liquid.
- Close supervision is necessary when any appliance is used by or near children.
- Unplug from outlet when not in use and before cleaning. Allow to cool before putting on or taking off parts, and before cleaning the appliance.
- Do not operate any appliance with a damaged cord or plug or after the appliance malfunctions, or has been damaged in any manner. Return appliance to the nearest authorized service facility for examination, repair, or adjustment.
- The use of accessory attachments not recommended by the appliance manufacturer may result in fire, electric shock, or injury to persons.
- Do not use outdoors.
- Do not let cord hang over edge of table or counter, or touch hot surfaces.
- Do not place on or near a hot gas or electric burner, or in a heated oven.
- Always attach plug to appliance first, then plug cord into the wall outlet. To disconnect, turn any control to "off", then remove plug from wall outlet.
- Do not use appliance for other than intended use.
- Scalding may occur if the lid is removed during the brewing cycles.
- The carafe is designed for use with this appliance. It must never be used on a range top.
- Do not place a hot carafe on a cold or wet surface.
- Do not use a cracked carafe or a carafe having a loose or weakened handle.
- Do not clean carafe with cleansers, steel wool pads, or other abrasive material.
- Ensure the water tank is filled with purified water and boiled at least one cycle before brewing coffee for the first time.
- To avoid damage to the grinder, no coffee powder or any liquid is allowed in the bean box.
- When the machine is finished making coffee, the coffee residue in the funnel and filter should be removed to avoid accumulation of coffee powder and clogging the grinding bean cavity.
3. Product Components
Familiarize yourself with the parts of your Gevi coffee maker:
- Main Unit with Control Panel
- Built-in Burr Grinder (Bean Box)
- 1.5L Water Tank (with MAX 10-cup indicator)
- Glass Coffee Pot (Carafe)
- Permanent Filter
- Filter Insert with Drip Stop
- Scoop
- Cleaning Brush
- Filter Ring

Image 2: Included accessories: Permanent Filter, Filter Insert with Drip Stop, Glass Coffee Pot, Scoop, Filter Ring.
4. Setup and First-Time Use
4.1 Unboxing and Placement
- Carefully remove all packaging materials and the coffee maker from the box.
- Place the coffee maker on a stable, flat, and spacious surface. Ensure adequate clearance around the unit for proper ventilation.
- Wipe down the exterior of the coffee maker with a damp cloth.
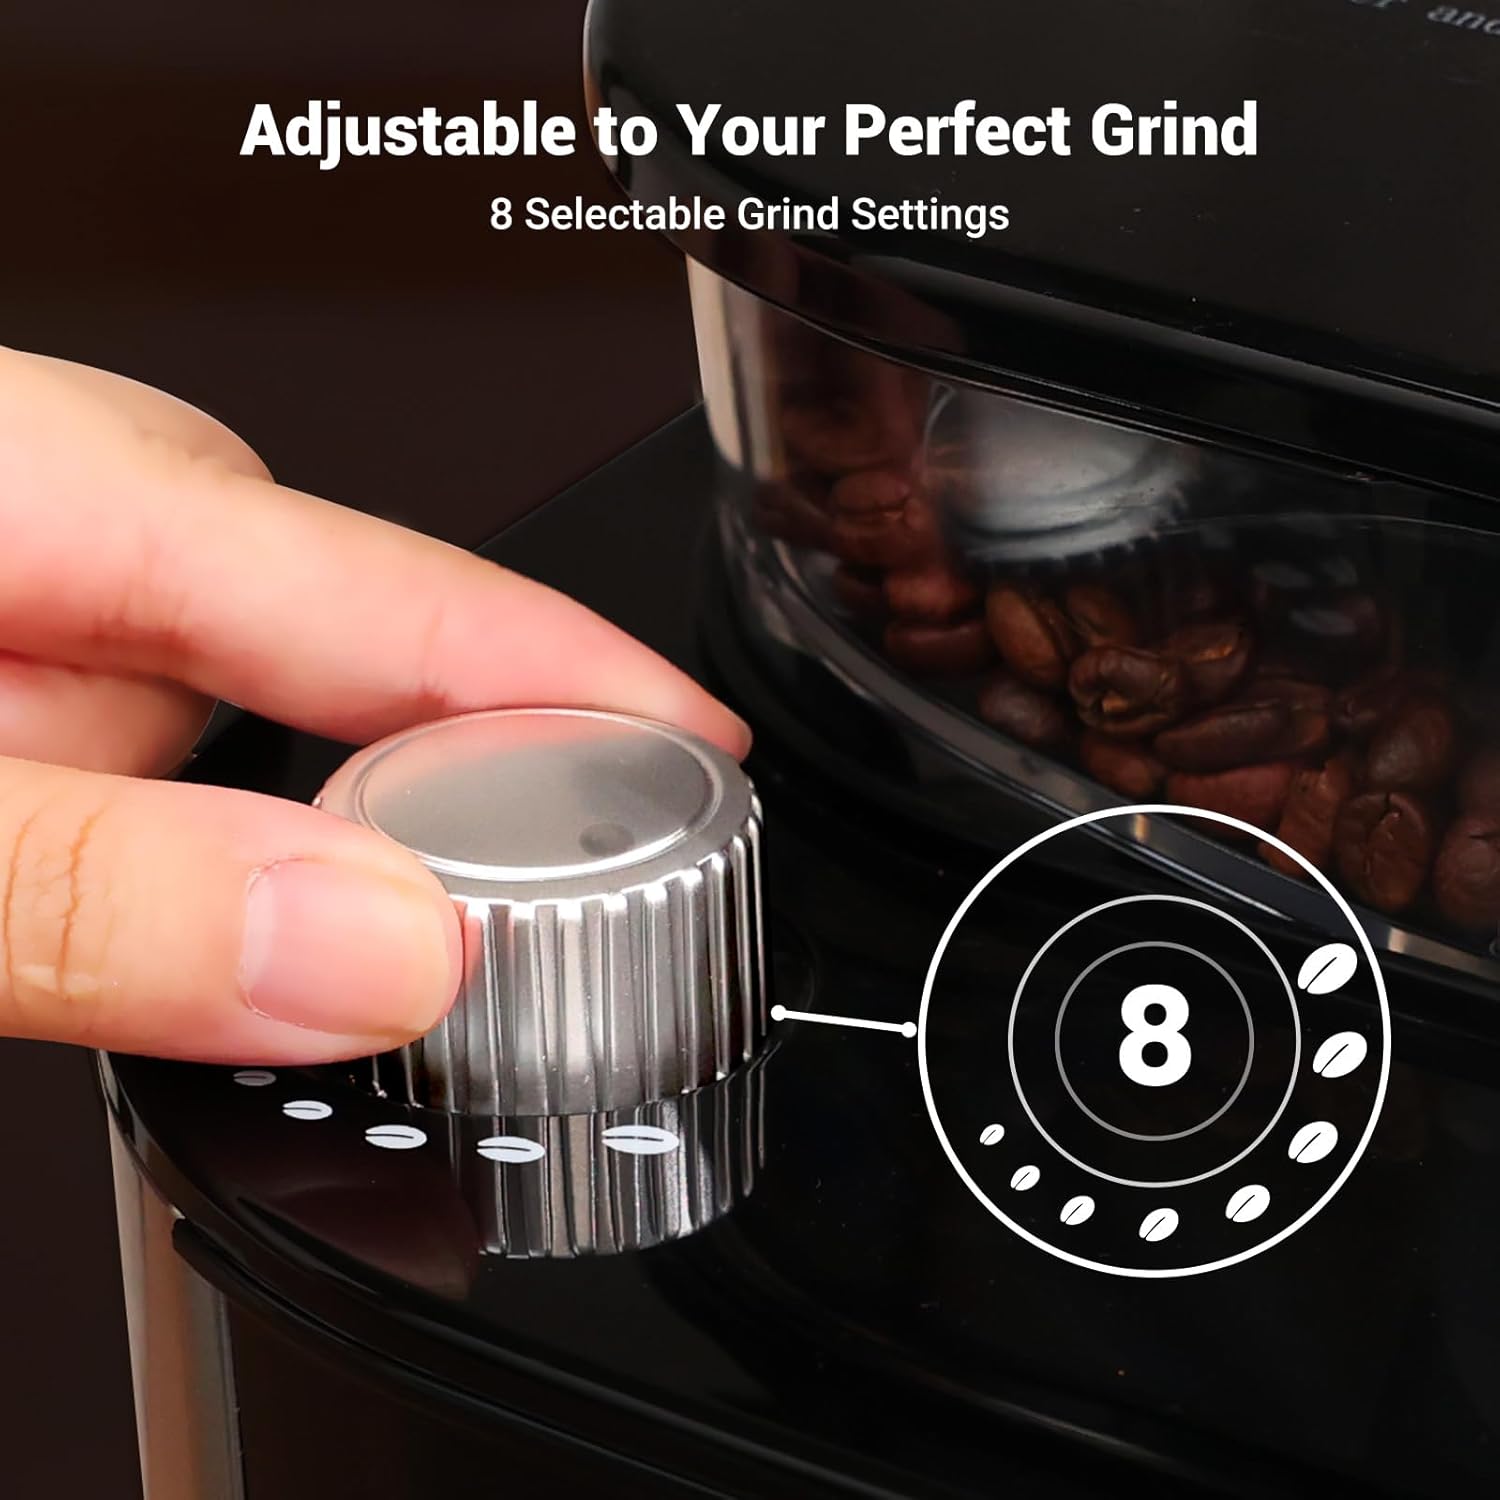
Image 3: The coffee maker's compact design fits well on countertops. Dimensions: 12.36" (D) × 8.38" (W) × 16.93" (H).
4.2 Initial Cleaning Cycle
Before brewing coffee for the first time, it is recommended to run at least one full cycle with clean water to remove any manufacturing residues.
- Fill the glass carafe with clean water up to the "MAX 10" line.
- Open the water tank lid and carefully pour the water from the carafe into the water tank. Close the lid securely.
- Ensure the permanent filter is correctly placed in the filter basket.
- Place the empty glass carafe on the warming plate.
- Plug the power cord into a grounded electrical outlet. The display will illuminate.
- Press the "ON/OFF" button to start the brewing cycle. The machine will run a full cycle, heating and dispensing all the water.
- Once the cycle is complete, discard the water from the carafe. Your coffee maker is now ready for use.
5. Operating Instructions
5.1 Adding Water and Coffee
- Fill the glass carafe with fresh, cold water to your desired number of cups (2-10).
- Open the water tank lid and pour the water into the tank. Ensure the water level does not exceed the "MAX 10" line.
- For whole beans: Open the bean box lid and add fresh coffee beans. Close the lid securely.
- For pre-ground coffee: Press the "GRIND OFF" button to disable the grinder. Open the filter basket and add your desired amount of pre-ground coffee into the permanent filter. Close the filter basket.
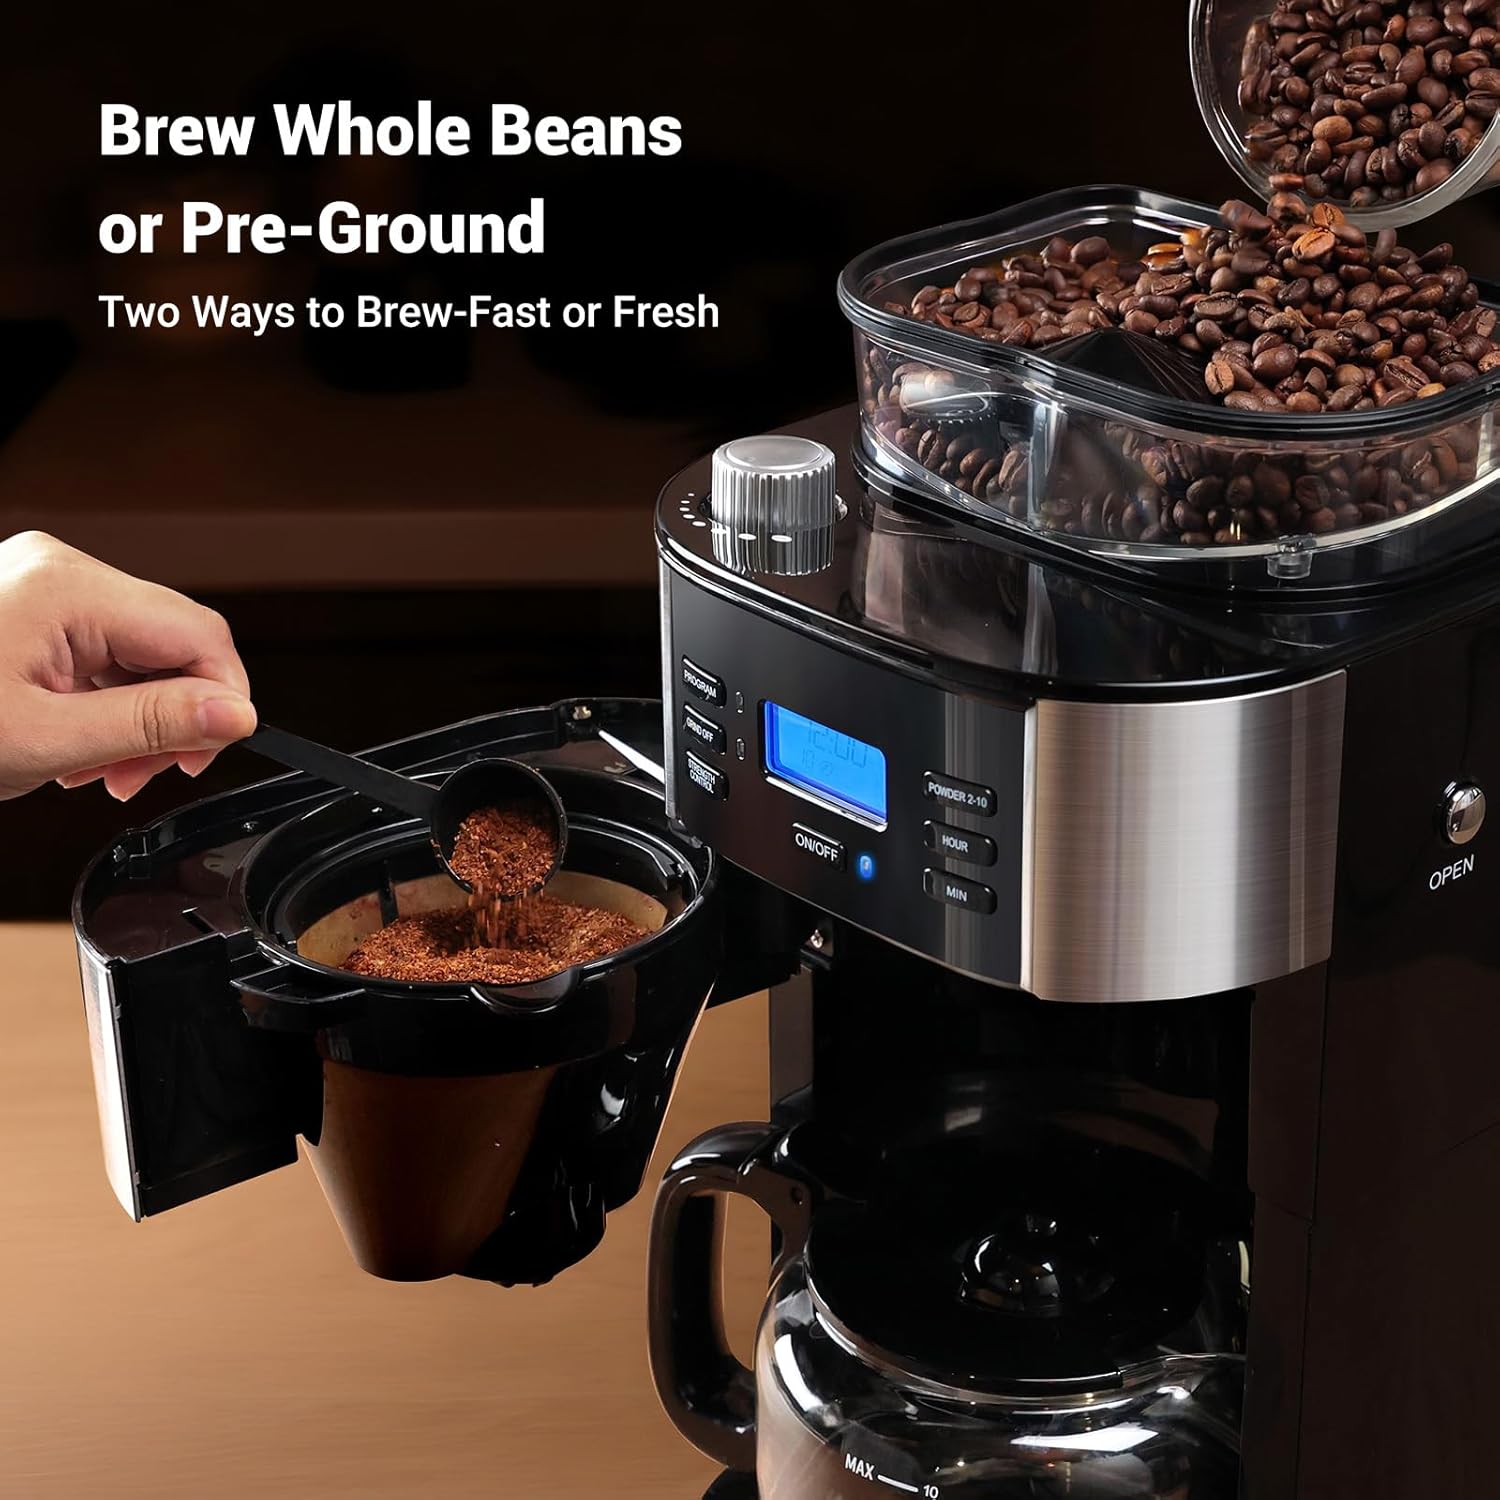
Image 4: Illustration of adding whole coffee beans to the grinder or pre-ground coffee to the filter basket.
5.2 Setting Grind Level and Coffee Strength
- Rotate the grind regulator knob on top of the machine to select your desired coffee grind size (8 settings from fine to coarse).
- Press the "STRENGTH CONTROL" button to cycle through the available coffee strength options (Mild, Medium, Strong).
- Press the "POWDER 2-10" button to select the number of cups you wish to brew.

Image 5: Close-up of the grind setting knob, indicating 8 selectable grind settings.
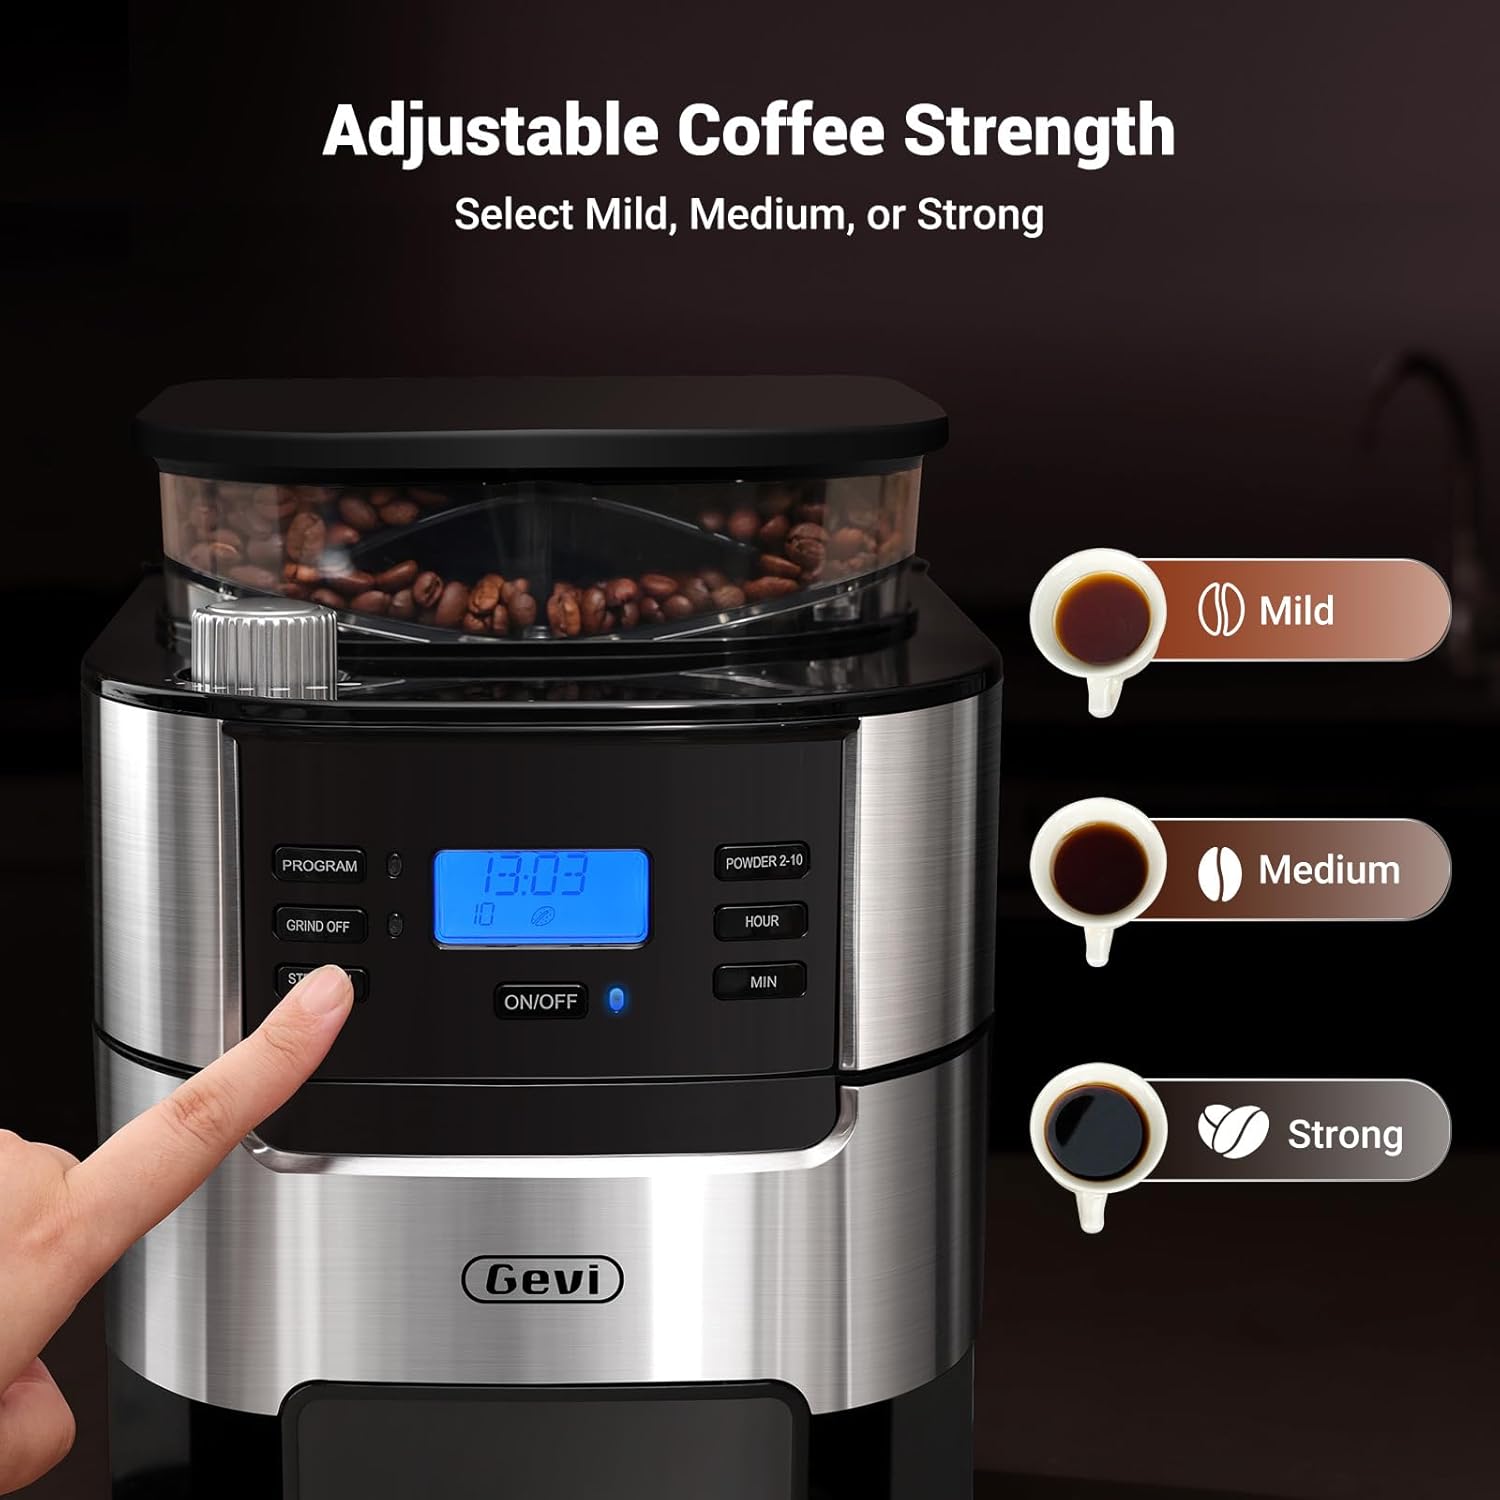
Image 6: The control panel highlighting the "STRENGTH CONTROL" button and the three brew strength options.
5.3 Programming the Timer
The coffee maker features a 24-hour programmable timer for automatic brewing.
- Set the current time using the "HOUR" and "MIN" buttons.
- Press the "PROGRAM" button. The display will show "PROGRAM" and the time will flash.
- Use the "HOUR" and "MIN" buttons to set your desired brew start time.
- Press the "PROGRAM" button again to confirm. The display will show the current time, and the program indicator will remain lit.
- The coffee maker will automatically start brewing at the set time.

Image 7: Visual representation of setting the 24-hour programmable timer for automatic morning coffee.
5.4 Starting the Brew Cycle
After setting your preferences, press the "ON/OFF" button to start brewing immediately or to activate the programmed brew cycle.
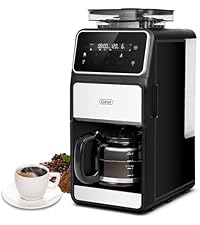
Image 8: Step-by-step visual guide for one-touch brewing, from adding water to enjoying coffee.
5.5 Keep-Warm Function
The coffee maker automatically keeps coffee warm at 167°F+ for up to 2 hours after brewing. You can adjust the warming time from 0-120 minutes in 15-minute intervals.
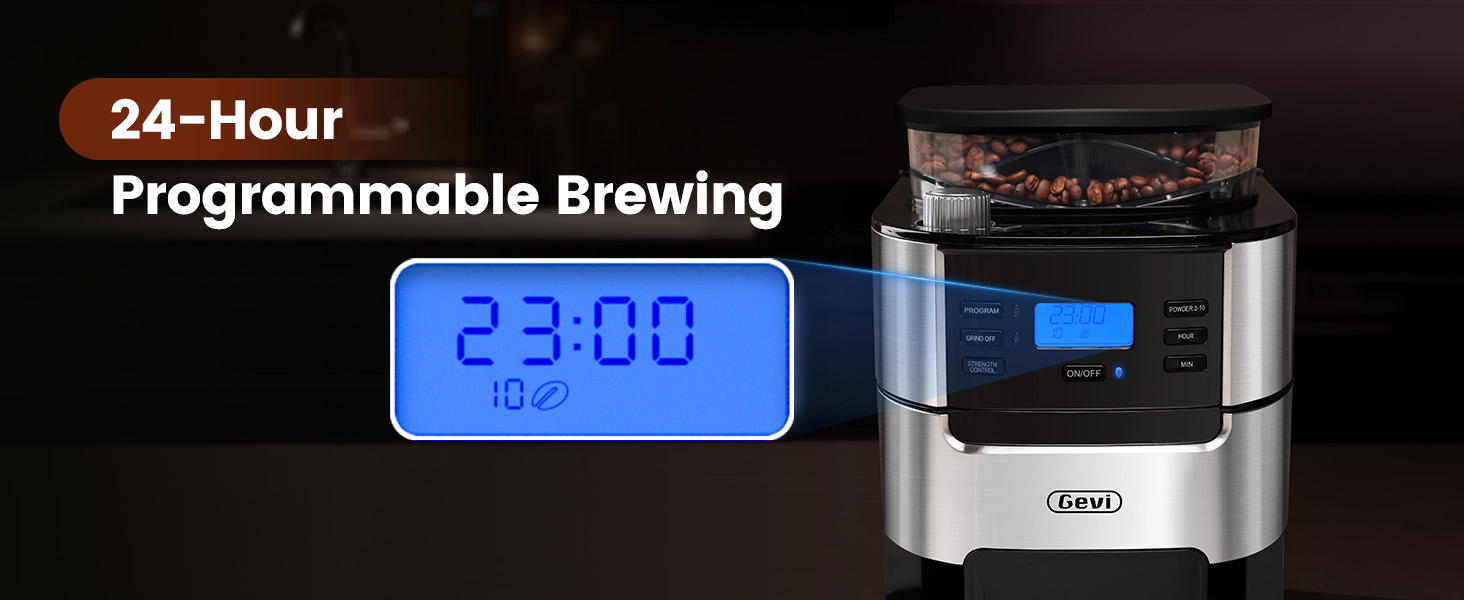
Image 9: The coffee maker's warming plate maintaining the temperature of brewed coffee.
6. Maintenance and Cleaning
Regular cleaning ensures optimal performance and longevity of your coffee maker.
6.1 Daily Cleaning
- After each use, press the "OPEN" button to remove the filter basket.
- Discard used coffee grounds from the permanent filter.
- Rinse the permanent filter and filter ring under running water. Use the provided cleaning brush to remove any stubborn coffee residue.
- Wipe the exterior of the machine with a damp cloth. Ensure all parts are dry before reassembling.
6.2 Grinder Maintenance
To prevent clogging and maintain grinder efficiency, especially if not using the machine for several days:
- Remove the bean box lid.
- Carefully remove any remaining coffee beans from the bean box using the scoop or a spoon.
- Close the bean box lid.
- Set the "POWDER 2-10" function to 10 cups.
- Press the "ON/OFF" button to run the grinder until it sounds empty, ensuring all residual grounds are cleared.
- Always ensure the bean box lid is securely closed to protect beans from ambient air and prevent water from entering the grinder during water tank refills.
- Do not adjust the grind size selector while the grinder is operating to prevent damage.
7. Troubleshooting
| Problem | Possible Cause | Solution |
|---|---|---|
| Coffee maker not turning on. | Not plugged in; power outage. | Ensure the power cord is securely plugged into a working outlet. Check circuit breaker. |
| Water leaking from the bottom. | Water tank overfilled; faulty water tank. | Do not exceed the MAX fill line in the water tank. If leaking persists, contact customer support. |
| Grinder is clogged or not grinding. | Coffee beans stuck; coffee powder accumulation. | Remove beans and clean the grinder cavity as per maintenance instructions. Do not add liquid to the bean box. |
| Coffee tastes weak or too strong. | Incorrect coffee-to-water ratio; incorrect strength setting. | Adjust the coffee quantity and strength control settings to your preference. |
| Coffee beans not feeding into grinder. | Beans stuck in hopper. | Gently shake the machine or use a non-sharp utensil to dislodge beans. Ensure the bean box lid is properly closed. |
8. Specifications
- Brand: Gevi
- Model Name: Drip Coffee Machine
- Item Model Number: DCMB0-BK0A1
- Capacity: 10-Cup (1.5L Water Tank)
- Color: Black
- Product Dimensions: 12.36"D x 8.38"W x 16.93"H
- Special Feature: Adjustable Brew Strength, Built-in Burr Grinder, Programmable Timer, Auto Keep-Warm
- Coffee Maker Type: Drip Coffee Machine
- Operation Mode: Fully Automatic
- Voltage: 120 Volts
- Human Interface Input: Buttons
- Coffee Input Type: Whole Bean
- Item Weight: 9.92 pounds
- UPC: 767791886977, 767791888223
9. Warranty and Support
Your Gevi coffee maker comes with a 12-month warranty. For product support, troubleshooting assistance, or warranty claims, please contact Gevi customer service.
Refer to the official Gevi website or your purchase documentation for contact details.
Image 10: Gevi's commitment to customer satisfaction, including a 12-month warranty and friendly services.


