
1. Introduction
This manual provides detailed instructions for the assembly, operation, and maintenance of your SANODESK Electric Standing Desk. Please read this manual thoroughly before installation and use to ensure proper function and safety. Keep this manual for future reference.
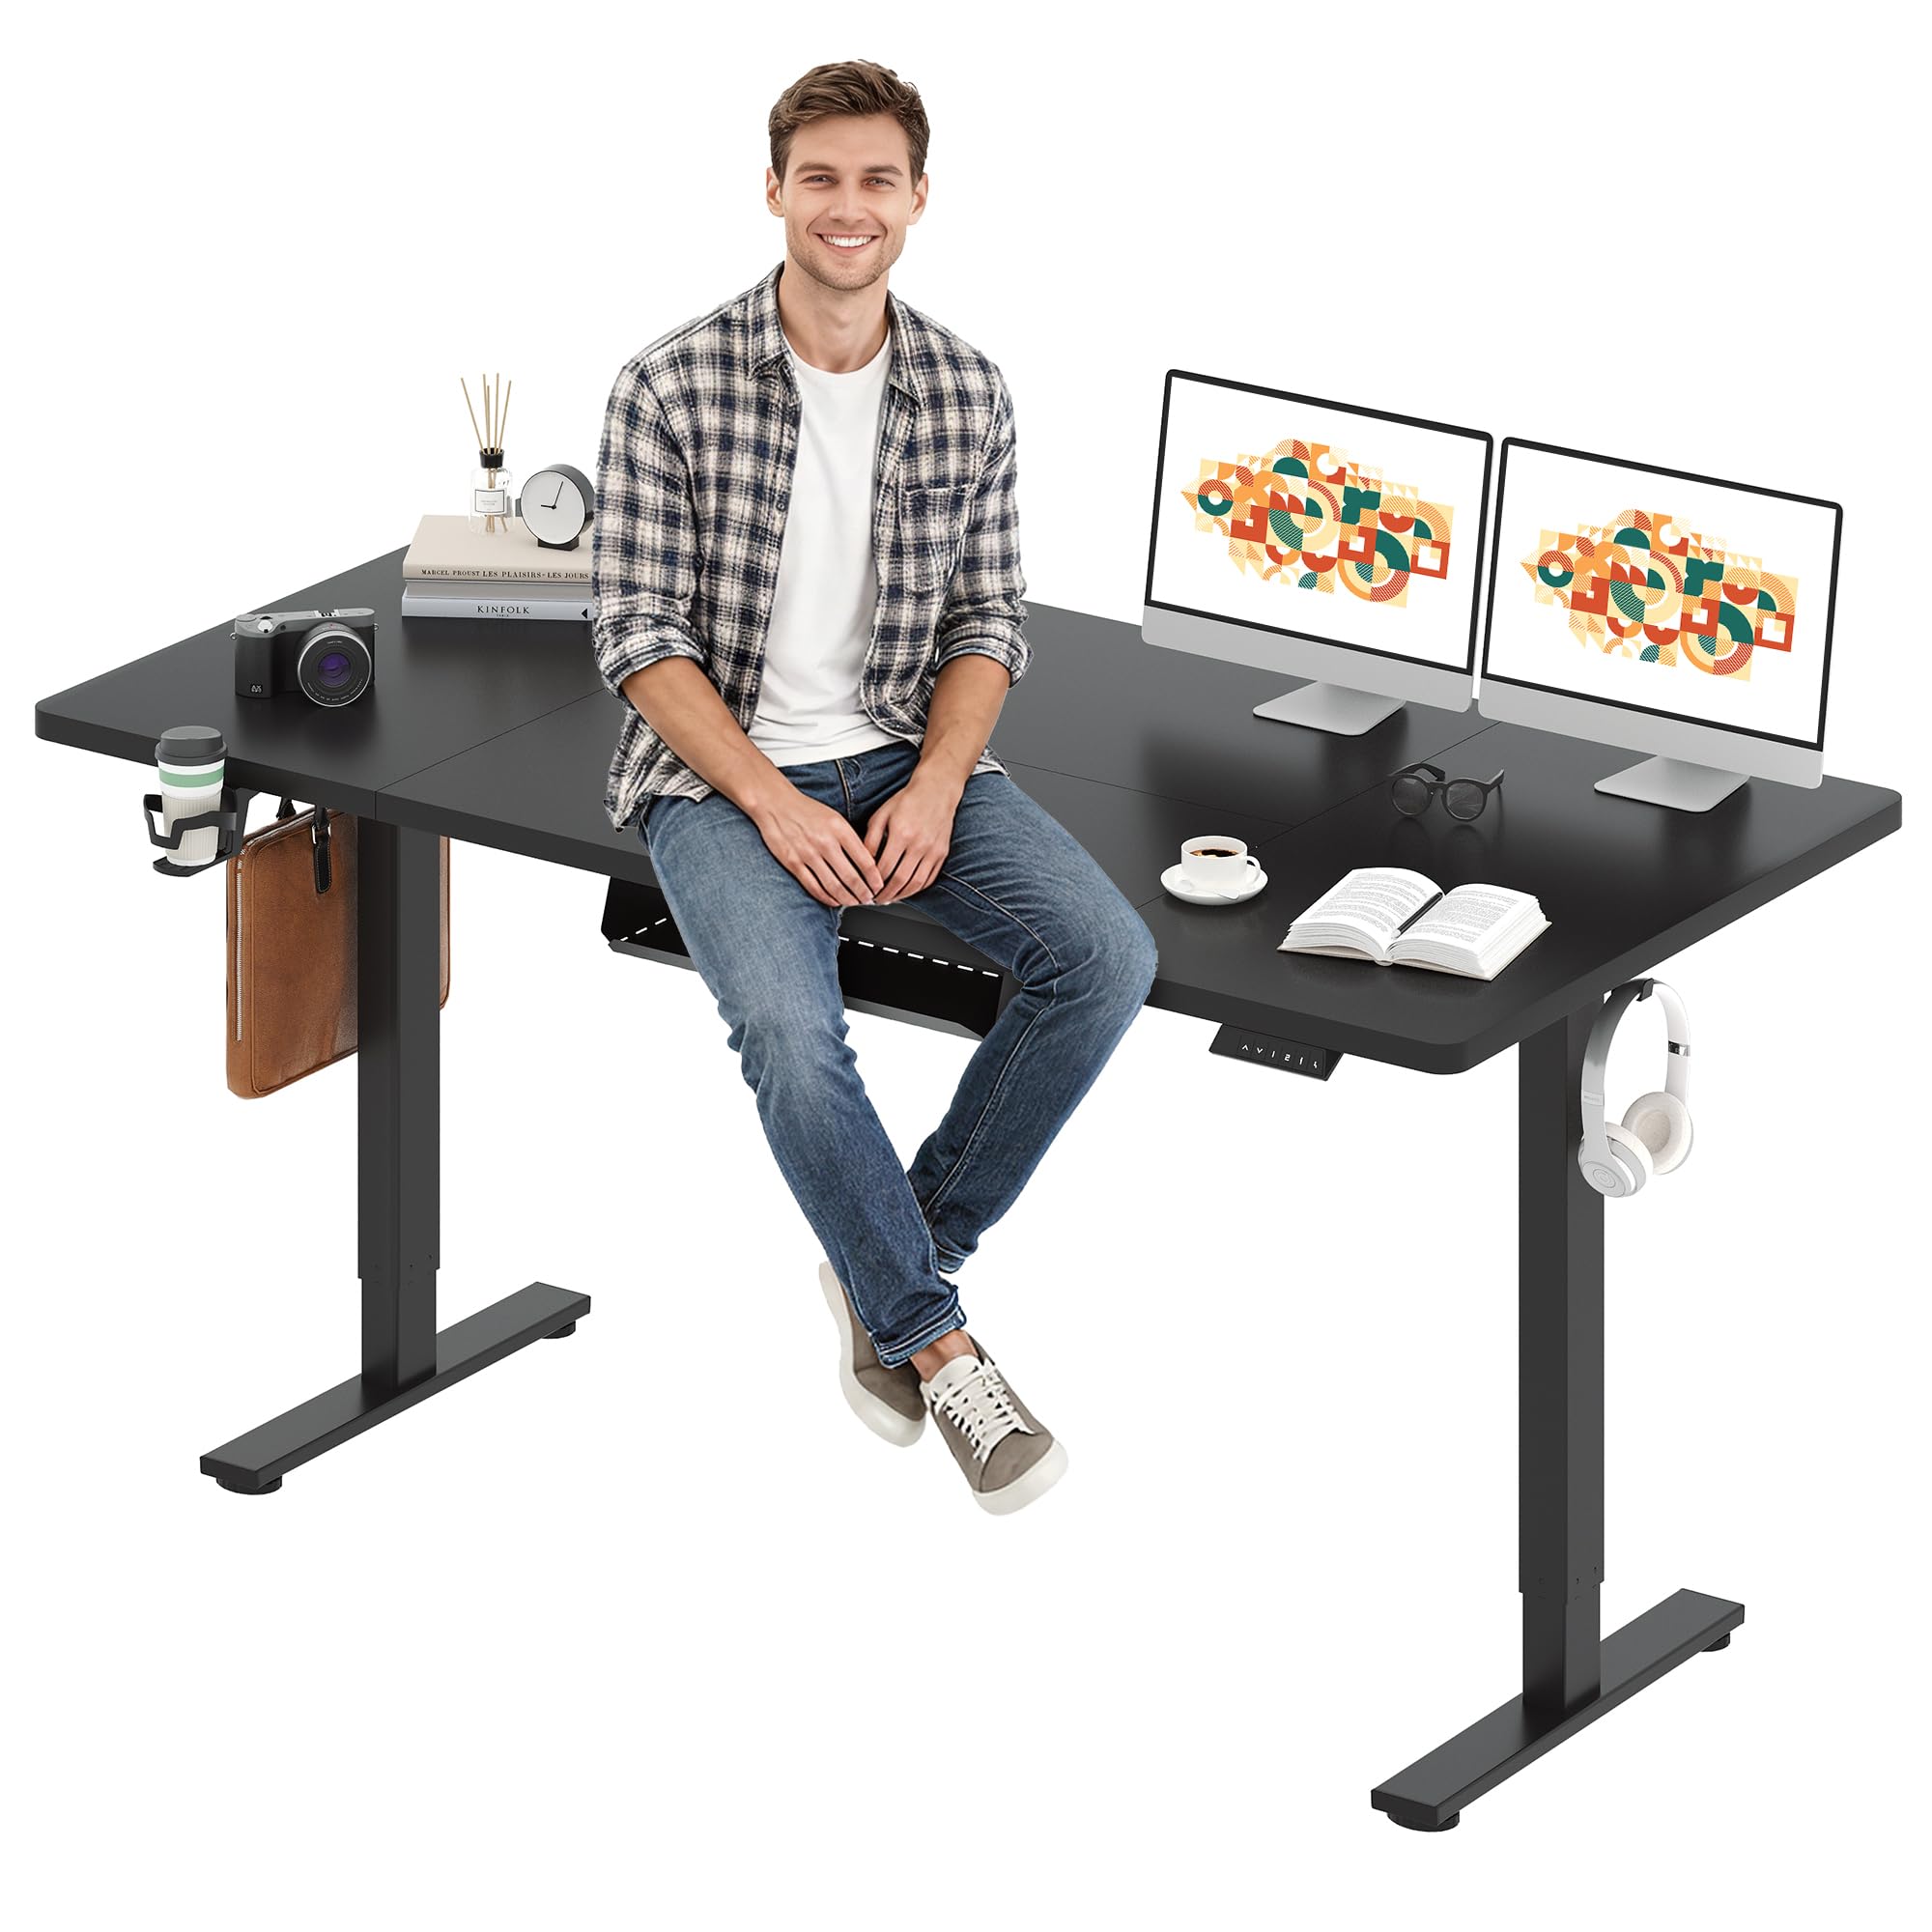
Figure 1: SANODESK Electric Standing Desk (71x32 inches, Black Frame + Black Top)
2. Product Features
- Spacious 71" x 32" Desktop: Provides ample workspace for multiple monitors, laptops, and office accessories.
- LED Memory Control Panel: Features a 6-button controller with 4 memory presets for quick and accurate height adjustments.
- Electric Lifting System: Smoothly adjusts desk height from 28.9 inches to 46.5 inches. Constructed with a thickened steel pipe frame for stability, supporting up to 154 lbs.
- Sleek and Timeless Design: The frame surface is coated with waterproof and rustproof paint, ensuring durability and easy cleaning.
- Integrated Accessories: Includes a cup holder, two hooks, a cable management tray, and a cable organizer for a tidy workspace.

Figure 2: Integrated accessories for organization
3. Safety Information
Always ensure the desk is properly anchored to the floor to prevent tipping. Do not exceed the maximum weight limit of 154 pounds. Be cautious when adjusting the desk height to prevent injury. Keep children and pets away from the desk during operation. Ensure all cables are properly managed to avoid entanglement or damage.
4. Package Contents
Your SANODESK Electric Standing Desk package includes the following components. Please verify all parts are present before beginning assembly.
- Desktop (Splice Board)
- Desk Legs (2)
- Foot Bases (2)
- Crossbar/Frame Supports
- Motor and Transmission Rod
- LED Memory Control Panel
- Power Adapter and Cable
- Cup Holder (1)
- Hooks (2)
- Cable Management Tray (1)
- Cable Organizers/Ties
- Assembly Hardware (screws, Allen key, wrench)
- Instruction Manual
Note: The electric desk will be divided into two packages and may not arrive at the same time. Your patience is greatly appreciated.
5. Setup and Assembly Instructions
Follow these steps to assemble your SANODESK Electric Standing Desk. Basic assembly instructions are included with the product. An Allen key is provided for most assembly steps.
- Assemble the Legs and Bases: Attach the foot bases to the bottom of each desk leg using the provided bolts. Tighten in a criss-cross pattern for stability.
- Install the Transmission Rod: Loosen the jam nut and set screw on the transmission rod. Insert the rod into the motor mechanism on one leg, ensuring the C-clip is fully engaged. Extend the rod to the other leg and secure it. Tighten the set screw and jam nut.
- Attach Crossbar/Frame Supports: Install the top bracing of the frame. One piece has a cutout for the motor. Ensure alignment pins are correctly positioned. Loosen set screws on the metal beams to allow them to slide in, then tighten.
- Assemble Desktop Pieces: If your desktop comes in multiple pieces, insert the wooden alignment pins into the designated holes. Push the desktop pieces together firmly, ensuring the metal bolt holes are facing up.
- Secure Desktop Brackets: Install the metal brackets to hold the desktop pieces together. Ensure the beveled edge of the brackets faces up so bolts fit flushly. Tighten screws in a criss-cross pattern, being careful not to overtighten.
- Attach Desk Legs to Desktop: Carefully flip the assembled desk leg frame onto the underside of the desktop. Use the provided screws to attach the frame to the desktop. Start with outside brackets on both sides, then move to the inside brackets. A long drill bit or extension may be helpful for middle screws.
- Install Control Panel: Affix the LED memory control panel to the underside of the desktop using the two provided screws.
- Install Hooks and Cup Holder: Snap the two pieces of the cup holder together and install it with four screws. Install the heavy-duty hooks, one on each side, using two screws each.
- Install Cable Management Tray: Bend the cable tray into shape along its perforated edges. Install it to the underside of the desktop using the provided screws.
- Connect Power and Manage Cables: Install the power box by clipping the connectors together and sliding it into its bracket. Use the provided cable organizers/ties to secure all cables neatly, keeping them out of the way.
Video 1: Assembly overview and features of the SANODESK Electric Standing Desk.
Video 2: Detailed assembly process for the SANODESK Electric Standing Desk.
6. Operating Instructions
Your SANODESK Electric Standing Desk features an intuitive LED memory control panel for easy height adjustment and preset management.
6.1. Manual Height Adjustment
- To Raise: Press and hold the "Up" arrow button (▲) on the control panel. The desk will move upwards. Release the button at your desired height.
- To Lower: Press and hold the "Down" arrow button (▼) on the control panel. The desk will move downwards. Release the button at your desired height.
6.2. Memory Presets
The control panel has four memory preset buttons (1, 2, 3, 4) to store and recall your preferred sitting and standing heights.
- To Set a Memory Preset:
- Adjust the desk to your desired height using the Up/Down buttons.
- Press the "M" or "Set" button (often indicated by an 'i' or 'M' icon).
- Immediately press one of the number buttons (1, 2, 3, or 4) to save the current height to that preset. The LED display may flash to confirm.
- To Recall a Memory Preset: Simply press the corresponding number button (1, 2, 3, or 4). The desk will automatically move to the saved height.

Figure 3: LED Memory Control Panel
Video 3: Demonstration of desk height adjustment using the control panel.
7. Maintenance
- Cleaning: Wipe the desktop and frame with a soft, damp cloth. Avoid abrasive cleaners or harsh chemicals that may damage the finish.
- Regular Checks: Periodically check all bolts and screws to ensure they are tight. Retighten if necessary.
- Cable Management: Ensure cables remain neatly organized and are not pinched or tangled, especially during height adjustments.
8. Troubleshooting
- Desk Not Adjusting:
- Check if the power cable is securely plugged into both the desk and the wall outlet.
- Ensure the power adapter is functioning correctly.
- Perform a power cycle: Unplug the desk for 30 seconds, then plug it back in.
- If one leg is not adjusting, check the connection of the transmission rod and ensure all screws are tight.
- Wobbling:
- Ensure all assembly bolts are securely tightened.
- Check that the adjustable feet on the bases are level on the floor.
- Do not exceed the maximum weight capacity of 154 lbs.
- Error Codes: If the LED display shows an error code, refer to the specific troubleshooting section in the full user manual or contact customer support.
9. Specifications
| Brand | SANODESK |
| Model Name | 156E |
| Desktop Dimensions (D x W) | 71 inches x 32 inches |
| Height Adjustment Range | 28.9 inches to 46.5 inches |
| Maximum Weight Capacity | 154 lbs |
| Frame Material | Alloy Steel |
| Top Material Type | Wood |
| Color | Black Frame + Black Top |
| Control Panel | LED with 6 buttons (Up, Down, 4 Memory Presets) |
| Assembly Required | Yes |

Figure 4: Product Size Overview

Figure 5: Adjustable Height Range
10. Warranty and Support
Your satisfaction is our priority. If you encounter any problems when you receive the product or during its use, we provide a 30-day return or exchange service. Please contact customer service through your order page for assistance. The product comes with a limited warranty.


