1. Introduction
This manual provides detailed instructions for the Hiseeu HC908-P 4K POE Dome Security Camera. Please read this guide thoroughly before installation and operation to ensure proper use and optimal performance of your device.

Figure 1: Hiseeu HC908-P 4K POE Dome Security Camera. This image shows the white dome camera with the Hiseeu logo, featuring a clear dome covering the lens.
2. Product Features
The Hiseeu HC908-P camera is equipped with advanced features for robust security surveillance:
- 8MP Ultra HD & HD Night Vision: Delivers 4K resolution with dual infrared light sources for clear night vision up to 65ft.
- 320° Pan, 90° Tilt & 5X Digital Zoom: Offers extensive coverage and remote adjustment via PC or smartphone using the Eseecloud app.
- Motion Detection & App Alarm Notification: Customizable detection sensitivity and areas, with real-time push alerts and automatic tracking of intruders.
- Two-Way Audio: Enables remote communication through the camera.
- IP66 Waterproof: Designed for outdoor use, providing protection against various weather conditions.
- POE Compatibility: Works seamlessly with Hiseeu 5MP POE CCTV systems for simplified power and data transmission.
3. Package Contents
Upon unpacking, please verify that all items are present and in good condition:
- Hiseeu HC908-P Dome Camera (1 unit)
- Mounting Screws and Wall Plugs
- Waterproof Connector for Ethernet Cable
- Quick Start Guide (this manual)
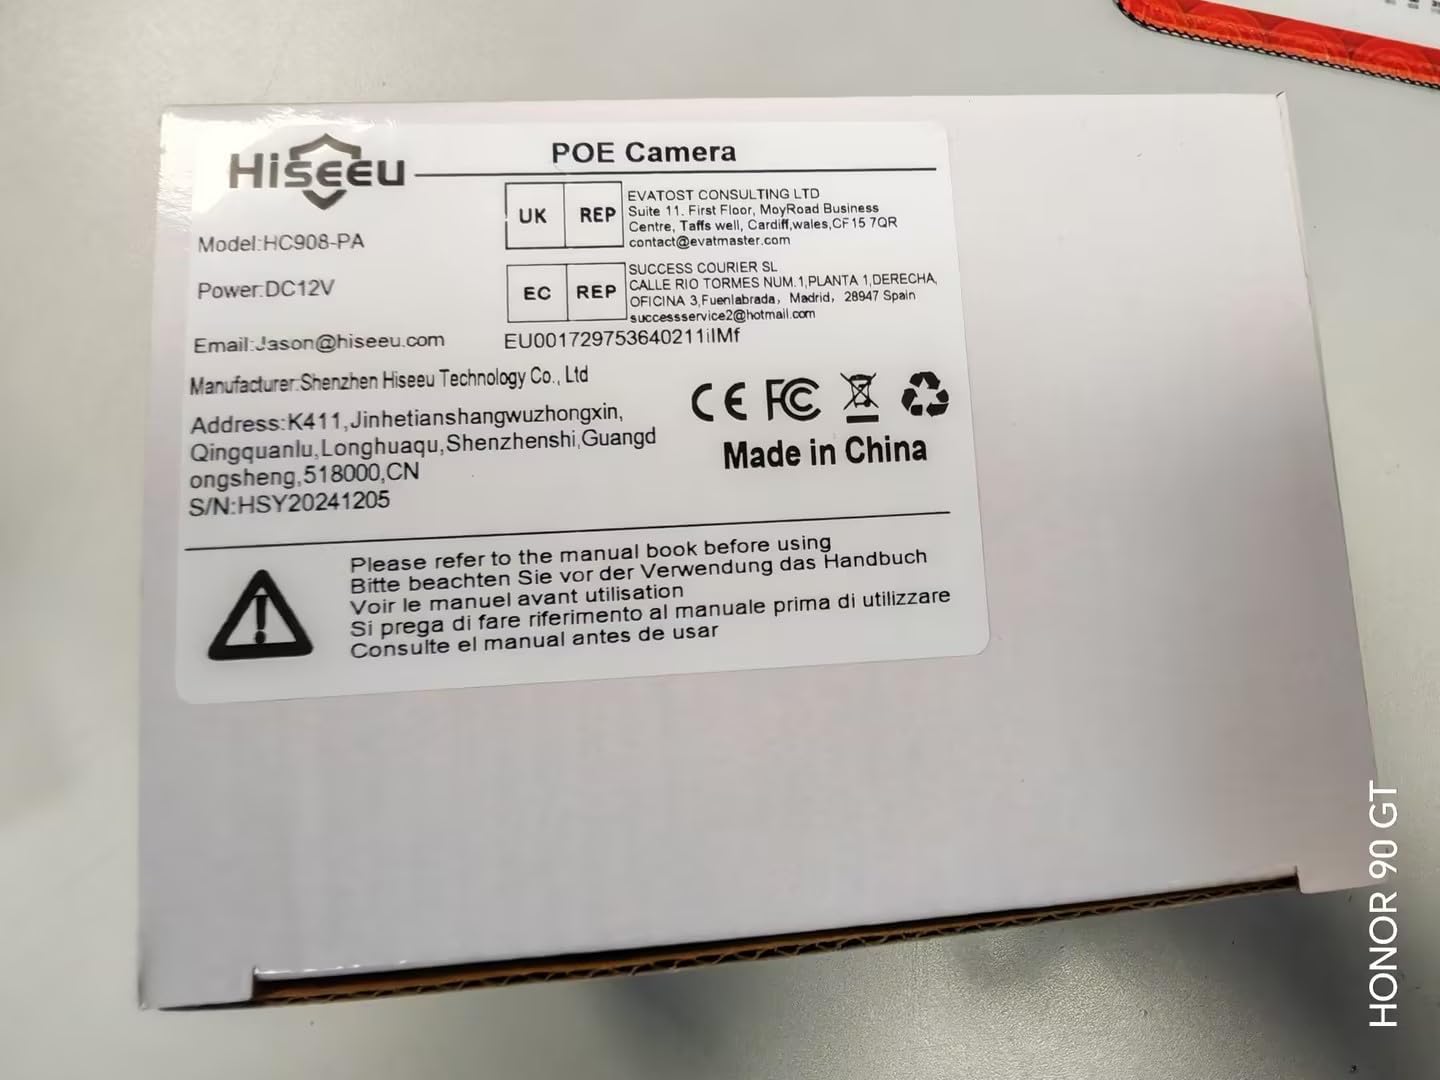
Figure 2: Product Packaging. This image displays the side of the product box, clearly showing the model number HC908-PA, power requirements (DC12V), manufacturer information, and a "Made in China" label. A barcode with the identifier X0026LSISP is also visible.
4. Setup Instructions
4.1 Physical Installation
- Choose a Location: Select an outdoor location that provides the desired surveillance coverage. The camera is designed for ceiling mount.
- Mounting: Use the provided screws and wall plugs to securely attach the camera to the chosen surface. Ensure the camera is firmly fixed to prevent movement.
- Cable Management: Route the Ethernet cable from your POE switch or NVR to the camera. Use the waterproof connector to protect the Ethernet connection from environmental elements.
4.2 Power and Network Connection
The HC908-P camera supports Power over Ethernet (POE), simplifying installation by delivering both power and data through a single Ethernet cable.
- Connect Ethernet Cable: Plug one end of the Ethernet cable into the camera's POE port and the other end into a POE switch or a POE-enabled Network Video Recorder (NVR).
- Power On: Once connected to a POE source, the camera will power on automatically. Allow a few minutes for the camera to initialize.
4.3 App Installation and Initial Configuration
To access and control your camera remotely, download and install the Eseecloud app on your smartphone.
- Download App: Search for "Eseecloud" in your smartphone's app store (iOS App Store or Google Play Store) and install it.
- Register Account: Open the Eseecloud app and follow the on-screen instructions to register a new account or log in if you already have one.
- Add Device: In the app, tap the "+" icon to add a new device. Scan the QR code located on the camera or its packaging, or manually enter the device ID.
- Network Configuration: The app will guide you through connecting the camera to your network. For POE cameras, this step is often automatic once connected to a POE NVR or switch.
- Set Password: Create a strong password for your camera to ensure security.
5. Operating Instructions
5.1 Live View and Remote Control
- Access Live Feed: Open the Eseecloud app and select your camera from the device list to view the live video feed.
- Pan/Tilt/Zoom (PTZ): Use the on-screen controls in the app to remotely adjust the camera's viewing angle (320° Pan, 90° Tilt) and apply 5X digital zoom.
5.2 Motion Detection and Alerts
- Enable Motion Detection: In the app settings for your camera, navigate to "Motion Detection" and enable it.
- Customize Settings:
- Sensitivity: Adjust the detection sensitivity (low/medium/high) to minimize false alarms.
- Detection Area: Define specific areas within the camera's view where motion detection should be active.
- Alarm Sound: Customize the alarm sound that the camera emits upon detection.
- Push Notifications: Ensure push alerts are enabled in the app to receive real-time notifications on your smartphone.
- Automatic Tracking: The camera can automatically track and record the movement of detected intruders.
5.3 Two-Way Audio
The camera features a built-in microphone and speaker for two-way communication.
- Activate Audio: In the live view interface of the Eseecloud app, tap the microphone icon to speak through the camera's speaker. Tap the speaker icon to listen to audio from the camera's vicinity.
5.4 Night Vision
The camera automatically switches to HD night vision in low-light conditions, utilizing dual infrared light sources for clear visibility up to 65 feet.
- Automatic Activation: Night vision activates automatically when ambient light levels drop.
5.5 Recording and Storage
The camera supports local storage via an SD card (not included) for recording footage.
- Insert SD Card: Locate the SD card slot on the camera (refer to the product diagram for exact location) and insert a compatible microSD card (up to 128GB, Class 10 or higher recommended).
- View Recordings: Access recorded footage through the Eseecloud app's playback function.
6. Maintenance
- Cleaning: Periodically clean the camera lens and housing with a soft, damp cloth. Avoid abrasive cleaners or solvents.
- Firmware Updates: Check the Eseecloud app regularly for available firmware updates to ensure optimal performance and security.
- Cable Inspection: Inspect all cables and connections periodically for any signs of wear or damage, especially for outdoor installations.
- Waterproofing: The camera is IP66 waterproof. Ensure all covers and seals are properly secured after any access to internal components (e.g., SD card slot).
7. Troubleshooting
| Problem | Possible Cause | Solution |
|---|---|---|
| Camera not powering on. | No power from POE switch/NVR; faulty cable. | Verify POE source is active. Check Ethernet cable for damage and ensure secure connection. |
| Cannot connect camera to app. | Incorrect network configuration; camera not initialized; wrong device ID. | Ensure camera is powered and connected to the network. Double-check device ID or QR code. Restart camera and router. |
| Motion detection alerts are too frequent/infrequent. | Sensitivity settings are too high/low; detection area not optimized. | Adjust motion detection sensitivity in the Eseecloud app. Refine the detection area to exclude irrelevant zones. |
| Poor night vision quality. | Obstruction in front of IR lights; dirty lens. | Ensure no objects are blocking the camera's view or IR lights. Clean the camera lens. |
| Two-way audio not working. | Microphone/speaker disabled in app; volume too low; network issues. | Check audio settings in the Eseecloud app. Ensure app has microphone permissions. Verify network stability. |
8. Specifications
| Model Number | HC908-P |
| Brand | Hiseeu |
| Video Capture Resolution | 4K (8 Megapixel) |
| Night Vision Distance | Up to 65 ft |
| Pan/Tilt/Zoom | 320° Pan, 90° Tilt, 5X Digital Zoom |
| Connectivity Protocol | Ethernet (POE) |
| Power Source | Corded Electric (via POE) |
| Indoor/Outdoor Use | Outdoor (IP66 Waterproof) |
| Material | Metal |
| Mounting Type | Ceiling Mount |
| Dimensions (L x W x H) | 11.99 x 8.99 x 14 cm |
| Item Weight | 540 g |
| Included Components | Dome camera |
9. Warranty and Support
Hiseeu is committed to providing excellent customer service and technical support for its products.
- Technical Support: Should you encounter any issues or have questions regarding your Hiseeu HC908-P camera, please contact our support team. Our well-experienced technicians are available online to assist you.
- Warranty Information: For detailed warranty terms and conditions, please refer to the official Hiseeu website or contact customer support.
- Contact Information: For support, please visit the Hiseeu Store on Amazon or refer to the contact details provided on the product packaging or official website.


