
1. Introduction
Thank you for purchasing the SANODESK QS1 Electric Standing Desk. This manual provides essential information for the safe and efficient assembly, operation, and maintenance of your new desk. Please read these instructions carefully before use and retain them for future reference.
2. Safety Information
- Ensure all components are securely fastened before use.
- Do not exceed the maximum load capacity of 60 kg (132 lbs).
- Keep hands, feet, and objects clear of moving parts during height adjustment to prevent injury or damage.
- Do not sit or stand on the desk.
- Disconnect power before cleaning or maintenance.
- This product is designed for indoor use only.

Image: The desk is designed to support a maximum load of 60 kg (132 lbs).
3. Package Contents
Verify that all parts are present and undamaged before beginning assembly. If any parts are missing or damaged, please contact customer support.
- Tabletop (Maple, 140x60cm, two-piece)
- Desk Frame (White)
- Leg Columns (2)
- Feet (2)
- Control Panel
- Power Adapter and Cable
- Cable Clips
- Hardware Kit (screws, Allen wrench, etc.)
- Instruction Manual

Image: An overview of the assembled SANODESK QS1 Electric Standing Desk, showing the maple top and white frame.
4. Assembly Instructions
Assembly typically requires two people. Clear a spacious area for assembly and lay out all components.
- Attach Feet to Leg Columns: Securely fasten the feet to the bottom of each leg column using the provided screws.
- Assemble Frame: Connect the leg columns to the main desk frame using the designated hardware. Ensure all connections are tight.
- Attach Tabletop: Carefully place the two-piece tabletop onto the assembled frame. Align the pre-drilled holes and secure the tabletop to the frame using the provided screws.
- Install Control Panel: Mount the control panel to the underside of the tabletop in the desired position.
- Connect Cables: Connect the motor cables from the leg columns to the control box. Connect the control panel cable to the control box. Finally, connect the power adapter to the control box and plug it into a power outlet.
- Cable Management: Use the included cable clips to organize and secure all cables, preventing them from dangling or interfering with desk movement.
Note: For detailed visual instructions, refer to the assembly diagram included in your package.
5. Operating Instructions
5.1. Height Adjustment
The desk offers stepless height adjustment within a range of 72 cm (28.3 inches) to 117 cm (46.1 inches).
- To raise the desk, press and hold the Up (^) button on the control panel.
- To lower the desk, press and hold the Down (v) button on the control panel.
- Release the button when the desired height is reached.

Image: The desk's height can be adjusted smoothly between 72 cm and 117 cm.
5.2. Memory Function
The control panel allows you to save multiple preferred height settings for quick recall.
- Adjust the desk to your desired height using the Up/Down buttons.
- Press the Memory (M) button. The display will show 'S-'.
- Within 3 seconds, press one of the preset buttons (1, 2, 3, or 4) to save the current height to that position. The display will show 'S-1', 'S-2', etc., confirming the save.
- To recall a saved height, simply press the corresponding preset button (1, 2, 3, or 4). The desk will automatically move to the saved position.
5.3. Reset Function
If the desk encounters an error or does not move correctly, a reset may be required.
- Press and hold the Reset (R) button until the desk moves to its lowest position and then slightly back up. Release the button.
- The desk is now reset and ready for normal operation.

Image: The multi-function control panel features Up/Down buttons, memory presets, a reminder function, and a reset button.
6. Maintenance
- Cleaning: Wipe the desk surface and frame with a soft, damp cloth. Avoid abrasive cleaners or harsh chemicals that could damage the finish.
- Cable Inspection: Periodically check all cables for wear, damage, or loose connections. Ensure cables are properly managed to prevent entanglement during height adjustments.
- Fastener Check: Regularly inspect all screws and fasteners to ensure they remain tight. Tighten any loose hardware as needed.
- Environmental Conditions: Avoid exposing the desk to extreme temperatures or high humidity.
7. Troubleshooting
| Problem | Possible Cause | Solution |
|---|---|---|
| Desk does not move | Power cable disconnected, motor cable loose, overload, or system error. | Check all cable connections. Reduce load if exceeding 60kg. Perform a reset (see Section 5.3). |
| Desk moves unevenly or makes unusual noise | Uneven load, loose fasteners, or obstruction. | Distribute weight evenly. Check and tighten all fasteners. Ensure no obstructions are in the path of the legs. Perform a reset. |
| Control panel displays an error code (e.g., 'r 5 t') | System error or calibration issue. | Perform a reset (see Section 5.3). If the error persists, contact customer support. |
If troubleshooting steps do not resolve the issue, please contact SANODESK customer support for assistance.
8. Specifications
| Feature | Detail |
|---|---|
| Model | QS1 |
| Brand | SANODESK |
| Tabletop Dimensions | 140 cm (Width) x 60 cm (Depth) |
| Height Adjustment Range | 72 cm - 117 cm (28.3 in - 46.1 in) |
| Lifting Speed | 25 mm/s |
| Max. Load Capacity | 60 kg (132 lbs) |
| Tabletop Material | High-strength Melamine Laminated Board |
| Frame Material | Metal (Powder Coated) |
| Color | White Frame + Maple Top |
| Features | Ergonomic, Height Adjustment, Memory Function, Rounded Corners, Cable Clips, Cup Holder, Headphone Hook |
| Product Weight | 23.5 kg |
| Package Dimensions | 81 x 68 x 13.5 cm |
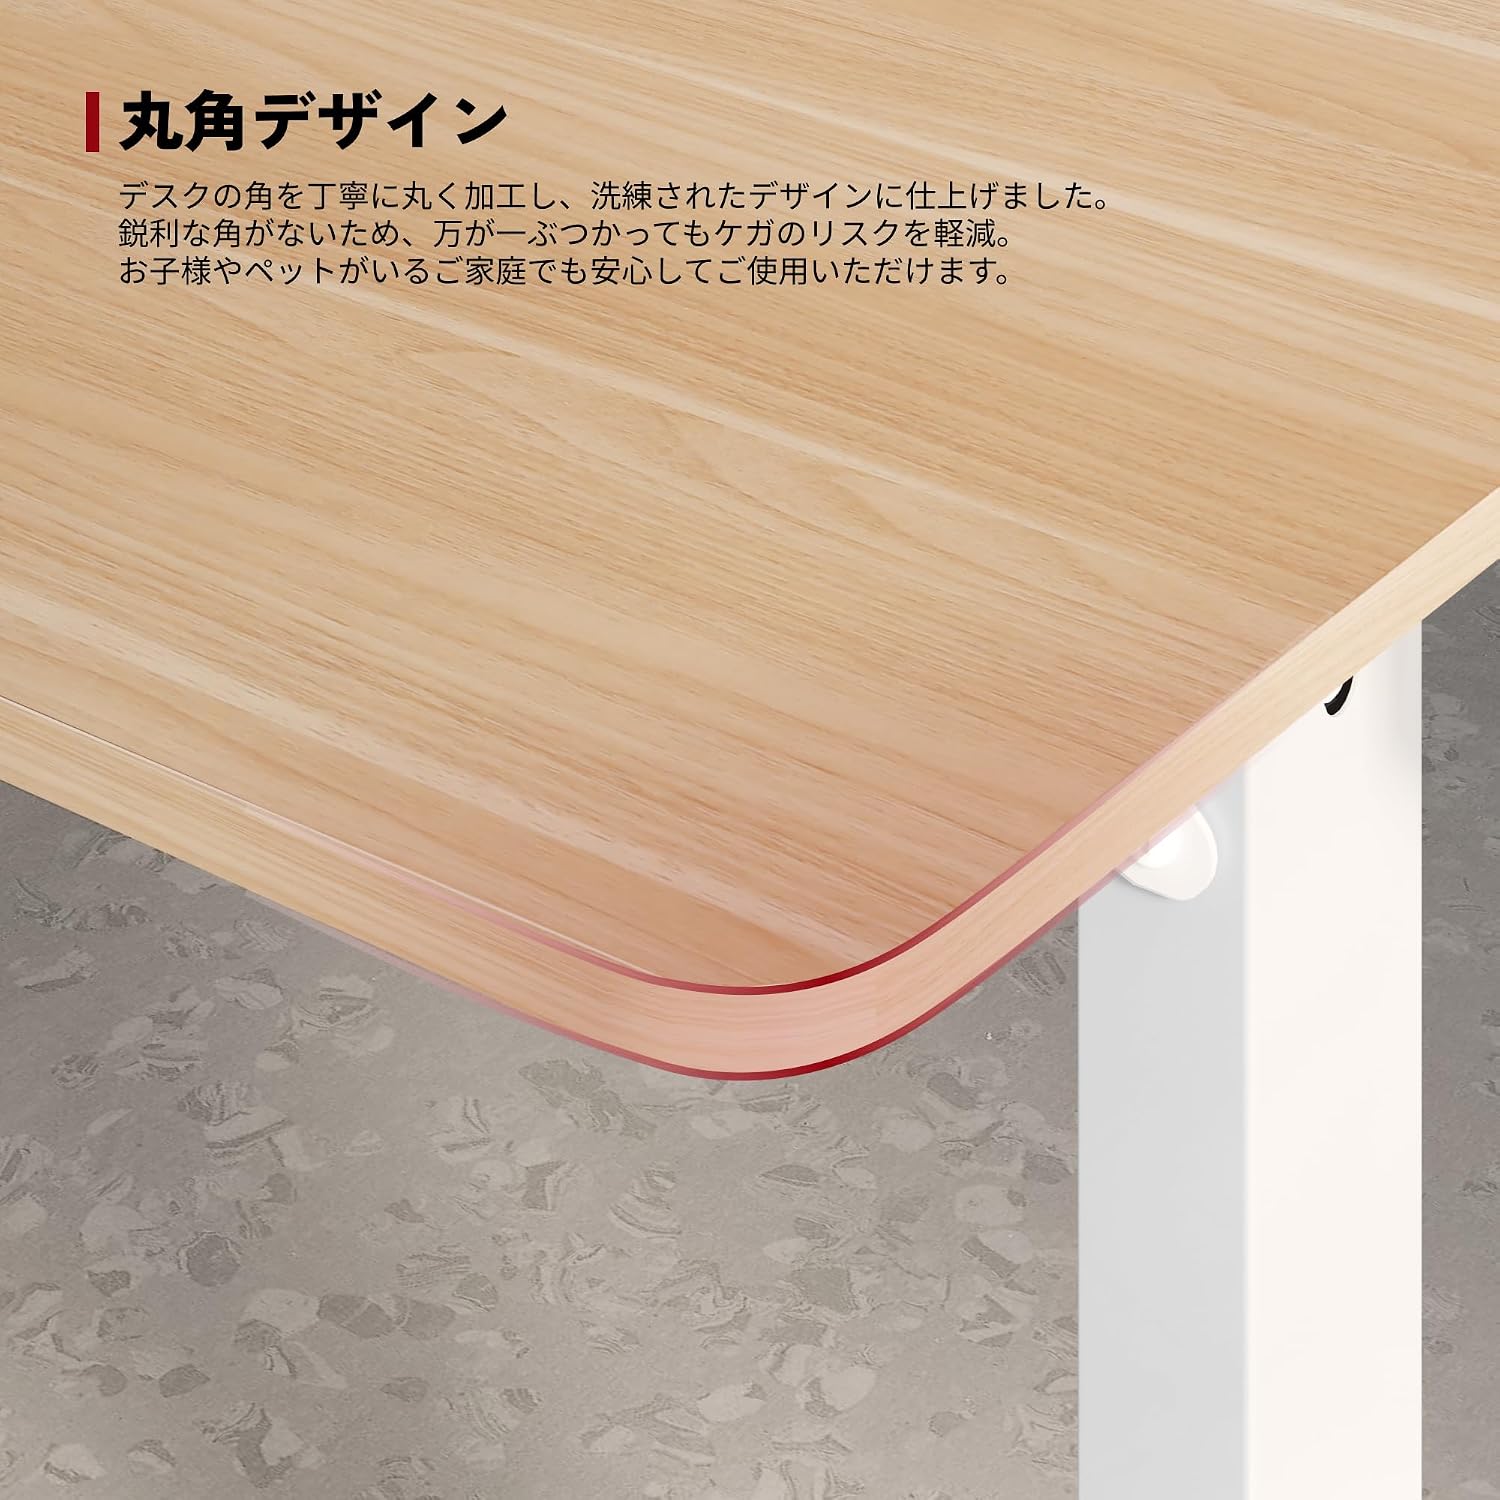
Image: The desk features rounded corners for enhanced safety.

Image: Integrated cup holder and headphone hook for convenience.
9. Warranty and Support
SANODESK provides a 3-year manufacturer's warranty for this product. This warranty covers defects in materials and workmanship under normal use.
For warranty claims, technical support, or any inquiries regarding your SANODESK QS1 Electric Standing Desk, please contact our customer support team. SANODESK offers domestic support services to ensure prompt assistance.
Please have your purchase receipt and product model information (QS1) ready when contacting support.


