
1. Introduction
The Pyle PLCMTRDVR41 is a comprehensive DVR video camera system designed for vehicles such as buses, trucks, trailers, vans, RVs, and campers. It features a 7-inch display monitor and a waterproof night vision camera, providing visual assistance for driving and reversing. This system records consistent video footage, automatically overwriting older files when the memory card is full to ensure continuous monitoring.
2. What's in the Box
Verify that all components listed below are included in your package:
- 7'' Display Monitor
- Waterproof Camera
- 50' Video Cables, 4-Pin
- Power & Wiring Harness
- Sun Visor Monitor Hood
- Remote Control
- Mounting Accessories

Figure 2.1: Included components of the PLCMTRDVR41 system.
3. Product Features
- 7-inch Digital LCD Monitor: Provides clear video display with 800 x 480 resolution and adjustable aspect ratios (16:9, 4:3).
- Waterproof Night Vision Camera: Features marine-grade waterproof housing, an angle-adjustable lens, and built-in night vision LEDs for clear visibility in low-light conditions. Offers a 170-degree wide-angle view.
- Multi-Channel Support: Connect up to four cameras (additional cameras sold separately) and view them in single, dual, or quad split-screen modes.
- Loop Recording: Records continuously, overwriting the oldest unlocked video clips to ensure uninterrupted monitoring. Video clip lengths can be set to 3, 5, or 10 minutes.
- Automatic Operation: The system powers on and begins recording automatically when the vehicle's engine starts, and powers off when the engine is turned off.
- G-Sensor: Automatically detects sudden movements or impacts and locks the current video footage to prevent it from being overwritten.
- Micro SD Card Support: Supports Micro SD cards up to 32GB for video storage.

Figure 3.1: The 7-inch digital LCD panel with display specifications.

Figure 3.2: Wide-angle viewing capability of the camera.
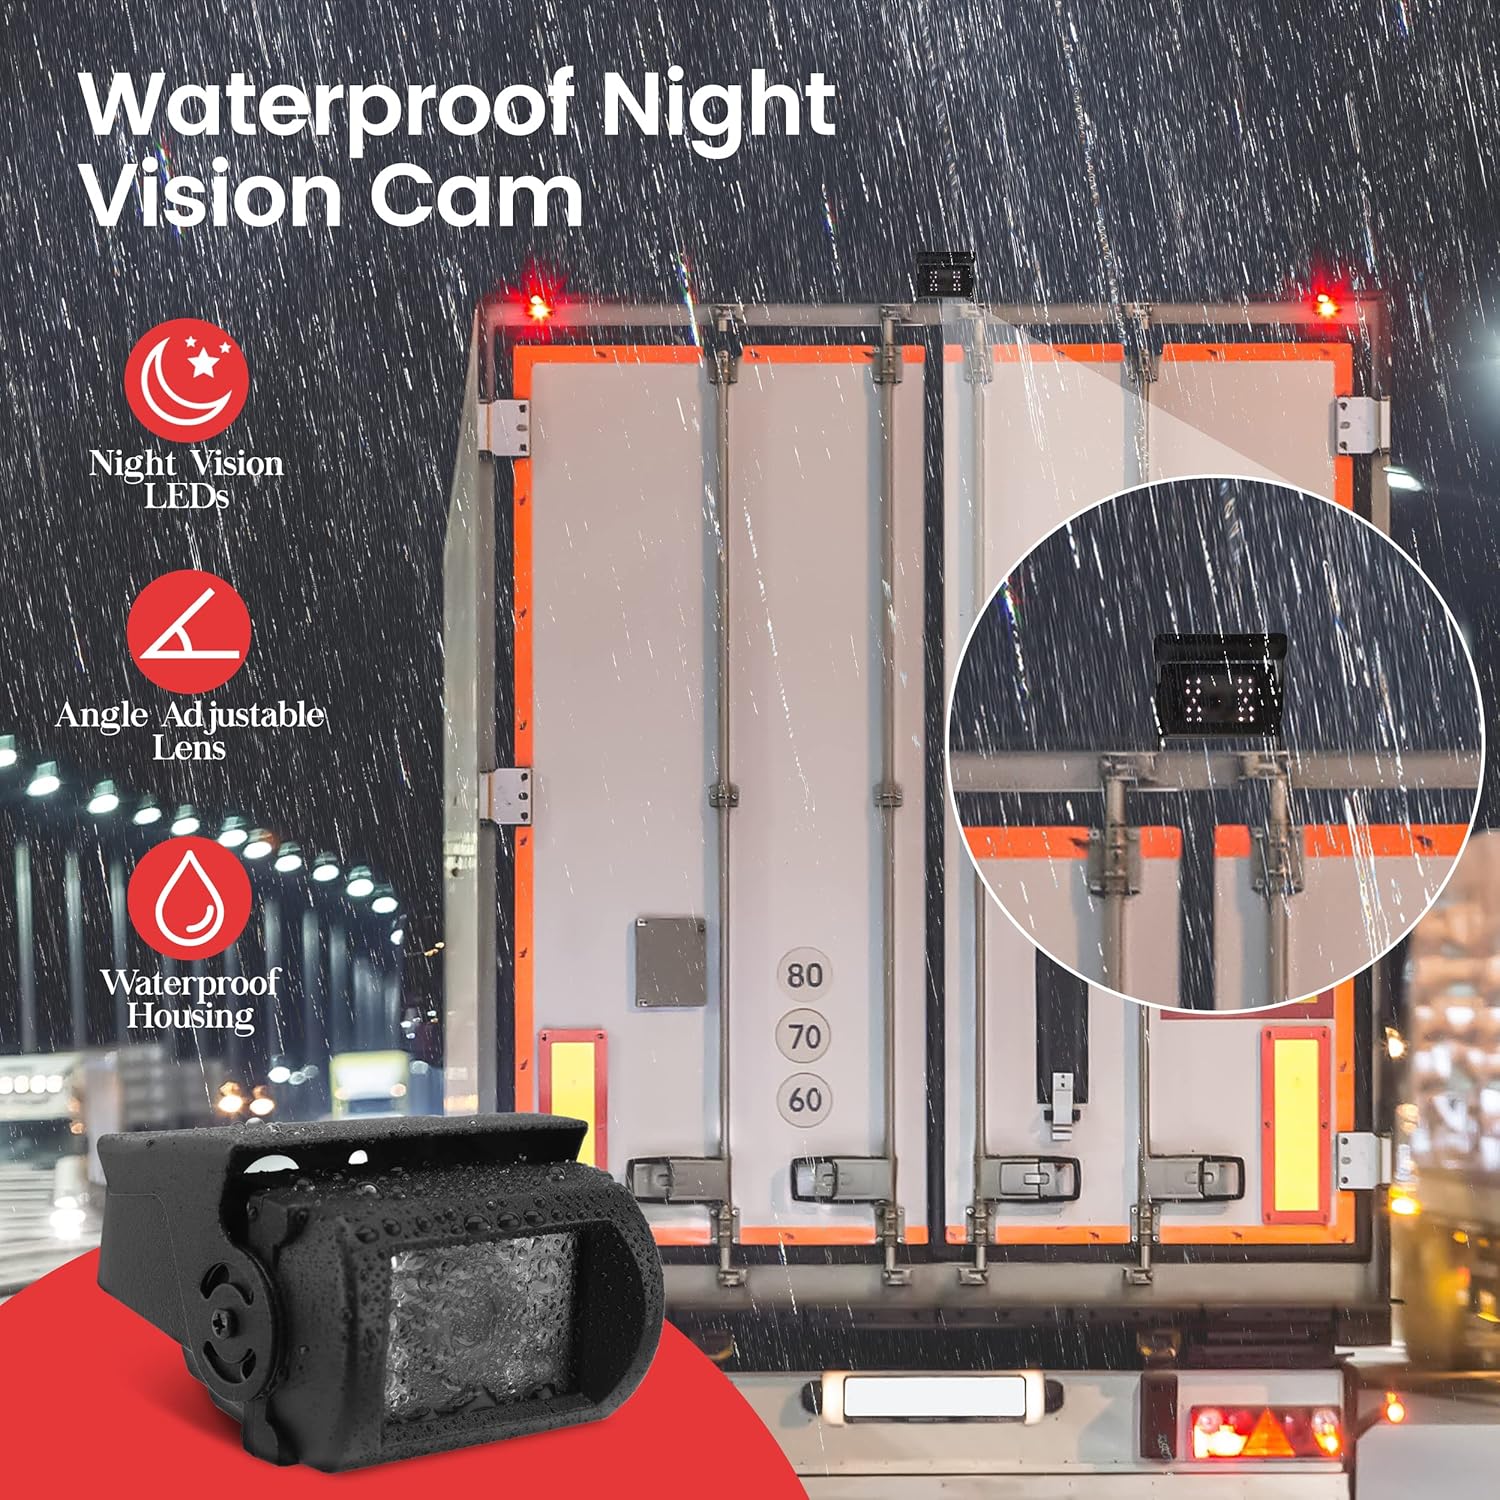
Figure 3.3: The waterproof night vision camera with LED illumination.

Figure 3.4: Selectable camera view modes on the monitor.
4. Setup & Installation
This section provides an overview of the physical connections and basic wiring for the PLCMTRDVR41 system. For detailed visual instructions, please refer to the official overview video below.
4.1 Monitor Overview
The monitor features a removable sunshade and a 7-inch LCD screen. On the front panel, you will find:
- DVR Indicator Light: Blue indicates power is on; flashing red indicates recording.
- Loudspeaker: For audio output.
- MENU Key: Pauses recording, navigates back in menus, and accesses playback status.
- CH1 Key: Switches to Channel 1, navigates left in menus.
- CH2 Key: Switches to Channel 2, navigates right in menus.
- Power Button: Also used to start and stop recording.
- CH3 Key: Switches to Channel 3, navigates down in menus.
- CH4 Key: Switches to Channel 4, navigates up in menus.
- MODE Button: Changes display modes.
On the back of the unit, you will find an SD card slot, a notch for bracket installation, and a signal lead wire for connection to the wiring harness.
4.2 Wiring Connections
Connect the male signal feed end of the monitor to the female end of the wiring harness, ensuring the arrows on both connectors are aligned for proper insertion. Fasten securely.
- Connect the red cable from the wiring harness to your vehicle's ignition switch or a battery terminal.
- Connect the black cable to a grounding wire.
- Depending on your specific use, connect the green wire to your reversing gear, the brown wire for drive, and the blue and gray wires for turning signals (left and right).
4.3 Camera Connections
Connect your camera(s) to the appropriate labeled connections on the wiring harness. Each connection is labeled (e.g., Channel 1, Channel 2, Channel 3, Channel 4). When connecting, ensure to line up the arrows indicated on the sides of the connectors and fasten them tightly.
4.4 Installation Overview Video
Video 4.1: An overview of the Pyle PLCMTRDVR41 system components and basic connection steps.
5. Operating Instructions
5.1 Power On/Off
The device is designed to power on and begin recording automatically when the vehicle's engine is started. It will power off automatically shortly after the engine is turned off. This automatic feature applies to most vehicles, except those with continuously powered cigarette lighters.
5.2 Recording
The system initiates recording automatically upon power-up. The DVR indicator light will flash red during recording. To manually stop or start recording, press the Power button on the monitor's front panel.
Loop Recording: When the memory card is full, the system automatically overwrites the oldest unlocked video clips to maintain continuous recording. You can set the length of each video clip to 3, 5, or 10 minutes via the menu settings.
G-Sensor: In the event of a sudden impact or collision, the built-in G-sensor will automatically lock the current video file, preventing it from being overwritten during loop recording.
5.3 Menu Navigation
Use the MENU key to access the system settings. The CH1, CH2, CH3, and CH4 keys also function as navigation buttons (left, right, down, up respectively) within the menu interface. Press the MENU key again to exit the menu or return to the previous screen.
5.4 Channel Switching
Press the CH1, CH2, CH3, or CH4 buttons on the front panel to switch between individual camera views. Use the MODE button to cycle through different display layouts, including single, dual, and quad split-screen views (if multiple cameras are connected).
5.5 SD Card Usage
The system supports Micro SD cards up to 32GB. It is recommended to format the memory card periodically to maintain optimal performance and prevent data corruption. If the performance of the memory card degrades, consider formatting it or replacing it with a new one.
6. Specifications
| Feature | Specification |
|---|---|
| Product Dimensions | 8 x 3 x 13.25 inches |
| Item Weight | 3.92 pounds |
| Item Model Number | PLCMTRDVR41 |
| Connectivity Technologies | Wired |
| Special Features | Night Vision |
| Display Technology | LCD |
| Other Display Features | Wireless |
| Color | Black |
| Manufacturer | Sound Around |
| Vehicle Service Type | Car, Truck |
| Video Capture Resolution | 1080p |
| Mounting Type | Windshield Mount |
| Field Of View | 170 Degrees |
| Monitor Resolution | 800 x 480 |
| Camera Resolution | 420 TV Lines (640 x 480 pixels) |
| Max SD Card Support | Up to 32GB |
| Power | DC 12/24V |
7. Troubleshooting
If you encounter issues with your Pyle PLCMTRDVR41 system, please refer to the following common troubleshooting steps:
- No Power/Monitor Not Turning On:
- Check all power connections, ensuring the red wire is connected to a constant or switched 12/24V power source and the black wire is securely grounded.
- Verify the vehicle's ignition is on if the system is wired to an ignition switch.
- No Image on Monitor/Black Screen:
- Ensure all camera cables are securely connected to the monitor and the camera itself. Check for proper alignment of arrows on connectors.
- Confirm the camera is receiving power.
- Try switching between different channels (CH1-CH4) to see if the issue is specific to one input.
- Check the MODE setting to ensure it's not in a mode without an active camera feed.
- Blurry or Poor Image Quality:
- Ensure the camera lens is clean and free from dirt, moisture, or obstructions.
- Check cable connections for any looseness or damage.
- Adjust the picture configuration settings (Brightness, Contrast, Saturation) via the monitor's menu.
- Reversed Image (Dashcam):
- The system may have a setting to flip or mirror the image. Consult the full user manual for specific menu options related to image orientation.
- Unit Locks Up/Freezes:
- Try performing a soft reset by powering the unit off and on.
- Ensure the Micro SD card is properly inserted and functioning. A faulty or full SD card can cause system instability. Try formatting the card or using a different one.
- Recording Issues:
- Verify that a Micro SD card is inserted and has sufficient free space.
- Format the Micro SD card to resolve potential corruption issues.
- Check the DVR indicator light to confirm recording status.
8. Warranty & Support
This product is backed by a limited 1-Year manufacturer warranty. In the event of a defect within the first year of purchase, please contact Pyle customer support for assistance with exchange or repair.
Additionally, if this item fails to meet your expectations, it may be returned for a full refund within the first 30 days of purchase, subject to the retailer's return policy.
For further support, technical assistance, or warranty claims, please visit the official Pyle website or contact their customer service department.


