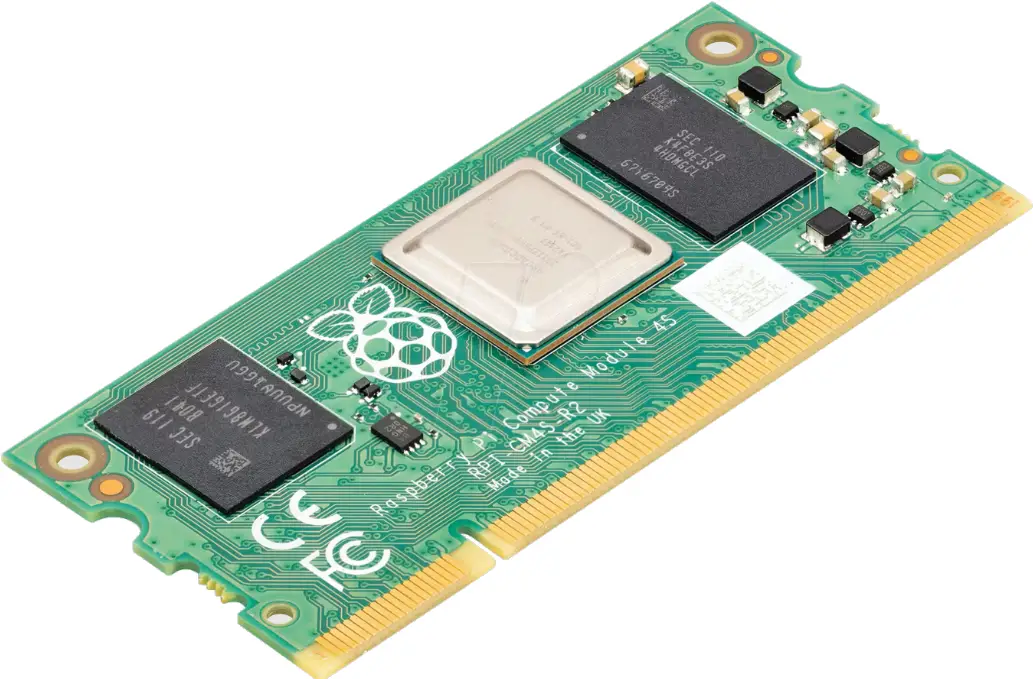
Raspberry Pi CM 1 4S Compute Module
Product Information
Specifications
- Feature: Processor
- Random Access Memory: 1GB
- Embedded MultiMediaCard (eMMC) Memory: 0/8/16/32GB
- Ethernet: Yes
- Universal Serial Bus (USB): Yes
- HDMI: Yes
- Form Factor: SODIMM
Product Usage Instructions
Transitioning from Compute Module 1/3 to Compute Module 4S
If you are transitioning from Raspberry Pi Compute Module (CM) 1 or 3 to a Raspberry Pi CM 4S, follow these steps:
- Ensure you have a compatible Raspberry Pi operating system (OS) image for the new platform.
- If using a custom kernel, review and adjust it for compatibility with the new hardware.
- Consider the hardware changes described in the manual for differences between the models.
Power Supply Details
Make sure to use a suitable power supply that meets the power requirements of the Raspberry Pi CM 4S to avoid any issues.
General Purpose I/O (GPIO) Usage During Boot
Understand the GPIO behavior during boot to ensure proper initialization and functioning of connected peripherals or accessories.
Frequently Asked Questions (FAQ)
Q: Can I use a CM 1 or CM 3 in a memory slot as a SODIMM device?
A: No, these devices cannot be used in a memory slot as a SODIMM device. The form factor is specifically designed for compatibility with the Raspberry Pi CM models.
Introduction
This whitepaper is for those who wish to move from using a Raspberry Pi Compute Module (CM) 1 or 3 to a Raspberry Pi CM 4S. There are several reasons why this might be desirable:
- Greater computing power
- More memory
- Higher-resolution output up to 4Kp60
- Better availability
- Longer product life (last time buy not before January 2028)
From a software perspective, the move from Raspberry Pi CM 1/3 to Raspberry Pi CM 4S is relatively painless, as a Raspberry Pi operating system (OS) image should work on all platforms. If, however, you are using a custom kernel, some things will need to be considered in the move. The hardware changes are considerable, and the differences are described in a later section.
Terminology
Legacy graphics stack: A graphics stack wholly implemented in the VideoCore firmware blob with a shim application programming interface exposed to the kernel. This is what has been used on the majority of Raspberry Pi Ltd Pi devices since launch, but is gradually being replaced by (F)KMS/DRM.
FKMS: Fake Kernel Mode Setting. While the firmware still controls the low-level hardware (for example the HDMI ports, Display Serial Interface, etc.), standard Linux libraries are used in the kernel itself.
KMS: The full Kernel Mode Setting driver. Controls the entire display process, including talking to the hardware directly with no firmware interaction.
DRM: Direct Rendering Manager, a subsystem of the Linux kernel used to communicate with graphical processing units. Used in partnership with FKMS and KMS.
Compute Module comparison
Functional differences
The following table gives some idea of the basic electrical and functional differences between the models.
| Feature | CM 1 | CM 3/3+ | CM 4S |
| Processor | BCM2835 | BCM2837 | BCM2711 |
| Random access memory | 512MB | 1GB | 1GB |
| Embedded MultiMediaCard (eMMC) memory | — | 0/8/16/32GB | 0/8/16/32GB |
| Ethernet | None | None | None |
| Universal Serial Bus (USB) | 1 × USB 2.0 | 1 × USB 2.0 | 1 × USB 2.0 |
| HDMI | 1 × 1080p60 | 1 × 1080p60 | 1 × 4K |
| Form factor | SODIMM | SODIMM | SODIMM |
Physical differences
The Raspberry Pi CM 1, CM 3/3+, and CM 4S form factor is based around a small-outline dual inline memory module (SODIMM) connector. This provides a physically compatible upgrade path between these devices.
NOTE
These devices cannot be used in a memory slot as a SODIMM device.
Power supply details
The Raspberry Pi CM 3 requires an external 1.8V power supply unit (PSU). The Raspberry Pi CM 4S no longer uses an external 1.8V PSU rail so these pins on the Raspberry Pi CM 4S are no longer connected. This means that future baseboards will not need the regulator fitted, which simplifies the power-on sequencing. If existing boards already have a +1.8V PSU, no harm will occur to the Raspberry Pi CM 4S.
The Raspberry Pi CM 3 uses a BCM2837 system on a chip (SoC), whereas the CM 4S uses the new BCM2711 SoC. The BCM2711 has significantly more processing power available, so it is possible, indeed likely, for it to consume more power. If this is a concern then limiting the maximum clock rate in config.txt can help.
General purpose I/O (GPIO) usage during boot
Internal booting of the Raspberry Pi CM 4S starts from an internal serial peripheral interface (SPI) electronically erasable programmable read-only memory (EEPROM) using the BCM2711 GPIO40 to GPIO43 pins; once booting is complete the BCM2711 GPIOs are switched to the SODIMM connector and so behave as on the Raspberry Pi CM 3. Also, if an in-system upgrade of the EEPROM is required (this is not recommended) then the GPIO pins GPIO40 to GPIO43 from the BCM2711 revert to being connected to the SPI EEPROM and so these GPIO pins on the SODIMM connector are no longer controlled by the BCM2711 during the upgrade process.
GPIO behaviour on initial power on
GPIO lines can have a very brief point during start up where they are not pulled low or high, therefore making their behaviour unpredictable. This nondeterministic behaviour can vary between the CM3 and the CM4S, and also with chip batch variations on the same device. In the majority of use cases this has no effect on usage, however, if you have a MOSFET gate attached to a tri-state GPIO, this could risk any stray capacitances holding volts and turning on any connected downstream device. It is good practice to ensure a gate bleed resistor to ground is incorporated in to the design of the board, whether using CM3 or CM4S, so that these capacitive charges are bled away.
Suggested values for the resistor are between 10K and 100K.
Disabling eMMC
On the Raspberry Pi CM 3, EMMC_Disable_N electrically prevents signals from accessing the eMMC. On the Raspberry Pi CM 4S this signal is read during boot to decide whether the eMMC or USB should be used for booting. This change should be transparent for most applications.
EEPROM_WP_N
The Raspberry Pi CM 4S boots from an onboard EEPROM that is programmed during manufacture. The EEPROM has a write protect feature that can be enabled via software. An external pin is also provided to support write protection. This pin on the SODIMM pinout was a ground pin, so by default if the write protection is enabled via software the EEPROM is write protected. It is not recommended that the EEPROM be updated in the field. Once the development of a system is complete the EEPROM should be write-protected via software to prevent in-field changes.
Software changes required
If you are using a fully updated Raspberry Pi OS then the software changes needed when moving between any Raspberry Pi Ltd boards are minimal; the system automatically detects which board is running and will set up the operating system appropriately. So, for example, you can move your OS image from a Raspberry Pi CM 3+ to a Raspberry Pi CM 4S and it should work without changes.
NOTE
You should ensure that your Raspberry Pi OS installation is up to date by going through the standard update mechanism. This will ensure that all firmware and kernel software is appropriate for the device in use.
If you are developing your own minimal kernel build or have any customizations in the boot folder then there may be some areas where you will need to ensure you are using the correct setup, overlays, and drivers.
While using an updated Raspberry Pi OS should mean that the transition is fairly transparent, for some ‘bare metal’ applications it is possible that some memory addresses have changed and a recompilation of the application is required. See the BCM2711 peripherals documentation for more details on the extra features of the BCM2711 and register addresses.
Updating firmware on an older system
In some circumstances it may not be possible to update an image to the latest version of Raspberry Pi OS. However, the CM4S board will still need updated firmware to work correctly. There is a whitepaper available from Raspberry Pi Ltd which describes updating firmware in detail, however, in short, the process is as follows:
Download the firmware files from the following location: https://github.com/raspberrypi/firmware/archive/refs/heads/stable.zip
This zip file contains several different items, but the ones we are interested in at this stage are in the boot folder.
The firmware files have names of the form start*.elf and their associated support files fixup*.dat.
The basic principle is to copy the required start and fixup files from this zip file to replace the same named files on the destination operation system image. The exact process will depend on how the operating system has been set up, but as an example, this is how it would be done on a Raspberry Pi OS image.
- Extract or open the zip file so you can access the required files.
- Open up the boot folder on the destination OS image (this could be on an SD card or a disk-based copy).
- Determine which start.elf and fixup.dat files are present on the destination OS image.
- Copy those files from the zip archive to the destination image.
The image should now be ready for use on the CM4S.
Graphics
By default, the Raspberry Pi CM 1–3+ use the legacy graphics stack, while the Raspberry Pi CM 4S uses the KMS graphics stack.
While it is possible to use the legacy graphics stack on the Raspberry Pi CM 4S, this does not support 3D acceleration, so moving to KMS is recommended.
HDMI
Whilst the BCM2711 has two HDMI ports, only HDMI-0 is available on the Raspberry Pi CM 4S, and this can be driven at up to 4Kp60. All other display interfaces (DSI, DPI and composite) are unchanged.
Raspberry Pi is a trademark of Raspberry Pi Ltd
Raspberry Pi Ltd
Documents / Resources
 |
Raspberry Pi CM 1 4S Compute Module [pdf] User Guide CM 1, CM 1 4S Compute Module, 4S Compute Module, Compute Module, Module |


