
1. Safety Information
Important: Read all instructions carefully before installation. If you do not understand these instructions or have doubts about the safety of the installation, please contact a qualified installer. Perlegear is not responsible for damage or injury caused by incorrect mounting, incorrect assembly, or incorrect use.
- Ensure the mounting surface can safely support the combined weight of the mount and the television.
- Use the provided screws and hardware. Do not overtighten screws.
- This product is intended for indoor use only.
- Keep children and pets away during installation.
- Always use a stud finder to locate wood studs or ensure you are mounting into solid concrete/brick.
2. Package Contents
Verify that all components are present and undamaged before installation. If any parts are missing or defective, contact Perlegear customer service.

Image: Overview of the Perlegear Full Motion TV Wall Mount and its included accessories, such as the wall plate, TV bracket arms, a small bubble level, and cable ties.
Typical package contents include:
- Wall Plate Assembly
- TV Bracket Arms (x2)
- Hardware Kit (various screws, washers, spacers, anchors)
- Bubble Level
- Cable Ties
3. Tools Required
The following tools are typically required for installation (not included):
- Pencil
- Phillips Head Screwdriver
- Electric Drill
- Stud Finder (for wood stud installation)
- Masonry Drill Bit (for concrete/brick installation)
- Tape Measure
- Socket Wrench (for lag bolts)
4. Compatibility
This TV wall mount is designed for televisions within specific size, weight, and VESA pattern ranges.
- TV Size: 26 to 60 inches (PGMFK6) / 32 to 65 inches (PGMF24B)
- Weight Capacity: Up to 45 kg (99 lbs)
- VESA Compatibility: 75x75mm, 100x100mm, 200x100mm, 200x200mm, 300x200mm, 300x300mm, 400x200mm, 400x300mm, 400x400mm.

Image: Illustration of compatible VESA mounting patterns, indicating the horizontal and vertical distances between the four mounting holes on the back of a television.
To determine your TV's VESA pattern, measure the horizontal and vertical distance between the mounting holes on the back of your TV in millimeters.
5. Installation Steps
Follow these steps carefully for a secure installation. It is recommended to have two people for certain steps.
5.1. Wall Preparation
- Determine the desired height for your TV. Mark the center of where the TV will be positioned.
- Use a stud finder to locate the center of a wood stud for wood stud installation. For concrete/brick walls, ensure the wall is solid.
5.2. Mounting the Wall Plate
Position the wall plate at the marked location. Use the integrated bubble level or the included level to ensure it is perfectly horizontal. Mark the drill holes.
- For Wood Studs: Drill pilot holes (e.g., 5.5mm / 7/32 inch) into the center of the studs. Attach the wall plate using lag bolts and washers. Do not overtighten.
- For Concrete/Brick Walls: Drill holes (e.g., 10mm / 3/8 inch) to the appropriate depth. Insert concrete anchors flush with the wall surface. Attach the wall plate using lag bolts and washers.
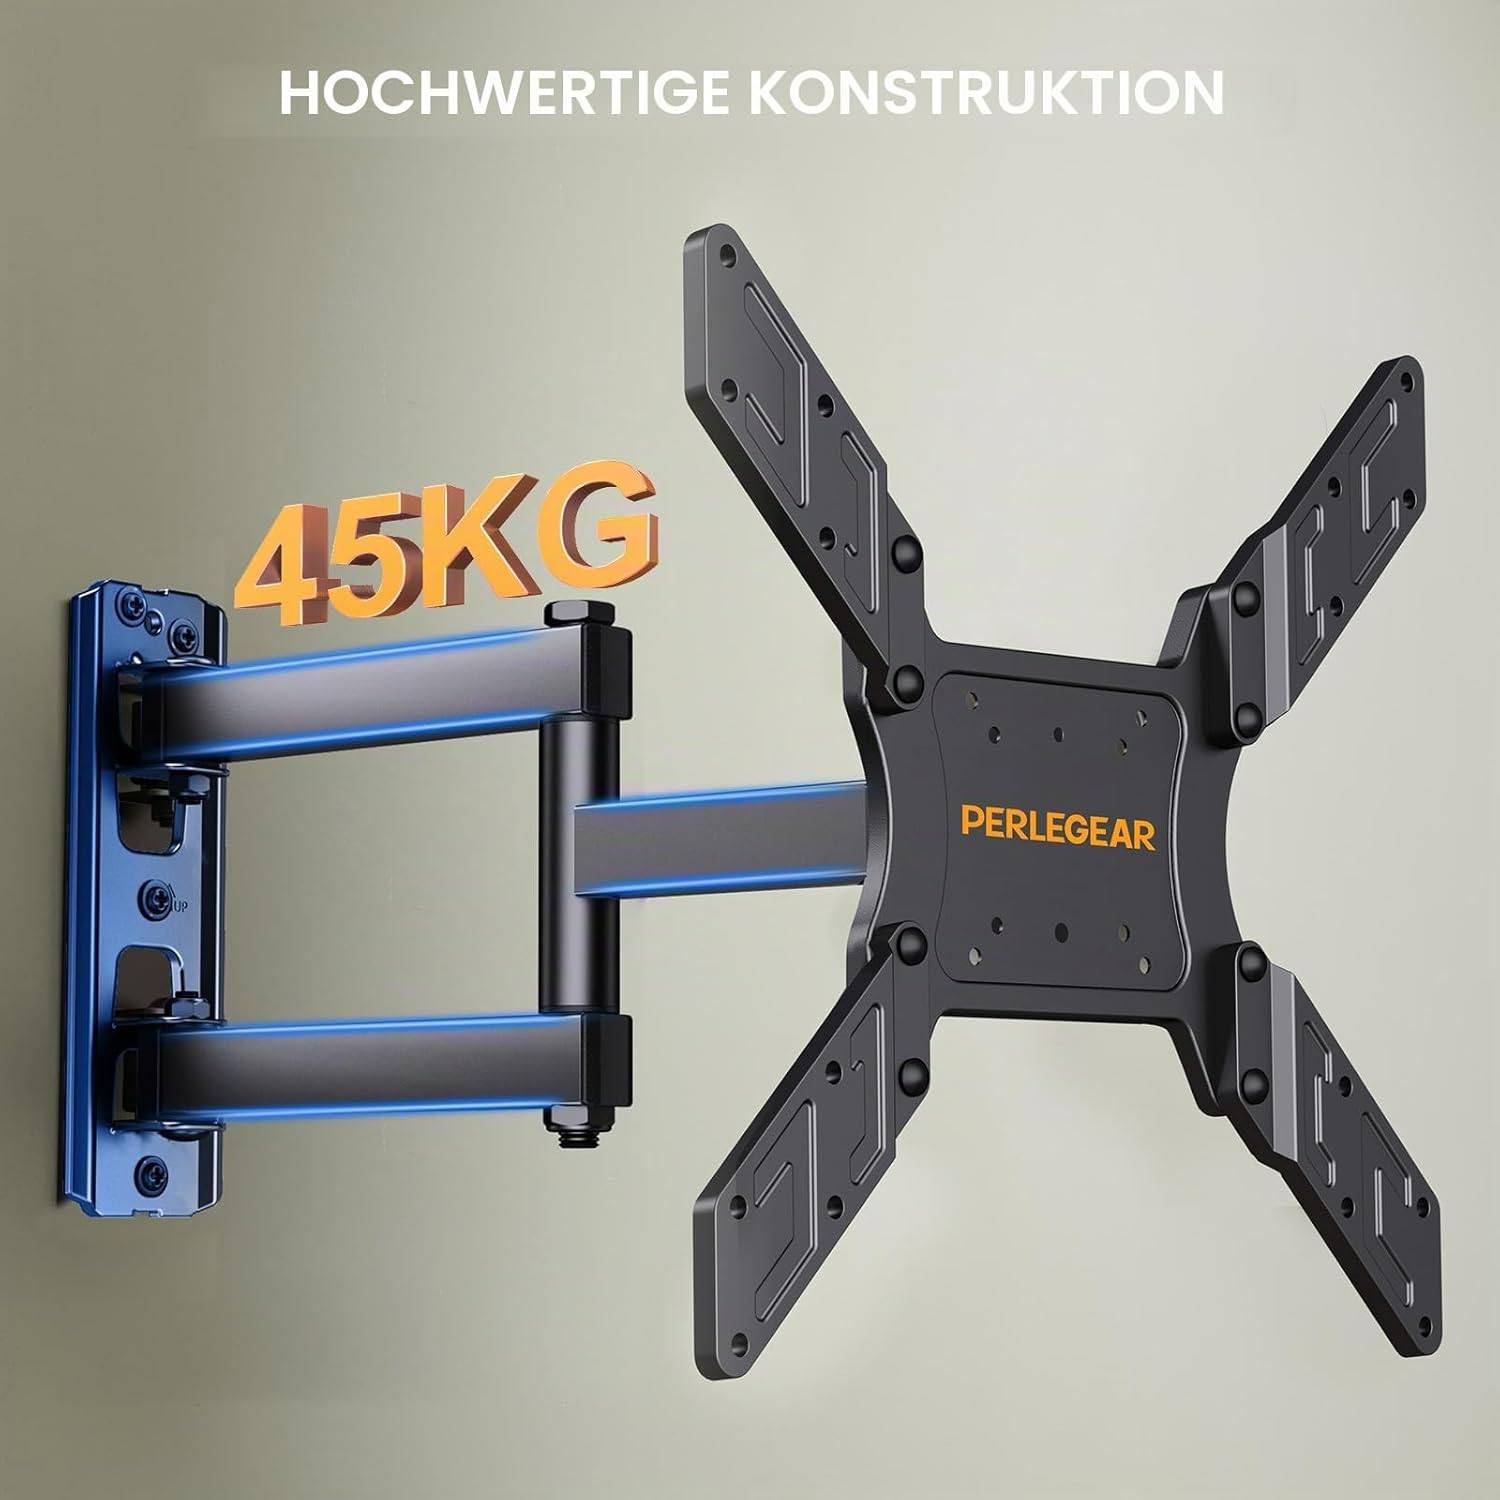
Image: The wall plate of the TV mount securely fastened to a wall, highlighting its strong construction and ability to support up to 45 kg (99 lbs) of weight.
5.3. Attaching TV Brackets to TV
Carefully place your TV face down on a soft, clean surface.
- Select the correct diameter and length of screws for your TV's VESA holes from the hardware kit. Use washers and spacers if necessary to ensure the screws do not bottom out or protrude too far.
- Attach the two TV bracket arms to the back of your TV using the selected screws. Ensure the hooks on the brackets are facing upwards and the brackets are centered.
5.4. Mounting TV to Wall Plate
With assistance, carefully lift the TV and hook the TV bracket arms onto the wall plate. Ensure the brackets are fully seated on the wall plate.
- Secure the TV to the wall plate using the safety screws or locking mechanisms provided on the bracket arms. This prevents accidental dislodgement.
6. Operating and Adjustments
This full motion mount allows for various adjustments to achieve optimal viewing angles.
6.1. Swivel Adjustment
The TV can be swiveled left or right up to 90 degrees in each direction, depending on TV size and wall distance, to provide a wide range of viewing angles.

Image: The TV mount extended and swiveled, demonstrating its ability to rotate the television up to 180 degrees horizontally for flexible viewing positions.
6.2. Tilt Adjustment
The TV can be tilted upwards by 5 degrees and downwards by 15 degrees to reduce glare and optimize viewing from different heights.

Image: A television mounted on the wall, illustrating its tilt capability with a range of +5 degrees upwards and -15 degrees downwards for comfortable viewing.
6.3. Extension and Retraction
The mount allows the TV to extend up to 475mm (18.7 inches) from the wall and retract to a minimum distance of 70mm (2.7 inches) to save space.

Image: An overhead view demonstrating the TV mount's flexibility, showing it can extend up to 475mm from the wall and retract to a minimum of 70mm.
6.4. Leveling Adjustment
After installation, the TV can be rotated ±3 degrees for perfect leveling, ensuring a straight viewing experience.

Image: A television mounted on the wall, illustrating the post-installation leveling adjustment feature, allowing for a rotation of ±3 degrees to ensure perfect horizontal alignment.
7. Maintenance
Regular maintenance helps ensure the longevity and safe operation of your TV wall mount.
- Periodically check all screws and connections to ensure they are secure. Retighten if necessary, but do not overtighten.
- Clean the mount with a soft, dry cloth. Avoid abrasive cleaners or solvents.
- If the mount's movement becomes stiff, a small amount of silicone-based lubricant can be applied to the pivot points.
8. Troubleshooting
If you encounter issues during or after installation, refer to the following common solutions:
- TV is not level: Use the post-installation leveling adjustment feature (refer to section 6.4) to fine-tune the horizontal alignment.
- Mount feels loose: Recheck all wall plate and TV bracket screws. Ensure they are tightened securely according to the instructions. Verify the wall type and anchors used are appropriate.
- TV does not fit VESA pattern: Double-check your TV's VESA pattern against the mount's compatibility (refer to section 4). Ensure you are using the correct screws and spacers.
- Difficulty moving the mount: Ensure no cables are snagged. Check for any overtightened bolts on the articulating arms. Apply lubricant if necessary (refer to section 7).
If problems persist, contact Perlegear customer support for assistance.
9. Specifications
- Model Numbers: PGMFK6, PGMF24B
- TV Size Compatibility: 26-60 inches (PGMFK6), 32-65 inches (PGMF24B)
- Weight Capacity: 45 kg (99 lbs)
- VESA Compatibility: 75x75mm to 400x400mm
- Tilt Range: +5° / -15°
- Swivel Range: Up to 90° left/right (depending on TV size)
- Screen Level Adjustment: ±3°
- Profile from Wall: 70mm (retracted) to 475mm (extended)
- Material: High-grade steel
10. Warranty and Support
Perlegear provides a limited warranty for this product. Please refer to the warranty card included in your package or visit the official Perlegear website for detailed warranty terms and conditions.
For technical support, missing parts, or any questions regarding the installation or operation of your Perlegear TV wall mount, please contact Perlegear customer service through their official website or the contact information provided in your product packaging.


