1. Product Overview
The ieGeek S7 Solar Security Camera is a wireless outdoor surveillance solution designed for comprehensive property monitoring. It features 24/7 Always-On Video (AOV) recording, a 360° panoramic view with smart auto-tracking, and crisp 2K color night vision. Powered by an integrated 9000mAh battery and an efficient 5W solar panel, it offers continuous operation without frequent recharging. Advanced AI motion detection minimizes false alerts, while two-way audio and IP65 weather resistance ensure reliable performance in various outdoor conditions. The camera supports 2.4GHz Wi-Fi, flexible local (MicroSD up to 256GB) or cloud storage, and is compatible with Alexa for convenient control.
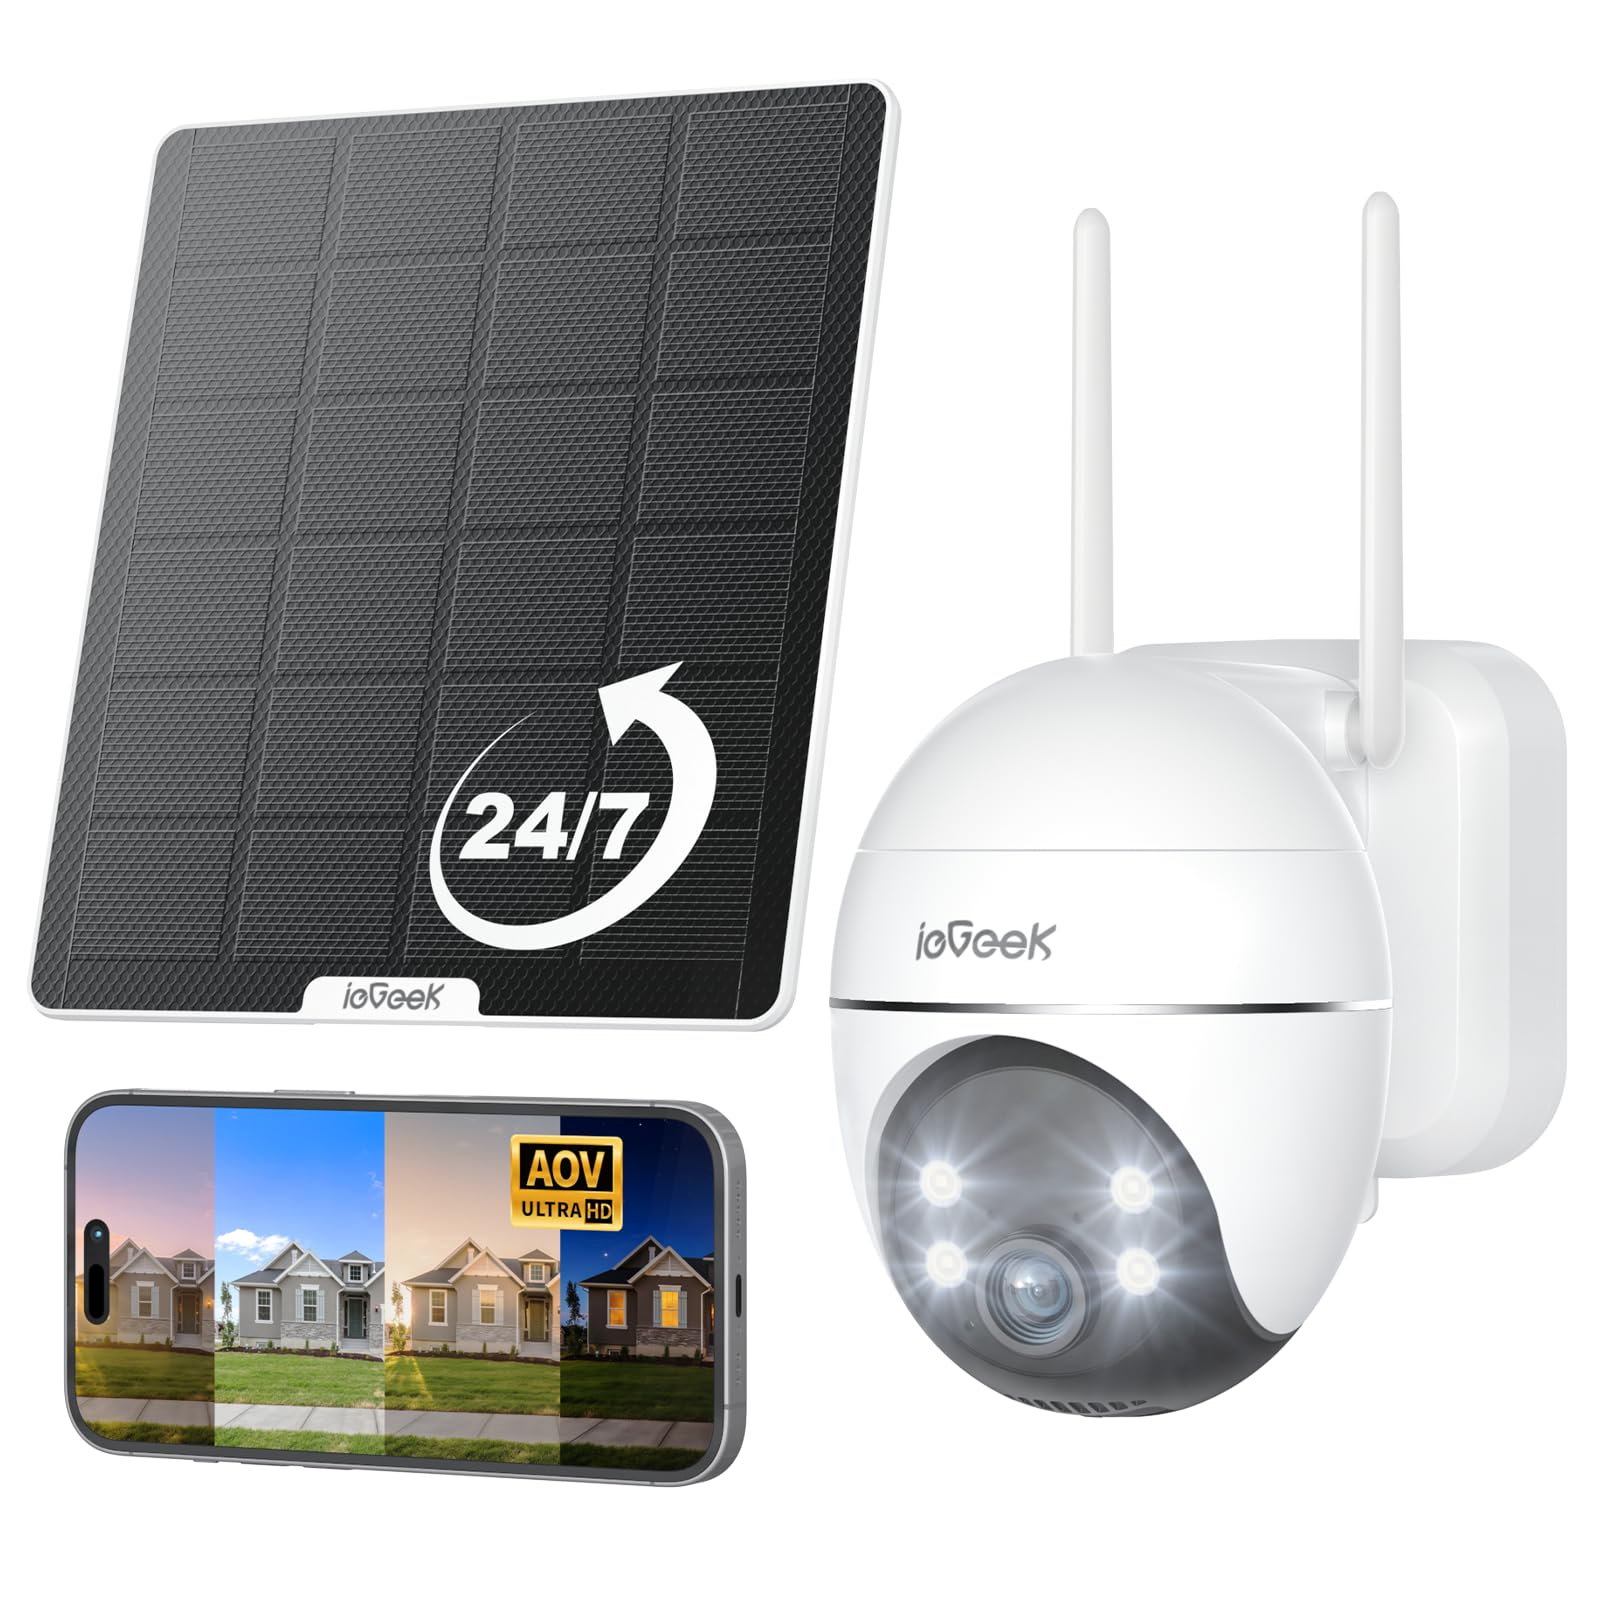
Figure 1: ieGeek S7 Solar Security Camera with its solar panel.
2. What's in the Box
Upon unboxing your ieGeek S7 Solar Security Camera, please ensure all the following components are present:
- AOV Security Camera
- Charging Cable
- Instruction Manual
- Mounting Screws
- Solar Panel

Figure 2: The ieGeek S7 camera and its accompanying solar panel.
3. Setup Guide
3.1 Initial Charging
Before initial use, fully charge the camera using the provided charging cable and a 5V1A or 5V2A power adapter (not included). A full charge typically takes 3-6 hours. This ensures the camera has sufficient power before relying on the solar panel.

Figure 3: The charging port and MicroSD card slot are located under a protective rubber cover on the camera.
3.2 App Installation and Pairing
- Download the 'ieGeek Cam' app from your smartphone's app store.
- Create an account and log in.
- Follow the in-app instructions to add a new device. You will be prompted to scan a QR code located on the camera body or in the user manual.
- Ensure your phone and camera are on the same 2.4GHz Wi-Fi network during pairing.
- The app will guide you through the remaining steps to connect the camera to your Wi-Fi network.
Video 1: Demonstrates remote monitoring via the ieGeek Cam app on a smartphone.
3.3 Physical Installation
Choose a mounting location that provides a strong Wi-Fi signal and optimal sunlight exposure for the solar panel. The recommended installation height is 7-10 feet off the ground.
- Secure the camera's mounting bracket to your desired surface using the provided screws.
- Attach the camera to the mounted bracket.
- Mount the solar panel in a location that receives maximum direct sunlight throughout the day.
- Connect the solar panel's cable to the camera's charging port.

Figure 4: The ieGeek S7 camera securely mounted on an outdoor wall.

Figure 5: The solar panel mounted to maximize sunlight exposure for continuous charging.
4. Operating Instructions
4.1 24/7 Always-On Video (AOV) Recording
The ieGeek S7 camera features intelligent 24/7 AOV recording. It records continuously in a low-frame mode and automatically switches to full-frame recording when motion is detected. This ensures no critical moments are missed while optimizing battery life.

Figure 6: Illustration of the 24/7 AOV recording timeline, showing low-frame recording and switching to normal speed upon motion detection.
Video 2: Overview of the S7 Solar Camera's 24/7 AOV Recording feature.
4.2 Pan-Tilt-Zoom (PTZ) and Auto-Tracking
Control the camera's view remotely with 355° pan and 120° tilt capabilities. The smart auto-tracking feature automatically detects and follows movement up to 100 feet (30 meters), ensuring continuous coverage of moving subjects. After tracking, the camera returns to its preset position.

Figure 7: The camera offers 360° vision with PTZ and auto-tracking to eliminate blind spots.
Video 3: Demonstration of the camera's auto-tracking feature, following movement without missing events.
4.3 AI Motion Detection
Utilize advanced PIR motion sensing combined with AI human detection to accurately distinguish people from other movements. Customize detection zones, sensitivity levels, and alert schedules within the app to receive timely notifications and minimize false alarms.

Figure 8: The camera's ultra-sensitive AI motion detection can trigger alarms or spotlights.

Figure 9: The camera offers an ultra-long AI detection range of up to 30 meters.
4.4 2K Color Night Vision
Experience clear 2K video quality day and night. The camera provides both infrared and full-color night vision. Bright spotlights automatically activate upon motion detection at night, enhancing visibility and deterring intruders.
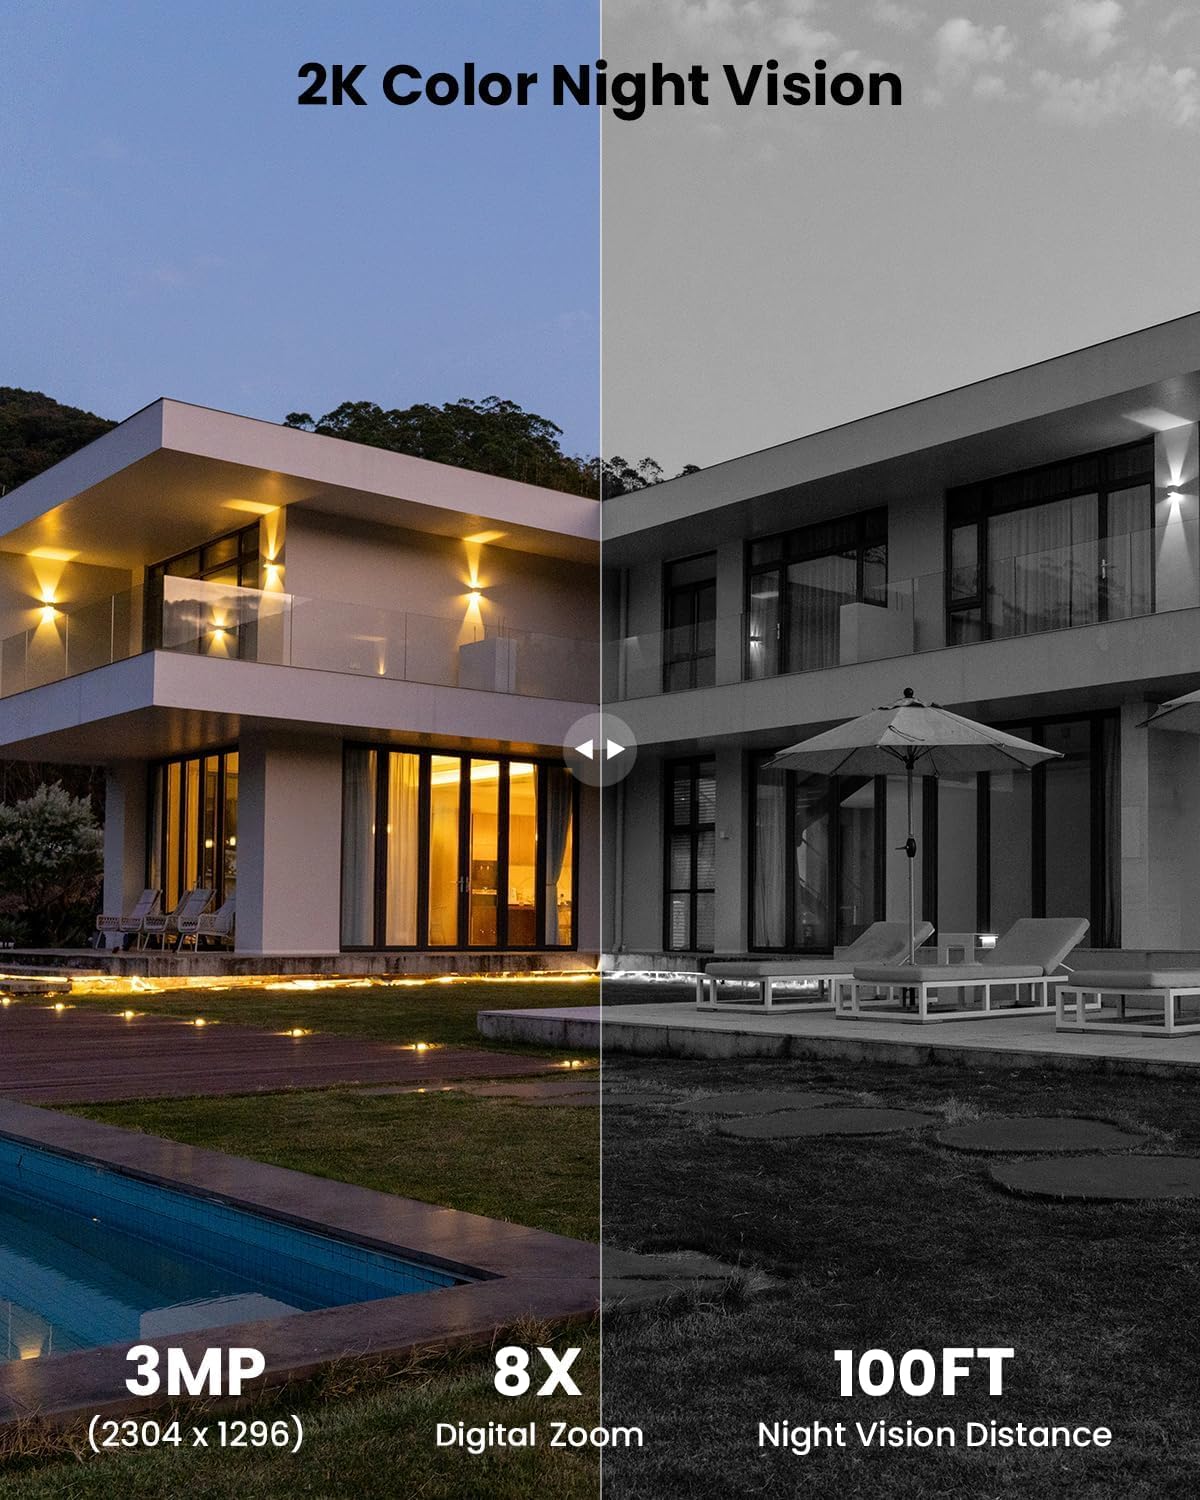
Figure 10: Comparison showing the clarity of 2K color night vision versus standard night vision.
4.5 Two-Way Audio
The built-in speaker and microphone enable real-time two-way communication through the app. This allows you to speak to visitors or deter unwanted guests directly from your smartphone.

Figure 11: Illustration of the two-way audio feature, allowing communication with individuals near the camera.
4.6 Flexible Storage Options
Video footage can be stored locally on a MicroSD card (up to 256GB, not included) or securely in the cloud. This provides flexible access to your recordings whenever needed, without mandatory subscription fees.

Figure 12: The camera supports both MicroSD card storage and cloud storage options.
4.7 Multi-User Sharing
Share access to your camera's live feed and recordings with family members or trusted individuals through the ieGeek Cam app. This allows multiple users to monitor the property simultaneously.

Figure 13: Illustration of the multi-user sharing feature within the ieGeek Cam app.
5. Maintenance
5.1 Weather Resistance
The ieGeek S7 camera boasts an IP65 weather-resistant rating, ensuring reliable operation in various outdoor conditions, including rain, snow, and extreme temperatures ranging from -10°C to 50°C.

Figure 14: The ieGeek S7 camera is designed to withstand various weather conditions.
5.2 Solar Panel Care
To maintain optimal charging efficiency, periodically clean the surface of the solar panel to remove any dust, dirt, or debris that may accumulate. Ensure the panel is positioned to receive maximum direct sunlight.
6. Troubleshooting
If you encounter any issues with your ieGeek S7 camera, please refer to the following general troubleshooting tips:
- No Power: Ensure the camera was fully charged before installation. Verify the solar panel is clean and receiving adequate sunlight.
- Wi-Fi Connection Issues: Check that your Wi-Fi network is 2.4GHz. Ensure the camera is within range of your Wi-Fi router and the signal strength is adequate. Try resetting the camera and re-pairing it with the app.
- Motion Detection Not Working: Verify that motion detection is enabled in the app. Adjust sensitivity settings and detection zones.
- Poor Video Quality: Check your Wi-Fi signal strength. Ensure the camera lens is clean.
For more detailed troubleshooting or persistent issues, please contact ieGeek customer support.
7. Specifications
| Model Name | S7 |
| Brand | ieGeek |
| Indoor/Outdoor Usage | Outdoor |
| Power Source | Battery Powered (9000mAh) |
| Connectivity Technology | Wireless (2.4GHz Wi-Fi) |
| Video Capture Resolution | 2K (3MP, 2304x1296) |
| Viewing Angle | 360 Degrees (355° Pan, 120° Tilt) |
| Night Vision Range | 100 Feet |
| Water Resistance Level | IP65 Waterproof |
| Special Features | 2-Way Audio, Auto-Tracking, HD Resolution, Night Vision, PTZ Technology, Solar Panel (5W), AI Motion Detection, Alexa Compatible |
| Storage Options | MicroSD (up to 256GB), Cloud Storage |
| Item Dimensions L x W x H | 5.9 x 3.86 x 5.51 inches |
| Item Weight | 2.56 pounds |
8. Warranty & Support
ieGeek is committed to providing excellent customer service and product support:
- 24-Hour Technical Support: Assistance is available around the clock for any technical queries.
- Repair Products at No Cost: Free repairs for products under warranty.
- Trade-in for Products Used Over 2 Years: Special programs may be available for long-term users.
- Extended Free Returns: Extend your free return period from one month to 12 months by registering your product.
To ensure 100% coverage and extend your warranty, please register your purchase within 10 days of receiving your camera.
Contact Information:
Email: service@iegeek.com
Website: ieGeek.com


