
1. Introduction
This manual provides essential information for the installation, operation, maintenance, and troubleshooting of your ENERMAX Revolution III 650 Fully Modular PC Power Supply. Please read this manual thoroughly before installation and retain it for future reference. This power supply is designed to meet the latest ATX 3.1 specifications, offering high efficiency and stable power delivery for modern computing systems.
2. Safety Information
Always observe the following safety precautions to prevent injury or damage to your equipment:
- Do not open the power supply unit. High voltages are present inside, even when disconnected from power.
- Ensure the power supply is disconnected from the AC outlet before installation or removal.
- Install the power supply in a well-ventilated area.
- Use only the modular cables provided with this power supply. Using incompatible cables may cause damage.
- This product is designed for use in desktop computers. Do not use it for other applications.
- Avoid exposing the power supply to moisture or extreme temperatures.
3. Package Contents
Verify that all items are present in your package:
- ENERMAX Revolution III 650 Power Supply Unit
- Modular Cable Set (including 12V-2x6 connector)
- AC Power Cord
- Mounting Screws
- Cable Combs (16 pcs for 650W model)
- User Manual (this document)
4. Setup and Installation
Follow these steps to install your ENERMAX Revolution III 650 power supply:
- Prepare Your System: Ensure your computer is powered off and unplugged from the wall outlet. Open your computer case to access the power supply mounting area.
- Mount the Power Supply: Carefully slide the ENERMAX Revolution III 650 into the designated power supply bay in your PC case. Secure it with the provided mounting screws. Ensure the fan faces the correct direction for optimal airflow (typically facing down if there's a bottom vent, or facing into the case if there's no bottom vent).

Front-side view of the ENERMAX Revolution III 650 power supply, showcasing its modular cable ports and branding.
- Connect Modular Cables: Identify the necessary cables for your components. This power supply is fully modular, allowing you to connect only the cables you need. Refer to the labels on the power supply and the cables.
- Motherboard Power: Connect the 24-pin ATX cable to your motherboard.
- CPU Power: Connect the 4+4-pin EPS/CPU cable(s) to your motherboard.
- Graphics Card (GPU) Power: Connect the appropriate PCIe cables. The Revolution III 650 includes a native 12V-2x6 connector for modern GPUs, ensuring stable power delivery for high-end graphics cards.
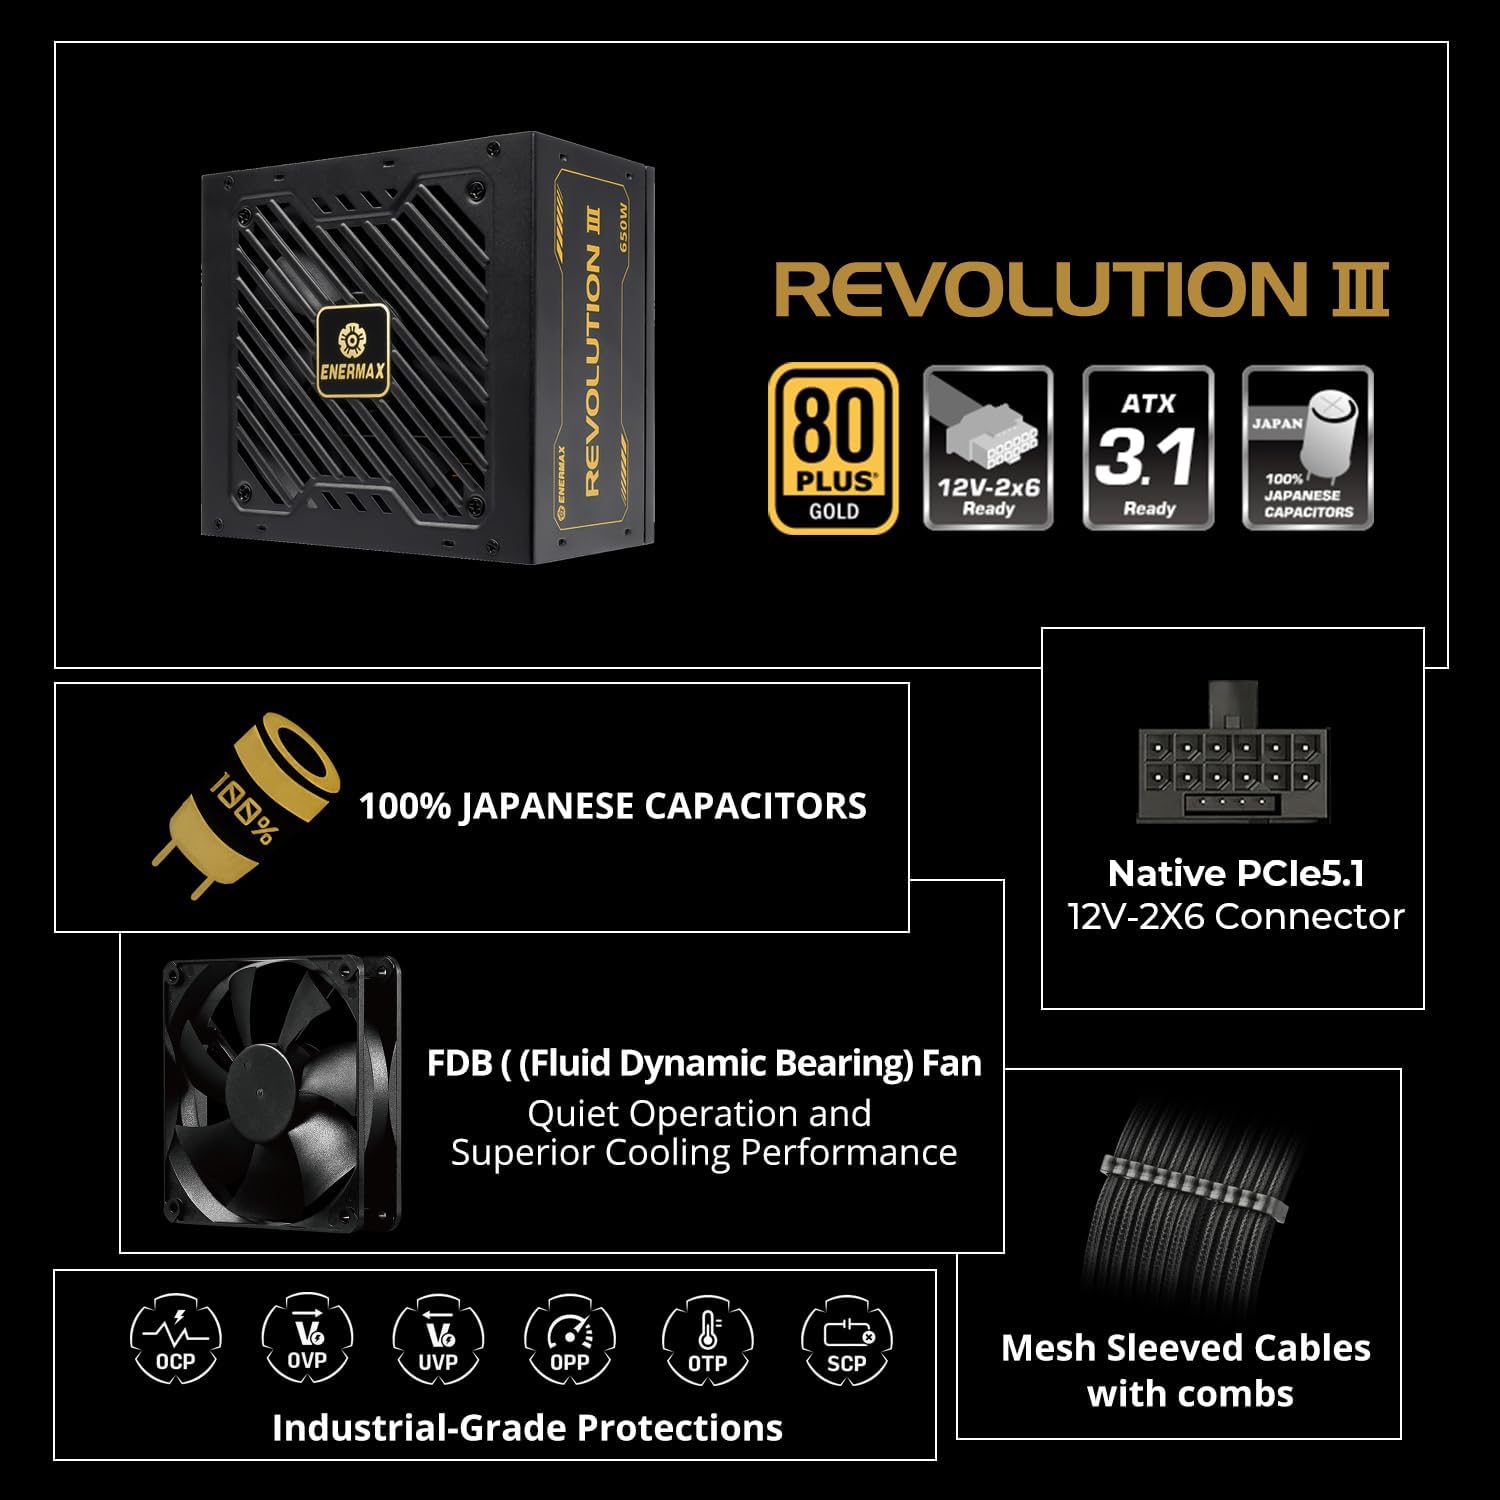
An infographic highlighting key features such as 80 PLUS Gold certification, ATX 3.1 readiness, 100% Japanese capacitors, native 12V-2x6 connector, FDB fan, industrial-grade protections, and mesh sleeved cables.

Close-up view of the modular cable connections on the ENERMAX Revolution III 650, showing the mesh-sleeved cables and included cable combs for organized builds.
- SATA/Molex Devices: Connect SATA power cables to your storage drives (HDDs, SSDs) and optical drives. Use Molex cables for other peripherals as needed.
- Cable Management: Use the included cable combs to organize your cables for better airflow and a cleaner build.
- Close Case and Connect AC Power: Once all internal connections are secure, close your computer case. Connect the AC power cord to the power supply and then to a wall outlet.
5. Operating Instructions
The ENERMAX Revolution III 650 is designed for reliable and efficient operation.
- Power On/Off: After installation, turn on your computer using the system's power button. The power supply will automatically manage power delivery.
- 80 PLUS Gold Efficiency: This power supply is 80 PLUS Gold certified, achieving up to 93% efficiency at 50% load. This reduces energy waste and heat generation, contributing to a cooler and more stable system.

A graph illustrating the efficiency curve of 80 PLUS Gold certified power supplies compared to other ratings (Titanium, Platinum, Silver, Bronze) across different load percentages.
- Silent Operation: The integrated 120mm Fluid Dynamic Bearing (FDB) fan provides ultra-quiet operation, even under significant system load.
- ATX 3.1 Compliance: The power supply adheres to the latest Intel ATX 3.1 specifications, ensuring compatibility and optimal performance with current and future high-performance components, including a 450W native 12V-2x6 connector.
- Superior Performance for High-End GPUs: The unit accommodates up to 200% power excursion, allowing it to handle the transient power spikes of demanding graphics cards without system instability.
- Durable Components: Built with 100% industrial-grade Japanese capacitors, ensuring long-term stability and reliability.

An internal view of a power supply circuit board, highlighting the 100% Japanese industrial-grade capacitors for stable performance.
6. Maintenance
Proper maintenance ensures the longevity and optimal performance of your power supply.
- Dust Removal: Periodically clean dust from the power supply's fan and vents using compressed air. Ensure the system is powered off and unplugged before cleaning.
- Airflow: Ensure that the power supply's intake and exhaust vents are not obstructed. Maintain good airflow within your PC case to prevent heat buildup.
- Cable Integrity: Regularly check that all modular cables are securely connected and free from damage.
7. Troubleshooting
If you encounter issues with your power supply, refer to the following common problems and solutions:
- System Does Not Power On:
- Check if the AC power cord is securely connected to both the power supply and the wall outlet.
- Ensure the power switch on the back of the power supply is in the 'ON' position.
- Verify that the 24-pin ATX and CPU power cables are correctly seated in the motherboard.
- Test the power supply with a known working system or use a PSU tester if available.
- System Instability or Random Shutdowns:
- Ensure all modular cables are fully inserted into both the power supply and the components.
- Check for proper ventilation and ensure the power supply fan is spinning. Overheating can cause shutdowns.
- The ENERMAX Revolution III 650 includes multiple protection circuitries to safeguard your system:

Icons representing the multiple protection circuitries: OCP (Over Current Protection), OVP (Over Voltage Protection), UVP (Under Voltage Protection), OPP (Over Power Protection), OTP (Over Temperature Protection), and SCP (Short Circuit Protection).
- If these protections are triggered, the power supply may shut down to prevent damage. Address any potential overcurrent, overvoltage, undervoltage, overpower, or overheating issues.
- Unusual Noises:
- A rattling or grinding noise may indicate a fan issue. Ensure no cables are obstructing the fan blades.
- If the noise persists, contact customer support.
If troubleshooting steps do not resolve the issue, please contact ENERMAX customer support.
8. Specifications
| Feature | Specification |
|---|---|
| Brand | Enermax |
| Model Name | REVOLUTION III 650 |
| Item Model Number | EP-RV3-650G-FR |
| Output Wattage | 650 Watts |
| Efficiency Certification | 80 PLUS Gold (up to 93% at 50% load) |
| Form Factor | ATX |
| Power Supply Design | Full Modular |
| ATX Standard | ATX 3.1 Compliant |
| PCIe Connector | Native 12V-2x6 (450W) |
| Capacitors | 100% Japanese Industrial-Grade |
| Cooling Method | Air (120mm FDB Fan) |
| Protection Circuitries | OCP, OVP, UVP, OPP, SCP, OTP |
| Item Dimensions (LxWxH) | 5.51 x 5.91 x 3.39 inches |
| Item Weight | 4.69 pounds |
| Compatible Devices | Desktop |
9. Warranty and Support
The ENERMAX Revolution III 650 Power Supply comes with a 10-year warranty, covering defects in materials and workmanship under normal use. This warranty ensures long-term reliability and peace of mind.
For technical support, warranty claims, or further assistance, please visit the official Enermax website or contact their customer service department. Please have your product model number (EP-RV3-650G-FR) and proof of purchase ready when contacting support.


