
Tribesigns Shoe Cabinet
Tribesigns 5-Tier Shoe Cabinet with Louvered Doors and Drawer Instruction Manual
Model: Shoe Cabinet
1. Introduction
This manual provides detailed instructions for the assembly, operation, and maintenance of your Tribesigns 5-Tier Shoe Cabinet. This freestanding wooden shoe cabinet features louvered doors for ventilation, a convenient top drawer, and adjustable shelves to accommodate various shoe sizes and types. Please read all instructions carefully before beginning assembly and retain this manual for future reference.

Image 1: Tribesigns 5-Tier Shoe Cabinet (Brown)
2. Important Safety Information
- Anti-Tipping Device: Ensure that the anti-tip devices are properly installed and used as intended to prevent the cabinet from tipping over. This is crucial for safety, especially in households with children or pets.
- Weight Distribution: Distribute items evenly across shelves and in the drawer to maintain stability. Avoid placing heavy items exclusively on upper shelves.
- Assembly: Follow all assembly instructions carefully. Do not skip steps or use incorrect hardware. If you encounter any difficulties, contact customer support.
- Placement: Place the cabinet on a flat, level surface. Avoid placing it in areas with high humidity or direct sunlight, which can affect the wood material.

Image 2: Detail of the anti-tipping device for enhanced safety.
3. Package Contents
Before beginning assembly, verify that all parts and hardware are present and undamaged. Refer to the included assembly instruction booklet for a detailed list of components. If any parts are missing or damaged, please contact customer support.
Typical components include:
- Cabinet panels (top, bottom, sides, back)
- Adjustable shelves
- Louvered doors
- Drawer components (front, back, sides, bottom)
- Hardware kit (screws, dowels, cam locks, hinges, drawer slides, handles, adjustable foot pads, anti-tip device)
- Assembly Instruction Manual
4. Assembly Instructions
Assembly is required for this product. Please follow the steps below and refer to the provided assembly video for visual guidance. It is recommended to have a second person assist with assembly for easier handling and stability.
4.1. Assembly Overview Video
Video 1: A 29-second overview of the Tribesigns 5-Tier Shoe Cabinet with Drawer, highlighting its features and design.
4.2. Detailed Assembly Steps
For a comprehensive step-by-step guide, please watch the full assembly video below. Ensure you have all tools ready, such as a screwdriver and possibly a power drill (use with caution).
Video 2: Detailed 5-minute assembly instructions for the Tribesigns 5-Tier Shoe Cabinet.
- Prepare Components: Unpack all parts and lay them out on a clean, soft surface to prevent scratches. Identify each part using the labels in the instruction manual.
- Assemble the Main Frame: Attach the side panels to the bottom panel using the designated hardware (e.g., dowels and cam locks). Ensure all connections are secure.
- Install Drawer Slides: Secure the drawer slides to the inner sides of the cabinet frame as indicated in the manual.
- Assemble the Drawer: Construct the drawer box using the drawer panels and hardware. Attach the drawer slides to the assembled drawer.
- Insert Back Panel: Slide the back panel into the grooves of the cabinet frame and secure it with the provided fasteners.
- Attach Top Panel: Secure the top panel to the assembled frame.
- Install Adjustable Shelves: Insert the shelf pins into the desired holes on the inner side panels. Place the adjustable shelves onto the pins. The shelves can be repositioned to accommodate different shoe heights.
- Attach Doors: Install the hinges onto the louvered doors and then attach the doors to the cabinet frame. Adjust hinges as needed for proper alignment.
- Install Handles: Attach the handles to the drawer front and cabinet doors.
- Attach Adjustable Foot Pads: Screw the adjustable foot pads into the bottom of the cabinet legs. Adjust them to level the cabinet on uneven floors.
- Install Anti-Tipping Device: Securely attach the anti-tipping device to the back of the cabinet and to a wall stud, following the specific instructions provided. This step is critical for safety.

Image 3: Adjustable shelves provide flexible storage for different shoe sizes.
5. Operating Instructions
5.1. Using the Louvered Doors
The cabinet features two louvered doors. Gently pull the handles to open the doors. The louvered design promotes air circulation, helping to keep shoes fresh and prevent odor buildup. Close the doors by pushing them until they are fully shut.

Image 4: The louvered doors provide ventilation for stored items.
5.2. Utilizing the Top Drawer
The spacious top drawer is designed for storing small daily essentials such as keys, wallets, headphones, or sunglasses. Pull the handle to open the drawer and push it back to close. Avoid overloading the drawer to ensure smooth operation.
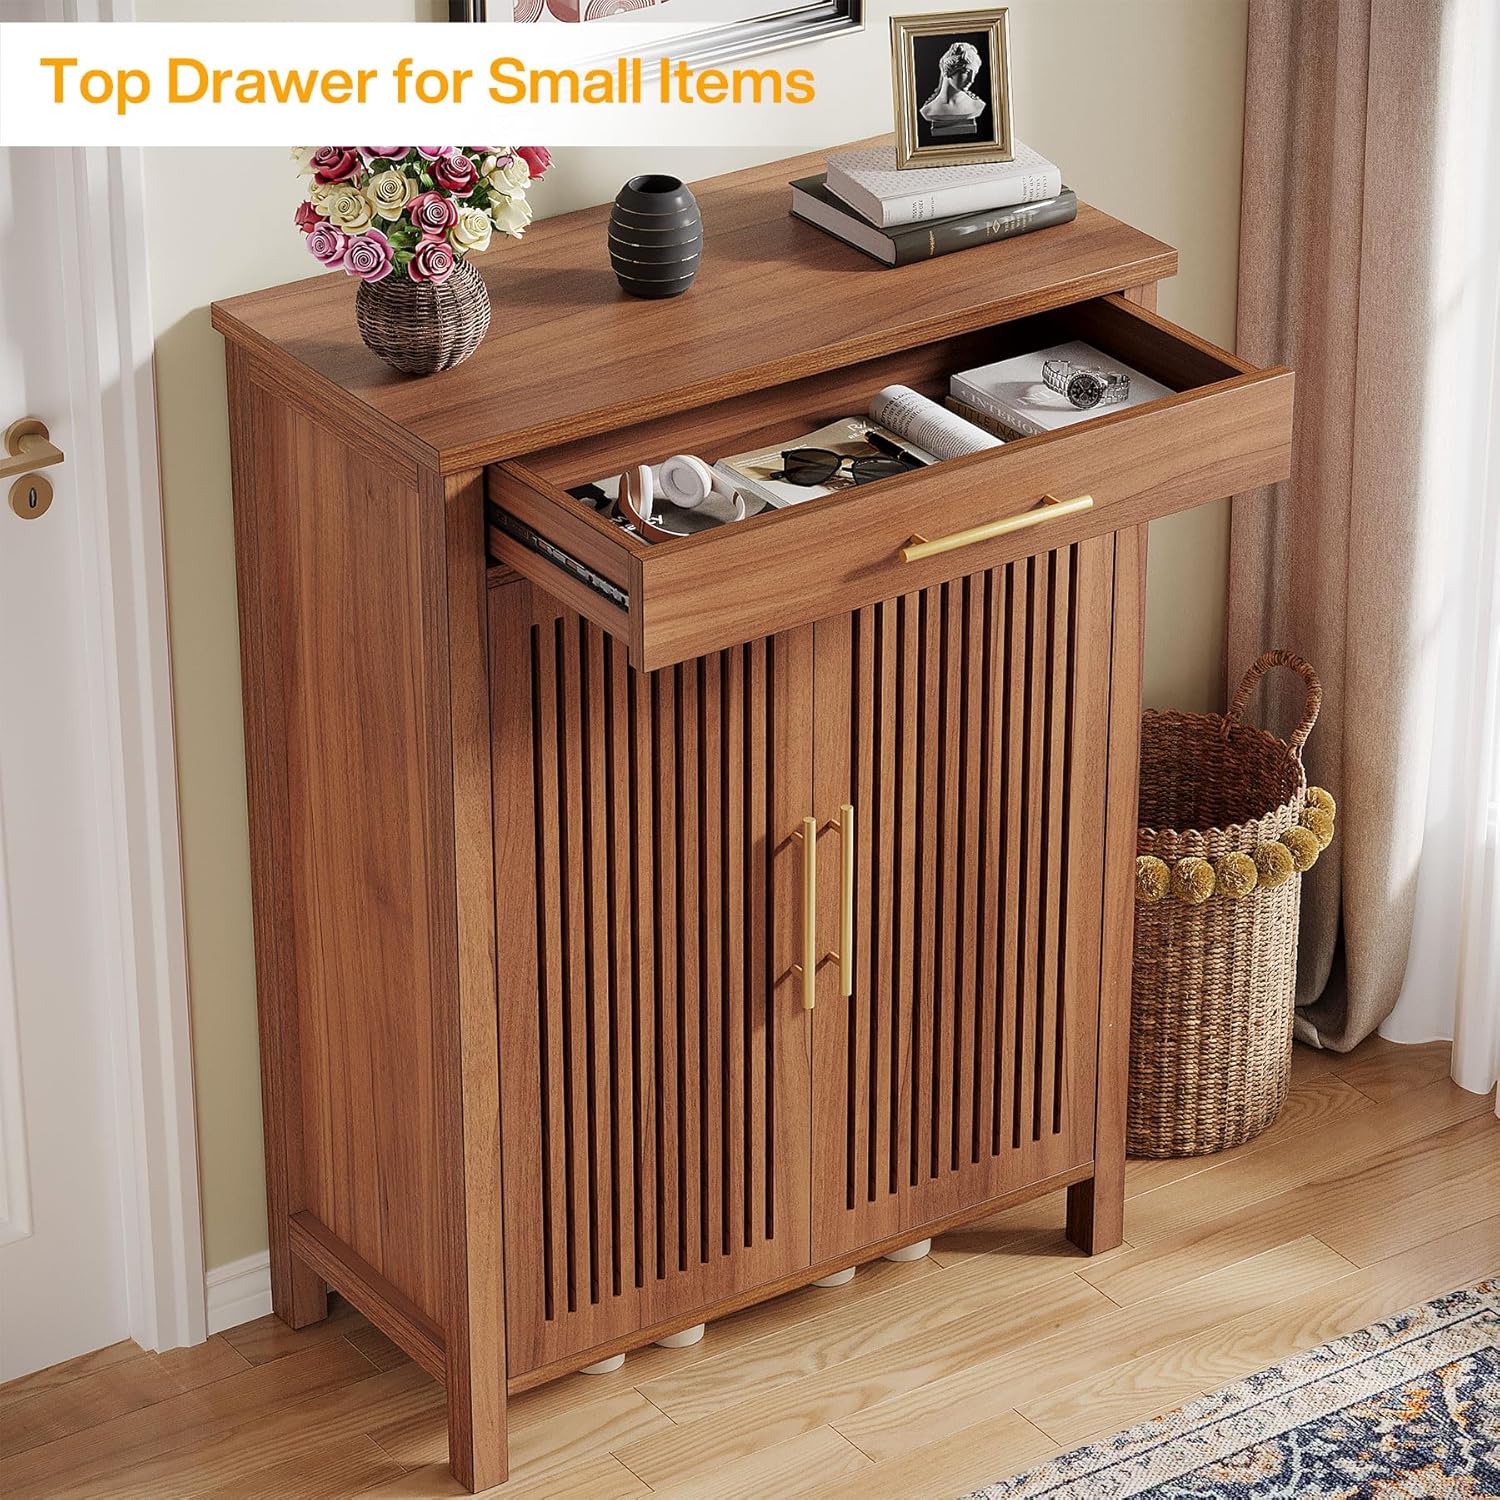
Image 5: The top drawer offers convenient storage for small accessories.
5.3. Adjusting Shelves
The cabinet includes five versatile levels with adjustable and removable dividers. To adjust a shelf, carefully lift it off its pins, remove the pins from their current holes, and reinsert them into the desired new height. Then, place the shelf back onto the pins. This flexibility allows you to customize storage for various shoe types, from flats and sneakers to boots.

Image 6: The cabinet can hold up to 20 pairs of shoes, with adjustable shelves for varied footwear.
6. Maintenance
- Cleaning: Wipe the cabinet surfaces with a soft, damp cloth. Avoid using harsh chemicals or abrasive cleaners, which can damage the finish.
- Dusting: Regularly dust the cabinet to prevent buildup.
- Spills: Clean up spills immediately to prevent staining or damage to the engineered wood.
- Hardware Check: Periodically check all screws and fasteners to ensure they are tight. Re-tighten if necessary to maintain stability.
- Anti-Tipping Device: Regularly inspect the anti-tipping device to ensure it remains securely attached to both the cabinet and the wall.
7. Troubleshooting
| Problem | Possible Cause | Solution |
|---|---|---|
| Cabinet is wobbly/unstable. | Uneven floor; loose fasteners; anti-tip device not installed. | Adjust the foot pads to level the cabinet. Tighten all assembly screws. Ensure the anti-tip device is correctly installed and secured to a wall stud. |
| Drawer does not slide smoothly. | Drawer slides misaligned; debris in slides; drawer overloaded. | Check that drawer slides are installed correctly and aligned. Clean any debris from the slides. Reduce the weight in the drawer. |
| Doors do not close properly or are misaligned. | Hinges are loose or improperly adjusted. | Adjust the door hinges according to the assembly instructions. Tighten hinge screws. |
| Shoes do not fit on shelves. | Shelves are set too close together. | Adjust the height of the shelves by moving the shelf pins to different holes. Remove shelves if necessary for taller items like boots. |
8. Product Specifications
- Brand: Tribesigns
- Model Name: Shoe Cabinet
- Product Dimensions: 14.17"D x 31.49"W x 42.91"H
- Item Weight: 73 Pounds
- Material: Engineered Wood
- Color: Brown
- Number of Shelves: 5 (Adjustable)
- Door Style: Louvered
- Mounting Type: Floor Mount (Freestanding with anti-tip device)
- Special Features: Adjustable shelves, Drawer, Scratch Resistant, Adjustable Foot Pads, Anti-tipping Device

Image 7: Detailed product dimensions.
9. Warranty and Customer Support
For warranty information, missing parts, or any questions regarding your Tribesigns Shoe Cabinet, please contact Tribesigns customer support directly. Refer to your purchase documentation or the manufacturer's website for specific contact details and warranty terms.
Contact Information:
- Manufacturer: Tribesigns
- Website: Visit the Tribesigns Store on Amazon
- Customer Service: Please refer to your product packaging or the Tribesigns website for the most current customer service contact information.
Related documentsShoe Cabinet


Ask a question about this manual
Ask about setup, troubleshooting, compatibility, parts, safety, or missing instructions. Manuals+ will review the question and use this page’s manual context to help answer it.