1. Introduction
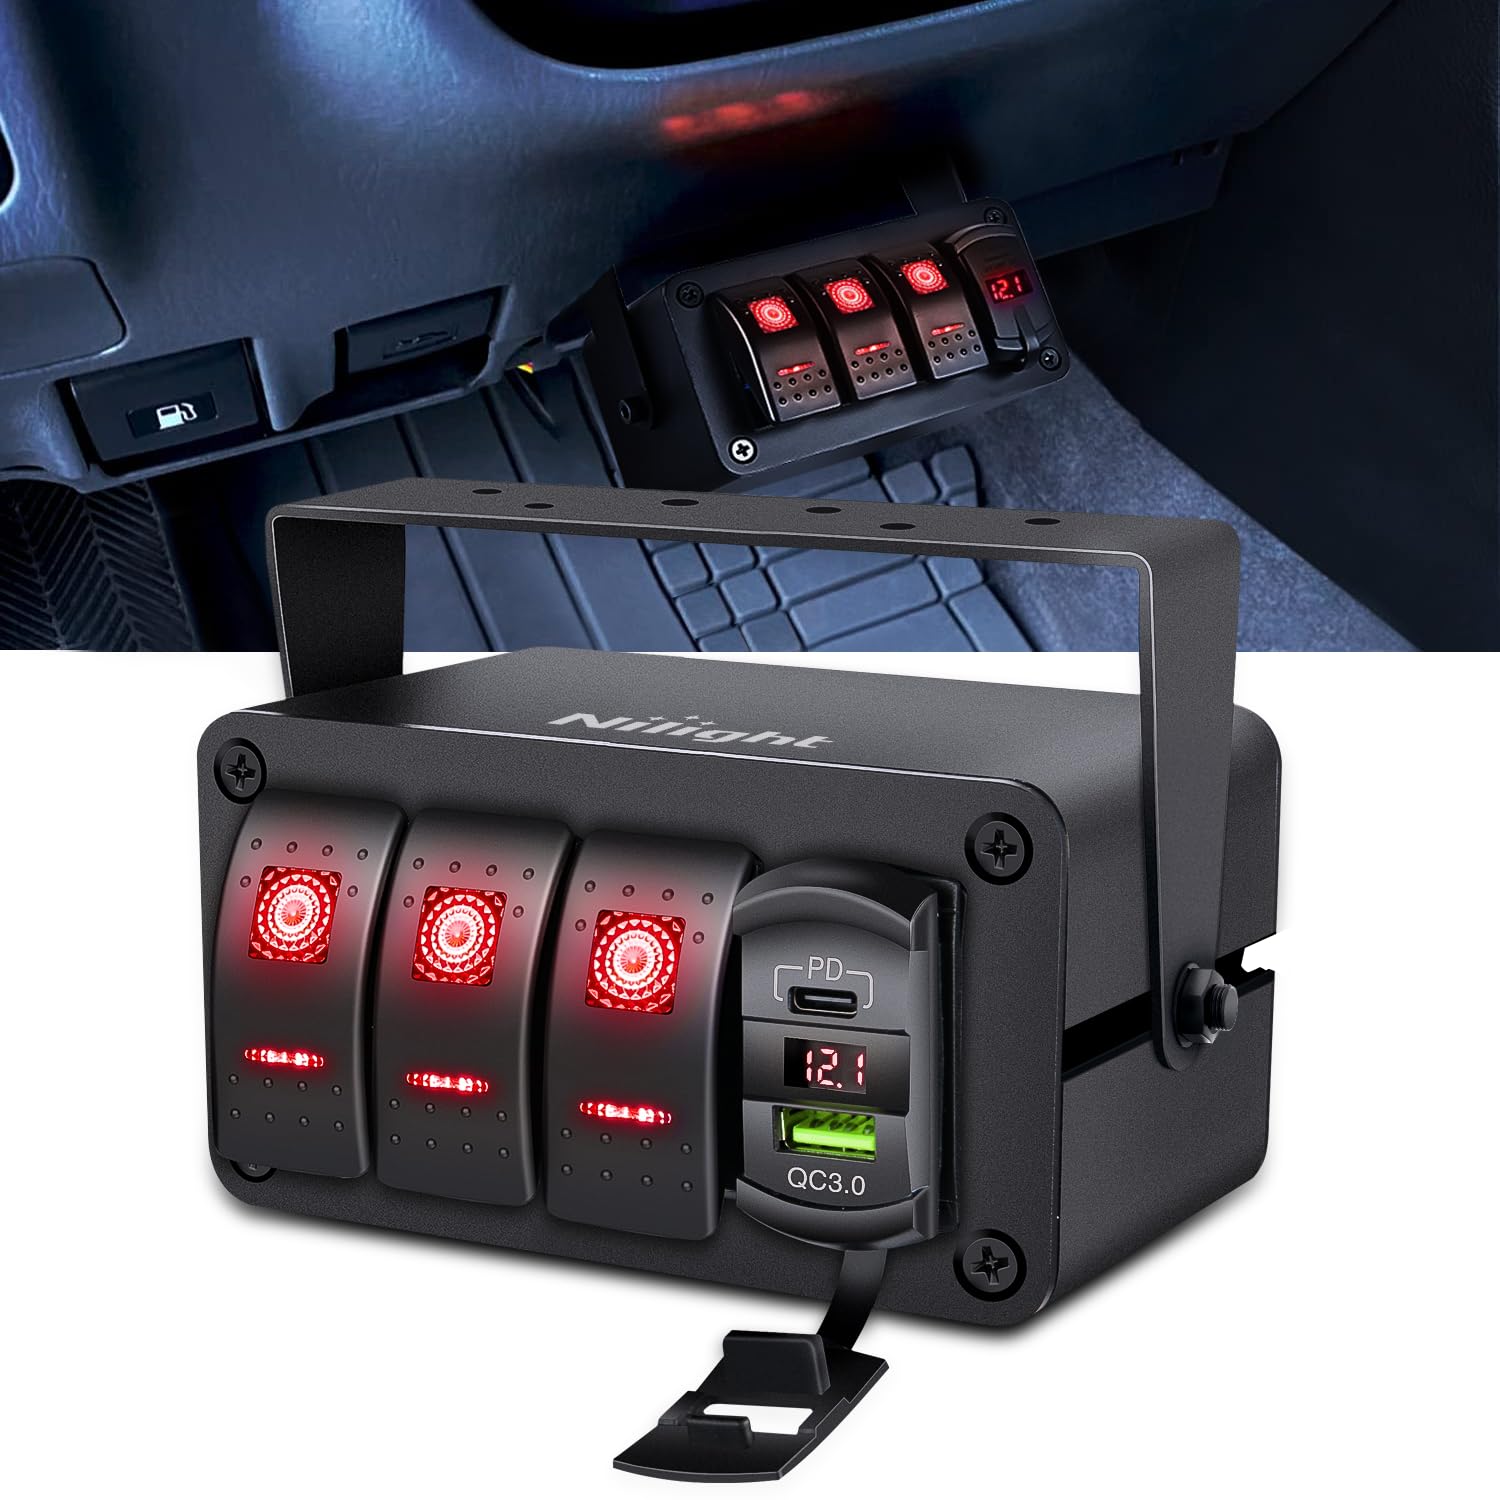
This manual provides comprehensive instructions for the Nilight 3 Gang Rocker Switch Box, Model 90443R. This multi-functional panel is designed for various 12V-24V DC vehicles and vessels, including cars, UTVs/ATVs, trucks, trailers, RVs, caravans, buses, marine boats, and yachts. It integrates three 20-amp rocker switches, a PD Type C and QC 3.0 dual USB charger, and an LED voltmeter for convenient power management and device charging.

2. Key Features
- Multi-Function Design: Features three 20-amp rocker switches (12VDC), a QC3.0 dual USB charger, and an LED voltmeter.
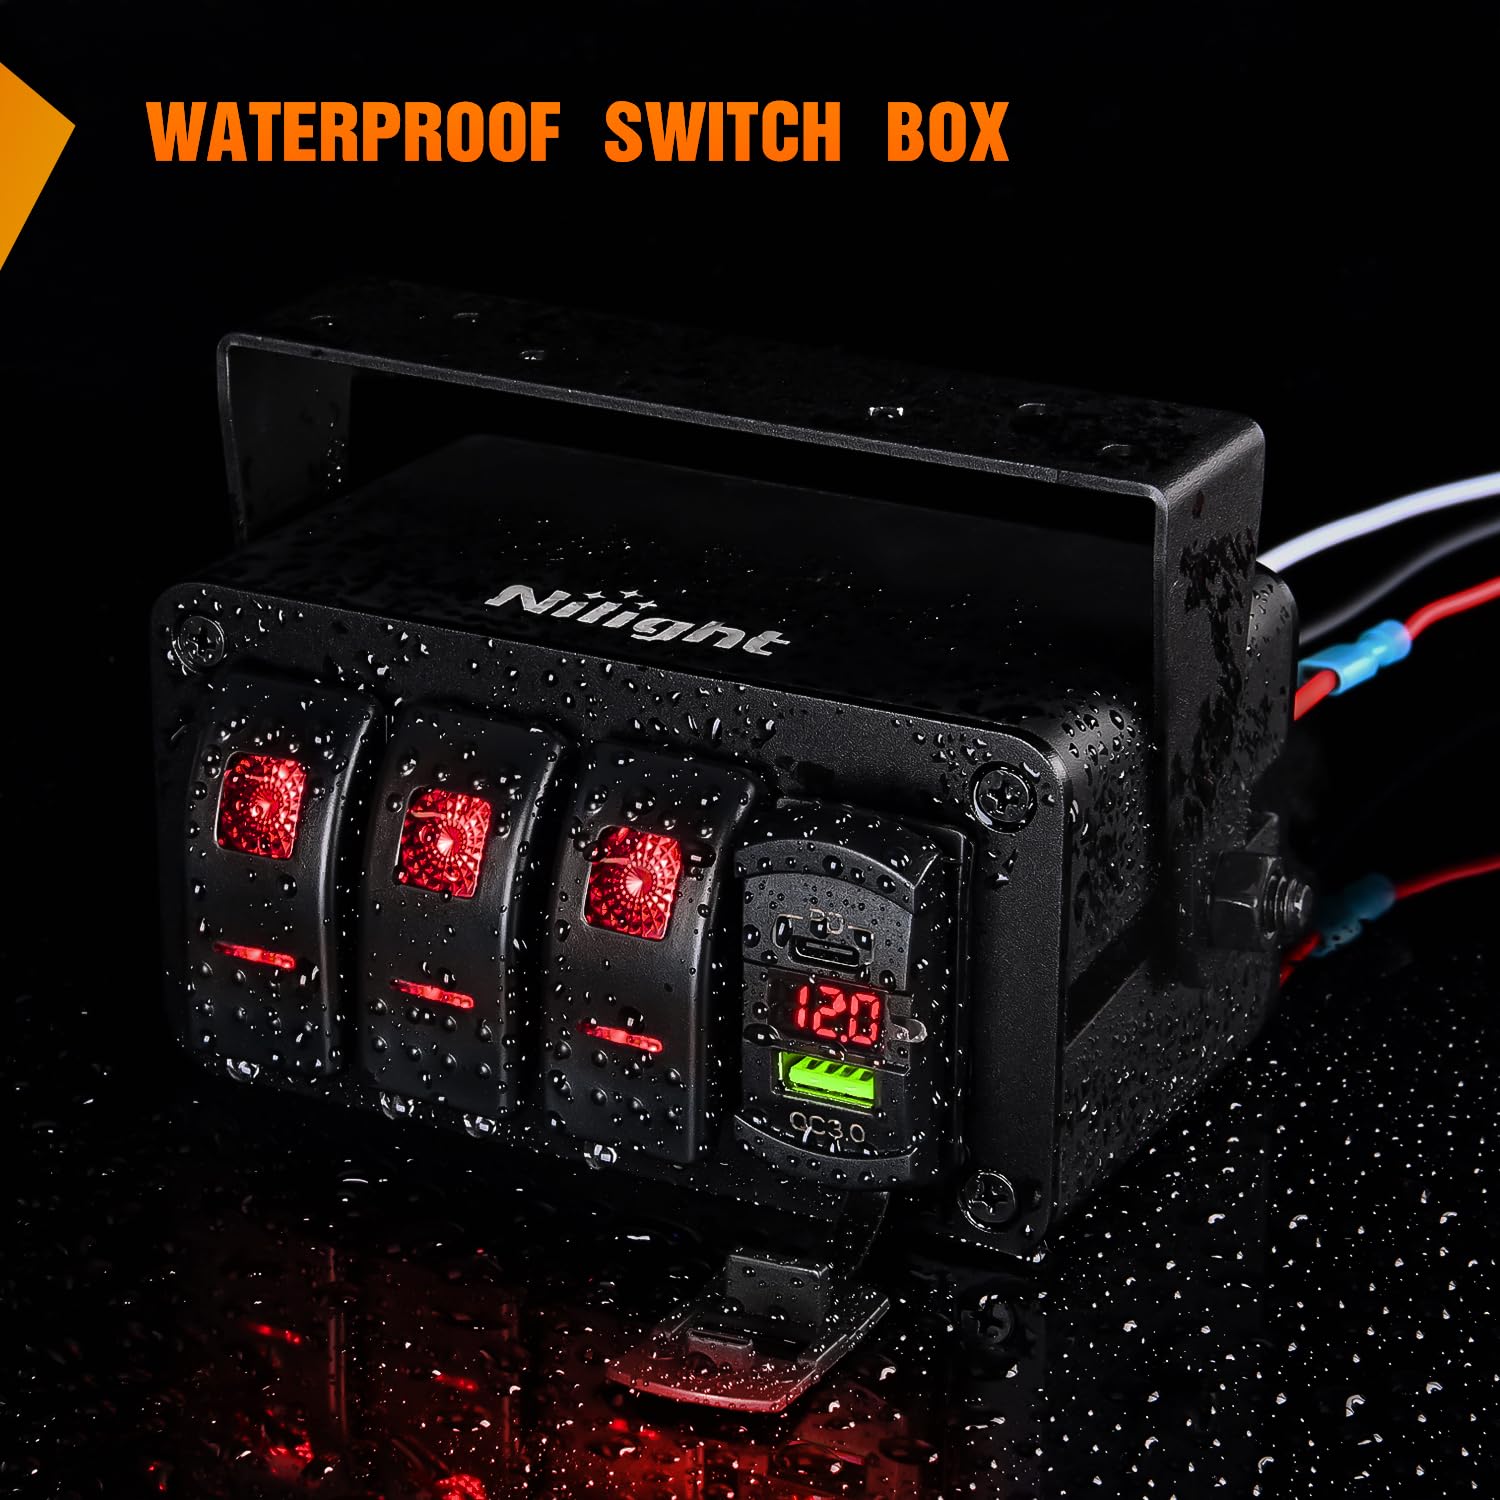
- Weatherproof Construction: The switch box is waterproof, weatherproof, and splash-proof, made from quality aluminum to protect components from short circuits and damage.
- PD Type C & QC 3.0 USB Charger: Enables simultaneous fast charging of two devices, up to 40% faster than conventional chargers.
- Integrated Voltmeter: Clearly displays current working voltage, allowing easy monitoring of vehicle battery conditions.
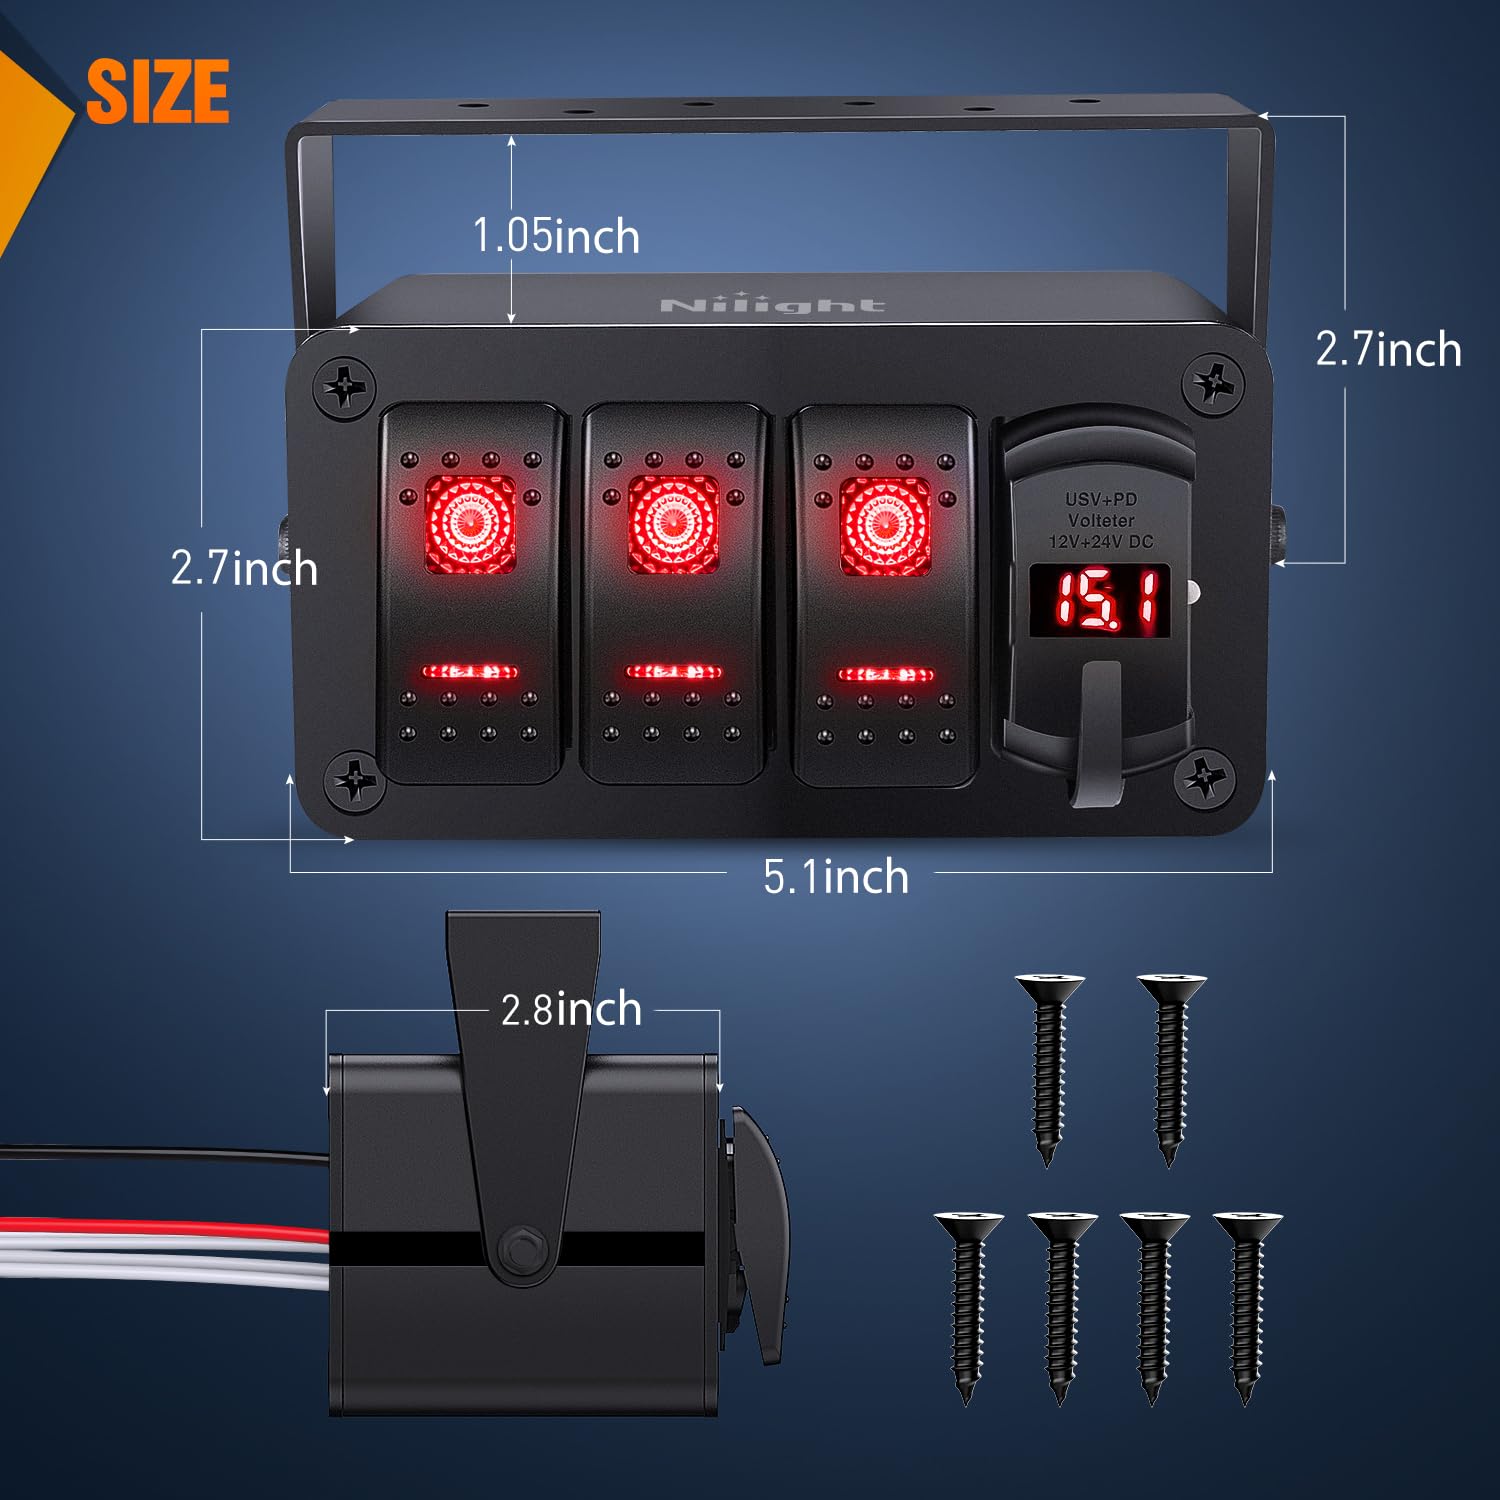
- Surface Mount Enclosure: Designed for flexible installation on dashboards, under dashboards, or middle consoles, with a 360-degree adjustable bracket.
- Wide Application: Controls up to 3 different devices such as LED light bars, rear lights, rock lights, and other accessories.
- DIY Stickers: Includes transparent and night glow stickers for customizing switch labels according to user preference.

Video 1: Overview of the Nilight 4 Gang Rocker Switch Box, demonstrating its features including USB charging and voltmeter. (Source: Nilight)
3. Setup and Installation
The Nilight 3 Gang Rocker Switch Box comes pre-wired for simplified installation. The aluminum box and adjustable bracket allow for versatile mounting options.
3.1 Mounting
The switch box features a surface mount enclosure and a bracket that can be adjusted 360 degrees. This flexibility allows installation on various surfaces such as the dashboard, under the dashboard, or in the middle console of your vehicle or vessel.

3.2 Wiring
The unit is pre-wired for ease of installation. Connect the main power and ground wires, then connect the individual output wires from each switch to your desired accessories or relays.
- Battery Positive (+): Connect the red wire to the positive terminal of your 12V-24V DC power source or an ACC (Accessory) power source.
- Battery Negative (-): Connect the black wire to the negative terminal of your power source.
- Accessory Wires: Connect the individual white wires from each switch to the positive input of your accessories (e.g., LED light bars, pumps).

Video 2: Detailed instructions on how to wire lights with a Nilight Rocker Switch Panel. (Source: Nilight)
Video 3: Guide on how to rewire the switch panel to use one of the switches as a master switch. (Source: Nilight)
3.3 Customization with DIY Stickers
The package includes transparent and night glow stickers with various patterns. These can be applied to the rocker switches to label their functions, enhancing usability, especially in low-light conditions.

4. Operating Instructions
4.1 Rocker Switches
Each of the three SPST ON/OFF rocker switches controls a connected device. Simply press the switch to the ON position to activate the device and to the OFF position to deactivate it. The switches are illuminated to indicate their status.
4.2 USB Charging Ports
The integrated PD Type C and QC 3.0 USB charger allows you to charge compatible devices. Connect your device's USB cable to the appropriate port. The charger supports dual outputs (5V/2.1A, 5V/1A) for simultaneous charging.
4.3 Voltmeter
The LED voltmeter displays the current voltage of your vehicle's electrical system. This allows you to monitor the battery condition. Refer to the table below for typical voltage ranges:
| Voltage Reading | Condition |
|---|---|
| Below 12V | Battery may need replacement or charging. |
| 12.0V - 12.8V | Normal voltage before engine start. |
| 13.4V - 14.8V | Normal voltage after engine starting. |
5. Maintenance
The Nilight 3 Gang Rocker Switch Box is designed with a weatherproof and splash-proof aluminum housing. While it offers protection against the elements, it is not suggested to submerge the unit in water.
- Regularly inspect all wiring connections to ensure they are secure and free from corrosion.
- Keep the surface of the switch box clean from dirt and debris. Use a soft, damp cloth for cleaning.
- Ensure the rubber caps for the USB ports are properly sealed when not in use to prevent moisture ingress.
6. Troubleshooting
- No Power to Switches/Charger:
- Check the main power connection to the battery. Ensure the red wire is securely connected to positive and the black wire to negative.
- Verify that the vehicle's battery has sufficient charge by checking the voltmeter reading. - Device Not Activating:
- Confirm the individual accessory's wiring is correctly connected to the switch's output wire.
- Ensure the accessory itself is functioning correctly. - USB Charger Not Working:
- Check if the device being charged is compatible with PD Type C or QC 3.0 standards.
- Ensure the USB cable is not damaged and is properly inserted. - Voltmeter Reading Incorrect:
- Verify all power connections to the switch box are stable.
- If the issue persists, consult a professional electrician.
7. Specifications
| Feature | Detail |
|---|---|
| Product Dimensions | 4 x 2 x 2 inches |
| Item Model Number | 90443R |
| Weight | 1.69 Pounds |
| Operation Mode | ON-OFF |
| Current Rating | 20 Amps |
| Operating Voltage | 12 Volts (12V-24V DC compatible) |
| Contact Type | Normally Closed |
| Connector Type | Plug In |
| Terminal | Screw |
| Circuit Type | 3-way |
| Contact Material | Brass |
8. Warranty Information
Nilight products are manufactured to high-quality standards. For specific warranty details, please refer to the warranty card included with your product or visit the official Nilight website. Keep your purchase receipt as proof of purchase for any warranty claims.
9. Customer Support
For technical assistance, troubleshooting, or product inquiries, please contact Nilight customer support. Contact information can typically be found on the product packaging or the official Nilight website.


