1. Introduction
The ThermoPro TP-60S Wireless Indoor/Outdoor Thermometer Hygrometer is designed to provide accurate temperature and humidity readings for both indoor and outdoor environments. This device features a wireless sensor with a range of up to 60 meters in open areas, allowing you to monitor conditions in various locations simultaneously. It displays current, maximum, and minimum temperature and humidity values, along with trend indicators, to help you maintain a comfortable and healthy environment.
The main unit can be placed on a tabletop or mounted on a wall, offering flexible placement options to suit your needs. With its high precision and easy-to-read LCD screen, the TP-60S is an essential tool for monitoring your home, garden, greenhouse, or any other space where temperature and humidity are critical.
2. Package Contents
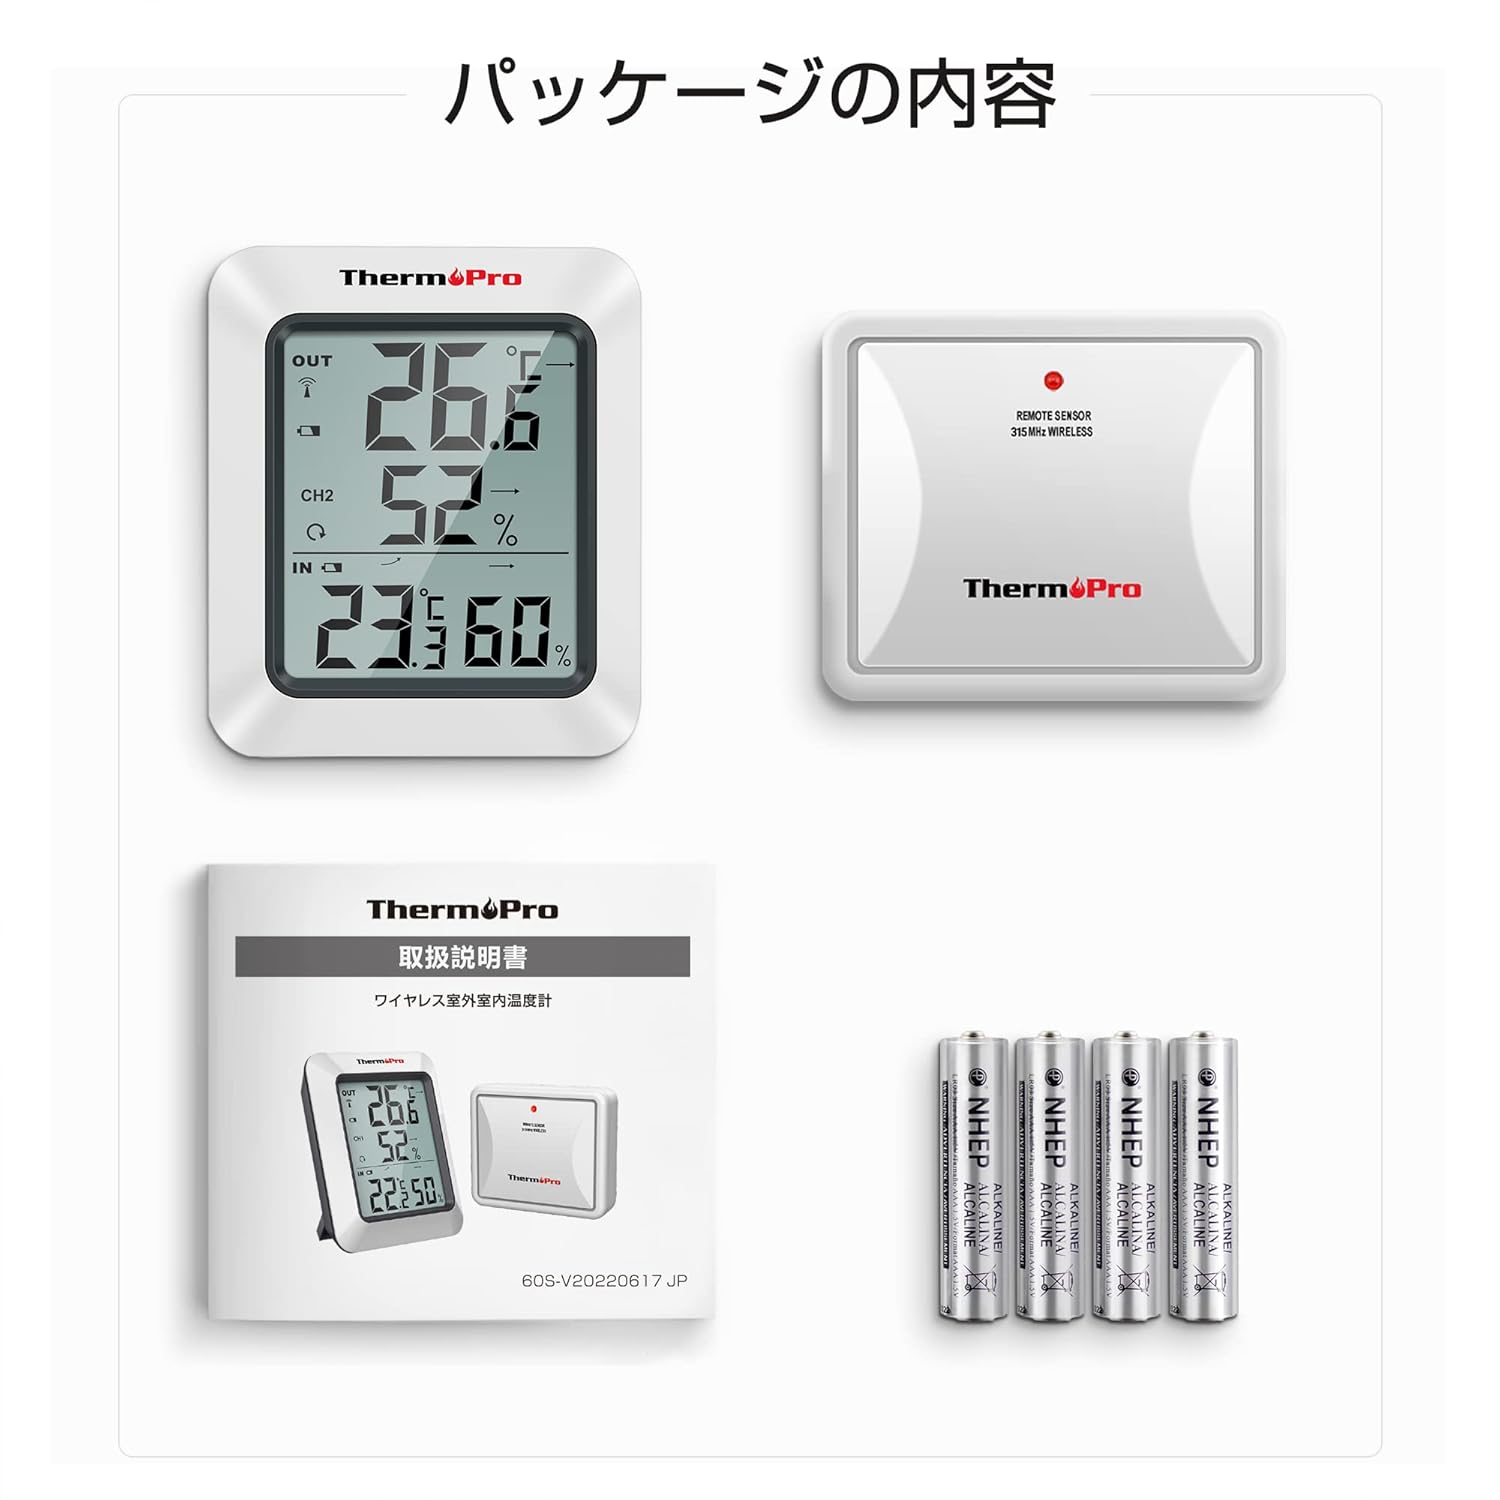
Please ensure all items are present in the package:
- 1 x Main Receiver Unit
- 1 x Remote Outdoor Sensor
- 4 x AAA Batteries (for both units)
- 1 x Instruction Manual
3. Product Features
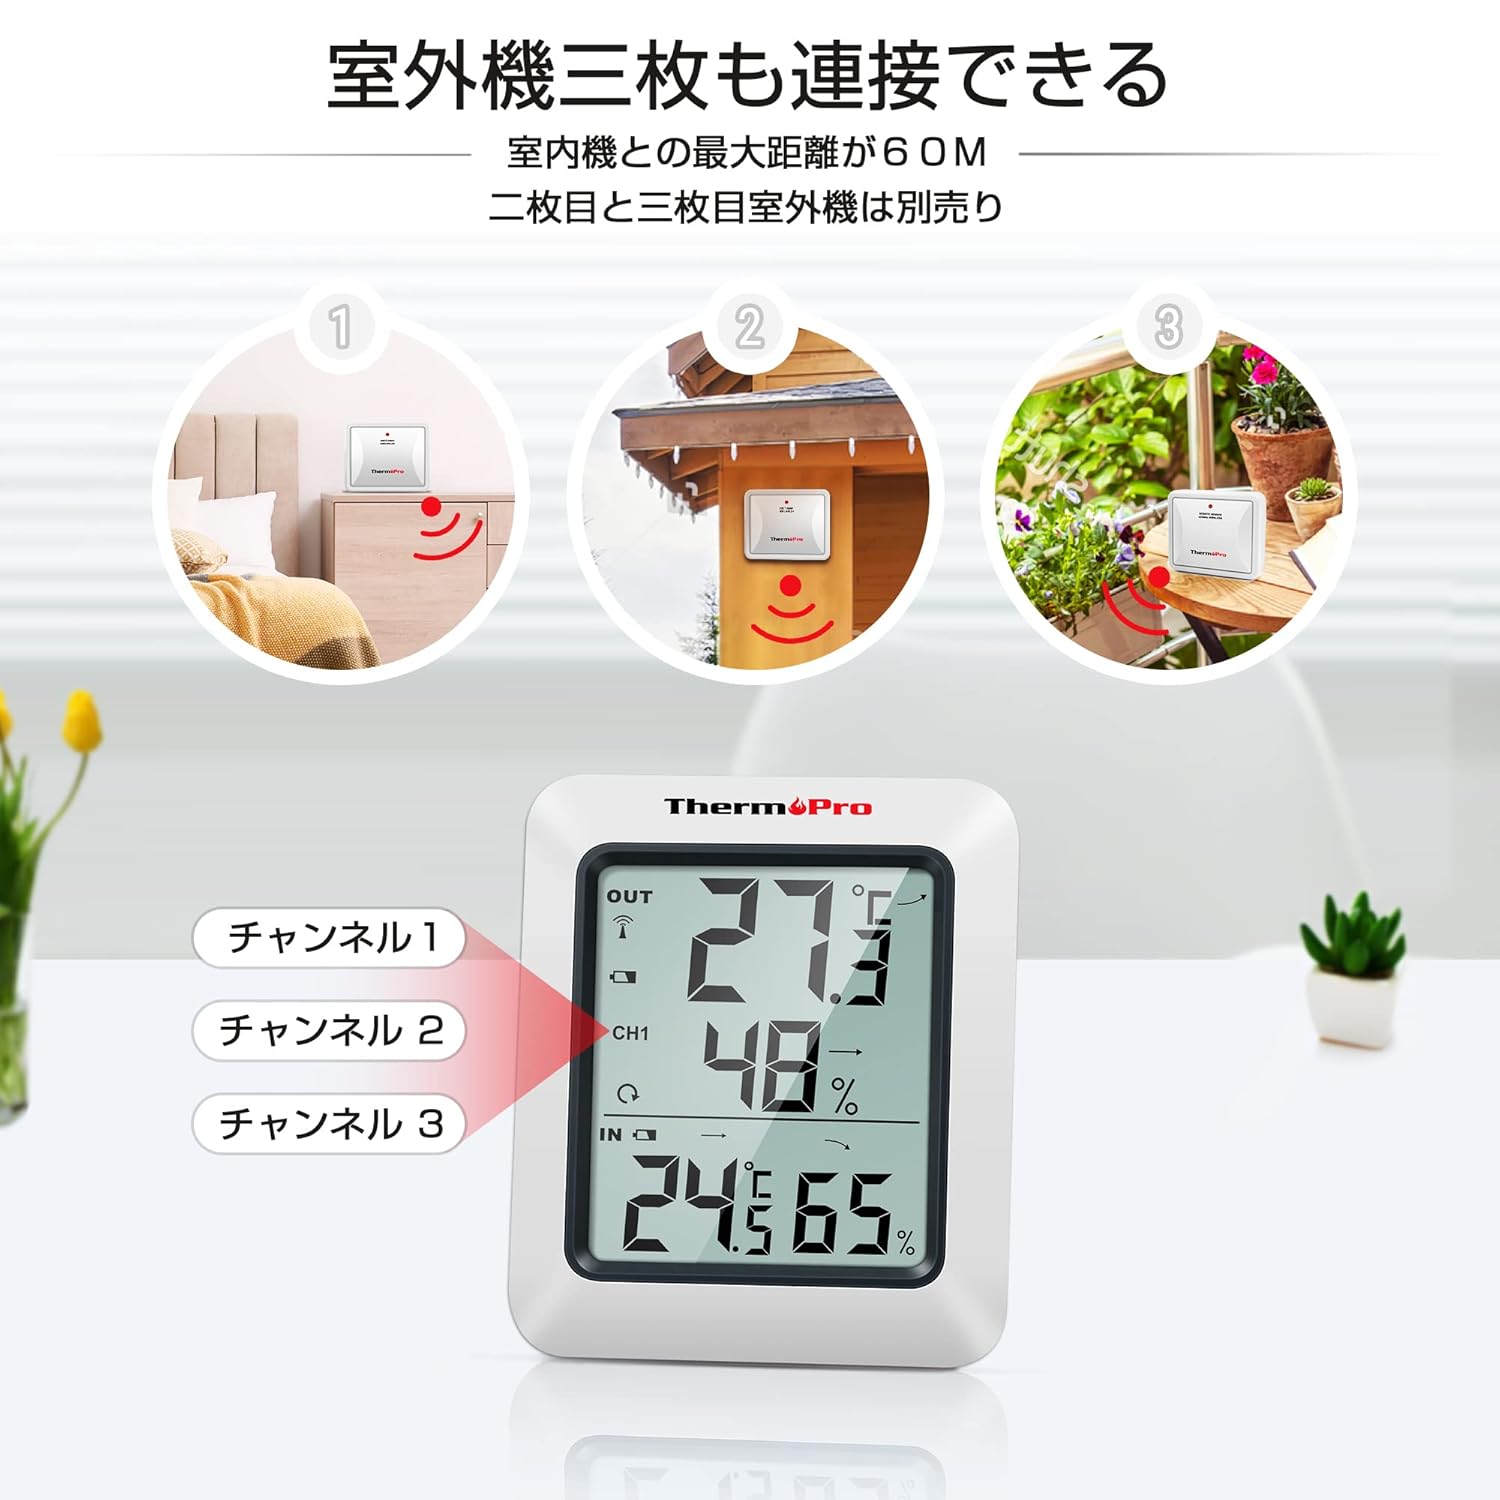
- Wireless Range: Up to 60 meters (200 feet) in open areas between the remote sensor and the main unit.
- Multi-Sensor Support: The main unit can receive data from up to three remote sensors (additional sensors sold separately).
- Max/Min Records: Displays the highest and lowest temperature and humidity values recorded over the last 24 hours or since the last reset.
- Trend Indicators: Arrows indicate whether temperature and humidity are rising, falling, or remaining constant.
- Versatile Placement: Main unit features a tabletop stand and a wall-mounting hole.
- High Accuracy: Provides precise measurements for reliable monitoring.
- Low Battery Indicator: Alerts you when batteries need replacement.


4. Setup
4.1. Battery Installation
- Open the battery compartment on the back of both the main receiver unit and the remote sensor.
- Insert 2 AAA batteries into each unit, ensuring correct polarity (+/-).
- Close the battery compartments securely.
4.2. Pairing the Sensor
The remote sensor will automatically connect to the main unit once batteries are installed. If the connection is not established within a few minutes, or if you are adding additional sensors:
- Place the remote sensor near the main unit.
- Press and hold the CHANNEL button on the main unit for 3 seconds to initiate pairing.
- Press the RESET button on the back of the remote sensor.
- The main unit should display the sensor's readings, indicating successful pairing.
4.3. Placement
The main unit can be placed on any flat surface using its integrated stand or mounted on a wall using the hanging hole on its back.


For the remote sensor, choose a location that is protected from direct sunlight and rain to ensure accurate readings and prolong its lifespan. The wireless range is up to 60 meters, but obstacles like walls and electronic devices can reduce this distance.
5. Operating Instructions
5.1. Display Overview
The large LCD screen displays indoor temperature and humidity, outdoor temperature and humidity (from the remote sensor), max/min records, and trend indicators.
5.2. Max/Min Temperature & Humidity
Press the MAX/MIN button on the back of the main unit to cycle through:
- Current temperature and humidity.
- Maximum temperature and humidity recorded.
- Minimum temperature and humidity recorded.
To clear the MAX/MIN records, press the CLEAR button on the back of the main unit.
5.3. 24-Hour / All-Time Records
Press the ALL-TIME/24 button on the back of the main unit to switch between displaying the maximum/minimum values recorded over the last 24 hours or since the last manual reset.
5.4. Temperature Unit Selection (°C/°F)
Press the °C/°F button on the back of the main unit to switch between Celsius and Fahrenheit.
5.5. Backlight
Press the light bulb icon button on the front of the main unit to activate the backlight for approximately 10 seconds, making it easier to read in low-light conditions.
6. Maintenance
6.1. Battery Replacement
When the low battery indicator appears on the display, replace the batteries in the respective unit (main unit or remote sensor) with new AAA batteries.
6.2. Cleaning
Wipe the units with a soft, damp cloth. Do not use abrasive cleaners or solvents, as they may damage the plastic parts and electronic components.
6.3. Storage
If the device will not be used for an extended period, remove the batteries from both units to prevent leakage and damage.
7. Troubleshooting
- No display on main unit or remote sensor: Check battery polarity and ensure batteries are fresh. Replace if necessary.
- No outdoor temperature/humidity display or flashing dashes: The remote sensor has lost connection. Try re-pairing the sensor as described in Section 4.2. Ensure the sensor is within range and free from excessive interference.
- Inaccurate readings: Ensure both units are placed away from direct sunlight, heat sources, and strong drafts. Allow units to stabilize for 30 minutes after initial setup or relocation.
8. Specifications
| Attribute | Value |
|---|---|
| Brand | ThermoPro |
| Model Number | TP-60S |
| Product Weight | 170 g |
| Product Dimensions | 6.1 x 0.03 x 0.03 cm |
| Batteries | 4 AAA batteries (included) |
| Power Source | Battery powered |
| Temperature Accuracy | ±0.5°C |
| Humidity Accuracy | ±1% |
| Mounting Type | Tabletop, Wall mount |
| Special Features | High precision |

9. Warranty & Support
ThermoPro offers a 1-year warranty for this product, ensuring quality and reliability. We are committed to providing friendly customer support and lifetime assistance for our products.
For further assistance, troubleshooting, or to learn more about ThermoPro products, please visit the official ThermoPro store on Amazon: ThermoPro Amazon Store.


