
1. Introduction
This manual provides detailed instructions for the installation, operation, and maintenance of your MoesGo Smart RF433 WiFi Wall Switch. This smart switch is designed for convenient control of your lighting, offering multiple control methods including touch, app, voice, and RF433 remote.
Key Features:
- No neutral wire required for installation.
- Supports 2.4GHz WiFi connectivity for Smart Life/Tuya App control.
- Compatible with Alexa and Google Home for hands-free voice control.
- RF433 frequency support for remote control (remote not included).
- Programmable timing schedules and countdowns.
- Relay status memory and backlight preferences.

Image 1.1: MoesGo Smart RF433 WiFi Wall Switch, showcasing its sleek design and "No neutral" indicator.
2. Safety Information
WARNING: Electrical installation should only be performed by a qualified electrician. Always turn off power at the circuit breaker before installation or maintenance.
- Ensure the power supply is disconnected before handling any wiring.
- This device is designed for 2.4GHz Wi-Fi networks only. It is not compatible with 5.0GHz Wi-Fi.
- A capacitor is required for proper operation and must be connected to both ends of the bulb.
- Only use with certified bulbs that have a rated power of 5W or higher.
- This switch is not designed for use as a 3-way switch.
- The capacitor may produce a faint humming sound during operation. This is normal.
3. Package Contents
Please check the package for the following items:
- MoesGo Smart RF433 WiFi Wall Switch (1 unit)
- Capacitor (1 unit)
- Mounting Screws (2 units)
- User Manual (This document)
4. Specifications
| Feature | Detail |
|---|---|
| Brand | MoesGo |
| Model Number | WS-EU1-LB-N-MG |
| Operating Mode | ON-OFF |
| Contact Type | Normally Closed |
| Material | Glass |
| Mounting Type | Wall Mount |
| International Protection Rating | IP65 |
| Color | Black |
| Dimensions (Package) | 11 x 10.2 x 5.1 cm |
| Weight (Package) | 193 grams |

Image 4.1: Detailed dimensions of the MoesGo Smart Switch and a basic wiring diagram for single-wire installation with capacitor.
5. Installation and Setup
5.1 Pre-installation Checklist
- Verify your Wi-Fi network is 2.4GHz. 5GHz networks are not supported.
- Ensure the bulbs connected to the switch have a rated power of 5W or higher.
- Confirm you are not attempting to install this as a 3-way switch.
- Have the included capacitor ready.
5.2 Wiring Instructions
- Turn off Power: Locate your circuit breaker and turn off the power to the switch you are replacing. Verify power is off using a voltage tester.
- Remove Old Switch: Carefully remove your existing wall switch from the wall box.
- Connect Capacitor: The included capacitor is essential for stable operation with no neutral wire. Connect the capacitor across the two terminals of the light bulb (in parallel with the load). This helps prevent flickering and ensures proper functionality.
- Wire the Smart Switch:
- Connect the live wire (L) from your electrical box to the 'L IN' terminal on the MoesGo switch.
- Connect the load wire (L1) going to your light fixture to the 'L OUT' terminal on the MoesGo switch.
- Ensure all connections are secure.
- Mount the Switch: Gently push the wired switch into the wall box and secure it with the provided screws. Attach the glass panel.
- Restore Power: Turn the power back on at the circuit breaker.

Image 5.1: Visual guide highlighting critical installation requirements: 2.4GHz Wi-Fi, minimum 5W bulb power, not for 3-way use, and no neutral wire needed.

Image 5.2: Illustration showing the capacitor and its importance for the MoesGo Smart Switch, indicating it should be connected to the bulb.
5.3 App Pairing (Smart Life/Tuya)
- Download App: Download the "Smart Life" or "Tuya Smart" app from your smartphone's app store (iOS or Android).
- Register/Login: Open the app and register for a new account or log in with an existing one.
- Enter Pairing Mode: On the MoesGo switch, press and hold the touch button for approximately 5-10 seconds until the indicator light starts blinking rapidly. This indicates it's in pairing mode.
- Add Device: In the app, tap the "+" icon (usually in the top right corner) to add a device. Select "Switch (Wi-Fi)" or "Wall Switch".
- Confirm Blinking: Confirm that the indicator light on the switch is blinking rapidly in the app.
- Enter Wi-Fi Details: Enter your 2.4GHz Wi-Fi network name and password.
- Connect: The app will begin connecting to the switch. Once connected, the indicator light on the switch will stop blinking and remain solid.
- Rename Device: You can rename the switch in the app for easier identification (e.g., "Living Room Light").
6. Operation
The MoesGo Smart Switch offers multiple ways to control your lighting:
6.1 Touch Control
Simply touch the designated area on the glass panel of the switch to turn the light ON or OFF. The touch control functions independently of app or voice commands.

Image 6.1: A hand touching the MoesGo Smart Switch, illustrating the touch control functionality.
6.2 App Control (Smart Life/Tuya)
Once paired with the Smart Life or Tuya Smart app, you can control your switch from anywhere with an internet connection.
- Remote ON/OFF: Tap the switch icon in the app to turn the light ON or OFF.
- Relay Status Settings: Access the switch settings in the app to configure the relay status after a power outage (ON/OFF/Remember last status). You can also adjust backlight preferences.
- Sharing Control: Share control of the switch with family members or friends through the app, allowing multiple users to manage the device.
- Group Control: Create groups within the app to control multiple smart switches simultaneously.

Image 6.2: Screenshot of the Smart Life/Tuya app interface showing options for setting relay status and backlight preferences for the MoesGo Smart Switch.
6.3 Voice Control (Alexa & Google Home)
Integrate your MoesGo Smart Switch with Amazon Alexa or Google Home for convenient hands-free voice control.
- Link Account: In the Alexa or Google Home app, enable the "Smart Life" or "Tuya Smart" skill/service and link your account.
- Discover Devices: Ask Alexa or Google Home to discover new devices.
- Voice Commands: Use commands such as:
- "Alexa, turn on [Switch Name]"
- "Hey Google, turn off [Switch Name]"
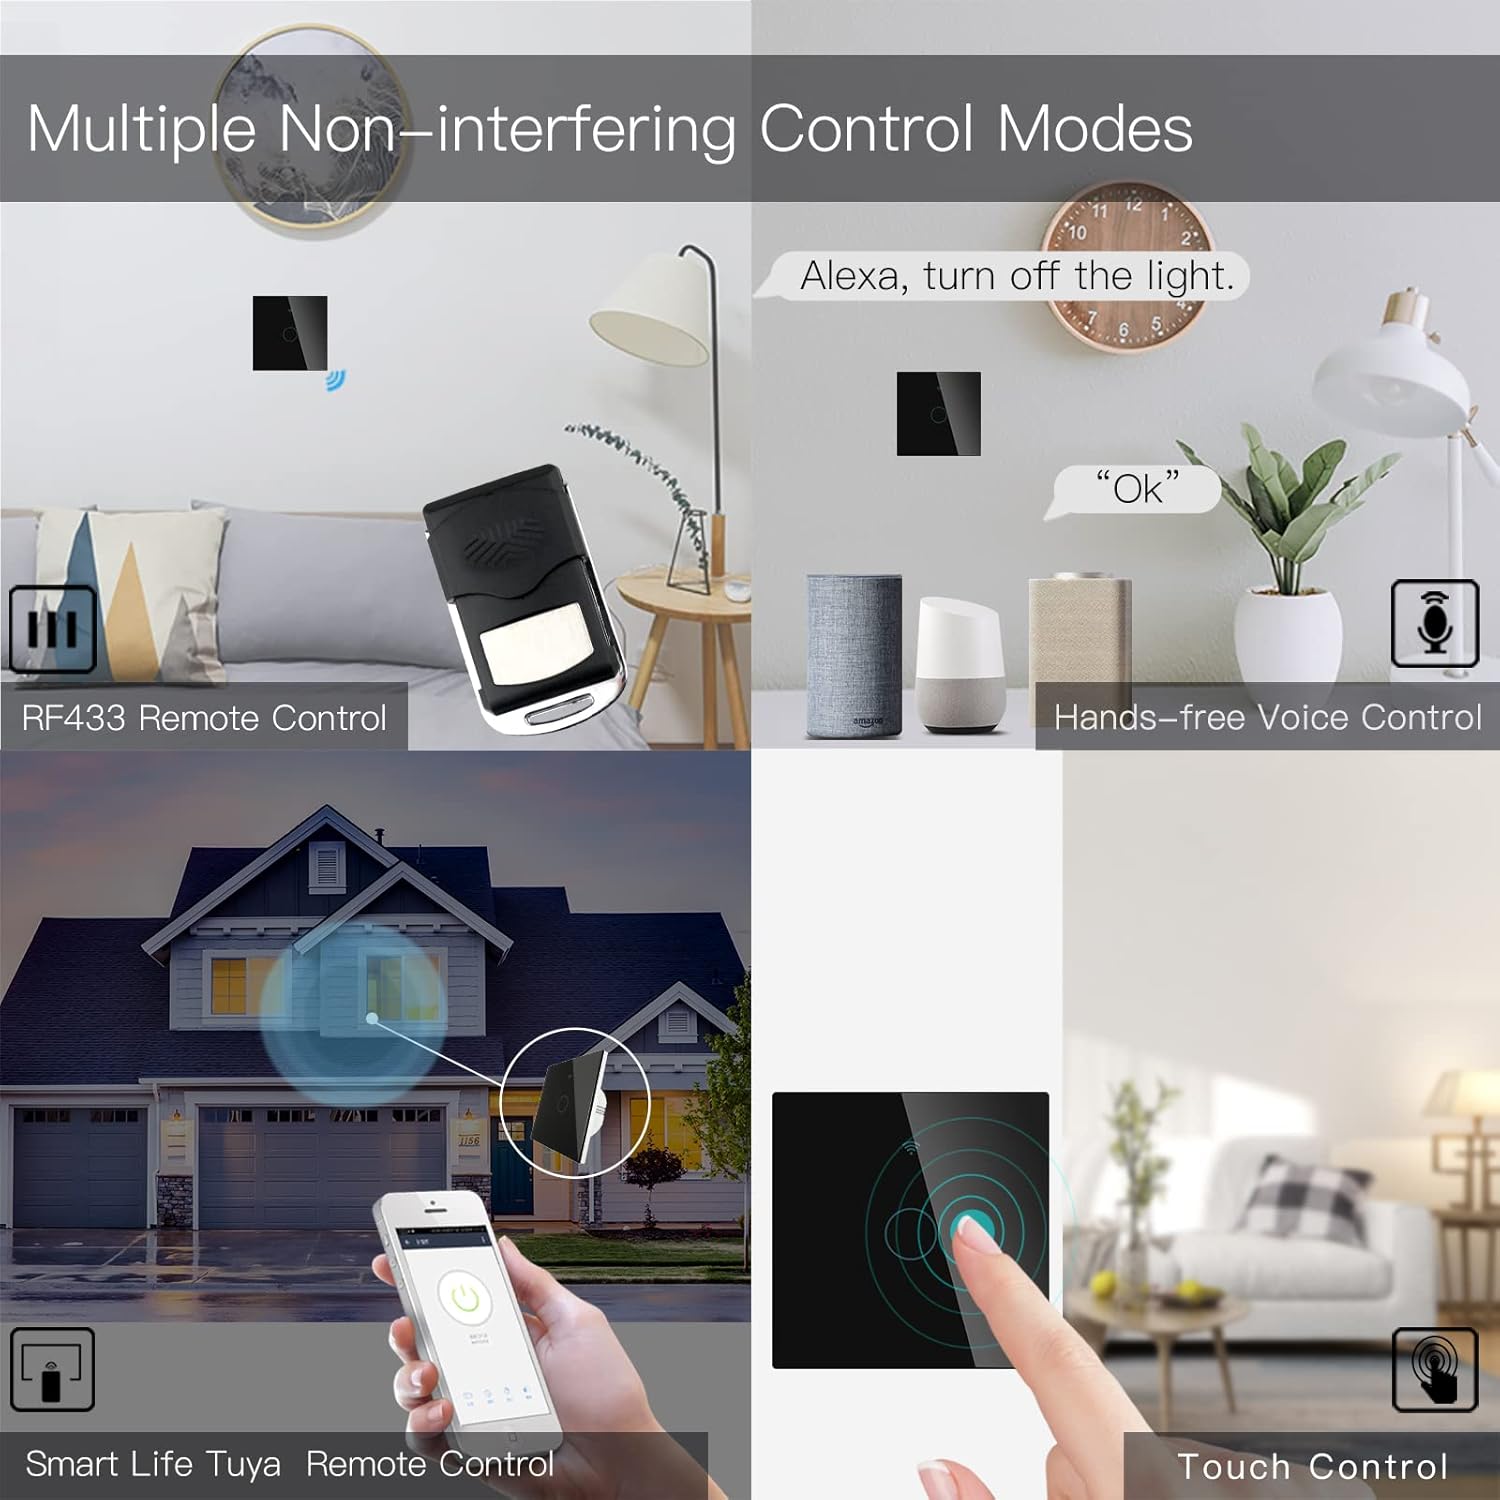
Image 6.3: Depiction of the MoesGo Smart Switch being controlled via voice commands using Amazon Alexa and Google Home devices.
6.4 RF433 Remote Control
The switch supports RF433 frequency for remote control. An RF433 remote (not included) with 1527 encoding can be paired with the switch.
- Enter RF Pairing Mode: In the Smart Life/Tuya app, navigate to the switch settings and find the "RF area" to enter pairing mode.
- Pair Remote: Press a button on your RF433 remote. Ensure a one-second delay between presses to avoid errors. The switch will confirm successful pairing.
6.5 Timing Schedules and Countdown
Utilize the Smart Life/Tuya app to set up automated schedules for your lights.
- Schedules: Program specific times for the light to turn ON or OFF daily or on selected days of the week.
- Countdown: Set a countdown timer for the light to turn OFF after a specified duration (e.g., 1, 5, 30 minutes, 1 hour).

Image 6.4: An example of setting a timing schedule in the Smart Life/Tuya app, showing lights turning on at 7:00 AM and off at 10:00 PM.
7. Maintenance
To maintain your MoesGo Smart Switch:
- Cleaning: Gently wipe the glass panel with a soft, dry cloth. Avoid abrasive cleaners or solvents.
- Firmware Updates: Periodically check the Smart Life/Tuya app for available firmware updates to ensure optimal performance and security.
8. Troubleshooting
- Switch Not Responding:
- Check if the circuit breaker is ON.
- Ensure the wiring is correct and secure.
- Verify the capacitor is properly installed across the bulb terminals.
- Light Flickering:
- This often indicates an issue with the capacitor installation or an incompatible bulb. Ensure the capacitor is correctly wired and the bulb meets the 5W minimum power requirement.
- Cannot Connect to Wi-Fi:
- Confirm your Wi-Fi network is 2.4GHz.
- Ensure the switch is in pairing mode (rapidly blinking indicator light).
- Check your Wi-Fi password for accuracy.
- Move the switch closer to your Wi-Fi router during pairing.
- Faint Humming Sound:
- A faint humming sound from the capacitor is normal for no-neutral switches. If the sound is loud or concerning, recheck the capacitor installation and bulb compatibility.
- RF433 Remote Pairing Issues:
- Ensure the switch is in RF pairing mode via the app.
- Press remote buttons with a one-second delay between presses.
- Verify the remote uses 1527 encoding.
9. Warranty and Support
For warranty information and technical support, please refer to the official MoesGo website or contact their customer service directly. Details are typically provided on the product packaging or the manufacturer's official online resources.


