1. Introduction
This manual provides detailed instructions for the installation, operation, and maintenance of your Cooler Master RR-A71C-18PA-R1 CPU Cooler. This air cooler is designed to efficiently dissipate heat from your desktop CPU, featuring a PWM controlled fan for optimized performance and addressable RGB lighting for customizable aesthetics. Please read this manual thoroughly before proceeding with installation to ensure proper setup and safe operation.
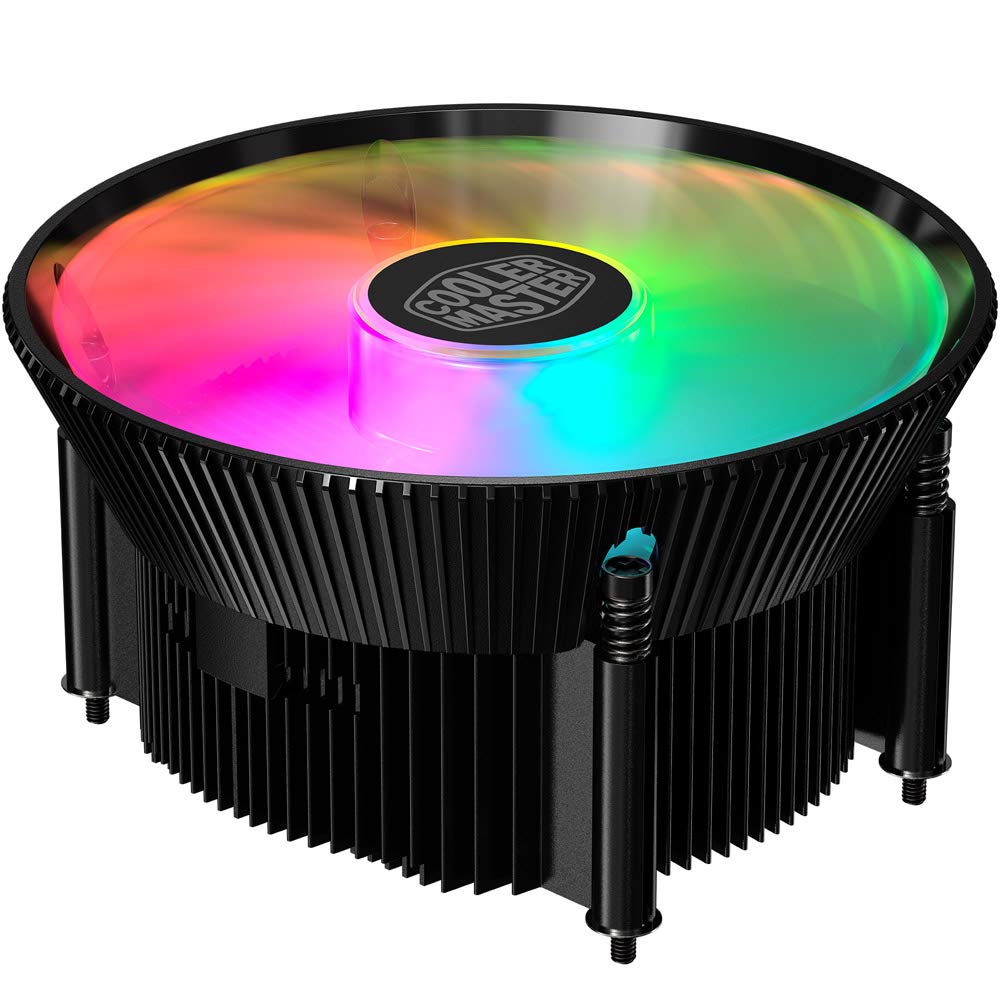
Image 1.1: Top view of the Cooler Master RR-A71C-18PA-R1 CPU Cooler showcasing its addressable RGB fan.
2. Safety Information
Observe the following safety precautions to prevent damage to the product or injury to yourself:
- Ensure your computer system is powered off and unplugged from the wall outlet before installation or maintenance.
- Avoid touching the fan blades while the system is operating.
- Handle the cooler and its components with care to prevent damage.
- Keep out of reach of children.
- Do not attempt to modify the cooler or its components. Unauthorized modifications may void your warranty and pose safety risks.
3. Package Contents
Verify that all items are present in your package:
- Cooler Master RR-A71C-18PA-R1 CPU Cooler Assembly
- Mounting Hardware (for compatible CPU sockets)
- Thermal Paste (pre-applied or in a tube)
- User Manual (this document)
4. Setup and Installation
Follow these steps for proper installation of the CPU cooler:
- Prepare the Motherboard:
Ensure your motherboard is removed from the PC case or has sufficient access for cooler installation. Refer to your motherboard's manual for specific CPU socket preparation.
- Apply Thermal Paste:
If thermal paste is not pre-applied to the cooler's base, apply a small, pea-sized amount to the center of your CPU's integrated heat spreader (IHS). Do not spread it manually; the pressure from the cooler will distribute it evenly.

Image 4.1: Bottom view of the CPU cooler, illustrating the fan and copper contact base. Ensure this surface is clean before applying thermal paste.
- Mount the Cooler:
Carefully align the cooler with the mounting holes on your motherboard. Gently place the cooler onto the CPU, ensuring even contact. Secure the cooler using the provided mounting hardware. Tighten screws in a diagonal pattern (e.g., top-left, bottom-right, top-right, bottom-left) until snug, but do not overtighten.
- Connect Fan Cable:
Locate the 4-pin PWM fan connector on the cooler. Connect this cable to the "CPU_FAN" header on your motherboard. Refer to your motherboard manual for the exact location of this header.
- Connect RGB Cable:
Locate the addressable RGB (ARGB) connector on the cooler. Connect this cable to a compatible 3-pin 5V ARGB header on your motherboard. Warning: Do not connect to a 4-pin 12V RGB header, as this will damage the LEDs.
- Final Checks:
Double-check all connections. Ensure no cables are obstructing the fan blades or other components. Reinstall your motherboard into the PC case if it was removed.
5. Operating Instructions
Once installed, the Cooler Master RR-A71C-18PA-R1 CPU Cooler operates automatically, but its performance and aesthetics can be managed:
- Fan Speed Control (PWM):
The fan's speed is controlled by your motherboard's BIOS/UEFI settings or through motherboard software. PWM (Pulse Width Modulation) allows for dynamic fan speed adjustments based on CPU temperature, providing optimal cooling and noise levels. Consult your motherboard manual for instructions on configuring fan curves.
- Addressable RGB Lighting Control:
The addressable RGB lighting can be controlled via your motherboard's RGB software (e.g., ASUS Aura Sync, MSI Mystic Light Sync, Gigabyte RGB Fusion, ASRock Polychrome Sync) or a dedicated ARGB controller (not included). Ensure the ARGB cable is correctly connected to a 3-pin 5V ARGB header. Refer to your motherboard's software documentation for lighting customization options.
6. Maintenance
Regular maintenance ensures optimal performance and longevity of your CPU cooler:
- Dust Removal:
Periodically (every 3-6 months, depending on environment) power off your computer and unplug it. Use compressed air to gently blow dust out of the heatsink fins and fan blades. Hold the fan blades to prevent them from spinning rapidly during cleaning, which can damage the bearings.
- Check Connections:
Occasionally verify that the fan and RGB cables are securely connected to their respective headers on the motherboard.
- Thermal Paste Reapplication:
If you remove the cooler for any reason, it is recommended to clean off the old thermal paste from both the CPU and the cooler base and apply fresh thermal paste before reinstallation.
7. Troubleshooting
If you encounter issues with your CPU cooler, refer to the following common problems and solutions:
| Problem | Possible Cause | Solution |
|---|---|---|
| Fan not spinning |
|
|
| No RGB lighting |
|
|
| High CPU temperatures |
|
|
8. Specifications
Detailed technical specifications for the Cooler Master RR-A71C-18PA-R1 CPU Cooler:
| Feature | Value |
|---|---|
| Product Dimensions | 4.72"L x 0.98"W x 4.72"H |
| Brand | Cooler Master |
| Power Connector Type | 4-Pin (PWM) |
| Voltage | 12 Volts |
| Wattage | 1.44 watts |
| Cooling Method | Air |
| Compatible Devices | Desktop |
| Noise Level | 24.9 Decibels |
| Material | Aluminum, Copper |
| Maximum Rotational Speed | 2500 RPM |
| Item Weight | 0.42 Kilograms |
| Unit Count | 1.0 Count |
| UPC | 884102066931 |
9. Warranty and Support
Cooler Master products come with a limited warranty. For detailed warranty information, please refer to the official Cooler Master website or the warranty card included with your product. If you encounter any issues not covered in this manual or require further assistance, please contact Cooler Master customer support:
- Website: www.coolermaster.com/support/
- Contact: Refer to the support section on the website for regional contact information.


