Introduction
The Scosche PSC.5 500K Micro-Farad Power Capacitor is designed to enhance the performance of your car audio system. It stores reserve electrical power, providing a stable voltage supply to your amplifier, which helps improve bass response and overall sound quality, especially during high-demand audio peaks. This manual provides essential information for the safe and correct installation, operation, and maintenance of your capacitor.
Safety Information
Always observe the following safety precautions to prevent injury or damage to the capacitor or your vehicle's electrical system:
- Disconnect the vehicle's negative battery terminal before beginning any installation.
- Ensure all wiring connections are secure and properly insulated to prevent short circuits.
- Do not expose the capacitor to moisture or extreme temperatures.
- Handle the capacitor with care; it contains electrical charge even when disconnected.
- Always use appropriate gauge wiring for power and ground connections as recommended for your amplifier and capacitor.
- Consult a professional car audio installer if you are unsure about any part of the installation process.
Package Contents
Verify that all items are present in the package:
- Scosche PSC.5 500K Micro-Farad Power Capacitor
- Mounting Brackets
- Instruction Manual (this document)
Product Overview
The Scosche PSC.5 capacitor features a robust design with an impact-resistant tinted polycarbonate cover. It includes a digital voltage display for real-time system monitoring.
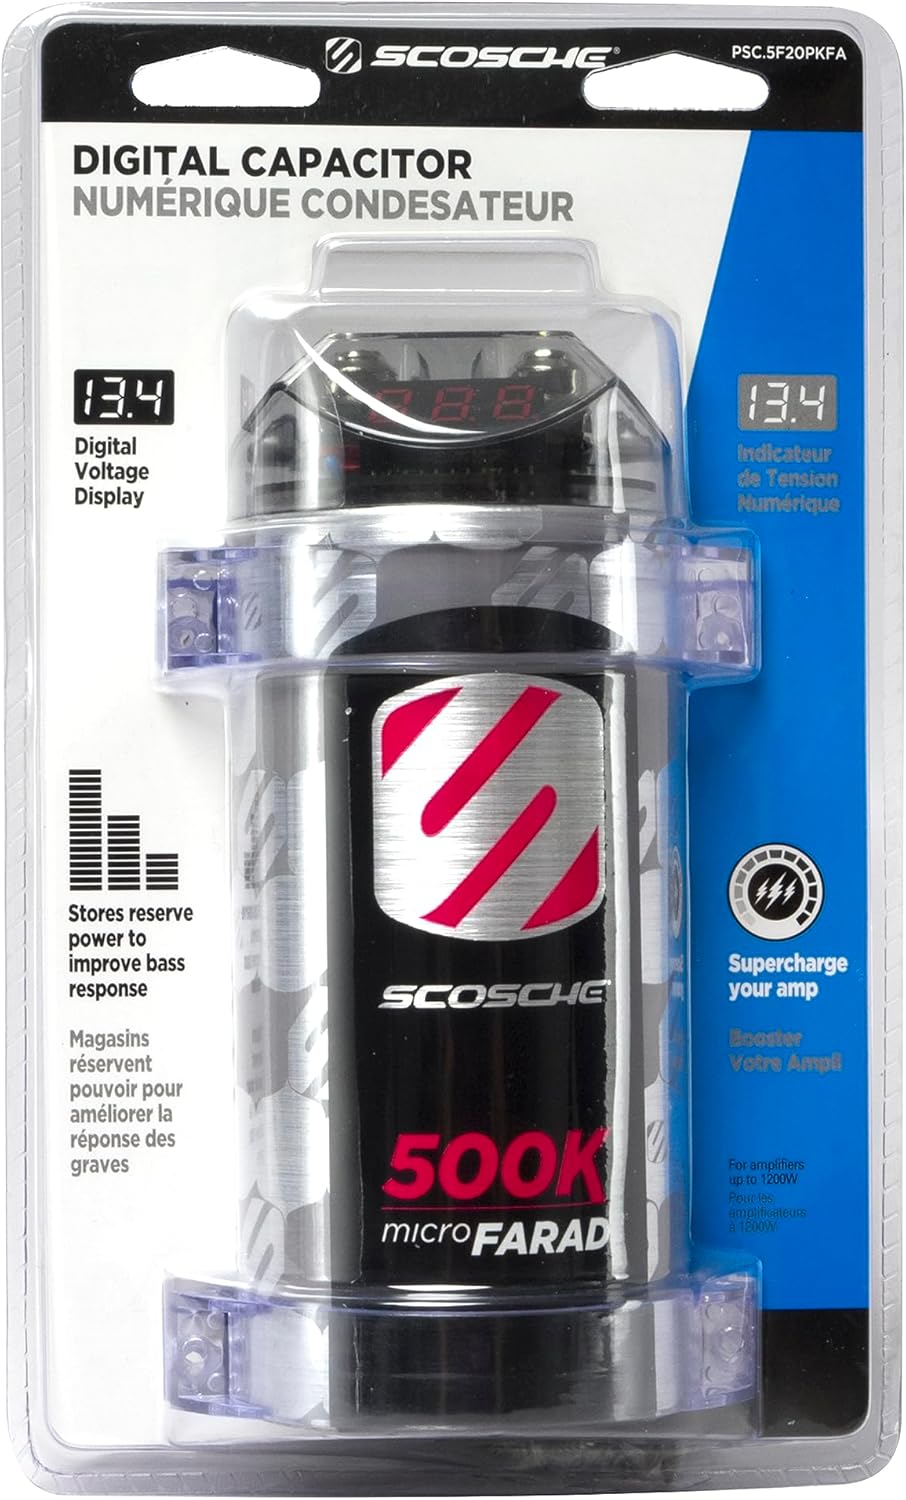
Image: Scosche PSC.5 500K Micro-Farad Power Capacitor. This image shows the capacitor unit with its digital voltage display and terminal connections.
Specifications
| Feature | Specification |
|---|---|
| Capacitance | 500,000 Micro-Farad (0.5 Farad) |
| Operating Voltage | 20 Volts (DC) |
| Maximum Voltage | 20 Volts (DC) |
| Digital Display | Yes, LCD Digital Voltage Display |
| Cover Material | Impact-resistant tinted Polycarbonate (PC) |
| Dimensions (L x W x H) | 25.4 x 15.49 x 8.89 cm (10 x 6.1 x 3.5 inches) |
| Weight | 997 g |
| Mounting Type | Surface Mount or Panel Mount |
| Upper Temperature Rating | 110 Degrees Celsius |
Setup and Installation
Proper installation is critical for the capacitor's performance and safety. Follow these steps carefully:
- Disconnect Battery: Before starting, disconnect the negative (-) terminal of your vehicle's battery to prevent electrical shorts.
- Mounting:
Choose a secure, dry location for the capacitor, as close to the amplifier as possible. Use the provided mounting brackets to firmly attach the capacitor to a solid surface in your vehicle. Ensure it is not exposed to direct sunlight, excessive heat, or moisture.

Image: Scosche PSC.5 Power Capacitor in its retail packaging. This image provides an overview of the product as it appears when purchased.
- Wiring Connections:
- Positive (+) Connection: Connect a power cable (same gauge as your amplifier's power cable) from the positive (+) terminal of the capacitor to the positive (+) terminal of your amplifier.
- Negative (-) Connection: Connect a short ground cable (same gauge) from the negative (-) terminal of the capacitor to a clean, unpainted metal chassis point in the vehicle, or directly to the amplifier's ground terminal if it's grounded nearby.
- Power Source: Run a main power cable from the vehicle's battery (with an inline fuse installed within 18 inches of the battery) to the positive (+) terminal of the capacitor.
Ensure all connections are tight and free from corrosion. Use appropriate crimp terminals and heat shrink tubing for secure and insulated connections.
- Initial Charging:
Capacitors must be charged slowly before connecting them to the amplifier to prevent damage. Use a resistor (typically 1000 ohm, 1/2 watt) connected in series between the main power cable and the capacitor's positive terminal. Connect the main power cable to the resistor, then the resistor to the capacitor's positive terminal. Wait until the digital voltage display on the capacitor shows a voltage reading close to your vehicle's battery voltage (e.g., 12-14V). This process can take several minutes. Once charged, remove the resistor and make the final direct connection from the main power cable to the capacitor's positive terminal.
- Reconnect Battery: Once all connections are secure and the capacitor is charged, reconnect the negative (-) terminal of your vehicle's battery.
Operation
Once installed and charged, the Scosche PSC.5 capacitor operates automatically. It will store and release electrical energy as needed by your amplifier.
- Digital Voltage Display: The integrated LCD display provides a real-time readout of the system voltage. This allows you to monitor the electrical stability of your car audio system. A stable voltage reading, typically between 12V and 14.4V when the engine is running, indicates proper operation.
- Bass Response Improvement: The capacitor's primary function is to provide instantaneous current to the amplifier during sudden, high-power demands (e.g., deep bass notes), preventing voltage drops and ensuring consistent amplifier performance.
Maintenance
The Scosche PSC.5 capacitor requires minimal maintenance:
- Regular Inspection: Periodically check all wiring connections to ensure they remain tight and free from corrosion.
- Cleaning: Keep the capacitor and its display clean using a soft, dry cloth. Avoid using harsh chemicals or abrasive cleaners.
- Environmental Conditions: Ensure the capacitor remains in a dry environment, protected from extreme heat or cold.
Troubleshooting
If you encounter issues with your capacitor or car audio system, consider the following:
- No Display/Low Voltage Reading:
- Check all power and ground connections for looseness or corrosion.
- Verify the main power fuse near the battery is intact.
- Ensure the capacitor was properly charged during installation. If not, disconnect the battery and re-perform the charging procedure with a resistor.
- Dimming Lights/Weak Bass:
- The capacitor may be undersized for your amplifier's power output. The PSC.5 is rated for systems up to 500 watts.
- Check the vehicle's charging system (alternator and battery) for proper function.
- Ensure proper gauge wiring is used throughout the audio system.
- Capacitor Overheating:
- This is rare. Check for short circuits in the wiring.
- Ensure adequate ventilation around the capacitor.
If problems persist, consult a qualified car audio technician.
Warranty and Support
Scosche products are designed for reliability and performance. For specific warranty information and technical support, please refer to the warranty card included with your product or visit the official Scosche website. Keep your purchase receipt as proof of purchase.


