1. Introduction
This manual provides detailed instructions for the safe and proper installation, operation, and maintenance of your Emerald Full Motion TV Wall Mount Bracket, Model SM-720-8712. This mount is designed to securely hold flat and curved televisions ranging from 32 to 85 inches.
Key features include:
- Wide Range of Motion: Allows for full articulation, including swiveling, tilting, and extending, providing flexibility in viewing angles from any part of the room.
- Compatibility and Versatility: Designed to accommodate TVs ranging from 32 inches up to 85 inches in size, ensuring compatibility with a wide range of television models.
- Sturdy Construction: Built with robust materials such as high-grade steel, ensuring stability and support for larger TVs while maintaining safety and durability.
- Easy Installation: Includes a straightforward installation process with clear instructions and all necessary hardware.
- Cable Management: Often includes integrated cable management systems to keep wires organized and hidden, contributing to a cleaner and more organized living space.
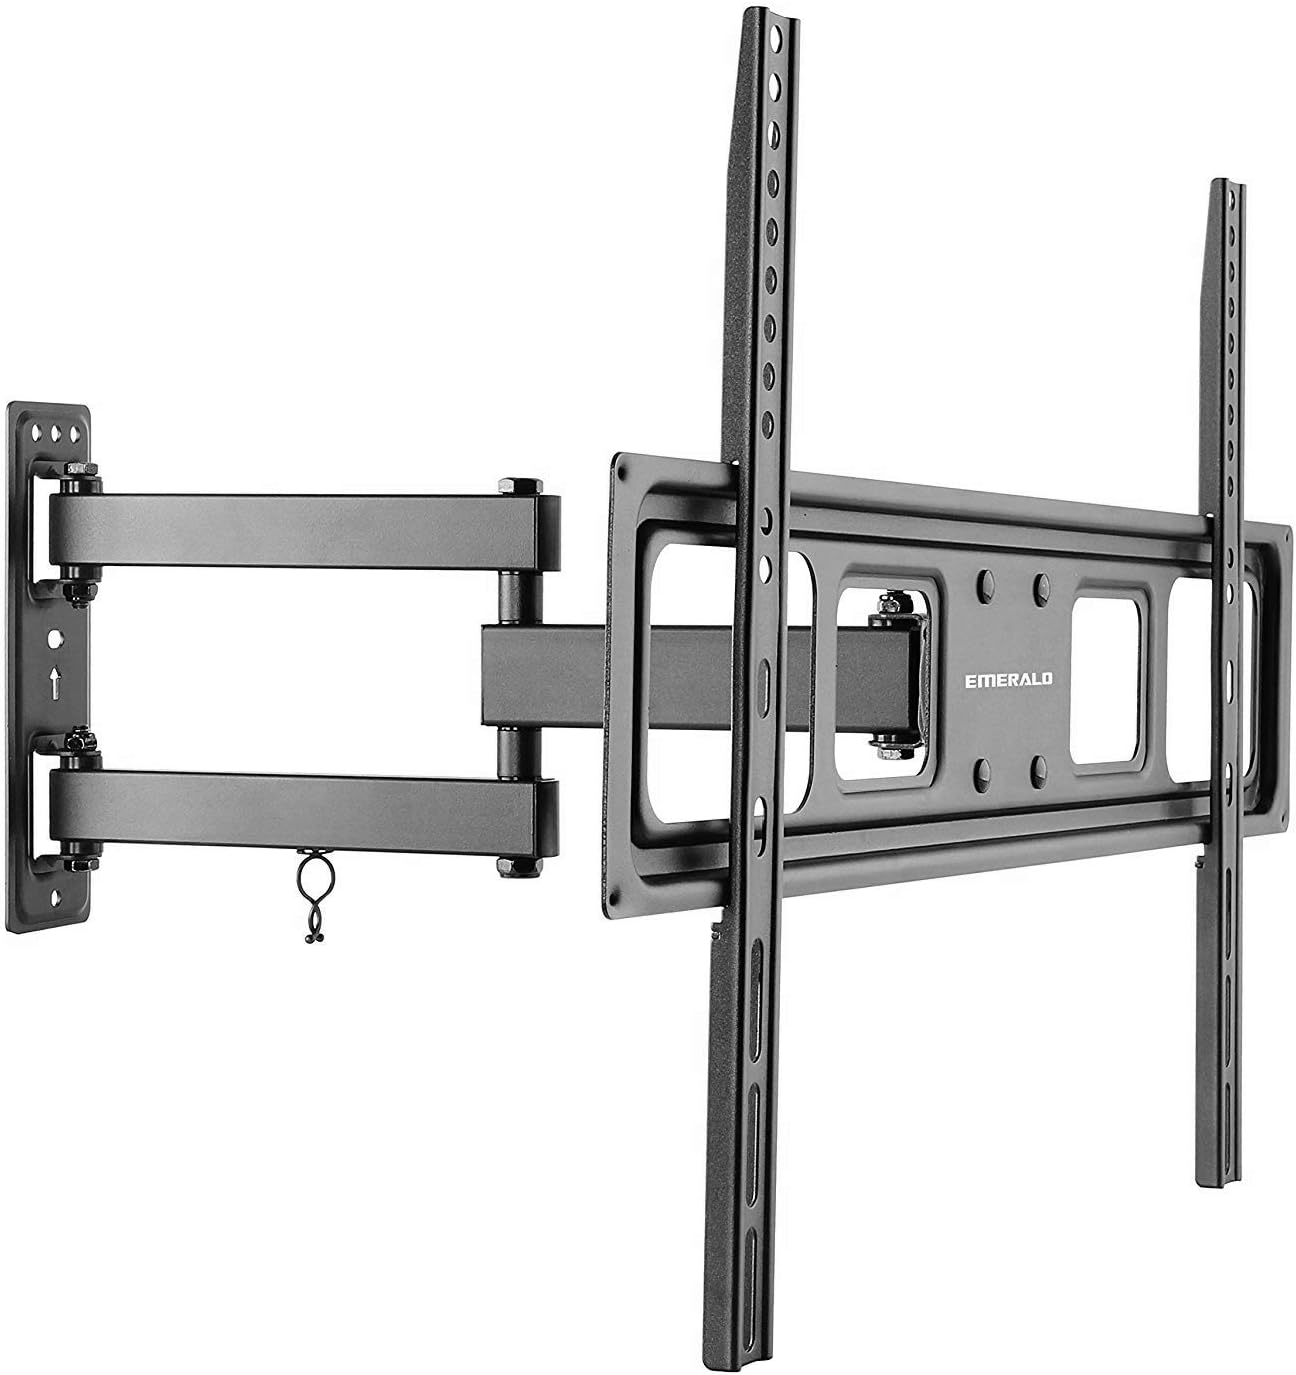
Image 1.1: The Emerald Full Motion TV Wall Mount Bracket, showing its articulated arm and TV mounting plate.
2. Safety Information
WARNING: Failure to read and follow these instructions may result in serious personal injury, property damage, or voiding of your warranty. If you do not understand these instructions or have doubts about the safety of the installation, please contact customer support or a qualified installer.
- Do not install this product on walls that are not structurally sound. Ensure the mounting surface can support the combined weight of the mount and your television.
- Always use the provided hardware. If any parts are missing or defective, contact customer support for replacement.
- Do not exceed the maximum weight capacity of 200 lbs (90.7 kg) or the specified TV size range (32-85 inches).
- This product is intended for indoor use only.
- Keep children and pets away during installation.
- Periodically check that the mount is secure and all fasteners are tight.
3. Package Contents
Please verify that all components are present and undamaged before beginning installation. If any parts are missing or damaged, do not attempt to install and contact customer support.
- Wall Plate Assembly
- TV Bracket Arms (2)
- Mounting Hardware Kit (various screws, washers, spacers, anchors)
- Instruction Manual
4. Setup and Installation
4.1 Tools Required (Not Included)
- Stud Finder (for wood stud installation)
- Drill with appropriate drill bits
- Level
- Phillips Head Screwdriver
- Socket Wrench
- Pencil
- Measuring Tape
4.2 Wall Type Considerations
This mount is designed for installation on wood studs or solid concrete/brick walls. Do not install on drywall alone.
- Wood Stud Walls: Locate the center of the wood studs using a stud finder. Ensure the studs are at least 2x4 inches (51x102mm) and can support the weight.
- Solid Concrete/Brick Walls: Use a masonry drill bit and the appropriate concrete anchors (if provided, otherwise purchase separately).
4.3 Attaching TV Brackets to Your TV
- Carefully place your TV face-down on a soft, clean surface to prevent screen damage.
- Identify the VESA mounting holes on the back of your TV.
- Select the correct diameter and length of screws (M4, M6, or M8) that fit your TV's mounting holes. Use washers and spacers as needed to ensure the screws do not bottom out or protrude too far into the TV.
- Attach the two TV bracket arms to the back of your TV using the selected screws, washers, and spacers. Ensure the arms are centered and securely tightened. The hooks on the arms should face upwards.
4.4 Mounting the Wall Plate Assembly
- Determine the desired height for your TV. Mark the location for the top mounting holes of the wall plate.
- Hold the wall plate against the wall at the marked height and use a level to ensure it is perfectly horizontal. Mark all drilling locations.
- Drill pilot holes at the marked locations.
- For wood studs: Drill 7/32 inch (5.5mm) pilot holes.
- For concrete/brick: Drill 3/8 inch (10mm) pilot holes and insert concrete anchors flush with the wall surface.
- Attach the wall plate assembly to the wall using the lag bolts and washers. Tighten securely, but do not overtighten.

Image 4.1: Example of a TV mounted on the Emerald Full Motion TV Wall Mount in a living room setting.
5. Operating Instructions
Once your TV is securely mounted, you can adjust its position for optimal viewing.
5.1 Swivel Adjustment
The mount allows for 180-degree swivel in either direction (depending on TV size and wall clearance). Gently push or pull the TV to the desired angle.
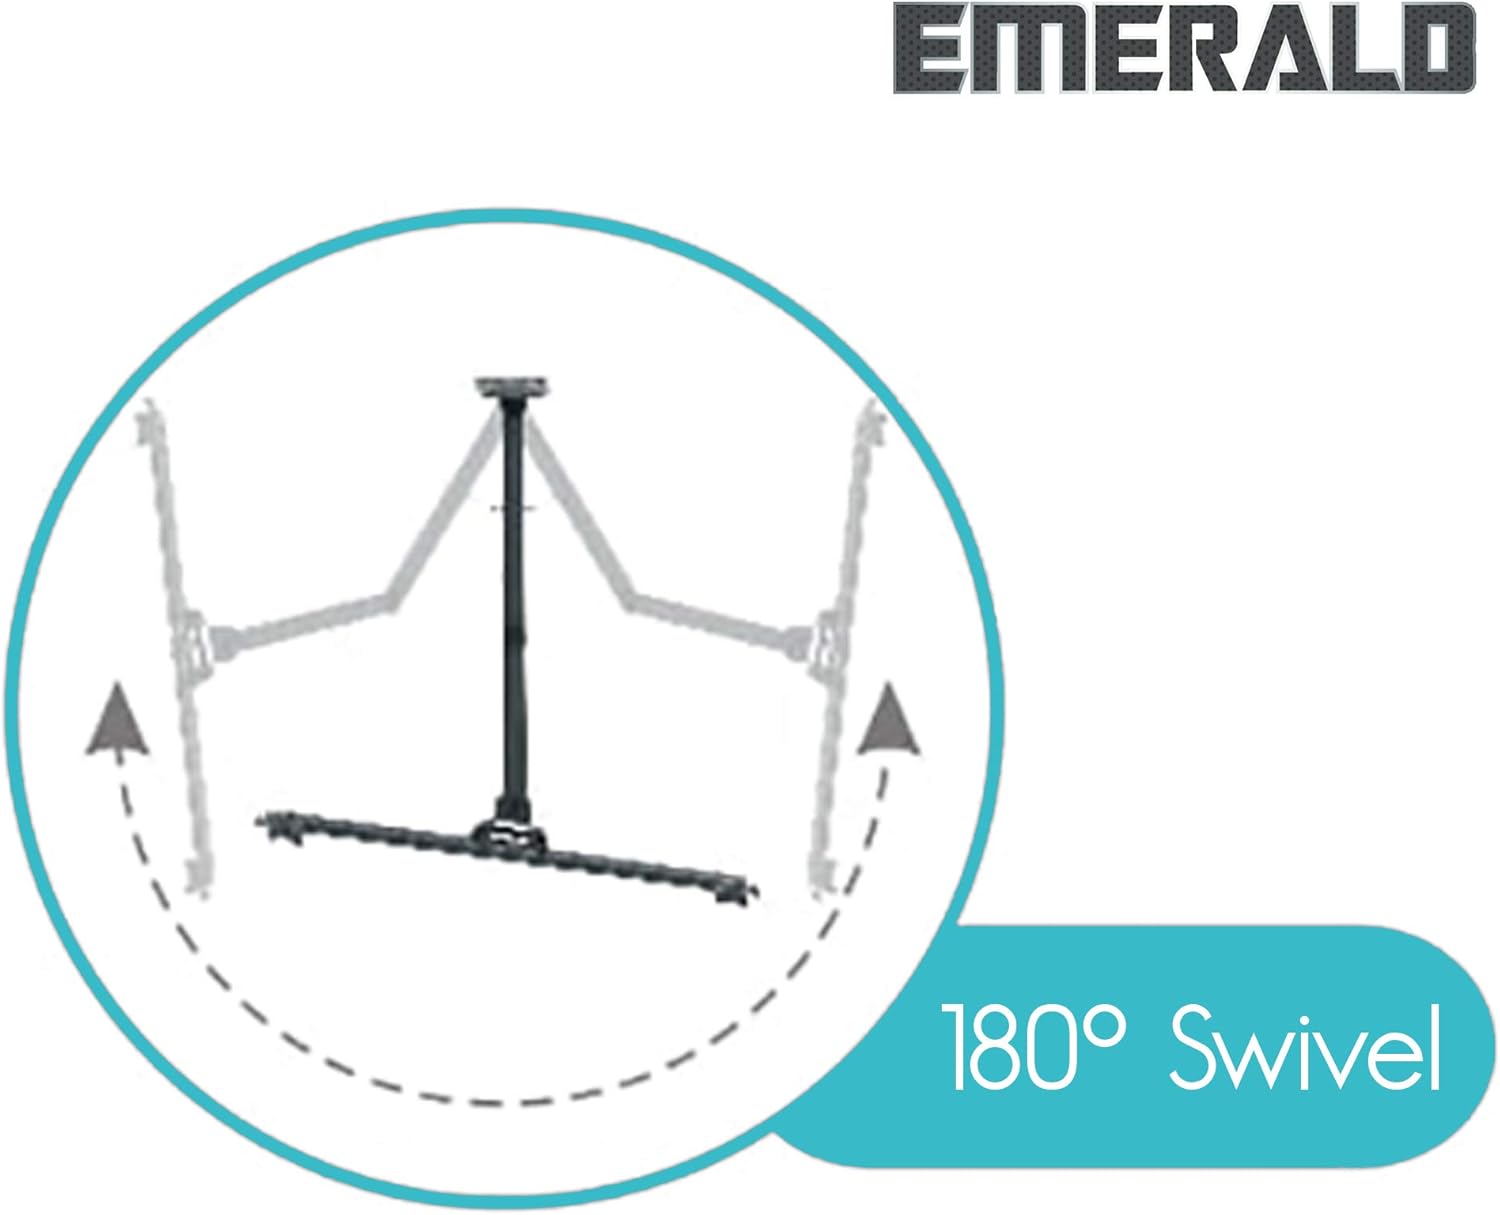
Image 5.1: Diagram illustrating the 180-degree swivel capability of the TV mount.
5.2 Tilt Adjustment
The mount offers a tilt range of +10 degrees upward and -15 degrees downward. Loosen the tilt adjustment knobs on the TV bracket arms, adjust the TV to the desired tilt angle, and then securely tighten the knobs.

Image 5.2: Diagram illustrating the tilt adjustment range of +10 degrees upward and -15 degrees downward.
5.3 Extension and Retraction
The articulated arm allows the TV to extend up to 16.81 inches (427mm) from the wall and retract to a minimum of 2.48 inches (63mm). Gently pull or push the TV to extend or retract it.

Image 5.3: Diagram comparing the mount in its compressed state (2.48 inches from wall) and fully extended state (16.81 inches from wall).
5.4 Post-Installation Level Adjustment
After installation, you can make minor horizontal level adjustments of +/- 3 degrees. Loosen the leveling screws on the TV bracket arms, adjust the TV to be perfectly level, and then re-tighten the screws.

Image 5.4: Diagram illustrating the post-installation level adjustment feature, allowing for +/- 3 degrees of rotation.
6. Maintenance
- Periodically inspect the mount and all fasteners to ensure they are secure. Re-tighten if necessary.
- Clean the mount with a soft, dry cloth. Avoid abrasive cleaners or solvents.
- Do not apply lubricants to the moving parts unless specifically instructed by the manufacturer.
7. Troubleshooting
- TV is not level after installation: Use the post-installation level adjustment feature as described in Section 5.4. Loosen the leveling screws, adjust, and re-tighten.
- Difficulty moving the TV (swivel/tilt/extension): Check if any adjustment knobs or screws are overtightened. Loosen slightly to allow movement, then re-tighten to secure the position. Ensure no cables are snagged.
- Mount feels unstable: Immediately remove the TV from the mount. Re-check all wall mounting fasteners and TV bracket screws for proper tightness and secure installation into wall studs or concrete. Ensure the TV weight and size are within the mount's specifications.
- Missing parts: Do not proceed with installation. Contact Emerald customer support for replacement parts.
8. Specifications
| Model Number | SM-720-8712 |
| Compatible TV Sizes | 32 - 85 inches |
| Maximum Weight Capacity | 200 lbs (90.7 kg) |
| Mounting Type | Wall Mount |
| Movement Type | Swivel, Tilt, Extension |
| Swivel Range | 180 degrees (left/right) |
| Tilt Range | +10 degrees (up) / -15 degrees (down) |
| Level Adjustment | +/- 3 degrees (post-installation) |
| Extension from Wall | 2.48 inches (63mm) to 16.81 inches (427mm) |
| Material | Metal |
| Color | Black |
| Product Dimensions | 26 x 11 x 3 inches |
| Item Weight | 6.59 pounds |
| UPC | 854443007337 |
9. Official Product Video
Watch the official product video for a visual guide on the features and benefits of the Emerald Full Motion TV Wall Mount.
Video 9.1: Official product video demonstrating the features and functionality of the Emerald Full Motion TV Wall Mount Bracket. This video highlights the mount's articulation, swivel, and tilt capabilities.
10. Warranty and Support
Emerald products are manufactured with quality and durability in mind. For warranty information, technical support, or to report missing/damaged parts, please contact Emerald customer service. Keep your purchase receipt as proof of purchase.
For further assistance, please visit the official Emerald store or contact their customer support channels.


