Introduction
This manual provides detailed instructions for the installation, operation, and maintenance of your Westek FA413HB 12.5-inch Fluorescent Under Cabinet Light. Please read these instructions thoroughly before installation and retain this manual for future reference.
Safety Information
- WARNING: To avoid electric shock, ensure power is turned off at the circuit breaker or fuse box before installation or servicing.
- This product is intended for indoor use only.
- Do not install near heat sources or in damp locations.
- Ensure all electrical connections are made in accordance with local codes and ordinances. If you are unsure, consult a qualified electrician.
- Do not attempt to modify the fixture. Any modifications may void the warranty and create a safety hazard.
- Handle fluorescent bulbs with care. If a bulb breaks, ventilate the area and clean up broken glass and mercury according to local regulations.
Package Contents
Verify that all components are present before beginning installation:
- Westek FA413HB 12.5-inch Fluorescent Under Cabinet Light Fixture
- 8-watt T5 Fluorescent Bulb (pre-installed or separate)
- Power Cord (for plug-in installation)
- Mounting Hardware (screws)
- Instruction Manual (this document)
Specifications
| Model Number | FA413HB |
| Dimensions | 12.5 inches (Length) x 1 inch (Profile) |
| Wattage | 8 Watts |
| Light Source | T5 Fluorescent Bulb |
| Power Source | Plug-in Electric (can be converted to direct-wire) |
| Control Method | Integrated Push Button On/Off Switch |
| Material | Steel Construction |
| Color | White |
Setup and Installation
The Westek FA413HB fixture offers both plug-in and direct-wire installation options. Always ensure power is disconnected before starting installation.
1. Mounting the Fixture
- Determine the desired location for the light fixture under your cabinet. Ensure there is sufficient space and a power outlet nearby for plug-in installation, or access to electrical wiring for direct-wire.
- Using the provided mounting hardware (screws), secure the fixture to the underside of the cabinet. The fixture is designed with a slim 1-inch profile to hide behind most cabinet lips.
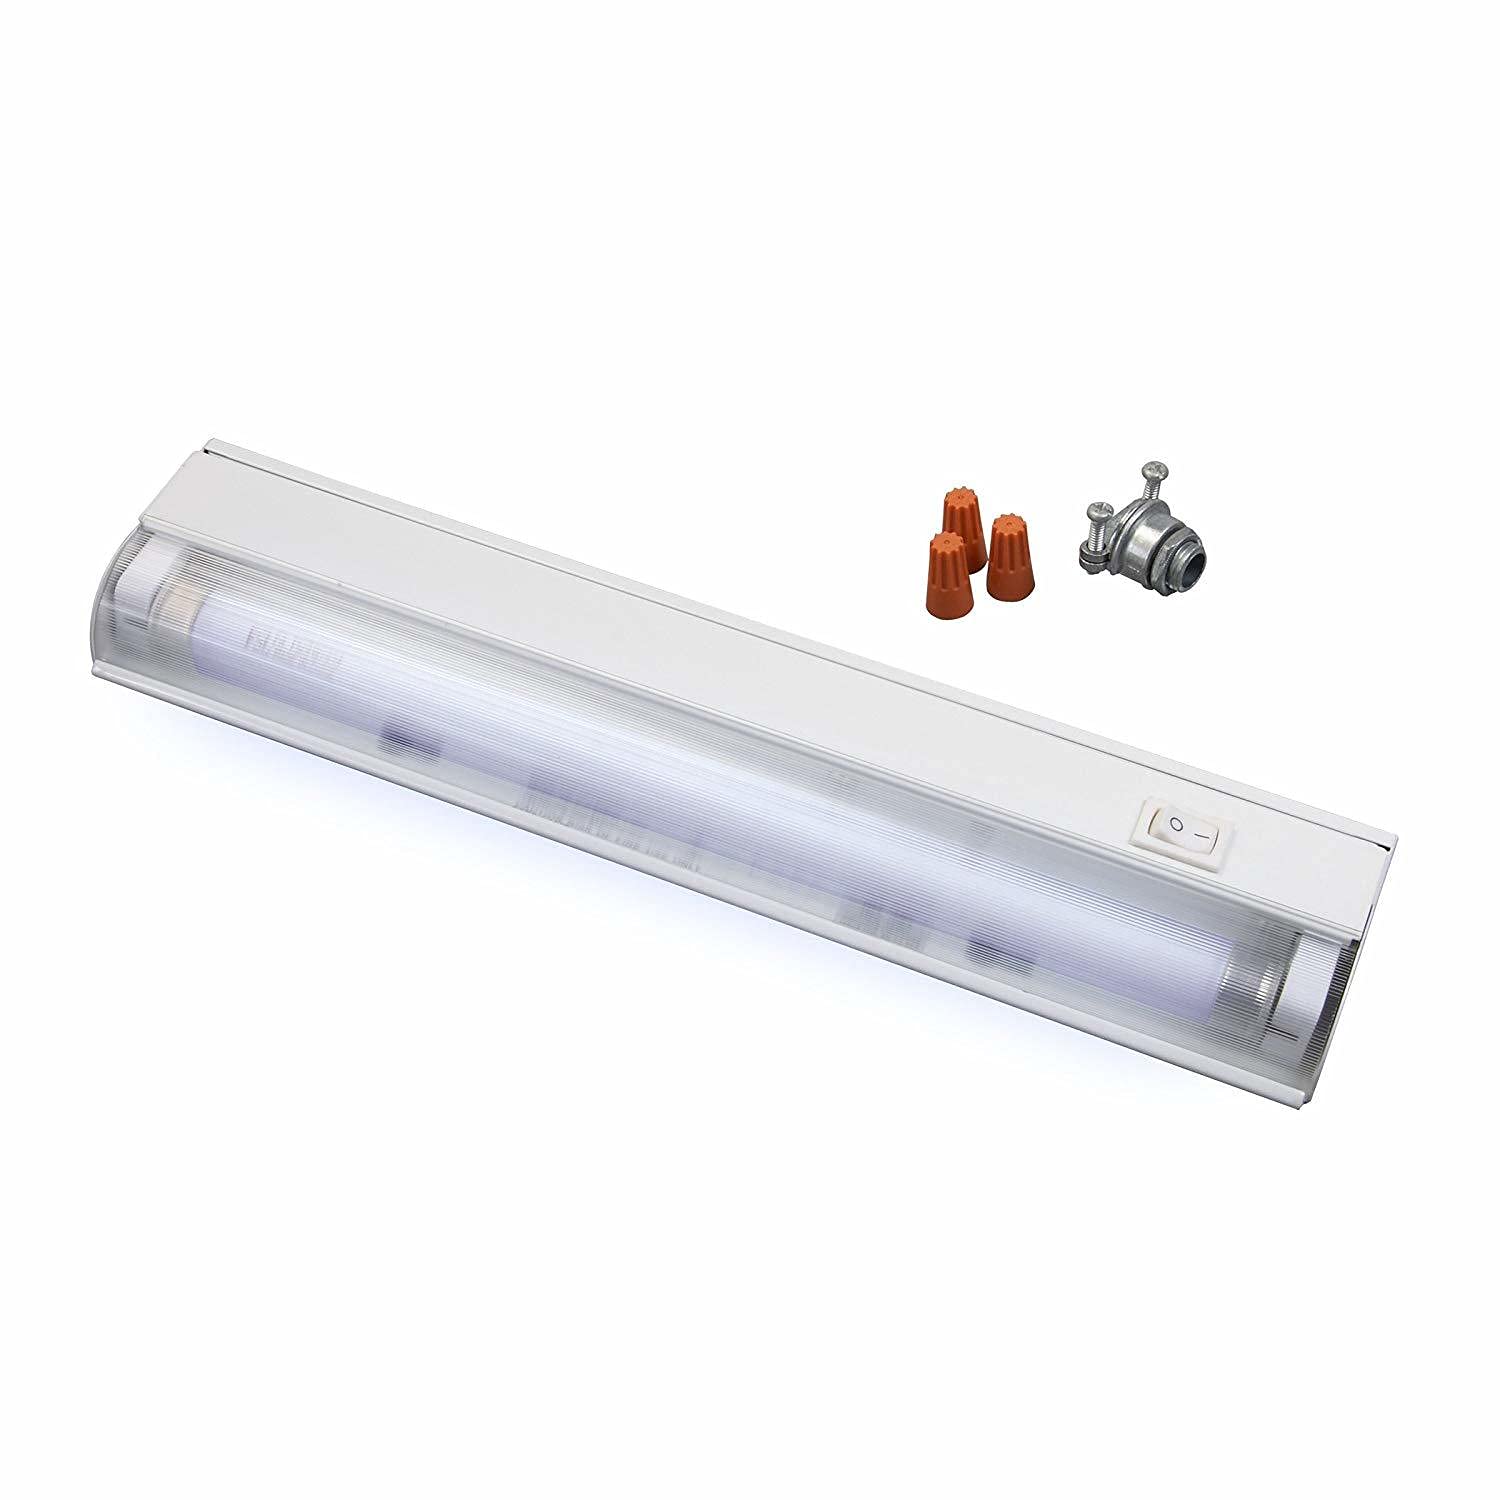
Image: Westek FA413HB 12.5-inch under cabinet light fixture, showing its slim design, integrated on/off switch, and included accessories like wire nuts and a conduit connector for installation.
2. Connecting Power (Plug-in Option)
- Once the fixture is securely mounted, connect the provided power cord to the fixture.
- Plug the power cord into a standard 120V AC wall outlet.
- Ensure the cord is routed safely and does not pose a tripping hazard or get pinched.
3. Connecting Power (Direct-Wire Option)
This fixture can be converted for direct-wire installation. It is highly recommended that direct-wire installation be performed by a qualified electrician to ensure safety and compliance with electrical codes.
- Turn off power at the circuit breaker.
- Remove the cover plate from the fixture to access the wiring compartment.
- Connect the household electrical wires to the fixture's wires (typically black to black, white to white, and ground to ground) using appropriate wire connectors (wire nuts, often included).
- Secure the wiring and replace the cover plate.
- Restore power at the circuit breaker.
Operating Instructions
The Westek FA413HB features an integrated on/off switch for easy operation.
- To turn the light ON, press the switch located on the fixture.
- To turn the light OFF, press the switch again.
- The electronic ballast provides instant-on, flicker-free, and quiet operation.
Maintenance
Bulb Replacement
The fixture uses an 8-watt T5 fluorescent bulb. To replace the bulb:
- IMPORTANT: Disconnect power to the fixture at the circuit breaker or by unplugging it before attempting to replace the bulb.
- Carefully remove the clear lens cover by gently prying it off.
- Gently twist the old T5 fluorescent bulb to release it from its sockets and remove it.
- Insert the new 8-watt T5 fluorescent bulb into the sockets, ensuring it is properly seated.
- Replace the clear lens cover, ensuring it snaps securely into place.
- Restore power to the fixture.
Cleaning
To clean the fixture, ensure power is disconnected. Wipe the exterior surfaces with a soft, damp cloth. Do not use abrasive cleaners or solvents, as they may damage the finish or lens.
Troubleshooting
| Problem | Possible Cause | Solution |
|---|---|---|
| Light does not turn on. | No power to the fixture. Bulb is faulty or not seated correctly. On/off switch is off. | Check circuit breaker/fuse. Ensure power cord is plugged in securely (for plug-in). Check bulb seating; replace bulb if necessary. Press the on/off switch. |
| Light flickers or hums. | Bulb is old or faulty. Incorrect bulb type. | Replace the T5 fluorescent bulb. Ensure you are using an 8-watt T5 fluorescent bulb. |
| Light is dim. | Bulb is nearing end of life. | Replace the T5 fluorescent bulb. |
Warranty and Support
Westek products are designed for quality and reliability. For warranty information or technical support, please refer to the contact information provided on the product packaging or visit the official Westek website. Please have your model number (FA413HB) and purchase date available when contacting support.
For more information, visit the Westek Store.


