
PRUNUS J-196
PRUNUS J-196 Portable AM/FM/SW Radio with Bluetooth and Flame LED User Manual
Model: J-196 | Brand: PRUNUS
Introduction
This manual provides instructions for the PRUNUS J-196 portable radio. It covers setup, operation, maintenance, and troubleshooting to ensure optimal performance and user experience. The J-196 features AM, FM, and Shortwave radio bands, Bluetooth connectivity, TF card and USB playback, and a unique flame LED effect.
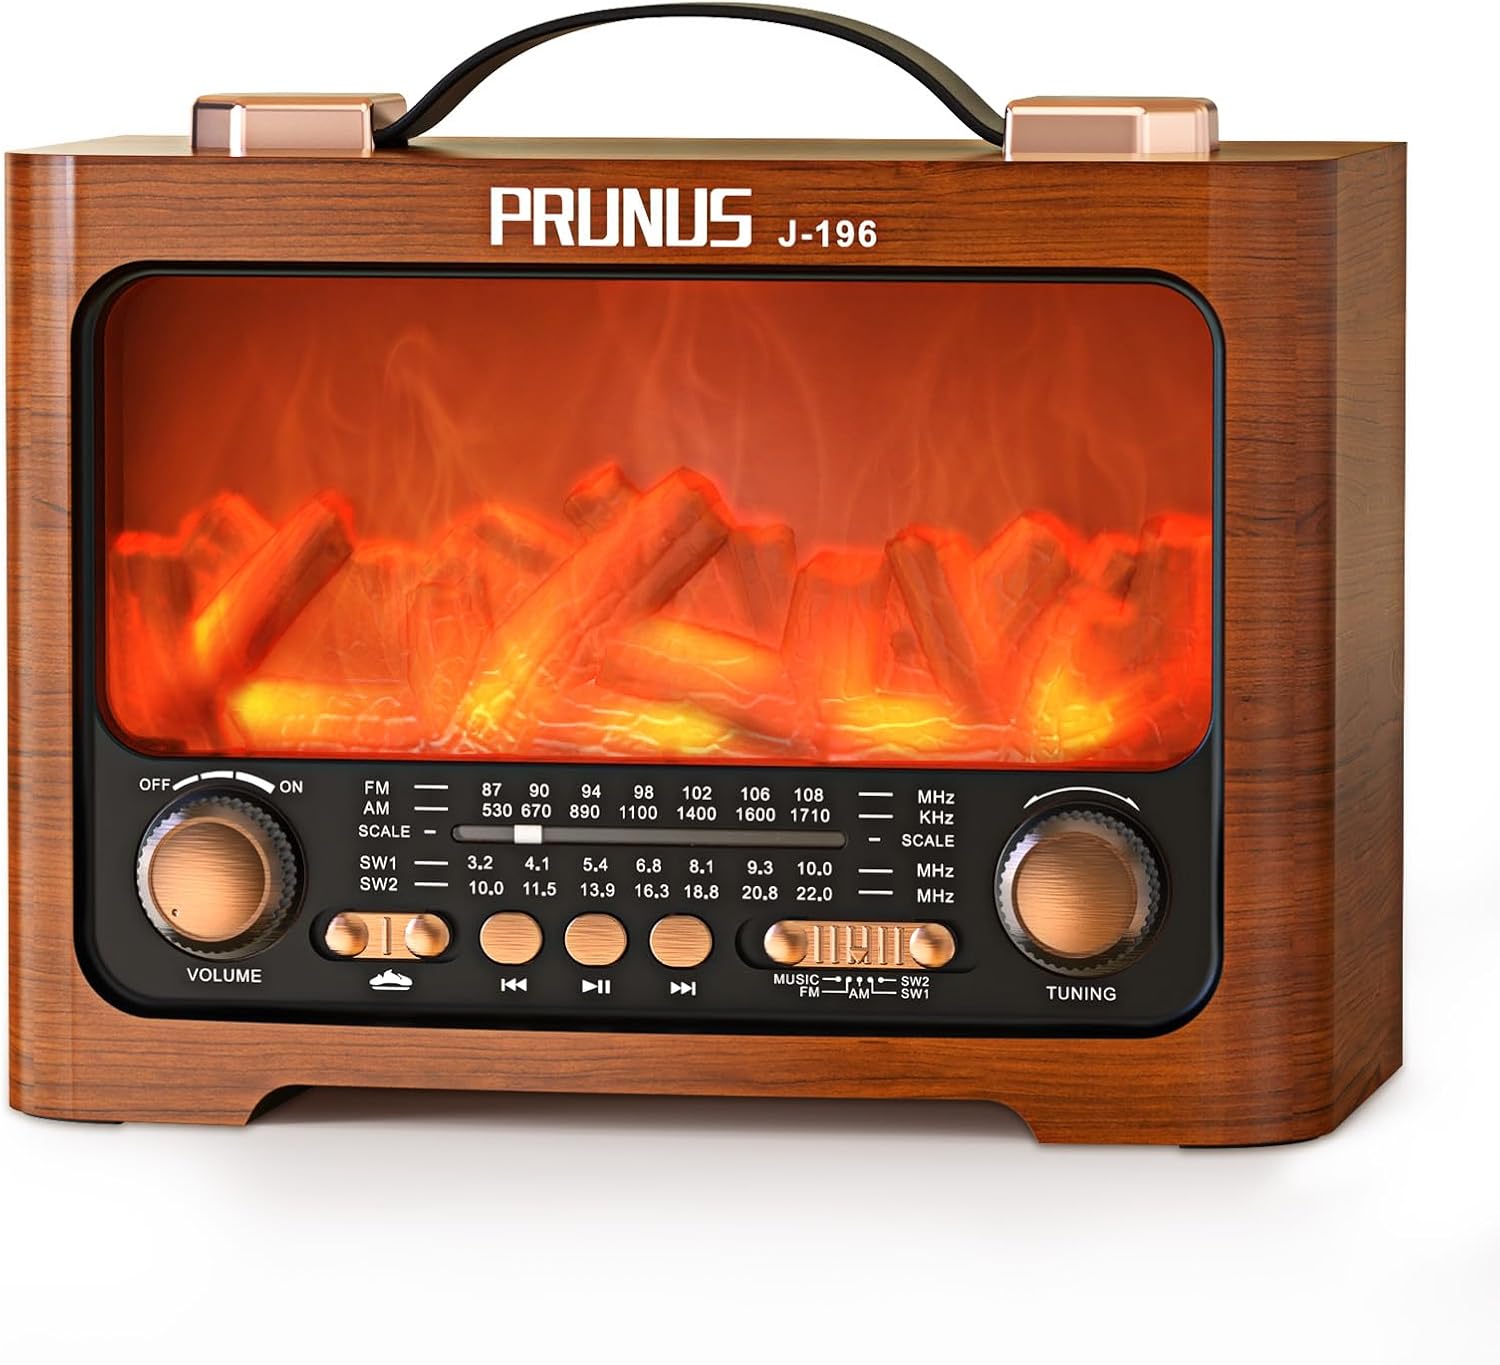
Figure 1: Front view of the PRUNUS J-196 radio, showcasing the flame LED effect and control panel.
What's Included
- PRUNUS J-196 Radio Unit
- USB-C Charging Cable
- Owner's Manual
- Quick Start Guide
Setup
1. Charging the Battery
The PRUNUS J-196 radio is equipped with a rechargeable 1800mAh Lithium-Ion battery. Before first use, fully charge the device.
- Locate the USB-C charging port on the back of the radio.
- Connect the provided USB-C cable to the radio and the other end to a compatible USB power adapter (not included).
- The charging indicator light will illuminate during charging. It will change color or turn off once fully charged.
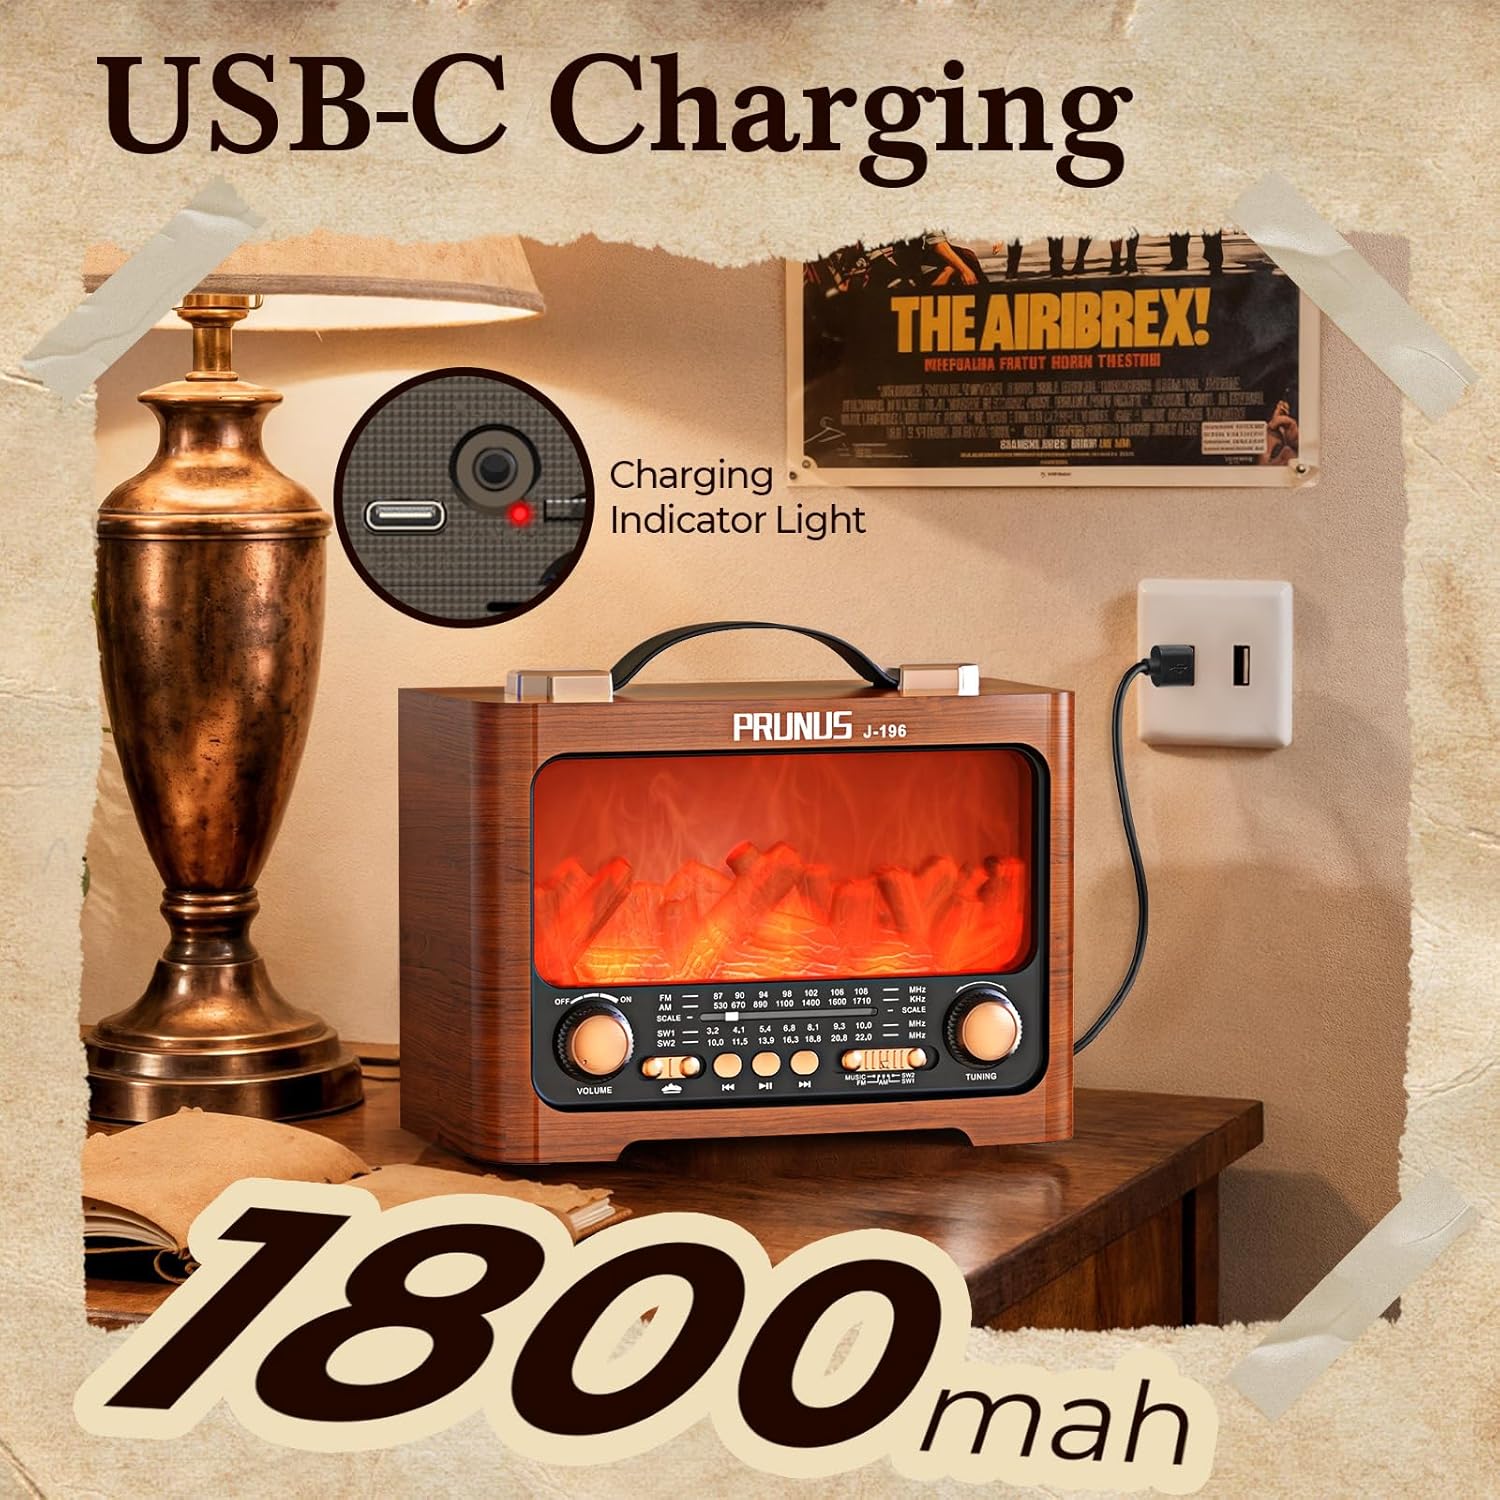
Figure 2: Rear view showing the USB-C charging port and charging indicator light.
2. Extending the Antenna
For optimal radio reception, especially for FM and Shortwave bands, fully extend the telescopic antenna located on the back of the unit.

Figure 3: The radio with its 29-inch telescopic antenna fully extended for improved reception.
Operating Instructions
1. Power On/Off and Volume Control
To power on the radio, rotate the VOLUME knob clockwise. Continue rotating to increase the volume. Rotate counter-clockwise to decrease volume and turn off the unit.
2. Radio Functions (AM/FM/SW)
The radio supports FM, AM, and two Shortwave (SW1, SW2) bands.
- Band Selection: Use the band selector switch on the front panel to choose between FM, AM, SW1, or SW2.
- Tuning: Rotate the TUNING knob to scan for radio stations. The frequency scale on the front panel indicates the current band and approximate frequency.
- Reception: For best reception, extend the telescopic antenna and adjust its position.
3. Bluetooth Playback
Connect your mobile device wirelessly via Bluetooth to play audio through the radio's speaker.
- Switch the radio to Bluetooth mode (usually indicated by "MUSIC" or a Bluetooth icon on the band selector).
- On your mobile device, enable Bluetooth and search for "J-196" in the list of available devices.
- Select "J-196" to pair. A confirmation sound may indicate successful pairing.
- Use the play/pause and skip buttons on the radio or your mobile device to control playback.
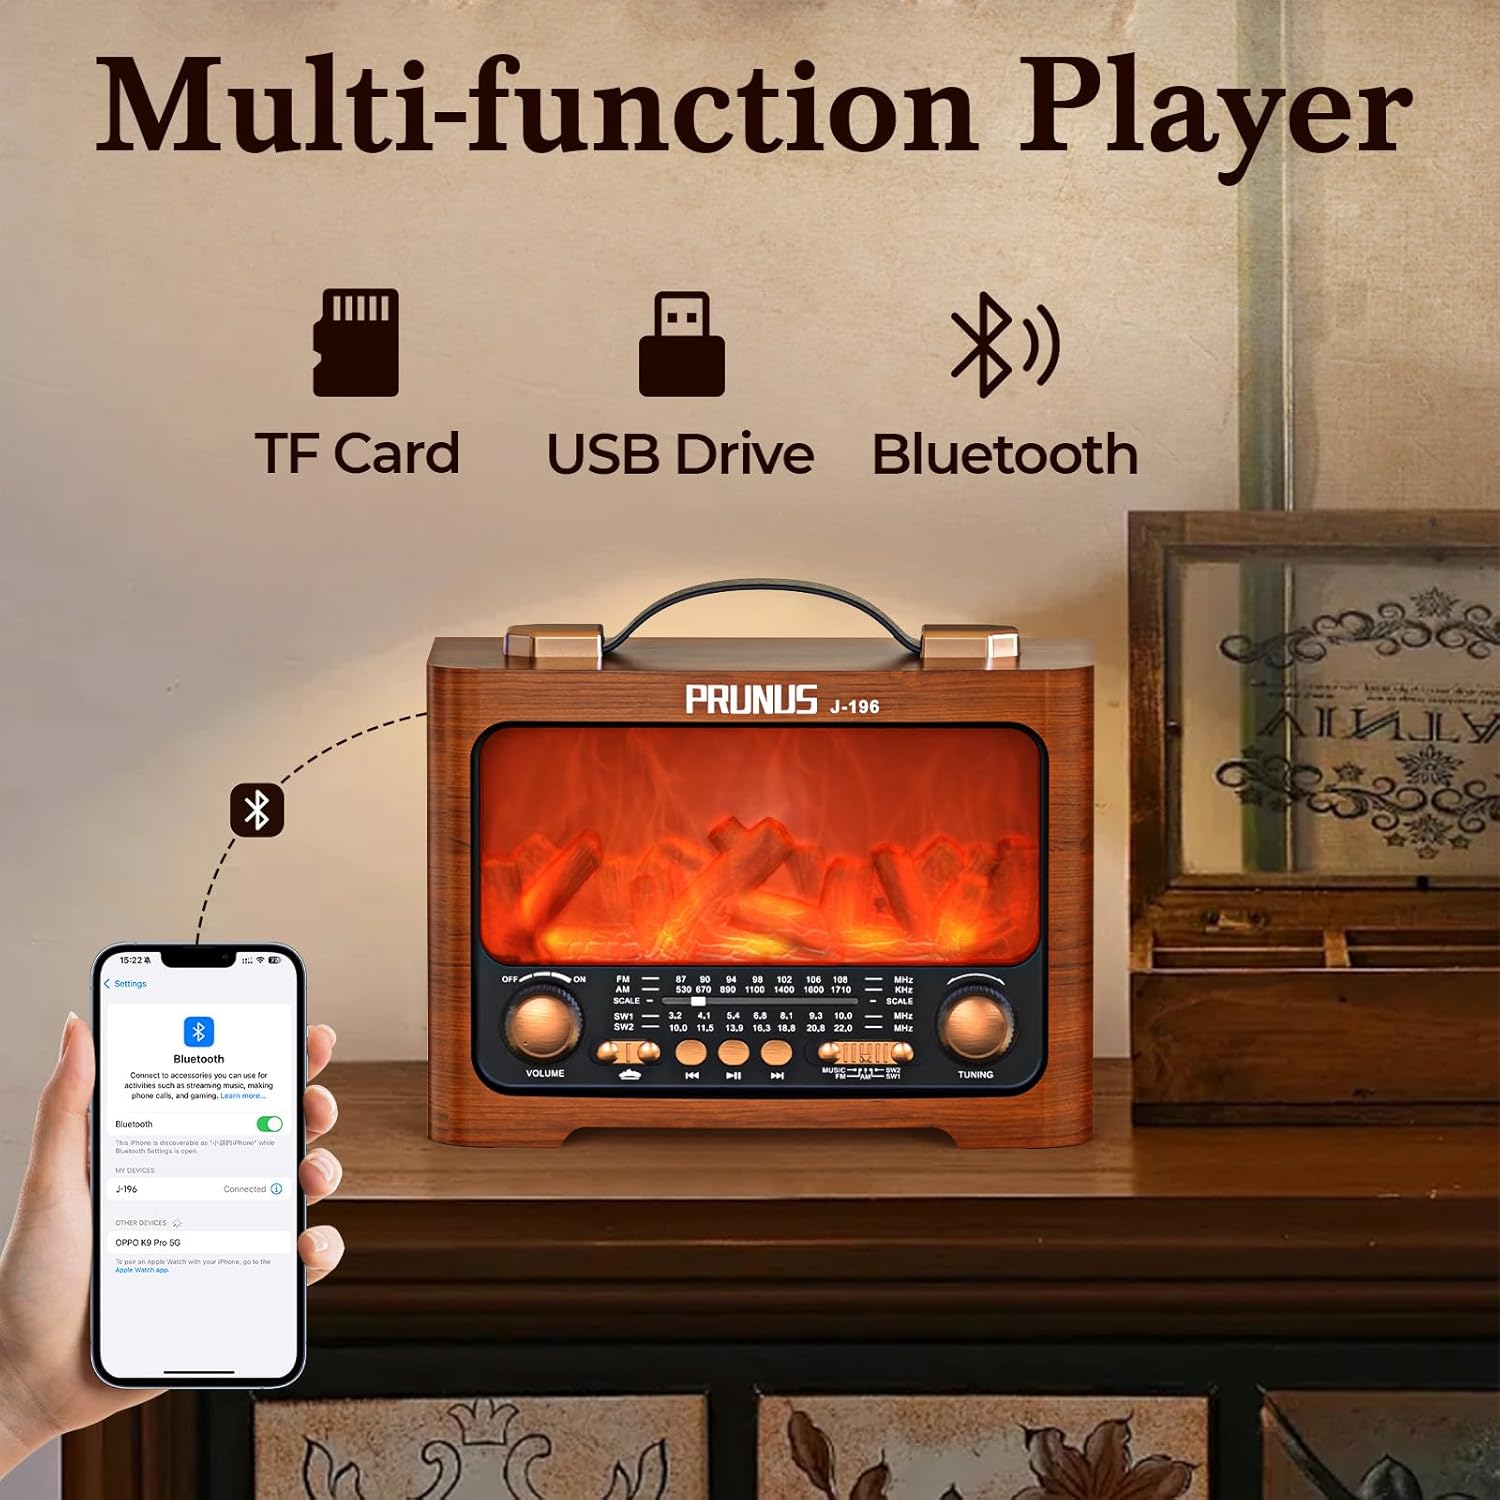
Figure 4: The radio's control panel highlighting playback options including Bluetooth, TF Card, and USB Drive.
4. TF Card and USB Playback
The radio supports playing MP3 audio files from a TF card or USB drive.
- Insert a TF card into the TF card slot or a USB drive into the USB port on the back of the radio.
- The radio will automatically switch to the corresponding playback mode (TF or USB) and begin playing audio files.
- Use the play/pause and skip buttons on the radio to control playback.
5. Flame LED Effect
The radio features a decorative flame LED effect that can be toggled on or off.
- Locate the flame effect switch on the front panel.
- Toggle the switch to turn the flame LED effect on or off.
- Note: The flame effect does not produce heat.

Figure 5: Illustration of the flame LED effect being turned on and off.
6. Audio Quality
The J-196 is equipped with an 8W high-power speaker and two bass reflex ports for enhanced sound quality and bass response.

Figure 6: Rear view of the radio showing the high-power speaker and dual bass reflex ports.
7. Portability
The radio features a convenient handle for easy transport. Its compact dimensions (10.1 x 5.7 x 7.6 inches) and light weight (3 lbs) make it suitable for various locations.

Figure 7: The radio with its portable handle, illustrating its dimensions for easy carrying.
Maintenance
- Cleaning: Use a soft, dry cloth to clean the exterior of the radio. Avoid using abrasive cleaners or solvents.
- Battery Care: To prolong battery life, avoid fully discharging the battery frequently. Charge the radio regularly, even if not in use for extended periods.
- Storage: Store the radio in a cool, dry place away from direct sunlight and extreme temperatures.
Troubleshooting
| Problem | Possible Cause | Solution |
|---|---|---|
| No power | Battery is discharged. | Charge the radio using the provided USB-C cable. |
| Poor radio reception | Antenna not extended or poor signal area. | Fully extend the telescopic antenna and adjust its position. Try moving the radio to a different location. |
| Bluetooth not connecting | Radio not in Bluetooth mode or device not discoverable. | Ensure the radio is in Bluetooth mode. On your device, turn Bluetooth off and on again, then re-scan for "J-196". |
| TF/USB playback not working | Incorrect file format or card/drive not properly inserted. | Ensure files are in MP3 format. Reinsert the TF card or USB drive. |
Specifications
- Model: J-196
- Dimensions: 10.1" L x 5.7" W x 7.6" H
- Weight: 3 lbs
- Power Source: Battery Powered (1 Lithium Ion battery included)
- Battery Capacity: 1800mAh
- Charging: USB-C (DC 5V)
- Radio Bands:
- FM: 87-108 MHz
- AM: 530-1710 kHz
- SW1: 3.2-10.0 MHz
- SW2: 10.0-22.0 MHz
- Speaker Output: 8W
- Connectivity: Bluetooth, USB, TF Card, AUX-in
- Special Features: Flame Effect LED, Portable, Rechargeable
Official Product Video
Video 1: Official PRUNUS J-196 product overview, demonstrating the flame LED, Bluetooth, TF/USB playback, and various features.
Warranty and Support
For warranty information and customer support, please refer to the contact details provided in the Quick Start Guide or visit the official PRUNUS website. Keep your purchase receipt for warranty claims.
Related documentsJ-196


Ask a question about this manual
Ask about setup, troubleshooting, compatibility, parts, safety, or missing instructions. Manuals+ will review the question and use this page’s manual context to help answer it.