
TOPPING DX5 II
TOPPING DX5 II Hi-Res DAC & Headphone Amp Combo User Manual
Model: DX5 II
Product Overview
The TOPPING DX5 II is a versatile Hi-Res DAC (Digital-to-Analog Converter) and Headphone Amplifier combo unit designed for audiophiles. It features dual ES9039Q2M DAC chips for high-resolution audio, an X-Hybrid headphone amplifier, and extensive connectivity options. This manual provides detailed instructions for setup, operation, and maintenance of your DX5 II.

Image: Front view of the TOPPING DX5 II in white, alongside its remote control. The device features a display screen and control knob.
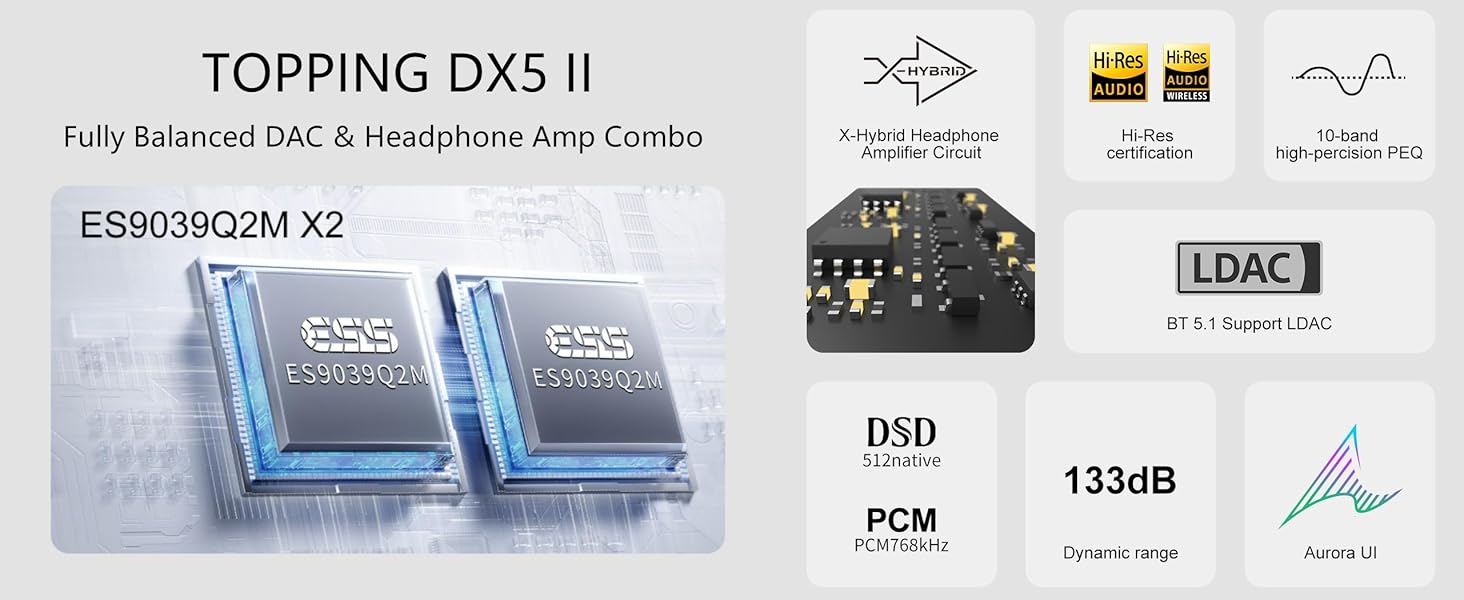
Image: A visual summary of the TOPPING DX5 II's core features, including its dual DAC chips, amplifier circuit, audio certifications, and user interface.
Key Features:
- Dual ESS9039Q2M DAC Chips: Delivers high-resolution audio with ultra-low distortion and noise, supporting PCM768kHz/32bit and DSD512 decoding.
- Powerful Balanced Headphone Amp: Features an X-Hybrid headphone amplifier circuit with a fully balanced quad-channel design, offering an impressive 7600mW x2 output.
- 10-Band High Precision PEQ Adjustment: Allows precise tuning of your audio system for an ideal sound signature.
- Bluetooth 5.1 & LDAC Wireless DAC: Supports LDAC, aptX Adaptive, aptX HD, AAC, and SBC codecs.
- Aurora UI with Full-Color Display: Vibrant 2.0" screen with 9 customizable themes and an intuitive pressable knob.
- Extensive Connectivity & Plug-and-Play: USB/Bluetooth/Coaxial SPDIF/Optical SPDIF input with XMOS XU316, compatible with Windows, Mac, Linux, iOS, and Android.
- 12V Trigger & Active Speaker Friendly: Supports 12V Trigger in/out for seamless integration and preamp mode for direct volume control.
Video: An official product video from Toppingaudio showcasing the features and design of the DX5 II DAC AMP Combo.
Setup Guide
Follow these steps to set up your TOPPING DX5 II for optimal performance.
1. Unpacking and Inspection
Carefully remove all components from the packaging. Ensure all items listed in the "What's in the Box" section are present and undamaged.

Image: Contents of the DX5 II package, including the main unit, remote, cables, and adapter.
2. Connecting Power
Connect the supplied AC power cable to the power input on the rear panel of the DX5 II and then to a suitable wall outlet. Ensure the power switch on the rear is in the OFF position before connecting.
3. Input Connections
The DX5 II offers multiple input options:
- USB Input: Connect your computer (Windows, Mac, Linux) or mobile device (iOS, Android) using the provided USB cable.
- Coaxial SPDIF Input: Use a coaxial cable to connect to digital audio sources.
- Optical SPDIF Input: Use an optical cable to connect to digital audio sources.
- Bluetooth Input: For wireless audio streaming, ensure the Bluetooth antenna is securely attached to the BT port.
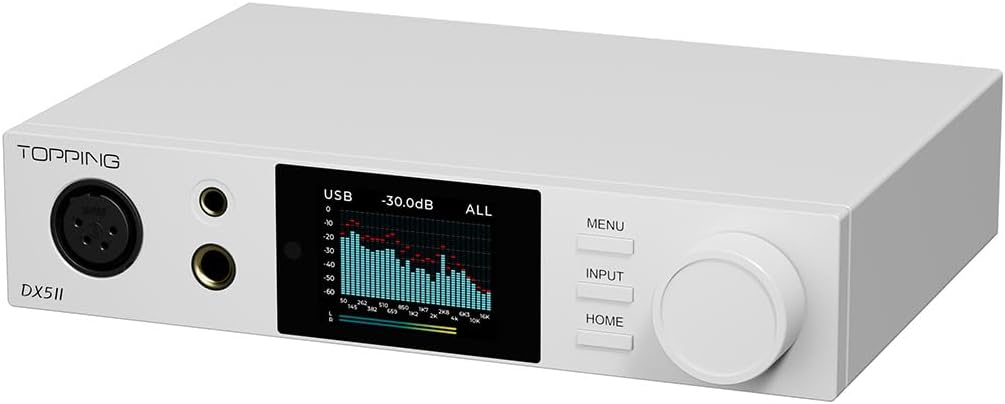
Image: Rear panel of the DX5 II, detailing all available input and output connections.
4. Output Connections
Choose your preferred output method:
- Headphone Outputs: Connect headphones to either the 4.4mm balanced or 6.35mm single-ended headphone jacks on the front panel.
- Line Outputs (RCA/XLR): Connect to active speakers or a power amplifier using the balanced XLR or unbalanced RCA outputs on the rear panel.
- 12V Trigger: Use the 12V Trigger in/out ports to synchronize power with other compatible audio equipment.

Image: The DX5 II (black version) integrated into a desktop audio setup with active speakers, demonstrating a typical connection scenario.

Image: The DX5 II (white version) integrated into a desktop audio setup with active speakers, demonstrating a typical connection scenario.
Operating Instructions
Learn how to navigate the DX5 II's features and optimize your listening experience.
1. Powering On/Off
After all connections are made, flip the power switch on the rear panel to the ON position. The Aurora UI screen will illuminate.
2. Front Panel Controls

Image: Detailed view of the DX5 II's front panel, highlighting the display and control interface.
- Control Knob: Rotate to adjust volume. Press to confirm selections or enter menus.
- MENU Button: Access the main settings menu.
- INPUT Button: Cycle through available input sources (USB, Coaxial, Optical, Bluetooth).
- HOME Button: Return to the main display screen.
3. Aurora UI and Display Options
The 2.0" full-color Aurora UI offers various display modes and customizable themes. Navigate to the 'Display' settings via the MENU button to change themes, brightness, and meter types (e.g., VU meter, spectrum analyzer).
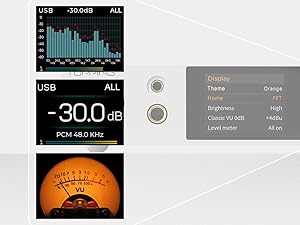
Image: Examples of the customizable display options available on the Aurora UI screen.
4. Bluetooth Pairing
To pair a Bluetooth device:
- Select Bluetooth as the input source using the INPUT button.
- On your mobile device, search for "DX5 II" in the Bluetooth settings and connect.
- The DX5 II supports LDAC, aptX Adaptive, aptX HD, AAC, and SBC codecs for high-fidelity wireless streaming.
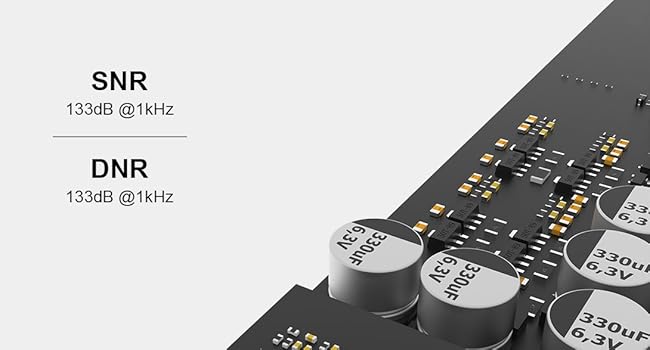
Image: A smartphone displaying a successful Bluetooth connection to the DX5 II, illustrating the wireless audio capability.
5. 10-Band PEQ Adjustment
The DX5 II features a 10-band parametric equalizer (PEQ) for precise sound customization. Access the PEQ settings through the MENU to adjust frequency bands, gain, and Q-factor to tailor the audio output to your preferences or room acoustics.
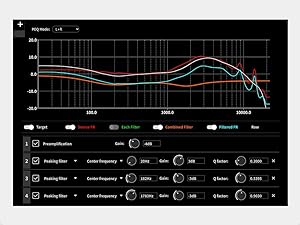
Image: The graphical interface for the 10-band PEQ, allowing detailed audio equalization.
6. Preamp Mode
When connected to active speakers or a pure amplifier, the DX5 II can operate in preamp mode, allowing its volume control to directly adjust the output level. This eliminates the need for a separate preamplifier. The device remembers the last set volume when switching outputs.
Maintenance
Proper care will ensure the longevity and performance of your DX5 II.
- Cleaning: Use a soft, dry cloth to wipe the exterior. Avoid abrasive cleaners or solvents.
- Ventilation: Ensure adequate airflow around the unit. Do not block ventilation openings.
- Environment: Keep the device away from excessive heat, humidity, dust, and direct sunlight.
- Connections: Periodically check all cable connections to ensure they are secure.
Troubleshooting
If you encounter issues, refer to the following common problems and solutions.
| Problem | Possible Cause | Solution |
|---|---|---|
| No power | Power cable not connected; Power switch off | Check power cable connection; Ensure rear power switch is ON |
| No sound output | Incorrect input selected; Volume too low; Output device not connected | Press INPUT to cycle sources; Increase volume; Check headphone/speaker connections |
| Bluetooth not connecting | DX5 II not in pairing mode; Device too far; Interference | Ensure Bluetooth input is selected; Move device closer; Reduce interference sources |
| Distorted audio | Input signal too high; Cable issues; PEQ settings | Reduce source volume; Check/replace cables; Reset PEQ to default or adjust |
If the problem persists, please contact TOPPING customer support.
Specifications
| Feature | Detail |
|---|---|
| Brand | TOPPING |
| Model Number | DX5 II |
| DAC Chips | Dual ES9039Q2M |
| Headphone Amp | X-Hybrid, Fully Balanced Quad-Channel |
| Max Headphone Output | 7600mW x2 |
| PCM Decoding | Up to 768kHz/32bit |
| DSD Decoding | Up to DSD512 Native |
| Bluetooth Version | 5.1 (QCC5125) |
| Bluetooth Codecs | LDAC, aptX Adaptive, aptX HD, AAC, SBC |
| Display | 2.0" Aurora UI Full-Color Screen |
| Inputs | USB, Bluetooth, Coaxial SPDIF, Optical SPDIF |
| Outputs | 4.4mm Balanced Headphone, 6.35mm Single-Ended Headphone, Balanced XLR Line Out, Unbalanced RCA Line Out |
| Dimensions (W x D x H) | 7.48" x 6.1" x 1.73" (19.0 cm x 15.5 cm x 4.4 cm) |
| Weight | 4.2 pounds |
| Material | Plastic, Metal |
| Color | White (as per current product) |
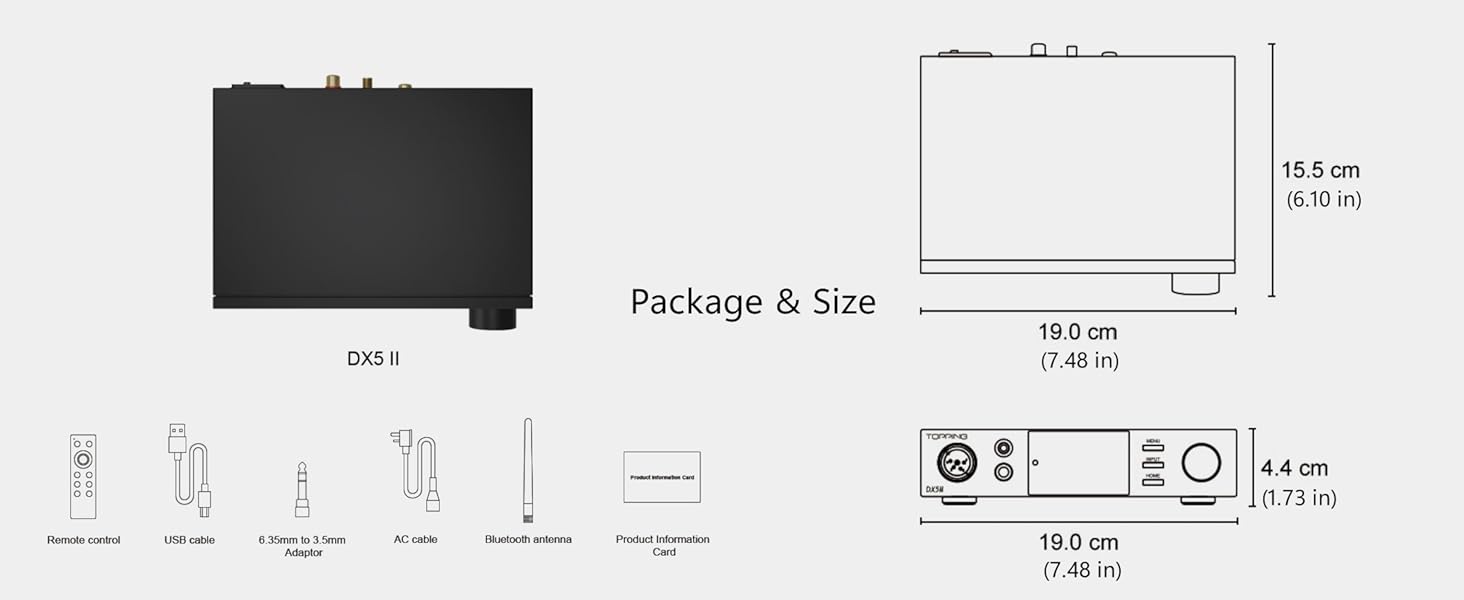
Image: Technical drawing illustrating the dimensions of the DX5 II and its accessories.
What's in the Box
- TOPPING DX5 II Unit
- Remote Control
- USB Cable
- 6.35mm to 3.5mm Adapter
- AC Power Cable
- Bluetooth Antenna
- Quick Start Guide
- Product Information Card
Warranty and Support
For warranty information and technical support, please refer to the Product Information Card included in your package or visit the official TOPPING website. Keep your purchase receipt for warranty claims.
Manufacturer: TOPPING
Contact: Refer to the official TOPPING website or included documentation for support contact details.
Related documentsDX5 II


Ask a question about this manual
Ask about setup, troubleshooting, compatibility, parts, safety, or missing instructions. Manuals+ will review the question and use this page’s manual context to help answer it.