
Introduction
This manual provides detailed instructions for the installation, operation, and maintenance of your Inexaccessories 7-inch Car Radio for Toyota RAV4 models (2007-2012). Please read this manual thoroughly before use to ensure proper functionality and safety.
Package Contents
- Car Radio Unit (7-inch Touch Screen)
- Back-up Camera & Camera Cable
- Power Cable
- Microphone Cable
- USB Cable
- User Manual

Image: Package contents of the Inexaccessories car radio.
Setup and Installation
Compatibility Check
This car radio is designed for Toyota RAV4 models from 2007 to 2012. It is important to verify your vehicle's compatibility before installation. This unit is not compatible with vehicles that have an original J-B-L audio system.

Image: Comparison of the original RAV4 dashboard stereo with the Inexaccessories 7-inch car radio installed. Includes a note on JBL audio system incompatibility.
Wiring Diagram
Refer to the following diagram for proper wiring connections. Ensure all connections are secure before powering on the unit.
Image: Wiring diagram and physical dimensions of the car radio unit.
CD/DVD Player Preparation
Before using the CD/DVD player function, remove the two screws located on the top of the car radio unit. Failure to do so may prevent disc insertion or cause damage.

Image: Illustration of removing screws from the top of the unit for CD/DVD player access.
Operating Instructions
Power On/Off
Press and hold the power button (usually labeled VOL or a dedicated power icon) to turn the unit on or off. A short press typically mutes or unmutes the audio.
CD/DVD Playback
After removing the protective screws (see Setup section), insert a CD or DVD into the disc slot. The unit will automatically detect the disc and begin playback. Use the on-screen controls or physical buttons to navigate tracks/chapters, pause, and adjust volume.

Image: Car radio displaying DVD playback.
CarPlay & Android Auto
Connect your smartphone to the car radio via a USB cable or wireless Bluetooth connection to activate CarPlay (for iPhone) or Android Auto (for Android phones). This allows access to navigation, calls, messages, music, and other compatible apps directly on the car stereo screen.
Image: CarPlay and Android Auto interfaces displayed on the car radio screen.
Bluetooth 5.2 & Voice Control
Pair your mobile device via Bluetooth 5.2 for hands-free calling, phonebook access, and wireless music streaming. The built-in noise-canceling microphone and external microphone ensure clear call quality. Activate voice assistants like Siri or Google Assistant by speaking commands to control your phone's functions while driving.

Image: Bluetooth hands-free calling and voice control features in use.
Mirror Link Function
The Mirror Link function allows you to synchronize your smartphone screen to the car radio display via a USB cable or Bluetooth. This enables viewing of content like maps, videos, or other apps on the larger screen. Note that this is a screen mirroring function, and app operation directly on the car screen may not be supported for all applications.
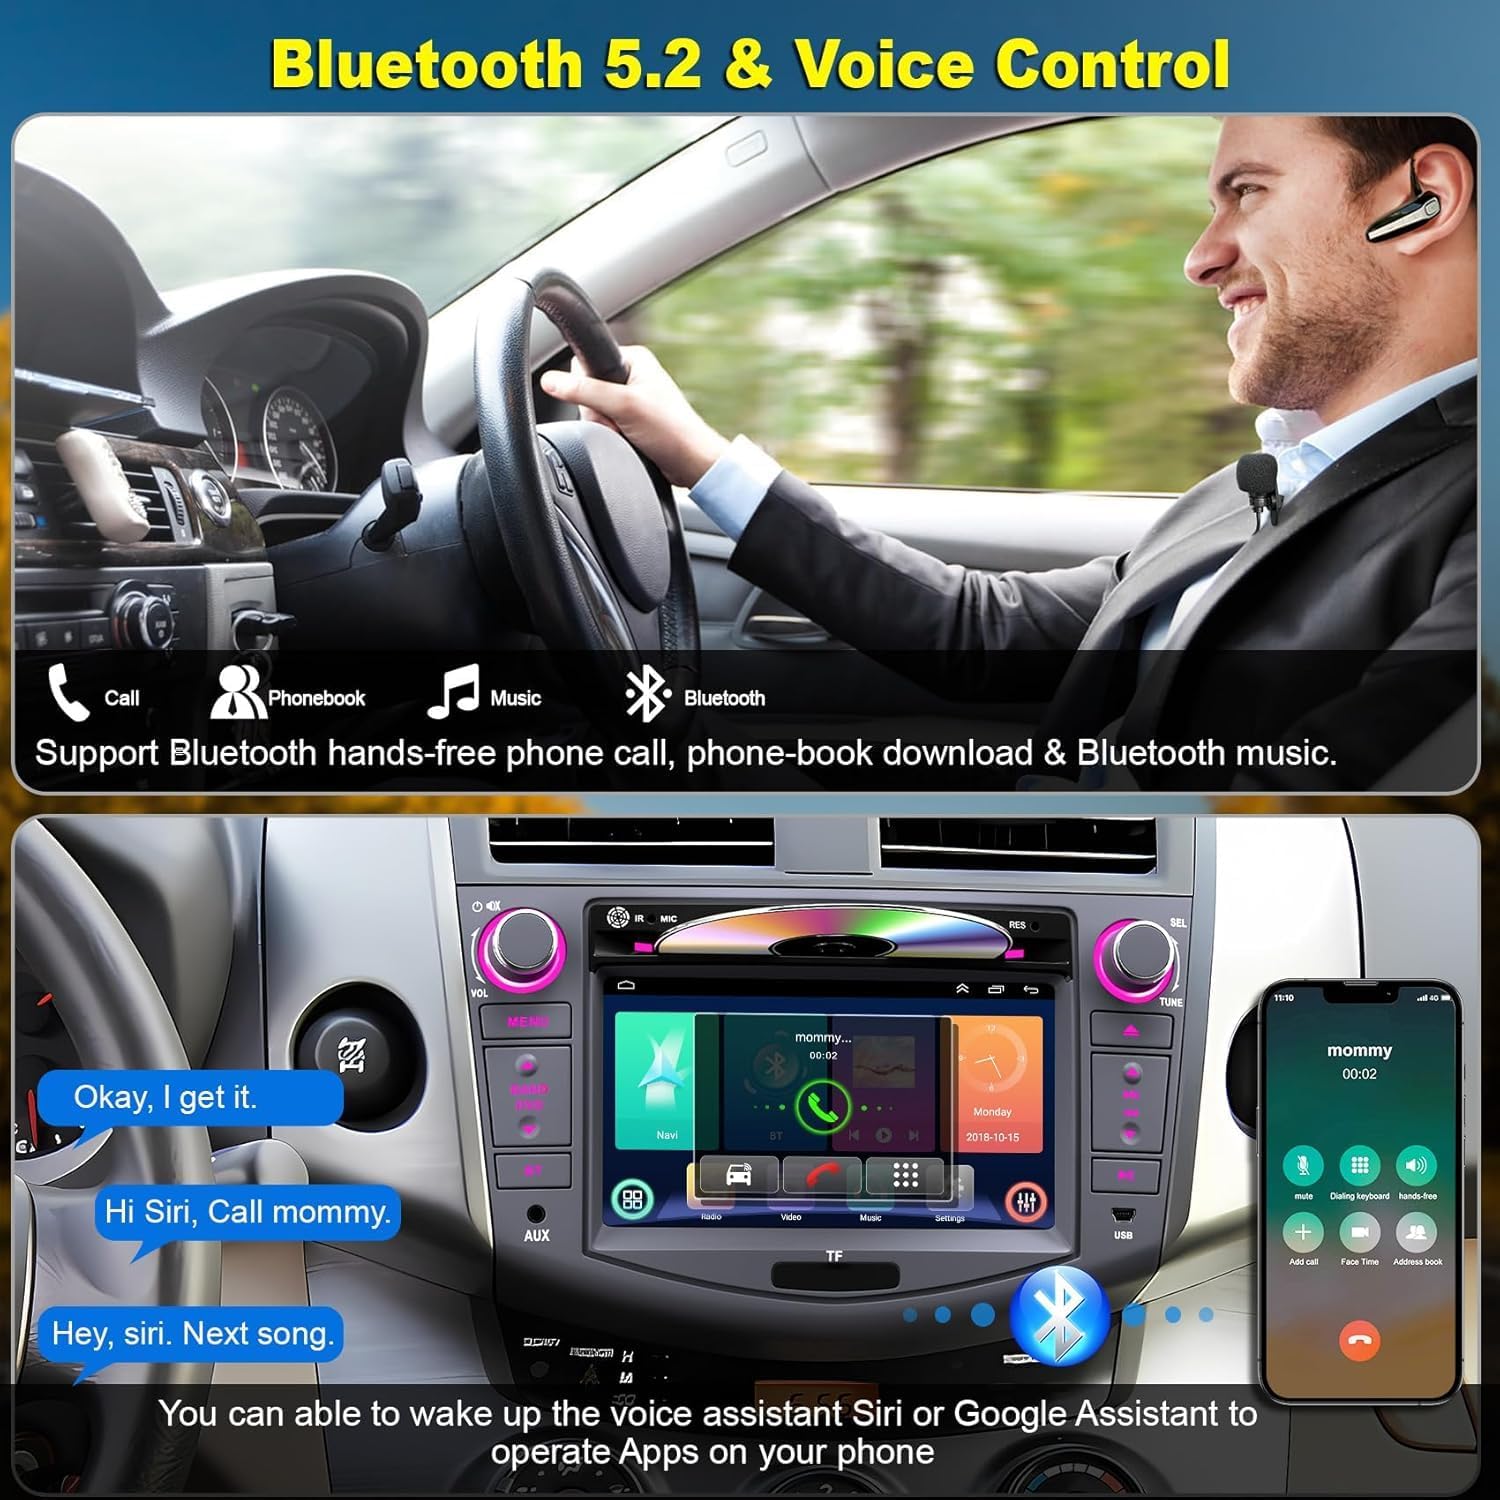
Image: Smartphone screen mirrored on the car radio display.
Backup Camera Integration
When the vehicle is shifted into reverse gear, the car radio display will automatically switch to the backup camera view. The included HD waterproof rear camera provides a 170° ultra-wide viewing angle and night vision for safer parking. (Front camera is not included).
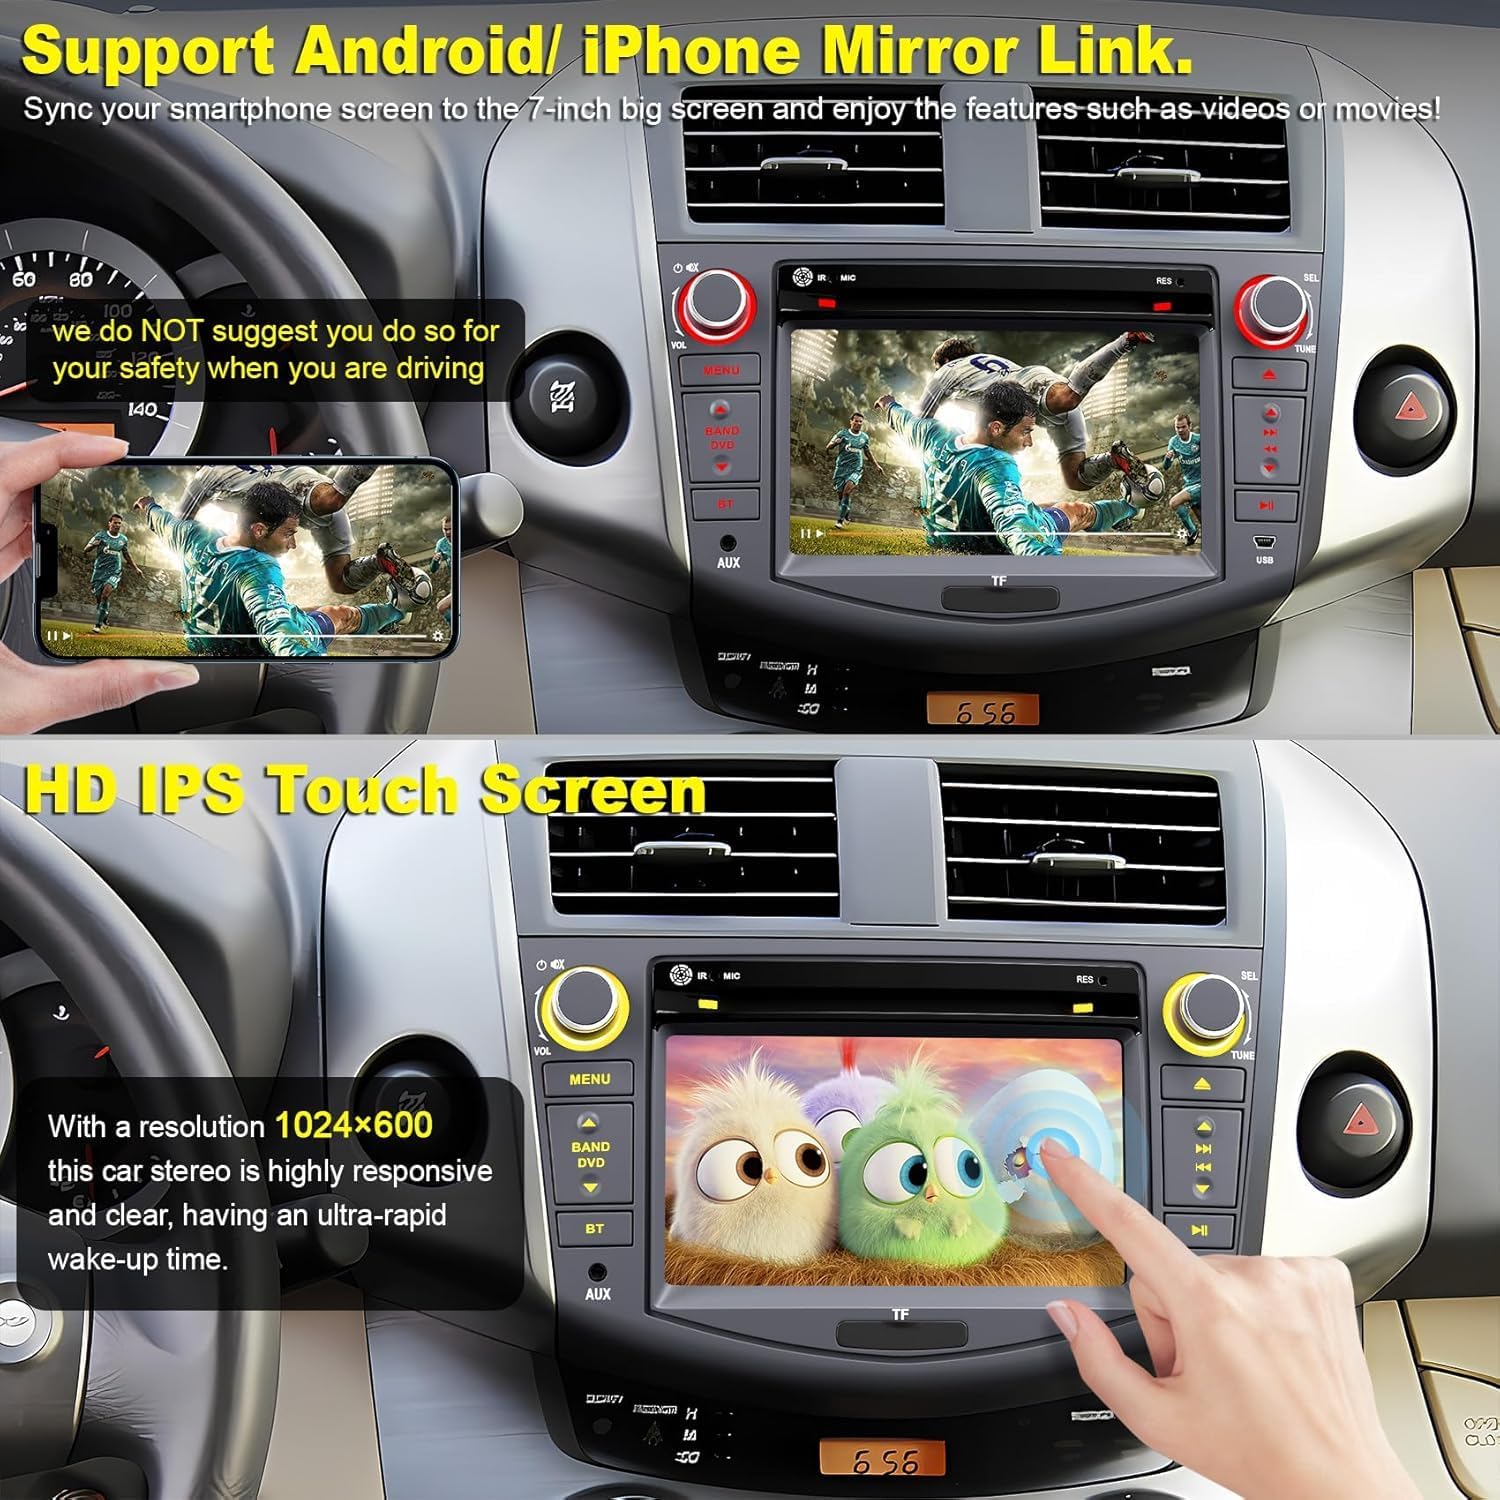
Image: Backup camera view on the car radio display.
Steering Wheel Control (SWC)
Connect the car radio to your vehicle's steering wheel controls to manage functions such as volume adjustment, track skipping, and answering calls directly from your steering wheel. This enhances driving safety and convenience.
Image: Steering wheel control interface on the car radio.
AM/FM Radio
Access AM/FM radio stations. The unit provides stable signal reception for various music, sports, and entertainment content.

Image: AM/FM radio interface.
EQ Settings (Equalizer)
Customize your audio output with the built-in equalizer settings. Choose from preset modes (CUSTOM, DBB, CLASS, ROCK, JAZZ, POP) or manually adjust bass and treble effects to achieve your preferred sound profile.
Image: Equalizer (EQ) settings interface.
Specifications
| Feature | Description |
|---|---|
| Model Name | Inexaccessories Car Radio |
| Vehicle Compatibility | Toyota RAV4 (2007-2012) |
| Screen Size | 7 inches |
| Screen Resolution | 1024*600P |
| Display Type | LCD, IPS Touchscreen |
| Connectivity Technology | Bluetooth 5.2, USB, TF card |
| Special Features | CarPlay, Android Auto, Mirror Link, Voice Control, Backup Camera Support, Steering Wheel Control (SWC), DSP & EQ Setting, AM/FM Radio, Split-Screen |
| Audio Output Mode | Stereo |
| Operating System | Android |
| Supported Navigation | GPS (Worldwide Map Type) |
| Included Components | Car radio unit, Backup camera & cable, Microphone cable, Power cable |
Troubleshooting
This section addresses common issues you might encounter with your car radio.
No Power
- Check Power Connections: Ensure the power cable is securely connected to both the car radio and the vehicle's power source.
- Check Fuse: Verify the 10A fuse (indicated in the wiring diagram) is intact. Replace if blown.
- Vehicle Battery: Confirm your vehicle's battery has sufficient charge.
No Sound
- Volume Level: Check if the volume is turned up and not muted.
- Speaker Connections: Ensure all speaker wires are correctly connected to the car radio.
- Audio Source: Verify the correct audio source (e.g., CD, Bluetooth, Radio) is selected.
- EQ Settings: Reset EQ settings to default to rule out misconfiguration.
CD/DVD Not Playing
- Protective Screws: Confirm the two protective screws on top of the unit have been removed.
- Disc Condition: Ensure the CD/DVD is clean and free from scratches or damage.
- Disc Format: Verify the disc format is supported by the player.
CarPlay/Android Auto Not Connecting
- USB Cable: Use a high-quality USB cable and ensure it's securely connected to both the phone and the car radio.
- Bluetooth Connection: For wireless connections, ensure Bluetooth is enabled on both devices and they are paired correctly.
- Phone Settings: Check your phone's settings for CarPlay/Android Auto permissions.
- Software Updates: Ensure your phone's operating system and the car radio's firmware are up to date.
Backup Camera Not Displaying
- Camera Connections: Verify the backup camera and its cable are correctly connected to the designated input on the car radio.
- Reverse Gear: Ensure the vehicle is in reverse gear for the camera to activate.
- Power Supply: Check if the camera is receiving power.
Maintenance
Regular maintenance helps ensure the longevity and optimal performance of your car radio.
Screen Cleaning
Use a soft, lint-free cloth slightly dampened with a screen cleaner or water to gently wipe the touchscreen. Avoid abrasive materials or harsh chemicals that could damage the screen surface.
Software Updates
Periodically check the manufacturer's website or contact support for available software or firmware updates. Keeping the software updated can improve performance and add new features.
Disc Drive Care
Keep the CD/DVD slot free from dust and debris. Use a specialized CD/DVD lens cleaner disc if you experience playback issues due to dirt on the lens.
Warranty and Support
Warranty Information
This Inexaccessories car radio comes with a 2-year warranty from the date of purchase. This warranty covers manufacturing defects and malfunctions under normal use. Please retain your proof of purchase for warranty claims.
Customer Support
For technical assistance, troubleshooting not covered in this manual, or warranty inquiries, please contact Inexaccessories customer support through the retailer where you purchased the product or visit the official Inexaccessories website for contact details.

