Product Overview
The YITAHOME 6x6FT Outdoor Storage Shed is designed to provide a durable and versatile storage solution for your outdoor needs. Constructed from weather-resistant thermoplastics and a galvanized steel frame, it offers protection against various elements. This shed features lockable doors for security, translucent side windows for natural light, and louvered vents to promote airflow and prevent dampness.
Key features include:
- Large & Versatile: Measuring 70.8''L x 70.8''W x 86.2''H, offering ample space for garden tools, lawn equipment, and bicycles.
- Ventilated & Transparent: Lockable door, translucent side windows, and louvered vents for light and airflow.
- Designed for Outdoors: Weather-resistant thermoplastics resist deformation, cracking, fading, corrosion, water, and UV rays.
- Double-Wall Structure: Sturdy double-wall plastic structure with a 0.6mm galvanized steel frame for longevity and impact resistance.
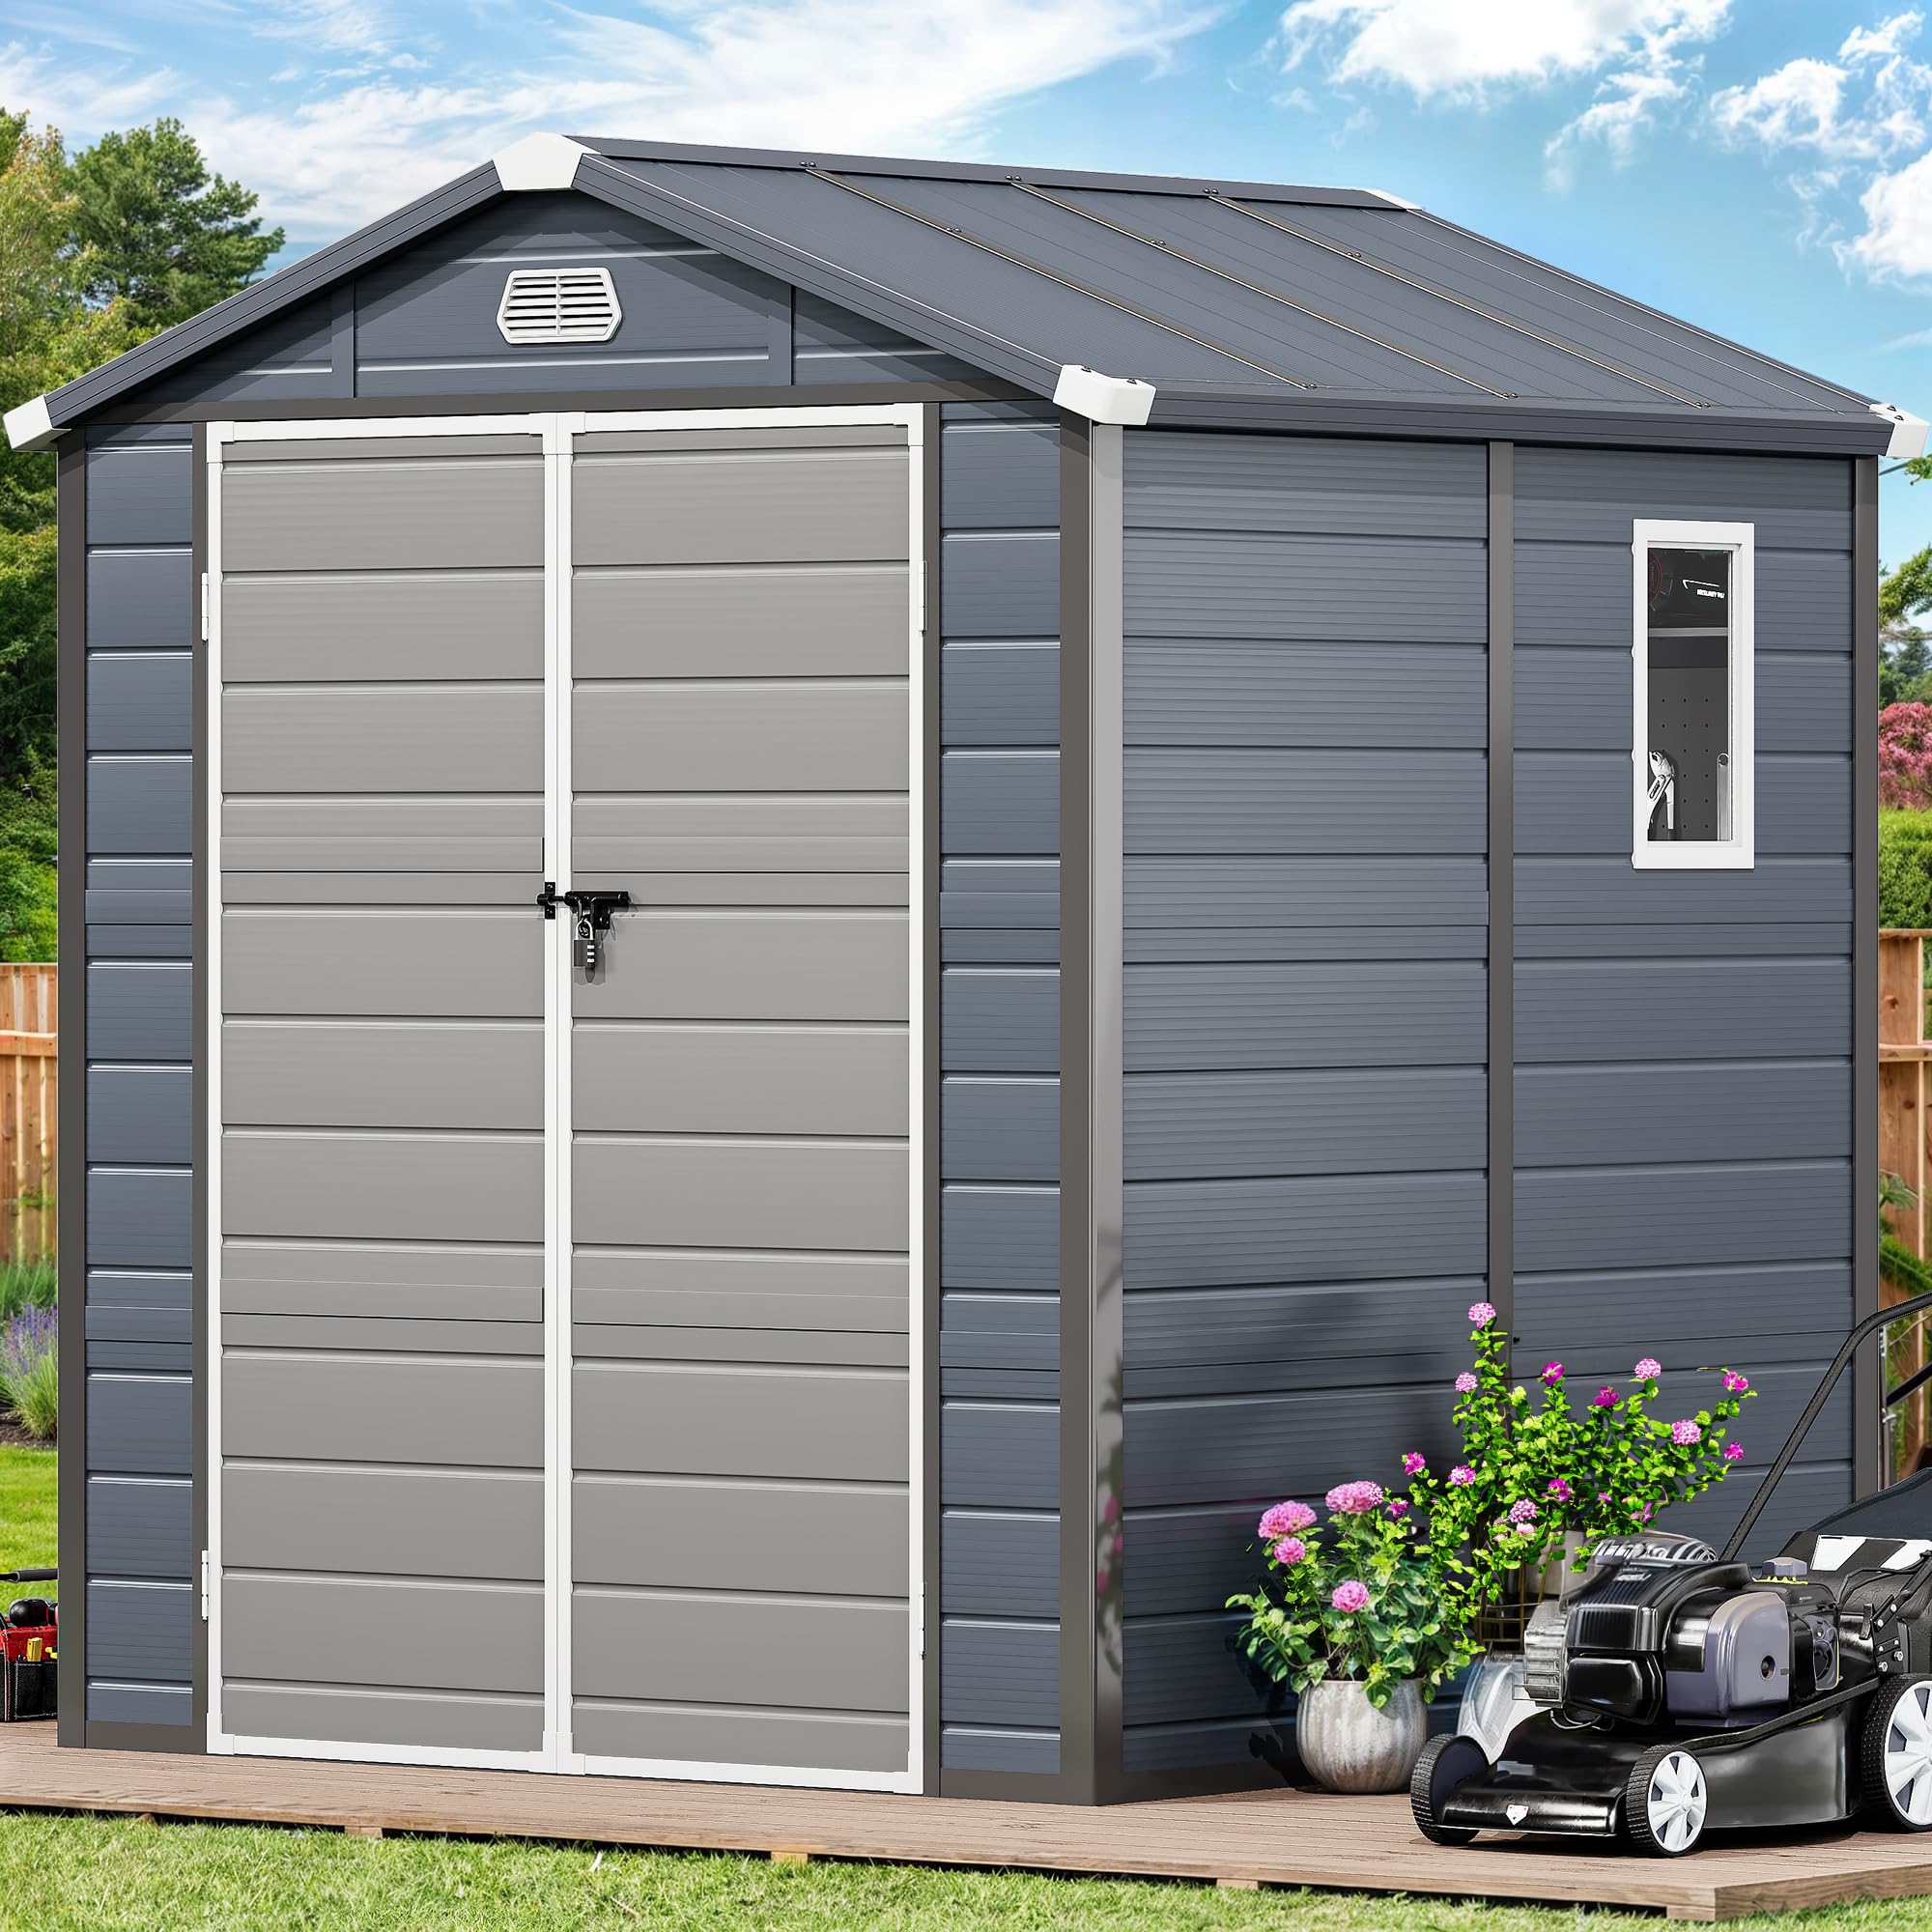
Image: The YITAHOME 6x6FT Outdoor Storage Shed, fully assembled in a garden environment.
Assembly Instructions
Assembly of this storage shed requires attention to detail. Two-person assembly is recommended for ease and safety. Please ensure all parts are present before beginning. Refer to the official assembly video for visual guidance on each step.
Video: Official YITAHOME 6.3x6.2FT Outdoor Resin Storage Shed Assembly Guide.
Step 1: Foundation Installation
Begin by assembling the base frame components (XD-A2, XD-1, XD-A3L, XD-A3R, XD-A4) as shown in the video from 0:03 to 0:20. Secure all connections with the provided screws to form a stable rectangular foundation.
Step 2: Wall Panel Installation
Install the initial wall panels (YG-A5, YG-A31, YG-C32) into the base frame, ensuring they are properly aligned and secured. Continue adding wall panels (YG-A41, YG-C42, YG-A10, YG-A11) around the perimeter. Refer to the video from 0:21 to 1:41 for detailed panel placement and fastening.

Image: Interior view of the shed, illustrating potential storage capacity and wall panel structure.
Step 3: Internal Wall Frame Installation
Install the internal wall frames (XD-2, VA-G15) to reinforce the structure. These frames provide additional stability to the wall panels. See video segment 1:42 to 2:11 for correct positioning and attachment.
Step 4: Window Installation
Assemble the window components (W1, PPX10, YG-54) and install them into the designated opening in the wall panel. Ensure a secure and watertight fit. The video demonstrates this process from 2:12 to 2:34.

Image: A close-up of the shed's translucent window, allowing natural light inside.
Step 5: Top Wall Frame Installation
Attach the top wall frame components (YG-B14, YG-C12, YG-C13, YG-C15, YG-6) to the top of the assembled walls. These frames provide the upper structure for the roof. Follow the video from 2:35 to 3:24 for proper installation.
Step 6: Roof Panel Assembly
Assemble the roof panels (YG-C34, YG-D34, YG-C46, YG-C35a, YG-C35b, YG-C44, YG-C35, YG-9, YG-2) by connecting them as shown. This step involves attaching the vent and ensuring all panels are securely fastened. Refer to the video from 3:25 to 4:17.
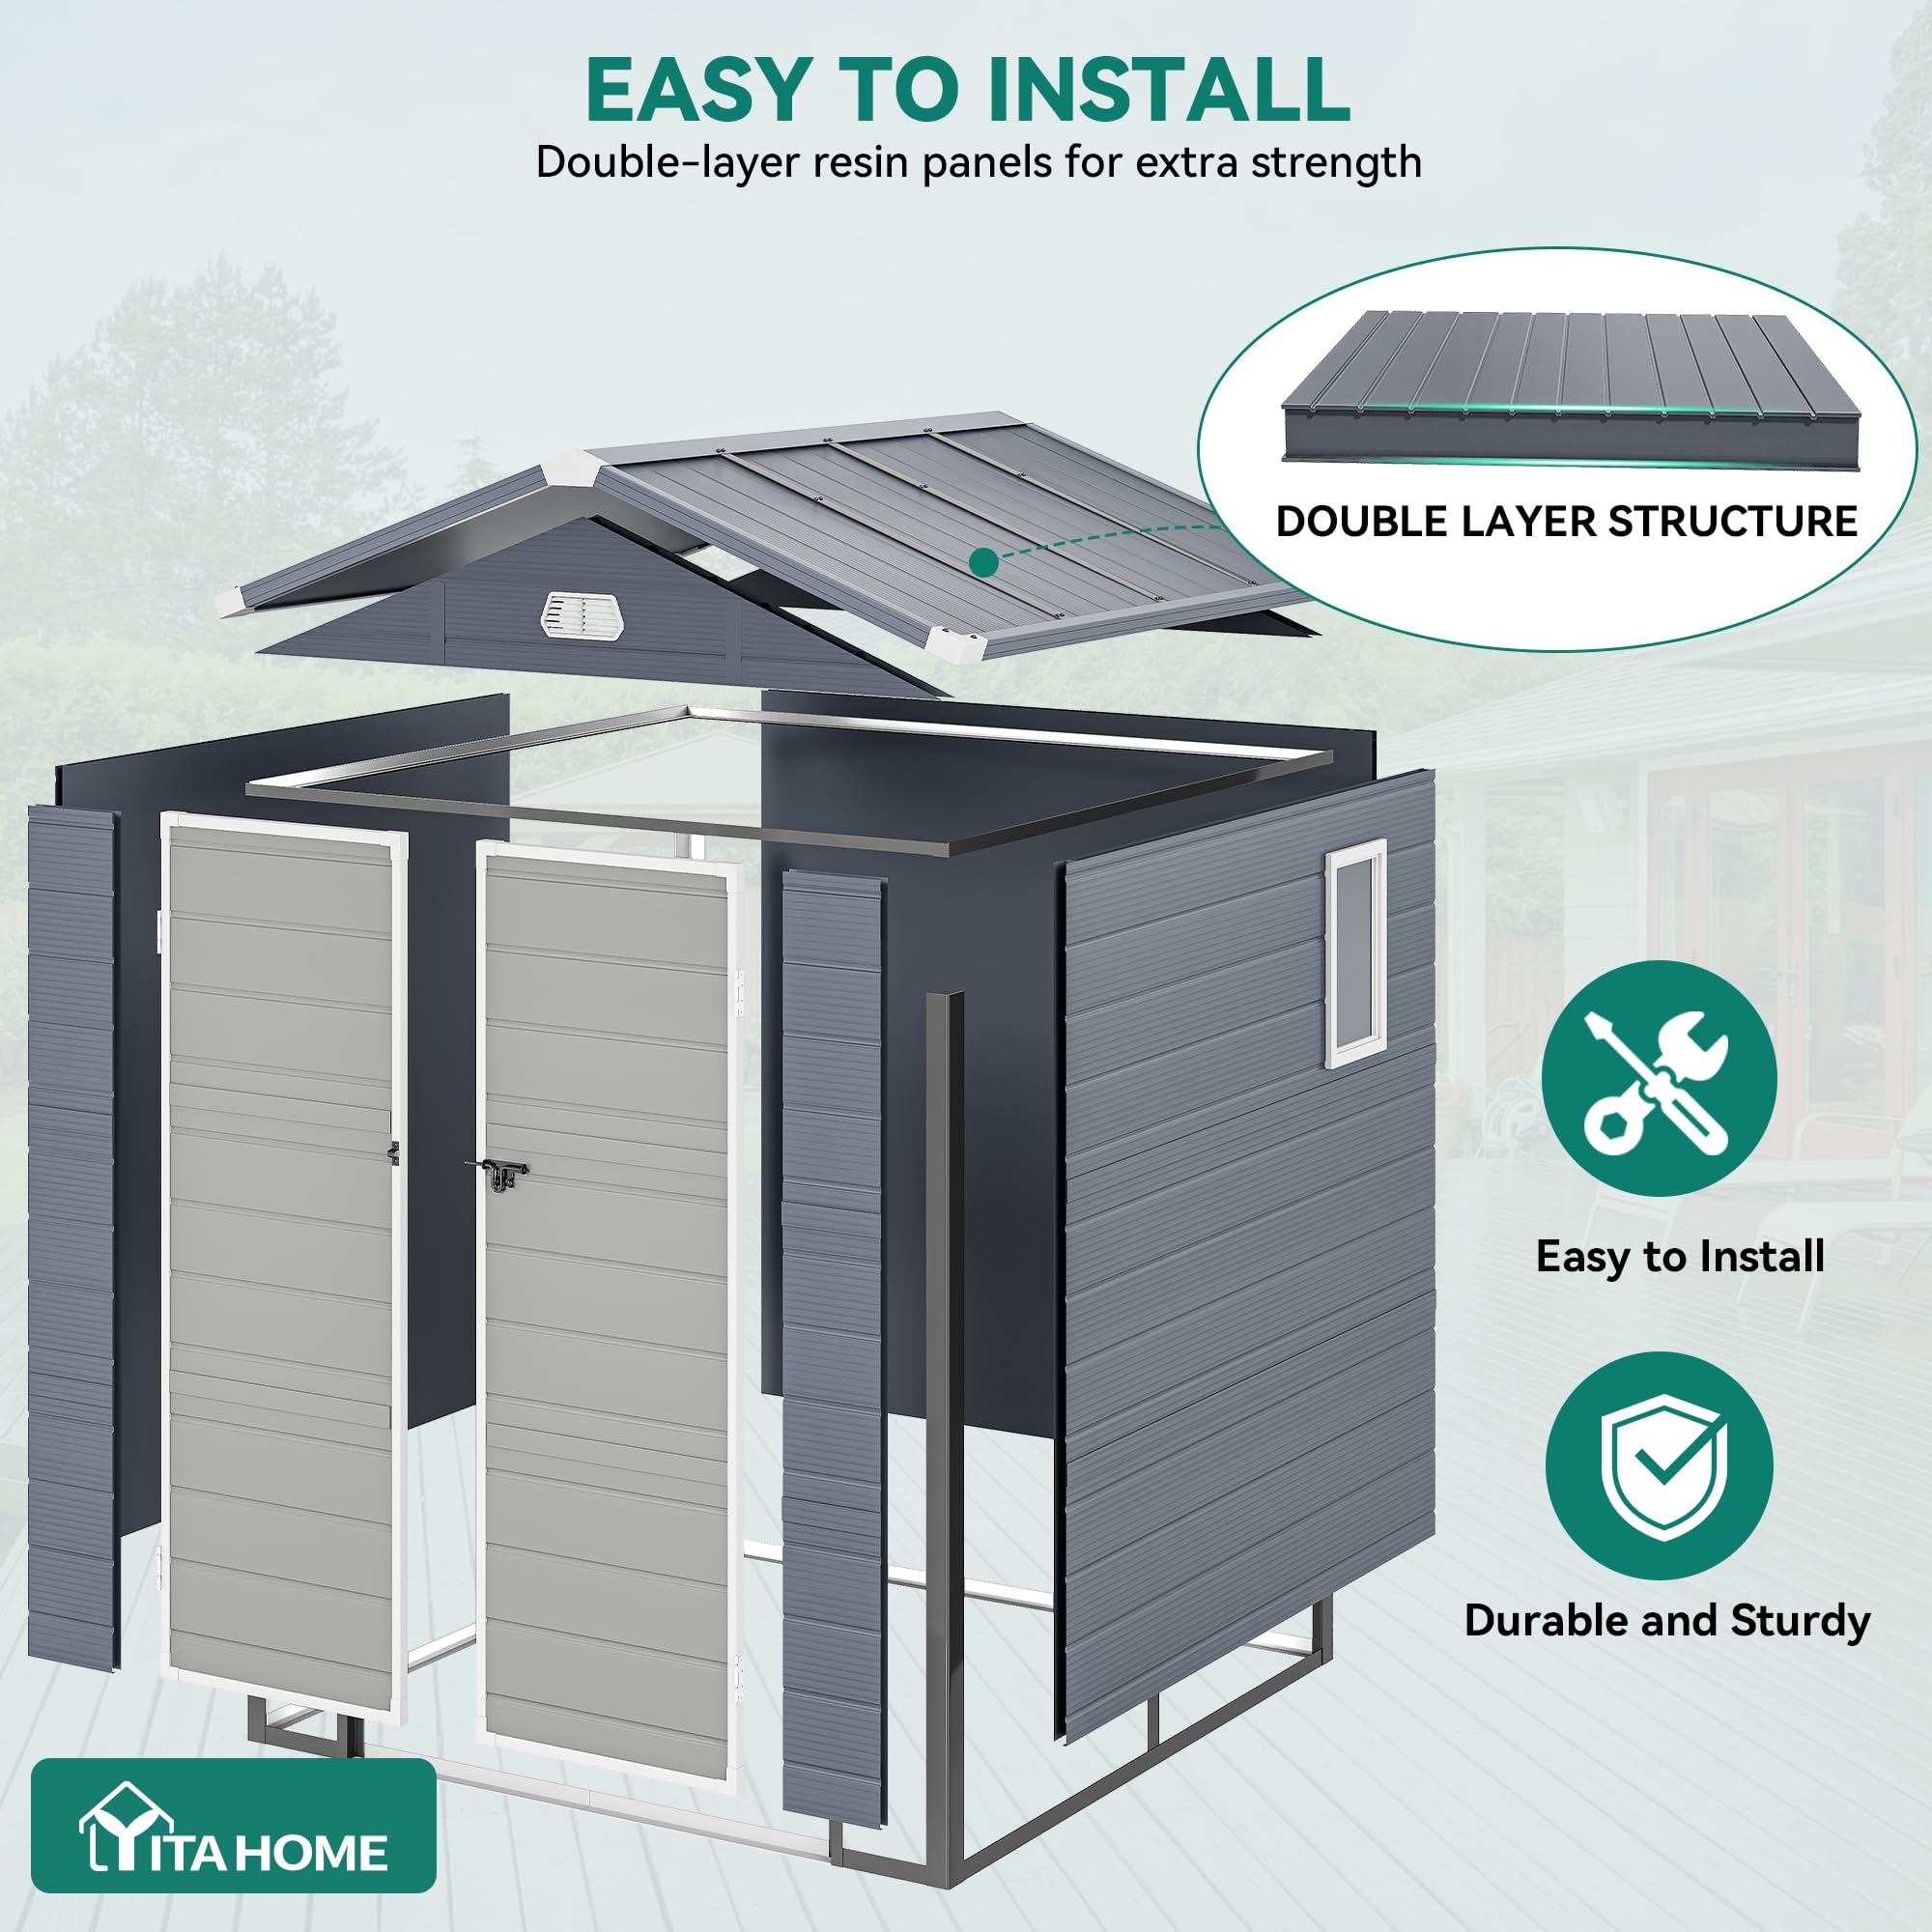
Image: Illustration of the double-layer resin panel structure, highlighting its strength.
Step 7: Bracket Installation
Install the internal support brackets (YG-3, YG-D28) to reinforce the roof structure. These brackets provide crucial support for the roof panels. The video segment from 4:18 to 5:03 illustrates this process.
Step 8: Ridge Installation
Attach the ridge caps (YG-B23, YG-7, YG-C20, YG-C21) along the peak of the roof. These components provide weather sealing and a finished appearance. See the video from 5:04 to 5:16 for proper alignment and fastening.
Step 9: Door Installation
Assemble the door panels (YG-10, YG-C27, YG-C33b, YG-C43, YG-C33a, YG-C33, YG-A25, YG-A26, YG-C48) and attach the hinges (XD-6) and latches (XD-7, XD-5). Mount the assembled doors to the shed frame. Ensure the doors open and close smoothly and the latch mechanism functions correctly. The video covers door assembly and installation from 5:17 to 6:44.

Image: Detail of the shed's secure door lock and louvered vents for air circulation.
Step 10: Securing to the Ground
Once fully assembled, use expansion anchors to secure the shed's base to the ground. This step is crucial for stability, especially in windy conditions. The video demonstrates this final step from 6:45 to 6:50.

Image: Dimensional diagram of the YITAHOME 6x6FT Outdoor Storage Shed.
Operation
The YITAHOME storage shed is designed for straightforward operation.
- Access: The double doors provide wide access for storing and retrieving items.
- Security: Utilize the integrated lockable latch mechanism to secure your belongings. A padlock (not included) can be added for enhanced security.
- Ventilation: The louvered vents ensure continuous airflow, which helps prevent moisture buildup and maintains a suitable environment for stored items.
Maintenance
The YITAHOME storage shed is designed for minimal maintenance due to its durable construction materials.
- Cleaning: Periodically clean the exterior with mild soap and water to remove dirt and debris. Avoid abrasive cleaners or harsh chemicals that could damage the plastic.
- Inspection: Regularly check all screws and connections to ensure they remain tight. Re-tighten if necessary to maintain structural integrity.
- Drainage: Ensure the sloped roof remains clear of heavy snow or debris to facilitate proper water drainage.
Troubleshooting
If you encounter issues during assembly or use, consider the following:
- Shed Instability: Ensure all screws are fully tightened and the shed is securely anchored to the ground using expansion anchors. High winds during assembly can make the process challenging; consider assembling on a calm day.
- Panel Alignment: If panels do not align correctly, double-check that all frame components are installed in the correct orientation and that no parts are bent or damaged. Disassemble and re-align if necessary.
- Water Leakage: Verify that all roof panels and wall connections are properly sealed and that the ridge caps are correctly installed. Ensure the ground around the shed allows for proper water runoff.
Product Specifications
| Specification | Detail |
|---|---|
| Brand | YITAHOME |
| Model Number | MAYIHmPAUp |
| Color | Dark Gray |
| Material | Plastic (Thermoplastics), Alloy Steel Frame |
| Product Dimensions | 70.8"D x 70.8"W x 86.2"H (6x6FT) |
| Item Weight | 126 Pounds |
| Water Resistance Level | Waterproof |
| Door Style | Single Hinged Door (Double doors in images/video) |
| Assembly Required | Yes |
Warranty and Support
For warranty information, product support, or to inquire about replacement parts, please contact YITAHOME customer service. Keep your purchase receipt and model number handy for faster service.
Contact information can typically be found on the manufacturer's official website or through your retailer.


