
Introduction
Thank you for purchasing the KOSUMOSU ACD-430 Digital Alarm Clock. This manual provides detailed instructions for setup, operation, and maintenance to ensure optimal performance and longevity of your device. Please read this manual thoroughly before use and retain it for future reference.
Product Overview
The KOSUMOSU ACD-430 is a versatile digital alarm clock designed for various rooms, offering a clear 6.7-inch multi-functional LED display. Key features include:
- Time, Date, Day of the Week, and Seconds display.
- Room Temperature display in Fahrenheit (℉) or Celsius (℃).
- Dual Alarms with customizable cycles (workdays, weekends, everyday).
- 12/24-hour time format.
- Auto and Manual Dimming with multiple brightness levels (Low, Medium, High, Off).
- Snooze function for additional rest.
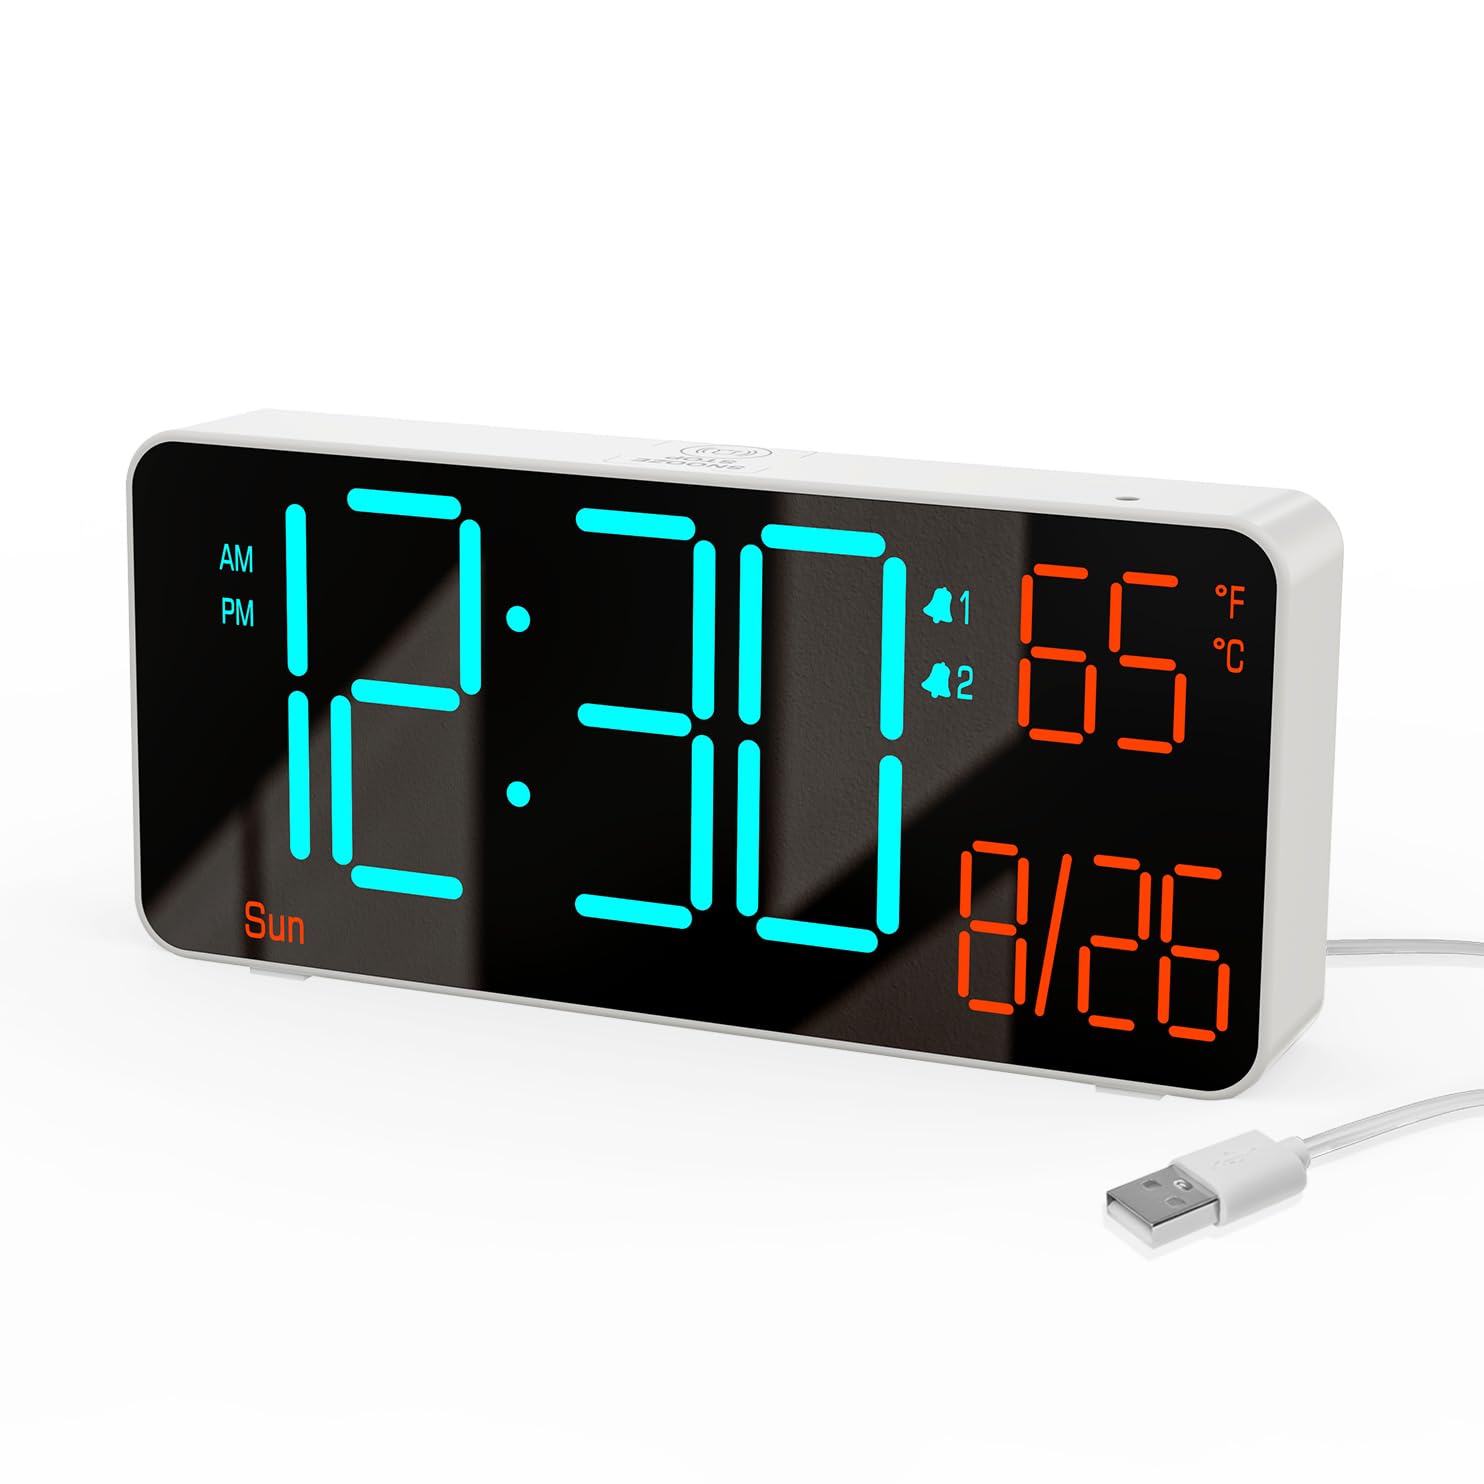
Image: The KOSUMOSU ACD-430 Digital Alarm Clock displaying 10:30 AM, 05 seconds, 8/26 date, and auto-dimming feature options.
Package Contents
Ensure all items are present upon unboxing:
- Digital Clock Unit
- USB Power Cable (1.5-meter, permanently attached)
- CR2025 Button Cell (for time backup during power outages)
- User Manual (this document)
Note: A 5V/1A AC adapter is NOT included and must be provided by the user.

Image: A visual representation of the package contents, showing the digital clock, USB power cable, user manual, and CR2025 button cell battery.
Controls and Display
The clock features intuitive buttons on the rear panel and a clear LED display:

Image: A detailed diagram highlighting the clock's dimensions, display elements (AM/PM, time, alarms, temperature, date, day of week), and the function buttons on the back panel.
Function Buttons:
- '+' (Dimming) Button: Press to manually adjust display brightness (High-Medium-Low-Off). Long press for auto-dimming.
- '-' (℉/℃/Sec) Button: Press to switch between Fahrenheit and Celsius temperature display or to show seconds. Long press to fix time separator.
- 'SET' (12h/24h) Button: Press to set 12h/24h format. Long press to set date/time.
- 'Alarm 1' Button: Press to toggle Alarm 1 on/off. Long press to set Alarm 1 time.
- 'Alarm 2' Button: Press to toggle Alarm 2 on/off. Long press to set Alarm 2 time.
- 'SNOOZE/STOP' Button (Top): Press to activate snooze during an alarm or to stop the alarm.
Setup
1. Power Connection
Connect the attached USB power cable to a 5V/1A AC adapter (not included) and plug it into a power outlet. The clock will power on and display the default time.

Image: The digital clock connected to a wall outlet via its USB cable, illustrating the power connection method.
2. Setting Time and Date
To set the correct year, month, date, and time:
- Long press the 'SET' button for 2 seconds to enter setting mode. The hour digits will blink.
- Use the '+' and '-' buttons to adjust the hour.
- Press 'SET' again to move to minutes. Use '+' and '-' to adjust.
- Press 'SET' again to move to the year. Use '+' and '-' to adjust (e.g., 2026).
- Press 'SET' again to move to the month. Use '+' and '-' to adjust.
- Press 'SET' again to move to the date. Use '+' and '-' to adjust. The day of the week will update automatically.
- Press 'SET' one last time to confirm all settings and exit.
Video: A step-by-step guide on how to set the correct year and date on the KOSUMOSU Digital Alarm Clock using the 'SET', '+', and '-' buttons.
Operating Instructions
Adjusting Brightness (Dimming)
The clock offers both manual and automatic dimming features:
- Manual Dimming: Press the '+' button repeatedly to cycle through High, Medium, Low, and Off brightness levels.
- Auto Dimming: Long press the '+' button to activate the auto-dimming function. The clock will automatically adjust its brightness based on ambient light conditions.

Image: The digital clock displaying various brightness settings (High, Medium, Low, Auto, Off) and different time formats (12h/24h) and temperature units (℉/℃).
Setting Alarms
The clock supports two independent alarms with snooze functionality:
- To Set Alarm Time: Long press either 'Alarm 1' or 'Alarm 2' button. The hour digits will blink. Use '+' and '-' to adjust the hour, then press the alarm button again to set minutes. Repeat for alarm cycle (workdays, weekends, everyday).
- To Toggle Alarm On/Off: Short press the 'Alarm 1' or 'Alarm 2' button to activate or deactivate the respective alarm. An alarm icon will appear on the display when active.
- Snooze Function: When an alarm sounds, press the 'SNOOZE/STOP' button on top to activate snooze for 5 minutes.
- Stop Alarm: To stop the alarm completely, press any other button on the rear panel.

Image: The digital clock on a nightstand, illustrating the snooze/stop button on top and text indicating a 5-minute alarm duration and 5-minute snooze time.
Temperature Display
The clock displays room temperature. To switch between Fahrenheit (℉) and Celsius (℃), short press the '-' button.
12/24-Hour Format
To switch between 12-hour and 24-hour time formats, short press the 'SET' button when not in setting mode.
Specifications
| Feature | Detail |
|---|---|
| Brand | KOSUMOSU |
| Model Number | ACD-430 |
| Display Type | LED |
| Product Dimensions | 6.4"W x 3.3"H (16.2cm x 8.3cm) |
| Item Weight | 0.37 Pounds (166g) |
| Power Source | Corded Electric (USB-A, 5V/1A adapter NOT included) |
| Backup Battery | 1 x CR2025 Nonstandard Battery (included, for time backup only) |
| Special Features | Adjustable Brightness, Calendar Display, Dual Alarms, Snooze, Temperature Display |
| Mounting Type | Tabletop |
Maintenance
To keep your KOSUMOSU ACD-430 Digital Alarm Clock in optimal condition:
- Clean the display and casing with a soft, dry cloth. Avoid abrasive cleaners or solvents.
- Do not expose the clock to extreme temperatures, direct sunlight, or high humidity.
- Ensure the clock is placed on a stable surface to prevent accidental falls.
- The button cell battery is for time backup only. If the clock is unplugged for extended periods, the main time settings may need to be reset.
Troubleshooting
If you encounter issues with your clock, refer to the following common solutions:
- Clock not powering on: Ensure the USB cable is securely connected to both the clock and a functional 5V/1A AC adapter, and that the adapter is plugged into a live power outlet.
- Display is too bright/dim: Use the '+' button to manually adjust brightness or long press it to activate auto-dimming.
- Alarm not sounding: Check that the alarm is activated (alarm icon visible on display) and that the volume is not set to zero (if applicable, though this model has a simple beep alarm). Ensure the alarm time is correctly set.
- Incorrect time/date: Follow the 'Setting Time and Date' instructions in the Setup section to reset. Ensure the year is correctly set as it affects the day of the week.
- Incorrect temperature reading: Allow up to 48 hours for the temperature sensor to stabilize after initial setup or relocation.
Warranty and Support
KOSUMOSU offers a 2-year warranty on this product. If you experience any quality or usage-related problems, please contact us via email at support@kos-kos.com. Our customer service team will be happy to assist you.


