
1. Introduction
This manual provides essential instructions for the assembly, operation, and maintenance of your MCombo Power Zero Wall Hugger Recliner Chair, model ST257. Please read this manual thoroughly before use to ensure proper function and longevity of your product. Keep this manual for future reference.

Image 1.1: MCombo Power Zero Wall Hugger Recliner Chair (Beige)
2. Safety Information
Caution: Assemble the chair carefully due to its unique structure and wiring design. Regularly inspect and maintain all electrical parts and upholstery material to ensure safety and prevent potential hazards.
- Ensure all connections are secure before operating the recliner.
- Keep children and pets away from the moving parts of the recliner.
- Do not place hands or feet near the reclining mechanism during operation.
- Avoid spilling liquids on the control panel or electrical components.
- Unplug the chair from the power outlet before cleaning or performing maintenance.
3. Package Contents
Verify that all components are present before beginning assembly. The package typically includes:
- Backrest
- Armrests (Left and Right)
- Base (Seat and Footrest Assembly)
- Power Adapter and Cable
- Accessories Box (containing small parts and hardware)
- Instruction Manual (this document)

Image 3.1: Packaging for the MCombo Recliner Chair
4. Assembly Instructions (Setup)
Assembly is designed to be straightforward and typically requires no additional tools. It can be completed by a novice in approximately 20 minutes.
- Unpack Components: Carefully remove all parts from the two boxes. Place them on a soft, clean surface to prevent damage.
- Attach Backrest: Align the metal brackets on the backrest with the receivers on the seat base. Slide the backrest down firmly until it clicks into place. Ensure it is securely fastened.
- Connect Electrical Wires: Locate the electrical wires extending from the backrest and the seat base. Connect them according to the color-coded or labeled connectors. Ensure a snug fit.
- Attach Armrests: Slide the armrests onto the designated slots on the sides of the seat base. Press down until they lock into position.
- Connect Power: Plug the power adapter into the chair's power input, then plug the adapter into a standard wall outlet.
For visual guidance, refer to the diagrams below illustrating key components:

Image 4.1: Backrest

Image 4.2: Armrest

Image 4.3: Base

Image 4.4: Accessories Box
5. Operating Instructions
Your MCombo recliner features a power reclining mechanism and an adjustable headrest for personalized comfort.
5.1 Power Reclining Mechanism
To recline the chair, locate the control panel on the side of the armrest. Press and hold the appropriate button to smoothly extend the footrest and recline the backrest to your desired position (maximum reclining angle: 145°).

Image 5.1: Recliner in a partially reclined position
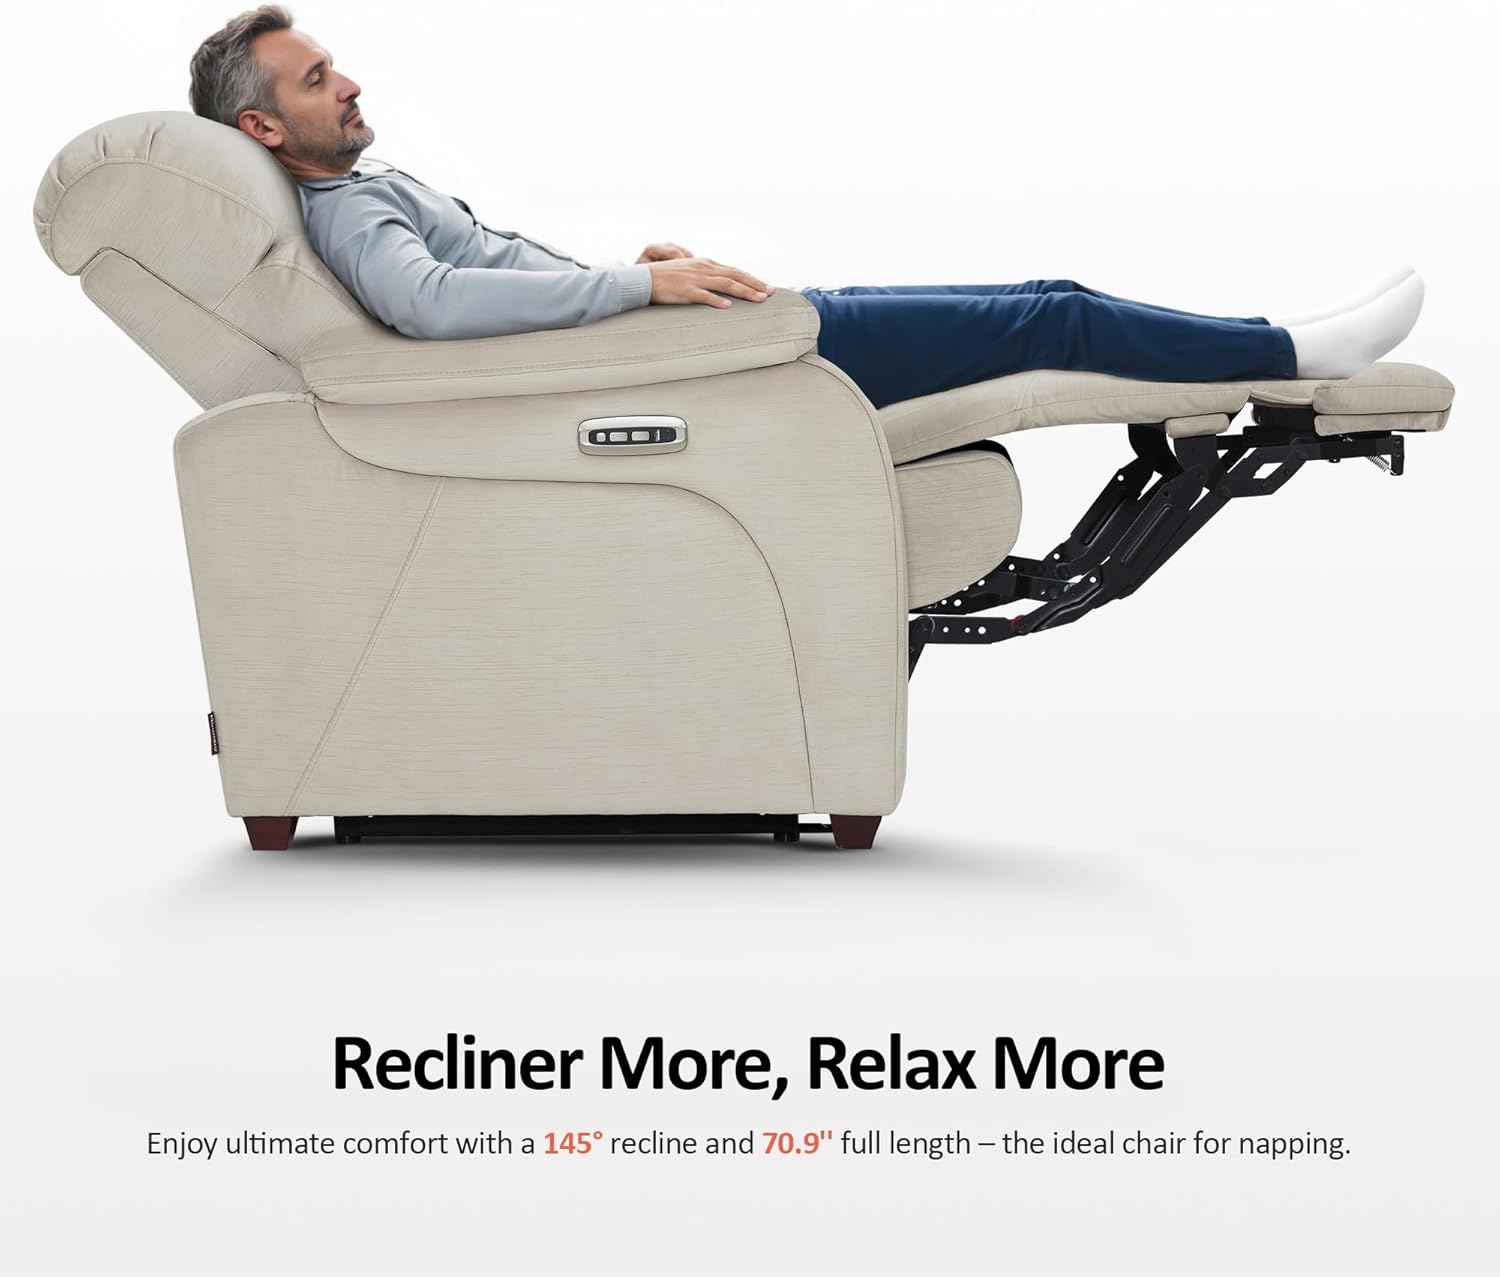
Image 5.2: Full recline position for relaxation
5.2 Adjustable Power Headrest
The headrest can be adjusted independently to provide optimal neck and head support. Use the dedicated button on the control panel to tilt the headrest from 0° to 35°, enhancing comfort for activities like watching TV or reading.

Image 5.3: Adjustable headrest mechanism
5.3 User-Friendly Controller and Charging Ports
The control panel includes a home button that, when pressed, returns the chair smoothly to its original upright position in approximately 8 seconds. Dual USB and USB-C charging ports are integrated into the armrest, allowing convenient charging for phones, tablets, and other compatible devices.

Image 5.4: Control panel with USB and USB-C charging ports
5.4 Zero Wall Hugger Feature
The forward-gliding mechanism of this recliner allows it to be placed close to a wall while still fully reclining, optimizing space in smaller rooms or RVs. The chair moves forward as it reclines, requiring minimal clearance behind it.

Image 5.5: Zero Wall Hugger design for space-saving
6. Maintenance and Care
Proper care will extend the life and appearance of your recliner.
- Fabric Care: For general cleaning, vacuum the fabric regularly using a soft brush attachment to remove dust and loose particles. For spills, blot immediately with a clean, dry cloth. Avoid rubbing, which can spread the stain. For stubborn stains, consult a professional upholstery cleaner or use a mild fabric cleaner according to its instructions. Test any cleaning product on an inconspicuous area first.
- Electrical Components: Keep the power cord and adapter free from damage. Do not expose electrical parts to moisture. If any electrical component appears damaged or malfunctions, discontinue use and contact customer support.
- Mechanism Care: The reclining mechanism is designed for durability. Avoid forcing the mechanism. Periodically check that all bolts and connections are tight. Do not apply lubricants unless specifically instructed by the manufacturer.
- Frame Care: The chair features solid wood feet. Clean them with a soft, damp cloth and dry immediately. Avoid harsh chemicals.

Image 6.1: Fabric detail with OEKO-TEX certification

Image 6.2: Certifications for materials (CertiPUR-US, OEKO-TEX, FSC)
7. Troubleshooting
If you encounter issues with your recliner, refer to the following common troubleshooting steps:
- Chair Does Not Recline:
- Ensure the power cord is securely plugged into both the chair and a working wall outlet.
- Check if the wall outlet is functional by plugging in another device.
- Verify that all internal electrical connections within the chair are properly connected (refer to assembly instructions).
- Headrest Does Not Adjust:
- Confirm the chair is receiving power.
- Check the headrest's electrical connection.
- USB/USB-C Ports Not Charging:
- Ensure the chair is powered on and fully connected.
- Test with a different charging cable or device to rule out external issues.
- Unusual Noises During Operation:
- Inspect the reclining mechanism for any obstructions.
- Ensure all assembly bolts are tightened.
If the problem persists after attempting these steps, please contact customer support.
8. Specifications
| Feature | Detail |
|---|---|
| Brand | MCombo |
| Model Name | Zero Wall-Hugger Power Recliner Chair |
| Item Model Number | 6160-ST257 |
| Color | Beige |
| Product Dimensions (D x W x H) | 38.2"D x 36"W x 41.4"H |
| Max Reclining Angle | 145° |
| Adjustable Headrest Tilt | 0° to 35° |
| Seat Height | 19.3 Inches |
| Seat Depth | 22.4 inches |
| Seat Back Interior Height | 27.2 Inches |
| Arm Height | 25.2 Inches |
| Chair Backrest Width | 27.6 Inches |
| Item Weight | 130 pounds |
| Material | Fabric (Upholstery), Foam (Fill), Wood (Frame/Legs) |
| Special Features | Zero Wall Hugger, Power Reclining, Adjustable Headrest, USB & USB-C Charging Ports |

Image 8.1: Detailed dimensions of the recliner chair
9. Warranty Information
Your MCombo Power Zero Wall Hugger Recliner Chair is covered by a 2-Year Limited Warranty from the date of purchase. This warranty covers:
- Reclining Mechanism
- Electrical Parts
- Upholstery Material
- Cushions
- Wood and Metal Frame
This warranty is valid for manufacturing defects and does not cover damage resulting from misuse, accidents, unauthorized repairs, or normal wear and tear. Please retain your proof of purchase for warranty claims.
10. Customer Support
For any questions, assistance, or warranty claims, please contact MCombo customer support. Have your model number (6160-ST257) and proof of purchase ready when contacting support.
You can visit the official MCombo store for more information and support resources: MCombo Store on Amazon


