
DEPSTECH DS320
DEPSTECH DS320 Dual Lens Borescope and Hardshell Carrying Case Bundle User Manual
Model: DS320
Brand: DEPSTECH
1. Introduction
This user manual provides detailed instructions for the proper setup, operation, maintenance, and troubleshooting of your DEPSTECH DS320 Dual Lens Borescope and Hardshell Carrying Case Bundle. Please read this manual thoroughly before using the product to ensure optimal performance and longevity.
2. Product Overview
2.1 Package Contents
- DEPSTECH DS320 Dual Lens Borescope
- Hardshell Carrying Case
- USB Charging Cable
- User Manual
- Accessories (e.g., hooks, magnets, side mirror - if included)
2.2 Key Features
- Versatile Dual Lens System: Allows effortless switching between forward and side views without repositioning the probe, enhancing inspection efficiency.
- High-Definition 4.3-Inch IPS Display: Provides crystal-clear, real-time footage directly on the borescope, eliminating the need for additional devices and facilitating immediate analysis.
- Robust Protection: The included EVA carrying case is designed to shield your borescope from impacts, drops, and environmental hazards during transport and storage.
- Efficient Organization: The carrying case features dedicated compartments to neatly hold the borescope, cables, and accessories, preventing loss and ensuring quick accessibility.
- Wide Compatibility: The EVA case is specifically designed for Depstech models DS320 and DS300, and is also compatible with other 4.3-inch screen borescopes, including wireless Wi-Fi and USB endoscopes.

Image: The DEPSTECH DS320 Dual Lens Borescope alongside its hardshell carrying case.

Image: Close-up view of the DEPSTECH DS320 Dual Lens Borescope unit.
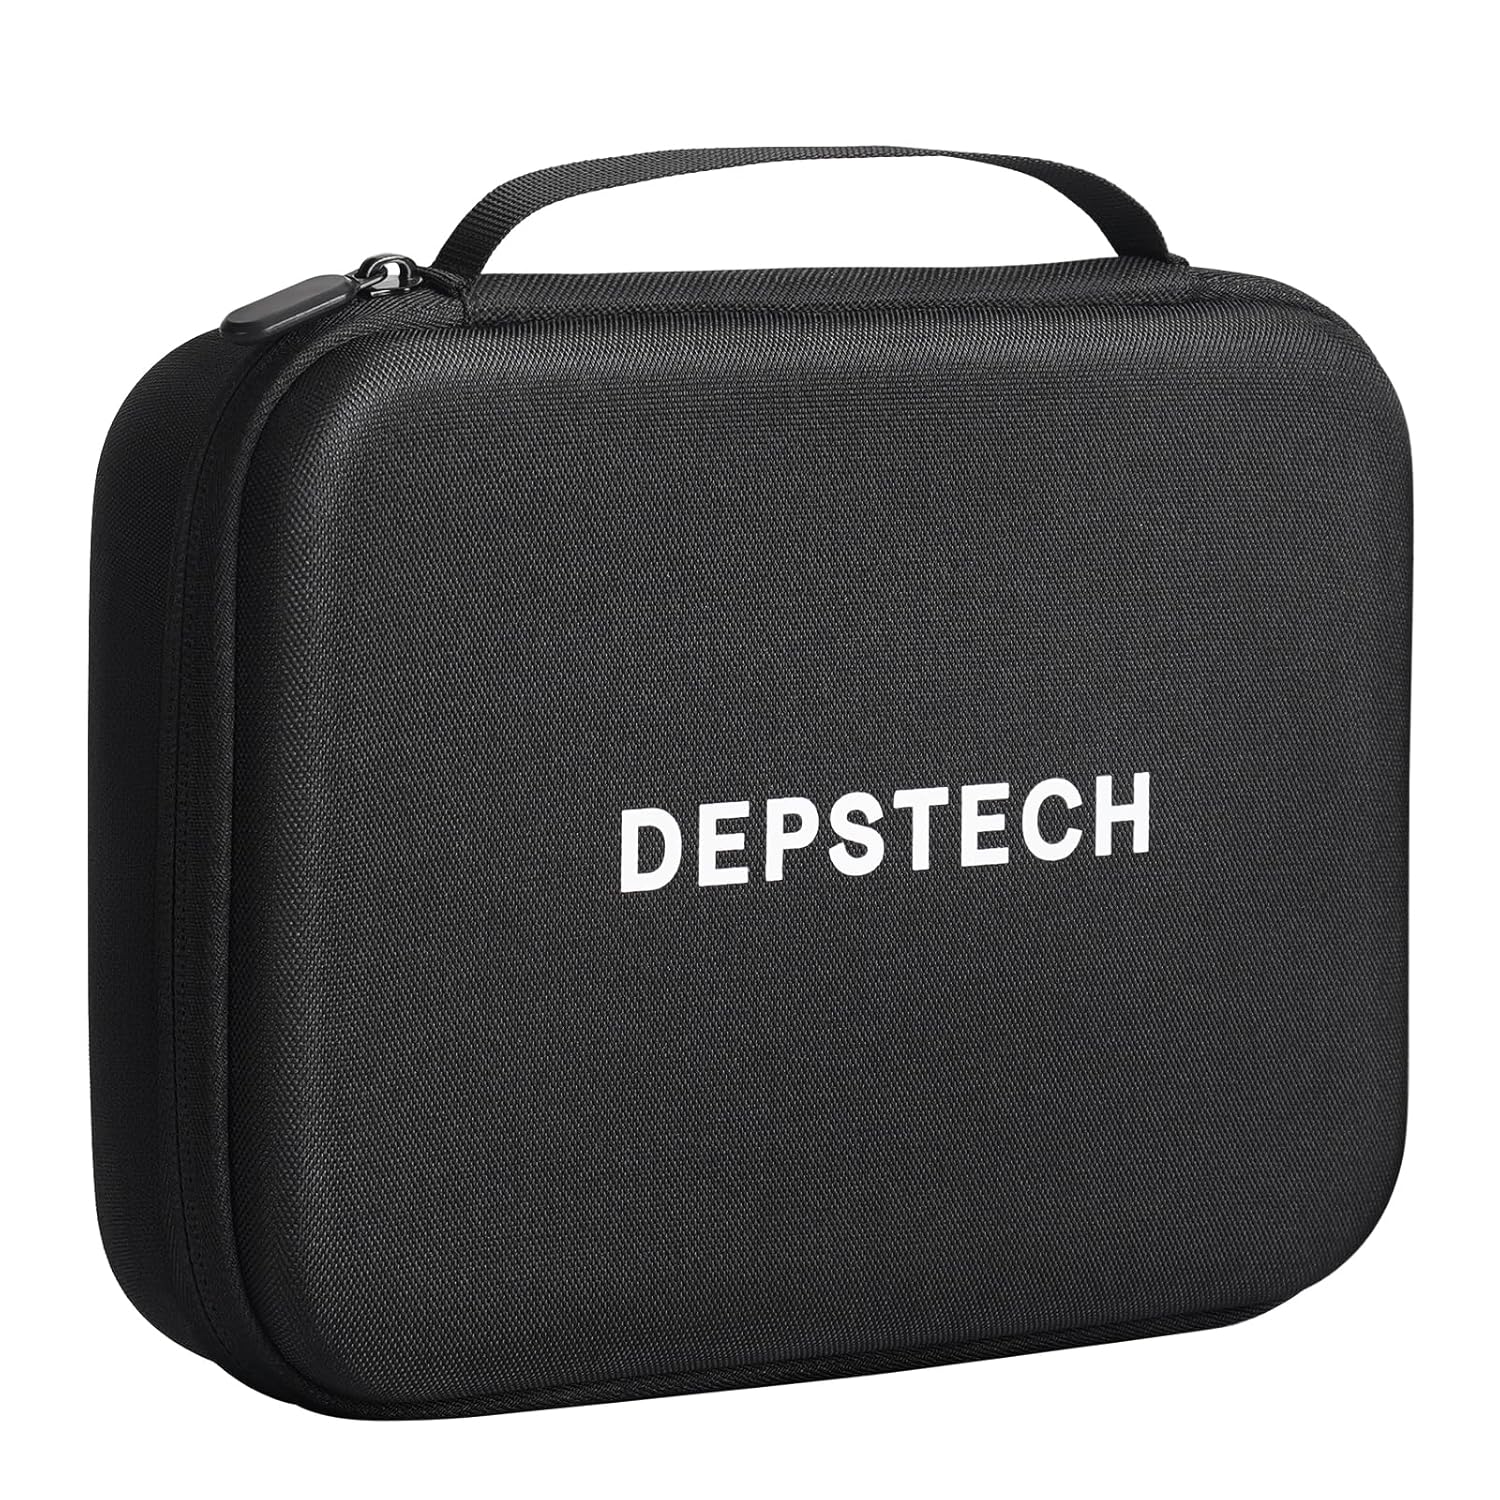
Image: The DEPSTECH branded hardshell carrying case.
3. Setup and Initial Use
3.1 Charging the Device
Before first use, fully charge the borescope's internal battery using the provided USB charging cable. Connect the cable to the borescope's charging port and a standard USB power adapter (not included). The charging indicator will show the charging status.
3.2 Inserting the Probe
Carefully insert the borescope probe cable into the designated port on the main unit. Ensure a secure connection to prevent signal loss during operation.
3.3 Organizing with the Carrying Case
The hardshell carrying case is designed with custom-fit compartments to keep your borescope and accessories organized and protected. Utilize the dedicated grooves and mesh pockets for the main unit, probe, charging cable, and any additional accessories.

Image: Illustration of the custom-fit compartments within the carrying case, showing spaces for the borescope, cables, and accessories.

Image: A comparison showing disorganized borescope components versus neatly organized components within the carrying case.
4. Operating the Borescope
4.1 Powering On/Off
Press and hold the power button (usually marked with a power symbol) to turn the borescope on or off. The 4.3-inch IPS display will illuminate upon startup.
4.2 Navigating the Interface
Use the directional buttons (up, down, left, right) and the OK button to navigate through the menu options displayed on the screen. The interface allows access to settings, photo/video modes, and playback.
4.3 Switching Lenses
The DS320 features a dual-lens system. Locate the lens switch button on the device (refer to the device's physical buttons for exact placement). Press this button to toggle between the forward-facing lens and the side-viewing lens.
4.4 Capturing Images and Videos
In live view mode, press the photo button to capture a still image. To record video, press the video record button to start and stop recording. Captured media is saved to the inserted memory card (if applicable).
4.5 Adjusting LED Brightness
The borescope probe is equipped with adjustable LED lights. Use the designated brightness control buttons (often integrated with directional buttons) to increase or decrease the illumination level for clear visibility in dark environments.

Image: A hand holding the DEPSTECH borescope, demonstrating its portability and ease of use during an inspection.

Image: A technician using the DEPSTECH borescope to inspect the interior of a washing machine, highlighting its application in appliance repair.
5. Maintenance and Care
5.1 Cleaning the Lens and Probe
After each use, especially in dirty or wet environments, gently wipe the borescope lens and probe with a soft, dry cloth. For stubborn dirt, a slightly damp cloth can be used, followed by immediate drying. Do not use abrasive cleaners or solvents.
5.2 Battery Care
To prolong battery life, avoid fully discharging the battery frequently. Charge the device regularly, even if not in use for extended periods (e.g., once every 3 months). Store the device in a cool, dry place.
5.3 Storage
Always store the borescope and its accessories in the provided hardshell carrying case when not in use. The case offers robust protection against physical damage and helps keep all components organized and dust-free.

Image: Detailed view of the carrying case features, including a small mesh pocket, dedicated groove design, and smooth zipper.
6. Troubleshooting
| Issue | Possible Cause | Solution |
|---|---|---|
| Device does not power on | Low battery; Power button not pressed correctly | Charge the device fully; Press and hold the power button for a few seconds. |
| No image on screen | Probe not connected; Lens cap on; Damaged probe | Ensure probe is securely connected; Remove any lens caps; Contact customer support if probe is damaged. |
| Poor image quality | Dirty lens; Insufficient lighting; Incorrect focus distance | Clean the lens; Adjust LED brightness; Position the probe at the optimal focal distance. |
| Device unresponsive | Software glitch; Low battery | Perform a soft reset (if available, refer to device specific instructions); Charge the device. |
7. Technical Specifications
| Feature | Specification |
|---|---|
| Model | DS320 |
| Video Capture Resolution | 1080p |
| Zoom Type | Dual Lens Zoom |
| Shooting Modes | Automatic |
| Exposure Control Type | Automatic |
| Color | Black |
| ASIN | B0DSVWK1JF |
| Date First Available | January 13, 2025 |
| Case External Dimension | 10.1'' x 7.5'' x 3.0'' (approx. 25.6cm x 19cm x 7.5cm) |
| Case Product Weight | 0.8 lb |

Image: Visual representation of the carrying case dimensions, highlighting its lightweight and portable design.
8. Warranty and Customer Support
DEPSTECH products are manufactured to high-quality standards. For information regarding warranty coverage, returns, or technical assistance, please refer to the warranty card included with your product or visit the official DEPSTECH website. You may also contact DEPSTECH customer support directly for any inquiries.
For the latest support information and FAQs, please visit: www.depstech.com
Related documentsDS320


Ask a question about this manual
Ask about setup, troubleshooting, compatibility, parts, safety, or missing instructions. Manuals+ will review the question and use this page’s manual context to help answer it.