Introduction
This user manual provides comprehensive instructions for the operation, maintenance, and troubleshooting of your Magcubic Portable Projector. Please read this manual thoroughly before using the product to ensure proper functionality and safety.
Safety Information
- Do not block ventilation openings. Ensure adequate airflow around the projector.
- Do not expose the projector to rain or moisture to prevent fire or electric shock.
- Use only the power adapter provided with the projector.
- Avoid looking directly into the projector lens when the lamp is on.
- Keep the projector away from heat sources and direct sunlight.
- Do not attempt to disassemble or repair the projector yourself. Refer all servicing to qualified personnel.
Package Contents
Please check the package for the following items:
- Magcubic Portable Projector
- Power Adapter
- Remote Control
- User Manual (this document)
Product Overview
Familiarize yourself with the components of your Magcubic Portable Projector.

Figure 1: Front view of the Magcubic Portable Projector, showcasing its cylindrical design and lens.
Key Components:
- Projection Lens: Emits the image onto the projection surface.
- Power Button: Turns the projector on or off.
- Focus Ring/Control: Used for manual focus adjustment.
- HDMI Port: Connects to external devices like laptops, gaming consoles, or TV sticks.
- USB Port: For connecting USB drives or other peripherals.
- Audio Output: For connecting external speakers or headphones.
- Power Input: Connects to the power adapter.
- Adjustable Stand: Allows for 180-degree rotation and flexible projection angles.
Setup
1. Power Connection:
Connect the provided power adapter to the projector's power input port and then plug it into a wall outlet.
2. Placement and Angle Adjustment:
Place the projector on a stable surface. Utilize the 180-degree rotatable design to adjust the projection angle. This allows for projection on walls, screens, or even ceilings.

Figure 2: The projector's 180-degree rotatable stand enables versatile placement, including projecting onto the ceiling.
3. Focus Adjustment (Manual Focus):
To achieve a clear image, manually adjust the focus ring or control on the projector until the image appears sharp on the screen.
4. Keystone Correction:
The projector supports automatic horizontal keystone correction. For vertical adjustments or fine-tuning, use the manual trapezoid correction feature via the settings menu to ensure a perfectly rectangular image.
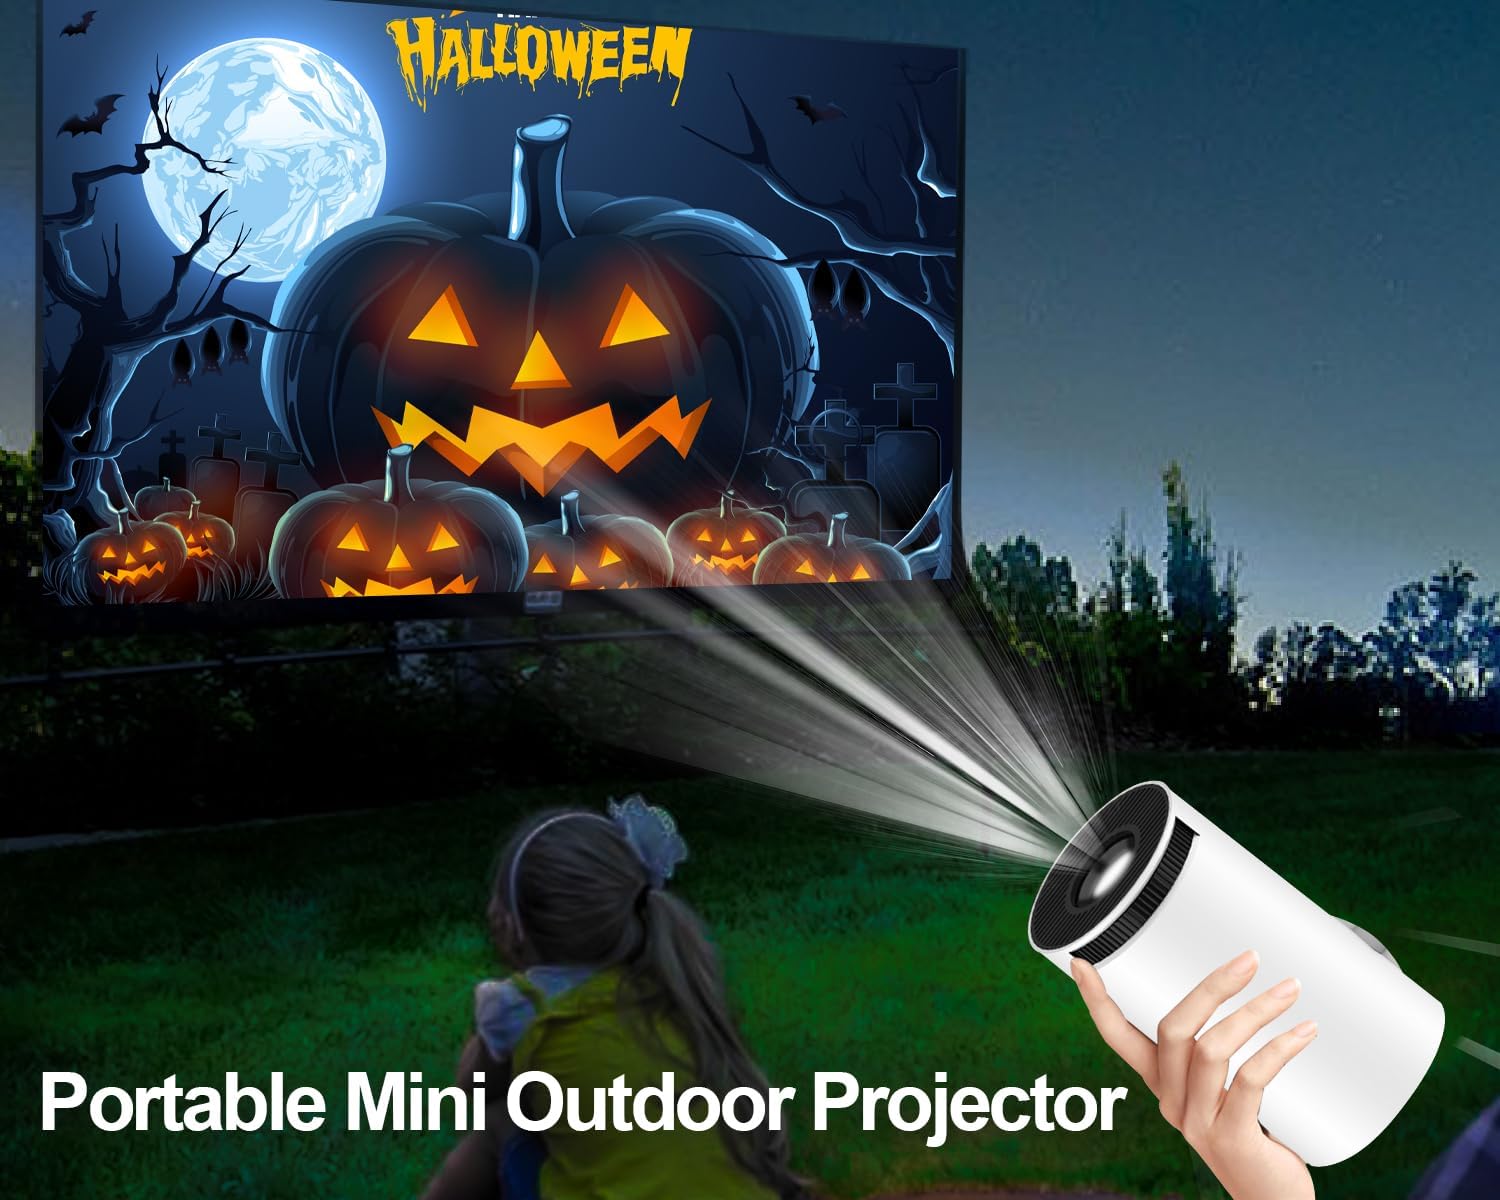
Figure 3: Illustration of the projector's automatic keystone correction feature, which helps square the image.
Operating Instructions
1. Power On/Off:
Press the power button on the projector or the remote control to turn the device on or off.
2. Navigation (Android 11 OS):
The projector runs on Android 11 OS, providing access to various applications. Navigate the interface using the included remote control. The remote features a 6-Axis Gyro Sensor Air Mouse for more intuitive control.

Figure 4: The projector's screen showing the Android 11 operating system with various app icons.

Figure 5: A hand holding the remote control, illustrating the use of the 6-Axis Gyro Sensor Air Mouse for navigation.
3. Connectivity:
- Wi-Fi (5G + 2.4G Dual Band WiFi 6): Connect to your home network for online streaming and app access. Go to Settings > Network & Internet > Wi-Fi to select and connect to your desired network.
- Bluetooth 5.0: Pair with external Bluetooth speakers or headphones for enhanced audio. Go to Settings > Connected Devices > Pair new device.
- HDMI: Connect devices like laptops, gaming consoles, or TV sticks using an HDMI cable. The projector supports 1080P and 4K input.
- USB: Insert USB drives to play media files directly from storage.

Figure 6: The projector displaying its dual-band WiFi 6 capabilities (5G and 2.4G) and options for Airplay, Miracast, and DLNA screen mirroring.
4. Screen Mirroring:
The projector supports Airplay, Miracast, and DLNA for mirroring content from your smartphone, tablet, or computer. Ensure both devices are connected to the same Wi-Fi network and select the appropriate mirroring option from the projector's menu.
5. Audio:
The projector features built-in 5W stereo speakers for a clear audio experience. For a more immersive sound, connect external Bluetooth speakers or use the audio output port.
Maintenance
1. Cleaning:
- Lens: Use a soft, lint-free cloth specifically designed for optical lenses. Do not use abrasive cleaners or cloths that may scratch the lens.
- Exterior: Wipe the projector's exterior with a soft, dry cloth. For stubborn marks, a slightly damp cloth can be used, followed by a dry one.
- Ventilation: Periodically check and gently clean the ventilation openings to prevent dust buildup, which can affect performance and lifespan.
2. Storage:
When not in use, store the projector in a cool, dry place, away from direct sunlight and extreme temperatures. If storing for an extended period, consider using the original packaging or a protective case.
Troubleshooting
| Problem | Possible Cause | Solution |
|---|---|---|
| No image projected / Power indicator off | Power cable not connected; Projector not turned on. | Ensure power cable is securely connected and press the power button. |
| Image is blurry | Focus not adjusted; Projector too close/far from screen. | Manually adjust the focus ring. Adjust projection distance. |
| Image is trapezoidal or distorted | Projector not perpendicular to screen. | Use automatic horizontal keystone correction or manual trapezoid correction in settings. |
| No sound | Volume too low; Muted; External audio device not connected properly. | Increase volume. Check mute settings. Ensure external speakers are connected and paired correctly. |
| Wi-Fi connection issues | Incorrect password; Out of range; Router issues. | Verify Wi-Fi password. Move projector closer to router. Restart router and projector. |
| Black spots appearing on screen | Dust inside optical path; Internal component issue. | This issue typically requires professional servicing. Contact customer support. |
Specifications
| Feature | Detail |
|---|---|
| Brand | Magcubic |
| Model Name | Mini Videoprojecteur 4K Android 11 |
| Display Type | LCD |
| Native Resolution | 1280 x 720 (720P) |
| Max Resolution Support | 3840 x 2160 (4K) |
| Brightness | 8000 Lumens (200 ANSI) |
| Contrast Ratio | 10000:1 |
| Aspect Ratio | 16:9 |
| Operating System | Android 11 |
| Connectivity Technology | Wi-Fi (5G + 2.4G Dual Band WiFi 6), Bluetooth 5.0 |
| Hardware Interface | HDMI, USB |
| Compatible Devices | Tablet, Laptop, Game Console, Smartphone |
| Built-in Speakers | 5W Stereo Speakers |
| Projection Size | 40-200 inches |
| Light Source Life | Up to 50,000 hours |
| Dimensions | 18.3 x 15.5 x 11.1 cm |
| Weight | 660 g |
Warranty and Support
Magcubic offers a 2-year product replacement warranty and a 100% satisfaction guarantee for this projector. If you encounter any issues during use, please do not hesitate to contact our customer support team.
Additionally, a 30-day refund or replacement policy is available from the point of purchase.
For technical assistance or warranty claims, please refer to the contact information provided on the product packaging or the official Magcubic website.
Important Recycling Information
For information on recycling this product and other types of electronic devices, please consult local regulations and recycling centers. Proper disposal helps protect the environment.
For details on how to clean and dispose of broken or deteriorated bulbs (Note: This projector uses an LED light source, not traditional bulbs. This information is provided as a general guideline for electronic waste.), please refer to relevant environmental guidelines.


