1. Introduction
Thank you for choosing the Mesqool CR1025 Clock Radio. This device combines an alarm clock, Bluetooth speaker, FM radio, night light, and phone charger into one compact unit. This manual provides detailed instructions for setup, operation, and maintenance to ensure optimal performance and user experience.

Figure 1: Mesqool CR1025 Clock Radio
2. Product Overview
2.1 Key Features
- Multifunctional Design: Alarm Clock, Bluetooth Speaker, FM Radio, Night Light, and Phone Charger.
- Bluetooth 5.0: For stable and quick wireless audio streaming.
- FM Radio: 87.5MHz-108.0MHz frequency range with 20 preset stations.
- Adjustable Brightness: 5 levels for the LED display.
- Adjustable Volume: 16 levels (45dB to 116dB).
- Sleep Timer: Allows automatic shutdown of audio playback.
- Snooze Function: 9-minute delay for alarms.
- Battery Backup: Retains time and alarm settings during power outages.
- Dual USB Charging Ports: Type-C and USB-A for device charging.
- Time Format: 12-hour and 24-hour display options.
- Daylight Saving Time (DST): Quick adjustment feature.

Figure 2: 5-in-1 Functionality
2.2 Package Contents
- Mesqool CR1025 Clock Radio
- Power Adapter
- USB Cable
- CR2032 Lithium Battery (pre-installed or separate for backup)
- User Manual (this document)

Figure 3: Package Contents
3. Controls and Display
Familiarize yourself with the buttons and ports on your Mesqool CR1025 Clock Radio.
3.1 Top Panel Controls
- Sleep Timer Knob: Rotate to set sleep timer duration. Press to confirm.
- Alarm Button: Press to set or activate/deactivate alarms.
- Time/12/24 Button: Press to set time. Hold to switch between 12/24-hour format.
- Dimmer/DST Button: Press to adjust display brightness. Hold to activate/deactivate Daylight Saving Time.
- SNOOZE/LIGHT Button: Press to snooze alarm or turn night light on/off.
- Preset/Pair Button: Press to cycle through FM presets. Hold to enter Bluetooth pairing mode.
- Play/Mode Button: Press to play/pause in Bluetooth mode. Hold to switch between FM/Bluetooth modes.
- Power/Scan Knob: Rotate to adjust volume. Press to power on/off. Hold to auto-scan FM stations.
3.2 Rear Panel Ports
- DC IN: Power input port.
- USB-A Output: For charging external devices.
- Type-C Output: For charging external devices.
4. Setup
4.1 Power Connection
- Connect the power adapter to the DC IN port on the back of the clock radio.
- Plug the power adapter into a standard wall outlet. The display will light up.

Figure 4: Power Connection
4.2 Battery Backup
The CR2032 battery provides backup for time and alarm settings during a power outage. The display will not show time, and alarms will not sound until power is restored.
- Ensure the battery insulator tab is removed if the battery was pre-installed.
- If replacing, open the battery compartment on the bottom and insert a new CR2032 battery with the correct polarity.
4.3 Setting the Time
- Press and hold the Time/12/24 button until the hour digits flash.
- Rotate the Power/Scan knob to adjust the hour.
- Press the Time/12/24 button again to confirm the hour, and the minute digits will flash.
- Rotate the Power/Scan knob to adjust the minutes.
- Press the Time/12/24 button to save the time setting.
4.4 12/24-Hour Format
To switch between 12-hour and 24-hour time formats, press the Time/12/24 button briefly while the time is displayed.

Figure 5: 12H/24H and DST Display
4.5 Daylight Saving Time (DST)
To activate or deactivate DST, press and hold the Dimmer/DST button. The 'DST' indicator will appear or disappear on the display.
5. Operating Instructions
5.1 Setting the Alarm
- Press and hold the Alarm button until the alarm hour digits flash.
- Rotate the Power/Scan knob to adjust the alarm hour.
- Press the Alarm button again to confirm the hour, and the minute digits will flash.
- Rotate the Power/Scan knob to adjust the alarm minutes.
- Press the Alarm button to save the alarm time.
- To activate/deactivate the alarm, press the Alarm button briefly. An alarm icon will appear/disappear on the display.
5.2 Snooze Function
When the alarm sounds, press the SNOOZE/LIGHT button to activate the 9-minute snooze function. The alarm will sound again after 9 minutes. This can be repeated up to 9 times. To stop the alarm completely, press the Alarm button.

Figure 6: Snooze Function
5.3 FM Radio Operation
- Press the Play/Mode button to switch to FM Radio mode.
- Auto-Scan: Press and hold the Power/Scan knob to automatically scan and save available FM stations (up to 20 presets).
- Manual Tuning: Briefly rotate the Power/Scan knob to fine-tune the frequency.
- Select Presets: Press the Preset/Pair button to cycle through saved stations.
- Volume Adjustment: Rotate the Power/Scan knob to adjust the volume (16 levels).

Figure 7: FM Radio Features
5.4 Bluetooth Speaker Operation
- Press the Play/Mode button to switch to Bluetooth mode. The 'BT' icon will flash on the display.
- On your mobile device, enable Bluetooth and search for 'CR1025'.
- Select 'CR1025' to pair. Once connected, the 'BT' icon will stop flashing.
- Play audio from your device. Use the Play/Mode button to play/pause.
- Volume Adjustment: Rotate the Power/Scan knob to adjust the volume.

Figure 8: Bluetooth 5.0 Connectivity
5.5 Night Light Operation
Press the SNOOZE/LIGHT button to turn the night light on or off. The night light provides a soft, warm glow.

Figure 9: Warm Night Light
5.6 Display Brightness Adjustment
Press the Dimmer/DST button repeatedly to cycle through 5 levels of display brightness, from off to brightest.
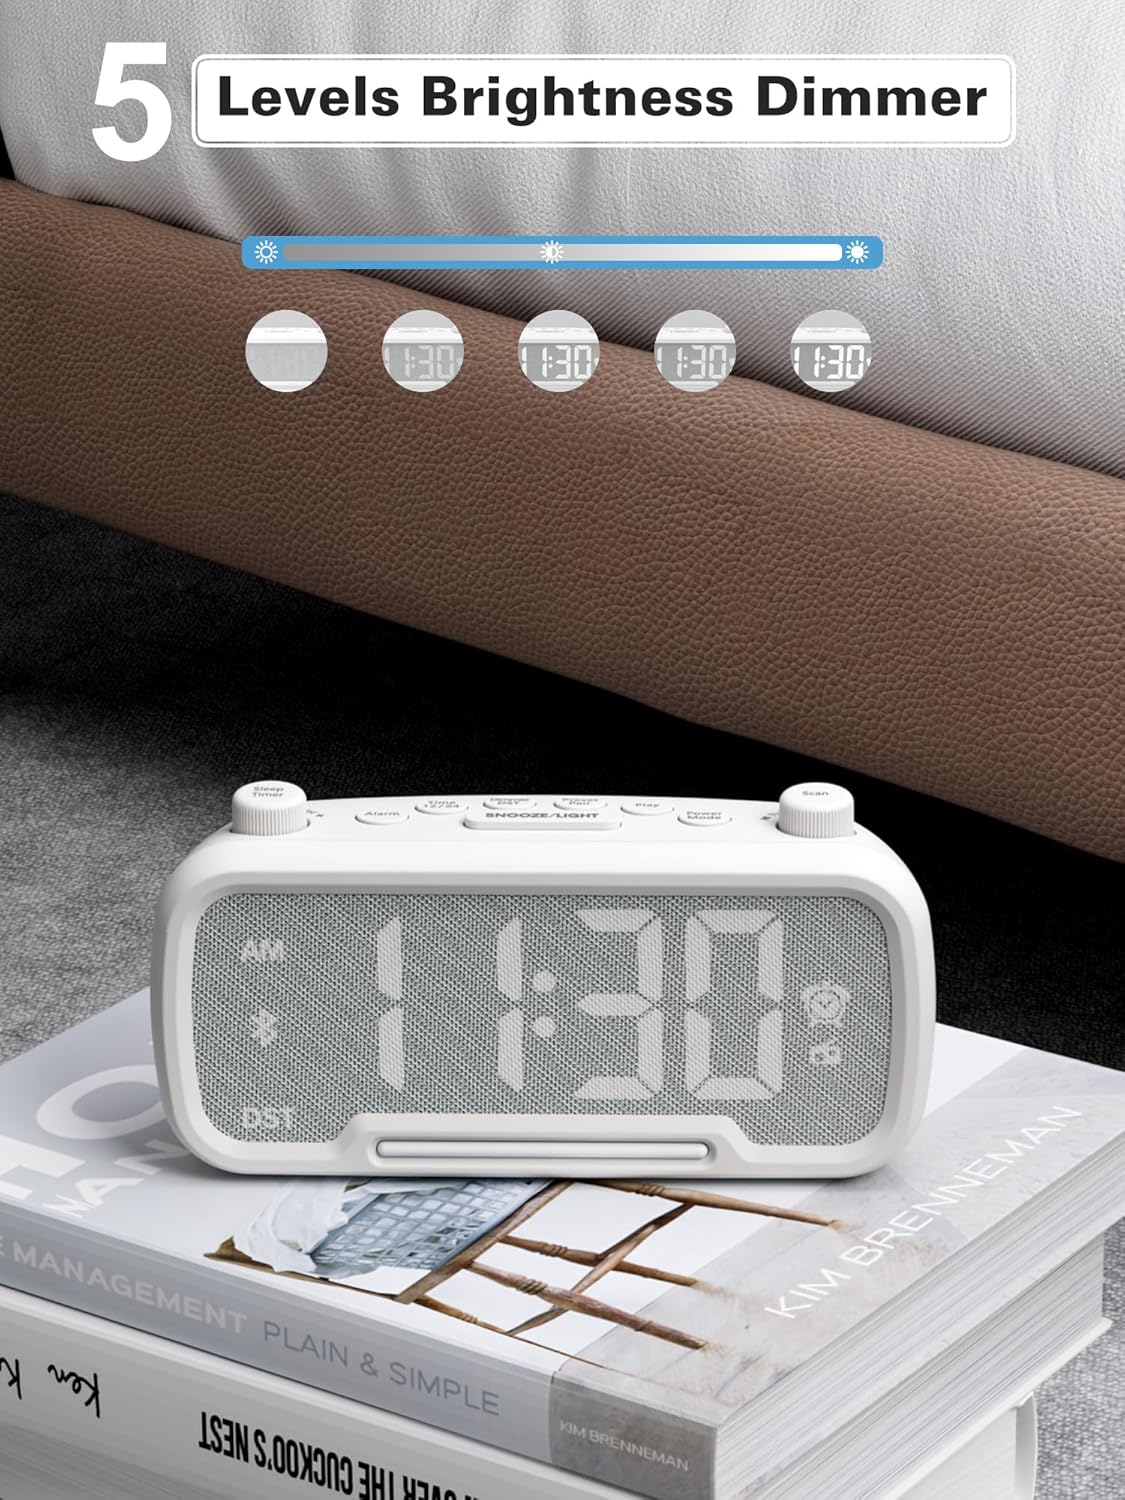
Figure 10: 5 Levels Brightness Dimmer
5.7 Sleep Timer
The sleep timer allows you to set a duration after which the radio or Bluetooth audio will automatically turn off.
- While playing FM radio or Bluetooth audio, rotate the Sleep Timer knob to select the desired sleep duration (e.g., 15, 30, 60, 90 minutes).
- The display will show the remaining sleep time. The audio will turn off automatically when the timer expires.
5.8 Phone Charging
The clock radio features two USB charging ports (Type-C and USB-A) for convenient charging of your mobile devices.
- Connect your device's charging cable to either the USB-A or Type-C port on the back of the clock radio.
- Connect the other end of the cable to your mobile device. Charging will begin automatically.

Figure 11: Dual USB Charging Ports
6. Maintenance
- Clean the unit with a soft, dry cloth. Do not use abrasive cleaners or solvents.
- Keep the unit away from direct sunlight, heat sources, and moisture.
- Ensure proper ventilation around the unit.
- If the unit will not be used for an extended period, unplug it from the power outlet.
7. Troubleshooting
| Problem | Possible Cause | Solution |
|---|---|---|
| No power/Display off | Power adapter not connected or faulty. | Ensure power adapter is securely plugged into the unit and wall outlet. Check outlet functionality. |
| Alarm does not sound | Alarm not activated or set incorrectly. | Verify alarm time is set and the alarm icon is visible on the display. Check alarm volume. |
| Poor FM radio reception | Weak signal or interference. | Adjust the unit's position. Try auto-scanning again. |
| Bluetooth not pairing | Device not in pairing mode or too far. | Ensure the clock radio is in Bluetooth mode (BT icon flashing). Move device closer. Forget device on phone and re-pair. |
| USB charging not working | Cable faulty or device incompatible. | Try a different USB cable. Ensure the clock radio is powered on. |
8. Specifications
- Model: CR1025
- Power Input: AC 100-240V, 50/60Hz
- Battery Backup: 1 x CR2032 (included)
- FM Frequency: 87.5 - 108.0 MHz
- Bluetooth Version: 5.0
- USB Output: USB-A, Type-C (Charging only)
- Display Brightness: 5 levels
- Volume Levels: 16 levels (45dB - 116dB)
- Dimensions: 5.9 x 3.81 x 8.4 cm (2.32 x 1.5 x 3.31 inches)
- Weight: 216 g (0.48 lbs)
Figure 12: Product Dimensions
9. Warranty and Support
Mesqool products are designed and manufactured to the highest quality standards. For warranty information, technical support, or customer service inquiries, please refer to the contact information provided on the product packaging or visit the official Mesqool website.
Website: Mesqool Official Store


