
1. Introduction
Thank you for choosing the EPOMAKER X Aula F99 PRO Wireless Gaming Keyboard. This manual provides essential information for setting up, operating, and maintaining your new keyboard. The F99 PRO is a 96% layout mechanical keyboard designed for gaming and productivity, featuring tri-mode connectivity, hot-swappable switches, and customizable RGB backlighting.

Figure 1: EPOMAKER X Aula F99 PRO Wireless Gaming Keyboard (Black Gradient)
2. What's in the Box
Please check the contents of your package to ensure all items are present:
- EPOMAKER X Aula F99 PRO Wireless Gaming Keyboard
- USB Cable (Type-C to Type-A)
- 2.4GHz Wireless Dongle
- Keycap Puller
- Extra Mechanical Switches
- User Manual (this document)
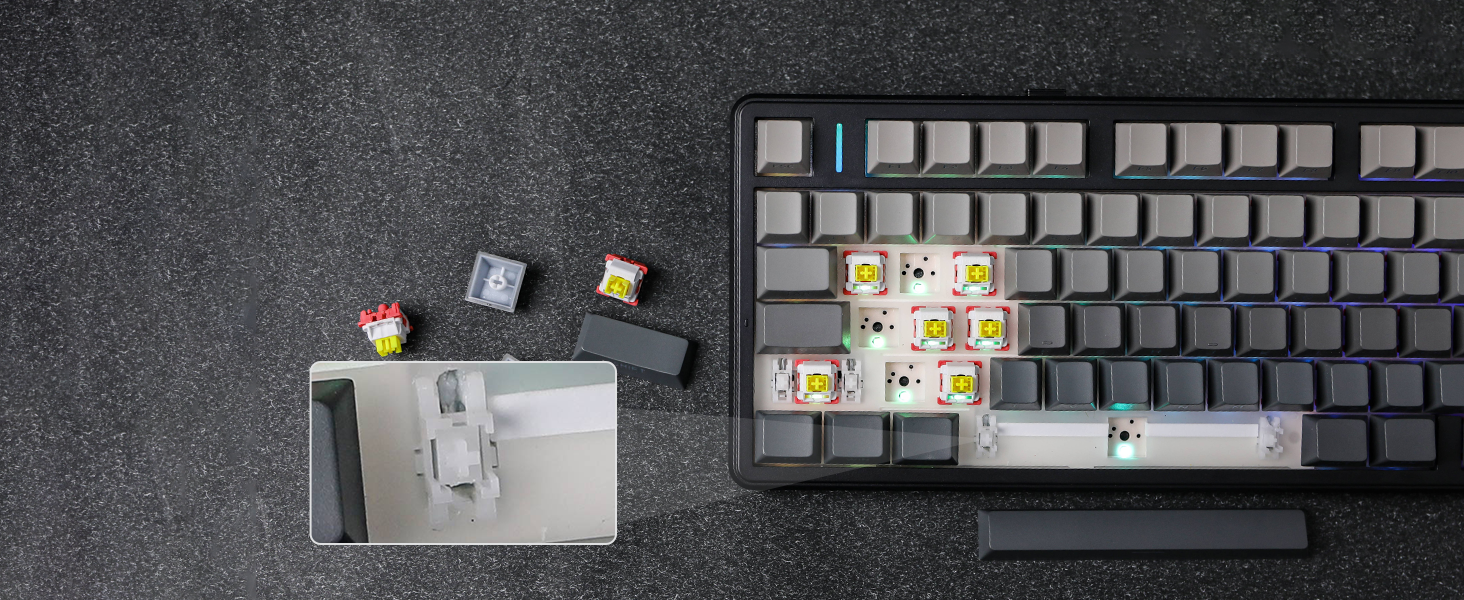
Figure 2: Package Contents and Keyboard Dimensions
Video 1: Unboxing the F99 PRO Gaming Keyboard. This video demonstrates the unboxing process and shows the items included in the package.
3. Setup
3.1 Connectivity Modes
The F99 PRO supports three connectivity modes: Bluetooth (BT 5.0), 2.4GHz Wireless, and Wired (USB-C). You can switch between modes using the toggle switch located on the back of the keyboard.
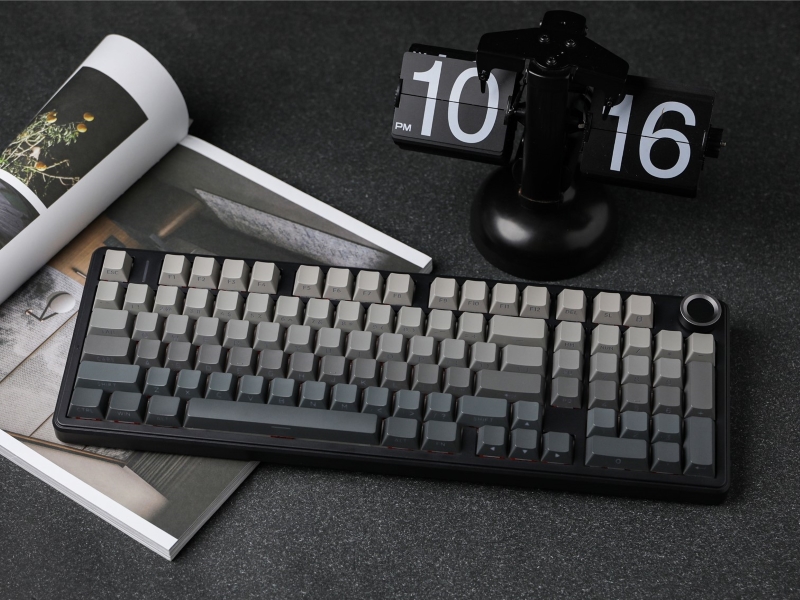
Figure 3: Connectivity Ports and Mode Switch
- 2.4GHz Wireless: Insert the 2.4GHz USB dongle into your device's USB port. Slide the switch on the keyboard to the '2.4G' position. The keyboard will automatically connect.
- Bluetooth: Slide the switch on the keyboard to the 'BT' position. On your device, search for Bluetooth devices and select 'F99 PRO'. The keyboard can connect to up to five devices simultaneously.
- Wired (USB-C): Connect the provided USB-C cable from the keyboard to your device. Slide the switch on the keyboard to the 'Wired' position.
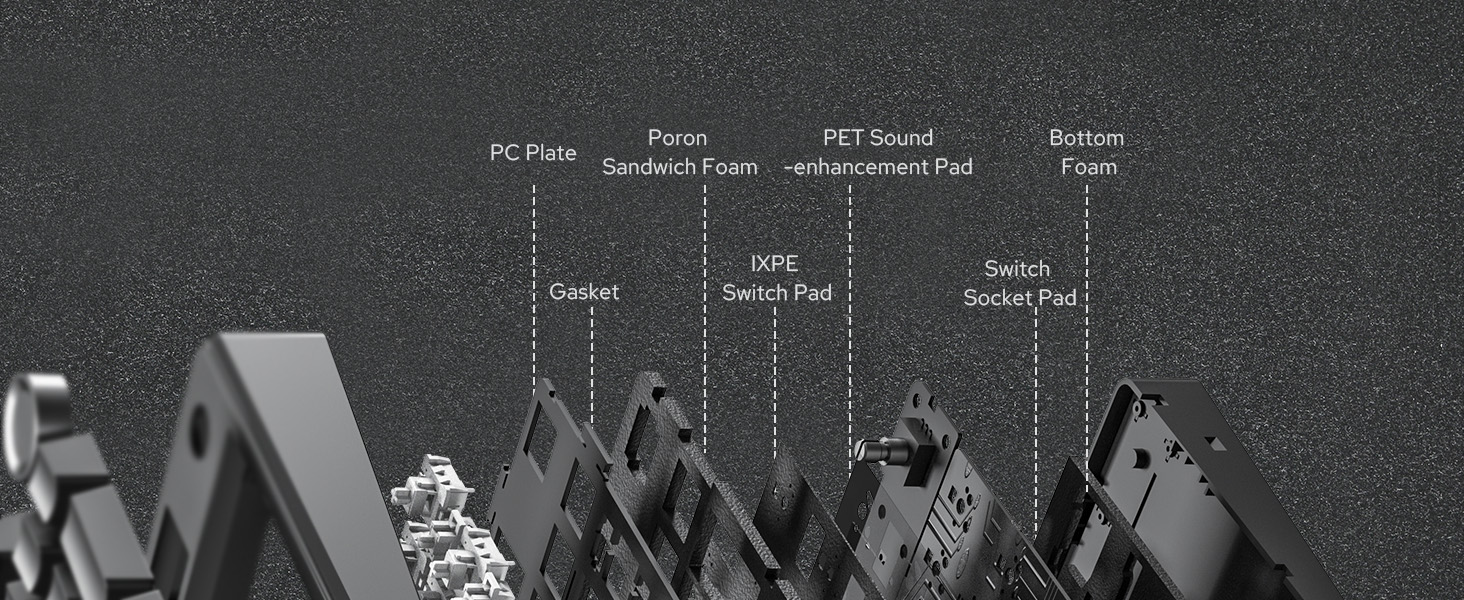
Figure 4: Tri-Mode Connectivity Overview
3.2 Battery Charging
The F99 PRO is equipped with a robust 8000mAh battery. Connect the USB-C cable to the keyboard and a power source (e.g., computer USB port, USB wall adapter) to charge. The keyboard can be used while charging in wired mode.
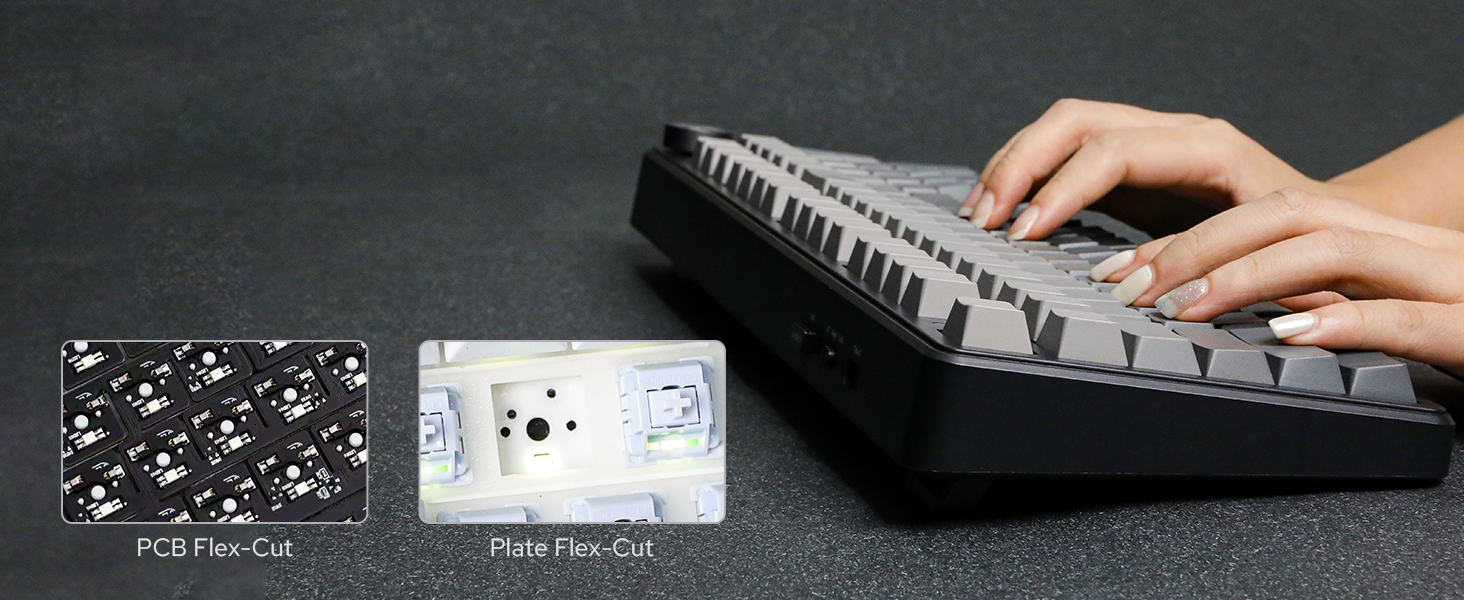
Figure 5: 8000mAh Battery Life Indication
4. Operating Instructions
4.1 Volume Control Knob
The metal knob located on the top right of the keyboard provides easy control over media functions:
- Rotate: Adjusts system volume (clockwise for increase, counter-clockwise for decrease).
- Press: Mutes/unmutes audio.
- Press and Hold (5 seconds): Switches the knob function between volume control and backlight brightness control.
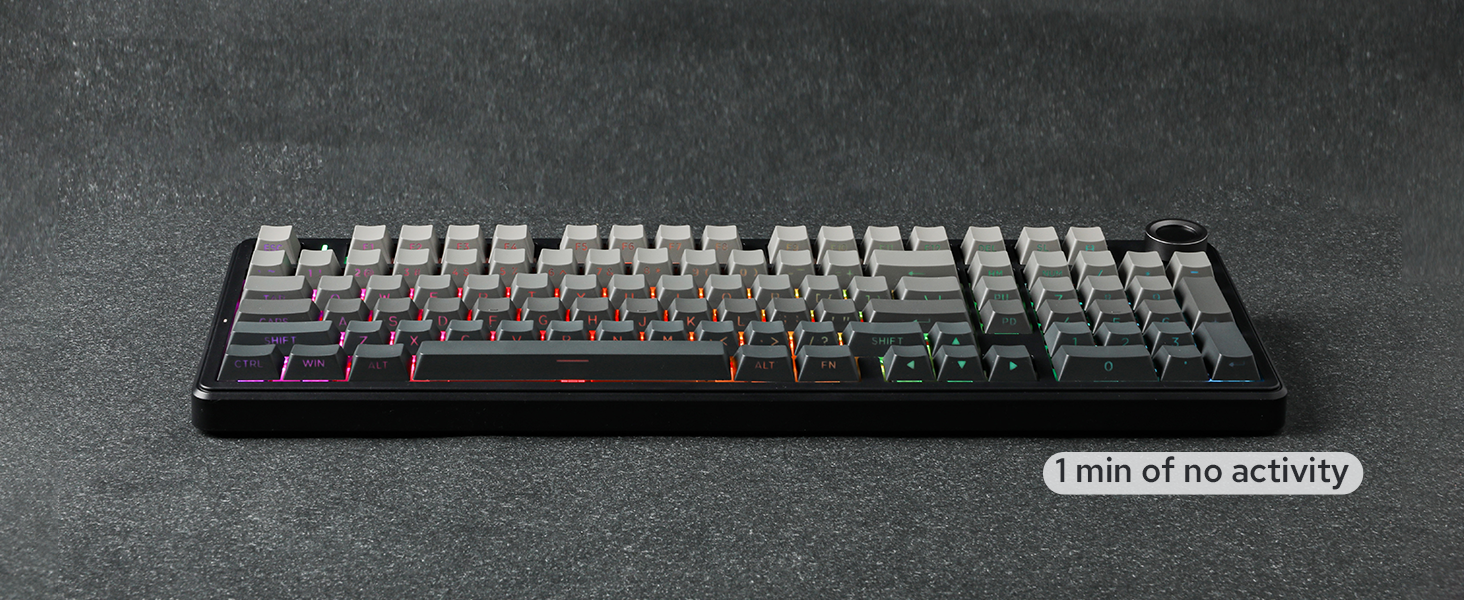
Figure 6: Multi-Function Control Knob
4.2 RGB Backlighting
The F99 PRO features customizable RGB backlighting. Use the following key combinations to adjust lighting effects:
- FN + \|: Change backlight effect.
- FN + Right Shift: Change light bar effect.
- FN + Up Arrow: Increase brightness.
- FN + Down Arrow: Decrease brightness.
- FN + Left Arrow: Decrease effect speed.
- FN + Right Arrow: Increase effect speed.

Figure 7: RGB Backlight Control
Video 2: RGB Backlight Show. This video demonstrates various RGB lighting effects available on the F99 PRO keyboard.
4.3 Hot-Swappable Switches
The F99 PRO features a hot-swappable PCB, allowing you to easily change 3-pin or 5-pin mechanical switches without soldering. This enables customization of your typing experience.

Figure 8: Hot-Swappable Switches
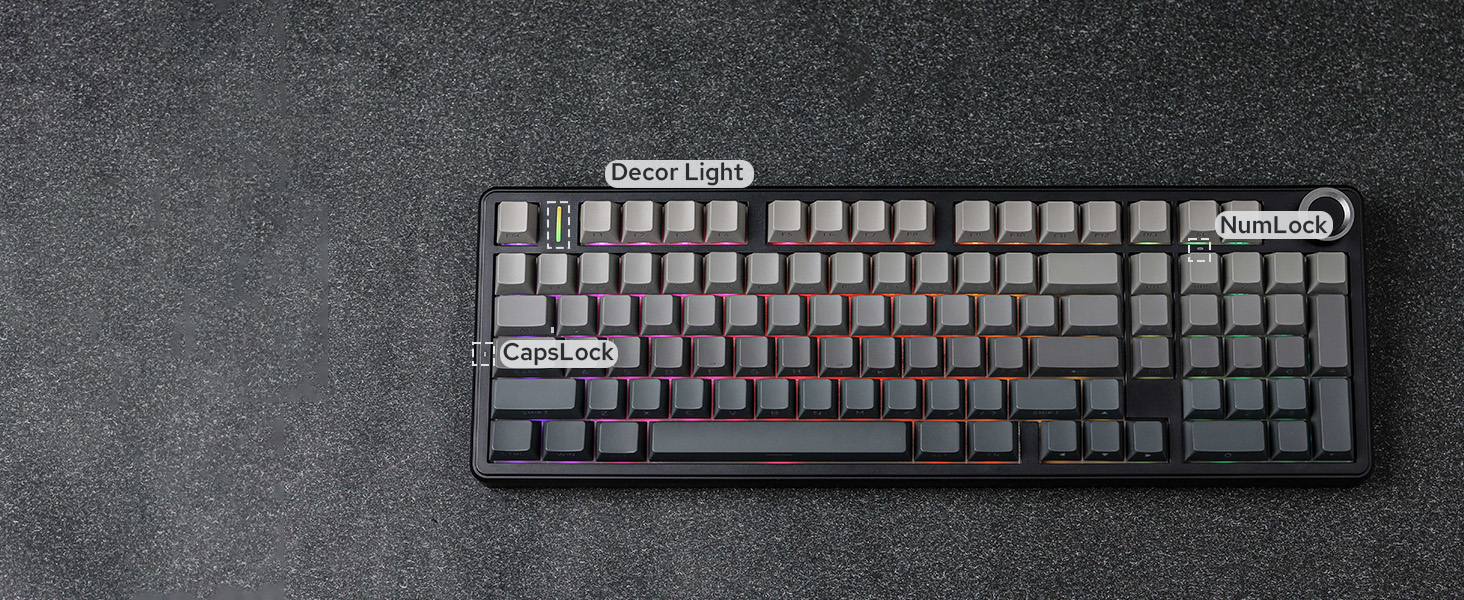
Figure 9: Removing a Hot-Swappable Switch
Video 3: LEOBOG Nimbus V3 Switch Typing Sound. This short video demonstrates the sound profile of the LEOBOG Nimbus V3 switches.
4.4 Multi-System Compatibility
The F99 PRO is compatible with a wide range of operating systems and devices, including Windows, Mac, Android, PC, laptop, tablet, smartphone, PS, and XBOX. Switch between Mac/iOS and Win/Android layouts using FN + E/R or FN + W/Q respectively.

Figure 10: Multi-System Compatibility
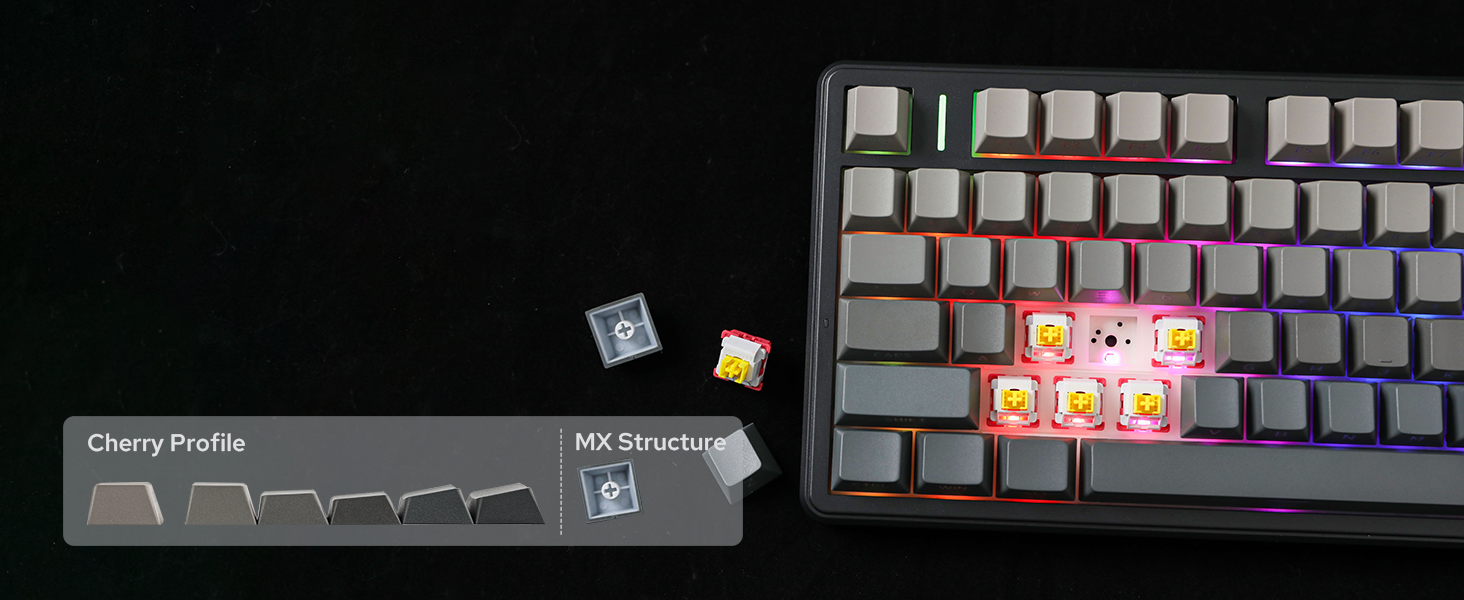
Figure 11: Switching Operating System Layouts
4.5 Customization with AULA Driver
Personalize your F99 PRO keyboard with the AULA Driver software. This software allows you to customize key settings, macros, and lighting effects to match your preferences.

Figure 12: AULA Driver Software Interface
5. Maintenance
- Cleaning: Use a soft, dry cloth to wipe the keyboard surface. For deeper cleaning, remove keycaps using the provided keycap puller and clean with compressed air or a soft brush.
- Switch Replacement: Use the provided switch puller to carefully remove switches. Align new switches with the PCB sockets and press gently until they click into place.
- Storage: Store the keyboard in a cool, dry place away from direct sunlight and extreme temperatures.
6. Troubleshooting
6.1 Connectivity Issues
- Keyboard not connecting in 2.4GHz mode: Ensure the dongle is securely plugged into a USB port and the keyboard switch is set to '2.4G'. Try a different USB port.
- Bluetooth pairing failure: Ensure the keyboard is in 'BT' mode and discoverable. Remove previous pairings from your device and try pairing again.
- Wired connection not working: Check if the USB-C cable is properly connected to both the keyboard and your device, and the keyboard switch is set to 'Wired'. Try a different USB-C cable or port.
6.2 Backlight Issues
- Backlight not turning on: Ensure the keyboard is powered on and charged. Adjust brightness using the knob or FN key combinations.
- Inconsistent lighting: Check for any software conflicts or update the AULA Driver software.
6.3 Typing Issues
- Keys not responding: Ensure the keyboard is properly connected and powered. If a specific key is not working, try replacing the switch for that key.
- Lag or delayed input: For wireless modes, ensure there are no strong interferences nearby. For wired mode, check the cable connection.
7. Specifications
| Feature | Detail |
|---|---|
| Brand | EPOMAKER |
| Model Number | F99 PRO |
| Layout | 96% Compact Layout (99 Keys) |
| Connectivity | 2.4GHz Wireless, Bluetooth 5.0, USB-C Wired |
| Battery Capacity | 8000mAh |
| Switches | Hot-Swappable (3-pin/5-pin compatible), LEOBOG Switches |
| Keycaps | PBT Keycaps, Cherry Profile |
| Backlighting | RGB |
| Special Features | Gasket Structure, 5 Layers of Sound-Improving Materials, Flex-Cut PCB and PC Plate, Volume Control Knob, Programmable Keys |
| Compatible Devices | Gaming Console, Laptop, PC, Smartphone, Tablet |
| Product Dimensions | 15.35"L x 5.79"W x 1.3"H |
| Enclosure Material | Plastic |
8. Warranty & Support
The EPOMAKER X Aula F99 PRO Wireless Gaming Keyboard comes with a 1-Year Warranty from the date of purchase.
For technical support, warranty claims, or further assistance, please contact EPOMAKER customer service through their official website or the retailer where you purchased the product.
You can also visit the EPOMAKER Store on Amazon for more information and related products.


