1. Introduction
This manual provides essential information for the safe and effective operation, maintenance, and troubleshooting of your TOTAL Knapsack Sprayer THSPP42002. Please read all instructions carefully before assembling or using the sprayer to ensure proper function and user safety. This 20-liter capacity sprayer is designed for efficient and uniform application of liquids in gardens and fields.
2. Safety Information
Always adhere to the following safety guidelines to prevent injury or damage:
- Read Chemical Labels: Always read and follow the instructions and safety warnings on the labels of any chemicals or liquids you intend to spray.
- Wear Protective Gear: Use appropriate personal protective equipment (PPE) such as gloves, eye protection, masks, and protective clothing when handling and spraying chemicals.
- Ventilation: Use the sprayer in well-ventilated areas to avoid inhaling fumes.
- Flammable Liquids: Never use the sprayer with flammable, corrosive, or highly volatile liquids.
- Pressure Release: Always release pressure from the sprayer before opening the tank or performing any maintenance.
- Children and Pets: Keep the sprayer and any sprayed areas out of reach of children and pets.
- Storage: Store the sprayer in a cool, dry, and secure place, away from direct sunlight and freezing temperatures.
- Inspection: Before each use, inspect the sprayer for any signs of damage, leaks, or worn parts. Do not use if damaged.
3. Product Overview
The TOTAL Knapsack Sprayer THSPP42002 is a robust and efficient tool for various spraying tasks. Key features include:
- 20-Liter Capacity: Large tank designed for covering extensive areas, reducing the need for frequent refills.
- 4.5 BAR Pressure: Provides powerful and consistent liquid dispensing for even distribution.
- Adjustable Nozzle: Allows easy switching between a concentrated jet and a gentle mist, adapting to different spraying needs.
- Y-Trigger Fiberglass Lance: Equipped with a durable lance and Y-trigger for optimal flow control and comfortable operation.

Figure 3.1: Front view of the sprayer, highlighting the brand logo and tank design.

Figure 3.2: Side view illustrating the complete sprayer assembly with the lance and hose.
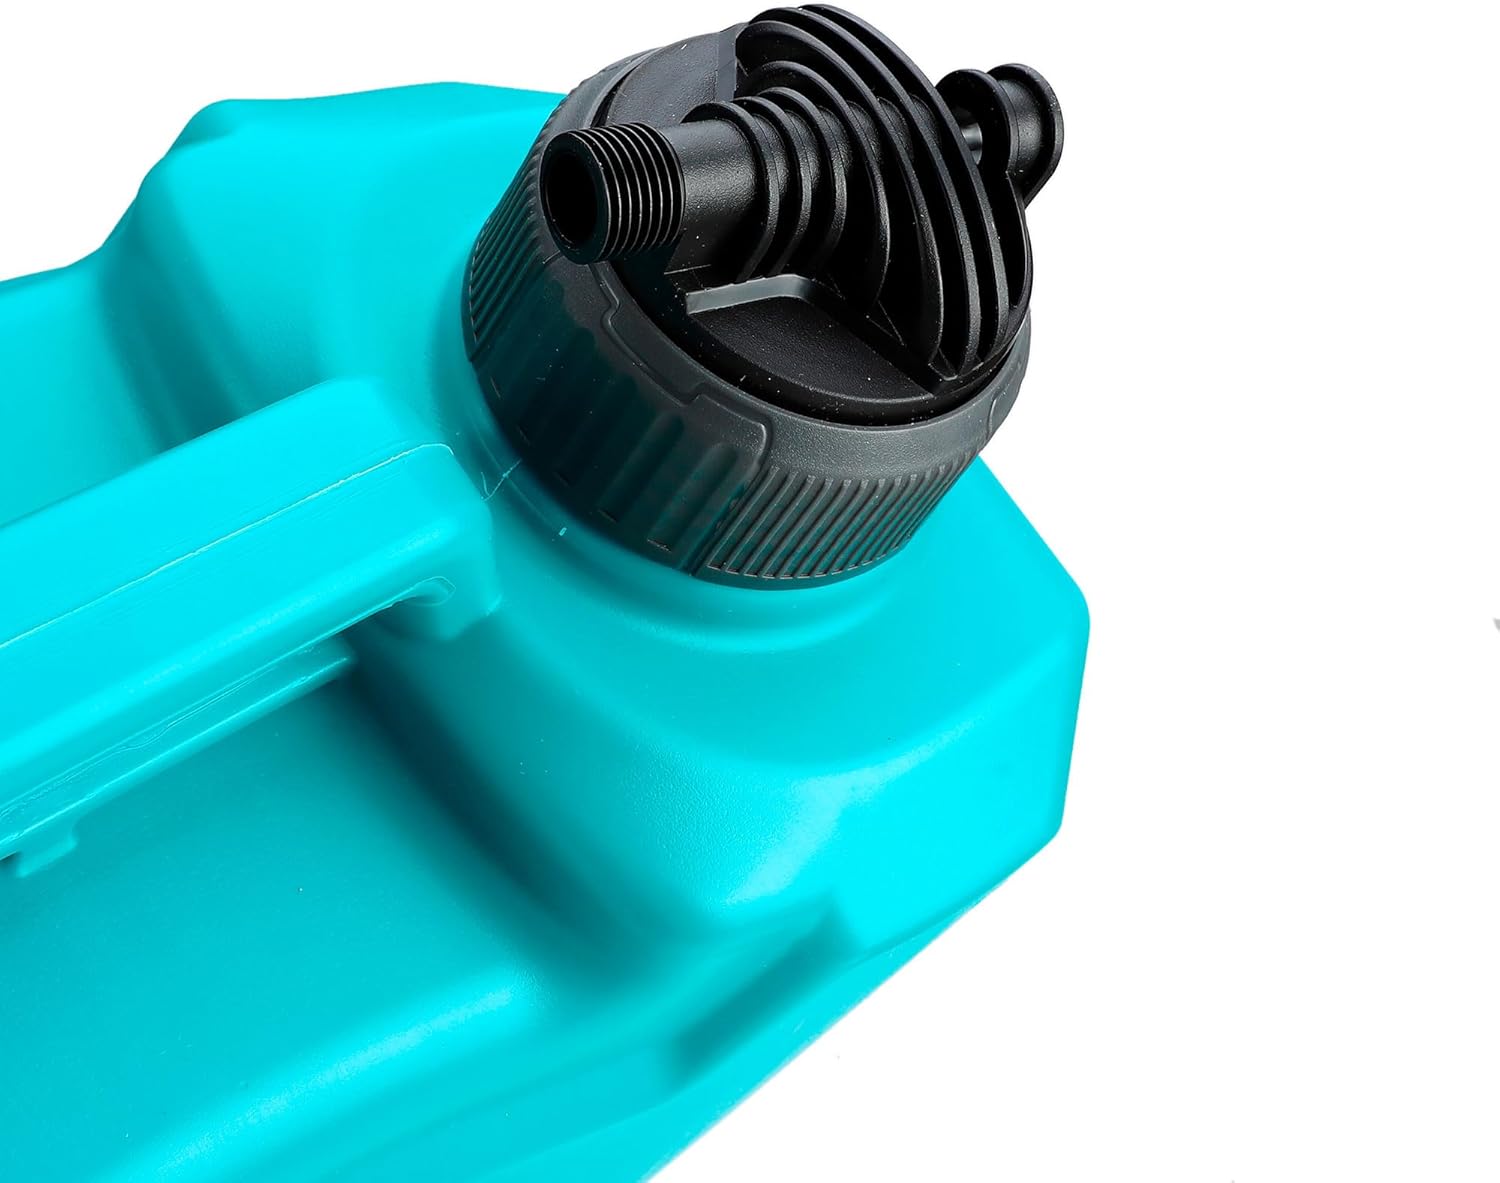
Figure 3.3: Detail of the sprayer's cap and nozzle connection point.
4. Setup
Follow these steps to prepare your knapsack sprayer for use:
- Unpack Components: Carefully remove all parts from the packaging. Verify that all components listed in the product manual (if provided separately) are present.
- Attach Straps: Securely attach the shoulder straps to the designated points on the sprayer tank. Adjust the straps for a comfortable fit on your back.
- Connect Hose and Lance: Connect the spray hose to the outlet on the sprayer tank. Ensure a tight connection to prevent leaks. Attach the fiberglass lance to the other end of the hose, securing it to the Y-trigger handle.
- Install Nozzle: Screw the desired nozzle onto the end of the spray lance. The sprayer typically comes with an adjustable nozzle.
- Fill Tank: Unscrew the main cap of the tank. Carefully pour the prepared liquid into the tank, ensuring not to exceed the maximum fill line. Use a funnel to prevent spills.
- Secure Cap: Tightly screw the main cap back onto the tank to ensure a sealed system.
5. Operating Instructions
Once assembled and filled, operate the sprayer as follows:
- Put on Sprayer: Carefully place the knapsack sprayer on your back, adjusting the shoulder straps for balance and comfort.
- Build Pressure: Operate the pump handle repeatedly to build pressure inside the tank. Continue pumping until you feel resistance, indicating sufficient pressure.
- Adjust Spray Pattern: Rotate the nozzle at the end of the lance to adjust the spray pattern from a fine mist to a concentrated jet, depending on your application needs.
- Begin Spraying: Squeeze the Y-trigger handle to release the liquid. Maintain a consistent pumping action to sustain pressure during spraying.
- Even Coverage: Move the lance steadily over the target area to ensure uniform coverage.
- Stop Spraying: Release the Y-trigger handle to stop the spray.
- Release Pressure: After use, or before opening the tank, always release any remaining pressure by holding the trigger open until no more liquid or air is expelled.
6. Maintenance
Regular maintenance ensures the longevity and optimal performance of your sprayer:
- Clean After Each Use: After each use, empty any remaining liquid from the tank. Rinse the tank thoroughly with clean water. Pump clean water through the hose and lance to flush out any chemical residue.
- Clean Nozzle: If the nozzle becomes clogged, remove it and clean it with water and a soft brush. Do not use metal objects that could damage the nozzle opening.
- Check for Leaks: Periodically inspect all connections, hoses, and seals for any signs of wear or leaks. Replace worn parts as necessary.
- Lubricate Moving Parts: Lightly lubricate the pump mechanism's O-rings and seals with silicone grease if they become stiff or dry.
- Winter Storage: If storing in freezing temperatures, ensure the sprayer is completely empty and dry to prevent damage from ice expansion.
7. Troubleshooting
Refer to this section for common issues and their solutions:
| Problem | Possible Cause | Solution |
|---|---|---|
| No pressure or low pressure |
|
|
| Uneven spray pattern |
|
|
| Leaks from connections |
|
|
| Pump handle is stiff |
|
|
8. Specifications
Key technical specifications for the TOTAL Knapsack Sprayer THSPP42002:
- Model Number: THSPP42002
- Brand: TOTAL
- Product Dimensions: 21 x 21 x 55 cm
- Item Weight: 2.6 Kilograms
- Capacity: 20 Liters
- Operating Pressure: 4.5 BAR
- Included Components: Nozzle
- Recommended Uses: Watering, general spraying
9. Warranty and Support
For warranty information, please refer to the documentation provided at the time of purchase or contact your retailer. For technical support or inquiries regarding replacement parts, please contact TOTAL customer service through their official website or authorized service centers.
Always provide your model number (THSPP42002) when contacting support to ensure efficient assistance.


