
1. Introduction
This manual provides detailed instructions for the operation and maintenance of your ORDRO B320 1080P Camcorder. Please read this manual thoroughly before using the device to ensure proper functionality and to maximize your user experience. This camcorder is designed for capturing Full HD 1080P video at 30 frames per second and 30MP still images, featuring IR night vision, an 18X digital zoom, and a 3.0-inch IPS screen.

Figure 1: ORDRO B320 1080P Camcorder.
2. What's in the Box
Upon opening your ORDRO B320 Camcorder package, you should find the following items:
- ORDRO B320 Camcorder
- Lens Cap
- 2 x Lithium Ion Batteries
- 16GB SD Card
- USB Card Reader
- USB Charging Cable
- Power Adapter
- Remote Control
- Instruction Manual
- Lens Cover
- DV Bag
3. Product Overview
Familiarize yourself with the main components and controls of your camcorder:

Figure 2: Key components of the ORDRO B320 Camcorder, including the lens, screen, and control buttons.
- Lens: Main optical component for capturing images and video.
- 3.0-inch IPS Screen: Rotatable display for viewing live footage, playback, and menu navigation.
- Power/IR Button: Toggles power and activates infrared night vision.
- Mode/OK Button: Switches between video, photo, and playback modes, and confirms selections.
- Menu Button: Accesses the camcorder's settings menu.
- Navigation Buttons (Up/Down/Left/Right): Used for menu navigation and digital zoom control.
- Record/Stop Key: Initiates and stops video recording.
- Photo Key: Captures still images.
- USB Output: Connects the camcorder to a computer for data transfer or webcam functionality.
- MIC Input: For connecting an external microphone (not included) for enhanced audio.
- Hot Shoe Interface: For attaching external accessories like lights or microphones.
4. Setup
4.1. Battery Installation and Charging
- Open the battery compartment cover located on the bottom of the camcorder.
- Insert a fully charged battery into the compartment, ensuring correct polarity.
- Close the battery compartment cover securely.
- To charge the battery, insert the battery into the camcorder, then connect the camcorder to the power adapter using the provided USB cable. The camcorder can record while charging.
4.2. SD Card Installation
- Locate the SD card slot, usually near the battery compartment or on the side.
- Insert the provided 16GB SD card into the slot until it clicks into place. Ensure the card is inserted in the correct orientation.
- To remove, gently push the card inward until it springs out.
4.3. Initial Power On
To power on the camcorder, simply open the 3.0-inch IPS screen. The device will automatically power on. Close the screen to power off the device.
5. Operating Instructions
5.1. Basic Video Recording
- Ensure the camcorder is powered on and in video recording mode (indicated by a video camera icon on the screen).
- Press the Record/Stop Key to begin recording. A red indicator light will typically appear.
- Press the Record/Stop Key again to stop recording.
5.2. Capturing Still Images
- Switch to photo mode using the Mode/OK Button (indicated by a camera icon).
- Frame your shot using the screen.
- Press the Photo Key to capture an image.
5.3. Digital Zoom
Use the navigation buttons (Up/Down) to control the 18X digital zoom. Press 'Up' to zoom in and 'Down' to zoom out.

Figure 3: Visual representation of key camcorder features such as digital zoom and webcam functionality.
5.4. IR Night Vision
To activate the infrared night vision function, press the Power/IR Button. This allows for clear recording in low-light conditions, though footage will appear in black and white.

Figure 4: Comparison of normal and infrared night vision recording capabilities.
5.5. Webcam Function
Connect the camcorder to your computer via the USB cable. Select the webcam option on the camcorder's screen to use it for video calls or live streaming. This also allows for file transfer to your computer.
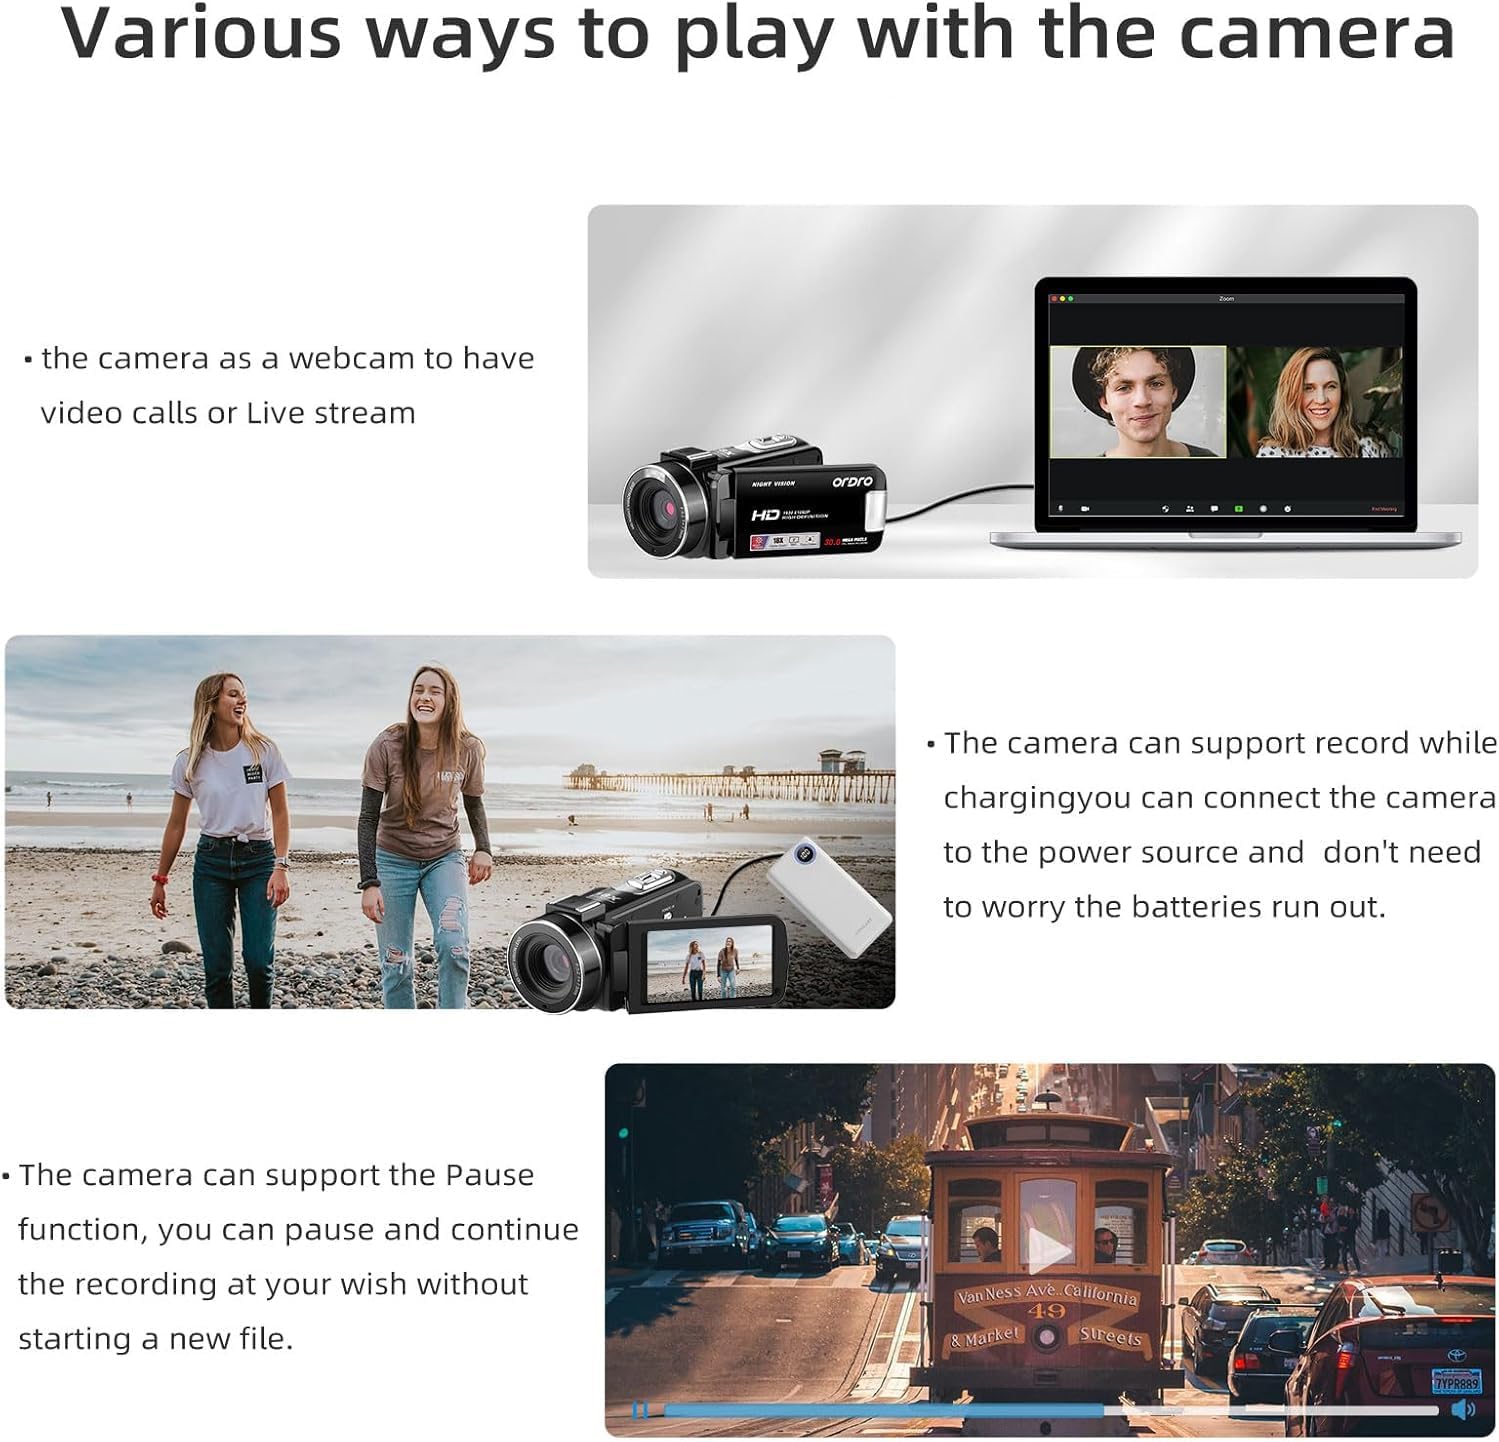
Figure 5: The camcorder connected to a laptop, demonstrating its webcam functionality.
5.6. Menu Settings
Press the Menu Button to access various settings. Use the navigation buttons to scroll and the Mode/OK Button to select. Available settings include:
- Mode Set: Auto, Night, Portrait, Landscape, Backlight, Sport, Party, Beach, High Sensitivity.
- Movie Size: Adjust video resolution (e.g., FHD 1920x1080, HD 1280x720, VGA 640x480).
- Beauty Face: On/Off.
- Exposure: Adjust EV values (+3 to -3).
- White Balance: Auto, Daylight, Cloudy, Fluorescent, Tungsten.
- Sharpness: Sharp, Normal, Soft.
- Effect: Normal, B&W, Sepia, Red, Green, Blue, Sunset, Warm, Cool, Over Exposure, IR, Binary, Vivid, Undertone, Dog Eye, Aibao, Gothic, Japan Style, LOMO, Negative.
- ISO: Auto, 100, 200, 400.
- Date Stamp: Off, Date, Date & Time.
- Setup: Language, Set Date, Power Save, Beep, Frequency, Format, Default.
Video 1: An overview of the ORDRO B320 1080p Video Camera, demonstrating its features and various settings.
6. Maintenance
To ensure the longevity and optimal performance of your ORDRO B320 Camcorder, follow these maintenance guidelines:
- Keep the lens clean using a soft, lint-free cloth. Avoid abrasive materials.
- Store the camcorder in its protective DV bag when not in use to prevent dust and scratches.
- Avoid exposing the camcorder to extreme temperatures, humidity, or direct sunlight for extended periods.
- Ensure batteries are fully charged before long periods of storage and recharge them periodically.
7. Troubleshooting
If you encounter issues with your ORDRO B320 Camcorder, refer to the following common problems and solutions:
- Camera does not power on: Ensure the battery is correctly inserted and fully charged. The screen must be open for the camera to power on.
- Poor image/video quality: Check the lens for smudges or dirt. Ensure you are in appropriate lighting conditions for your selected mode. Adjust exposure, white balance, and sharpness settings in the menu.
- Blurry footage, especially for small details: The camcorder may have limitations in focusing on very small or close-up details. While there are sharpness settings, they may not fully resolve issues with fine text or intricate objects at close range. Ensure sufficient lighting and try adjusting the distance to the subject.
- SD card error: Ensure the SD card is properly inserted. Try formatting the SD card via the camera's setup menu (this will erase all data). If the issue persists, try a different compatible SD card.
- No audio recording: Check if an external microphone is connected and functioning. Ensure the camcorder's internal microphone is not obstructed.
8. Specifications
| Feature | Specification |
|---|---|
| Brand | ORDRO |
| Model Number | LM-ORDRO B320 |
| Video Capture Resolution | 1080p |
| Effective Still Resolution | 30 MP |
| Digital Zoom | 18 x |
| Screen Size | 3 Inches |
| Photo Sensor Technology | CMOS |
| Connectivity Technology | Wi-Fi |
| Battery Average Life | 120 minutes |
| Number of Batteries | 2 Lithium Ion (included) |
| Has Image Stabilization | No |
| Water Resistance Level | Not Water Resistant |
| Supported Audio Format | AAC, MP3 |
| Video Capture Format | MP4 |
| Supported Image Format | JPEG |
9. Warranty & Support
The ORDRO B320 Camcorder comes with a one-year warranty from the manufacturer, ORDRO. For technical support, warranty claims, or further assistance, please refer to the contact information provided with your product packaging or visit the official ORDRO website.


