
zhiroad Q22
Zhiroad 1080P FHD Dashcam User Manual
Model: Q22 | Brand: Zhiroad
1. Introduction
Thank you for choosing the Zhiroad 1080P FHD Dashcam. This manual provides detailed instructions on how to set up, operate, and maintain your dashcam. Please read this manual carefully before use to ensure proper operation and to maximize the device's performance and longevity. Keep this manual for future reference.
2. Safety Information
To ensure safe operation and prevent damage to the device, please observe the following safety precautions:
- Do not expose the dashcam to extreme temperatures, direct sunlight for prolonged periods, or high humidity.
- Avoid dropping or subjecting the device to strong impacts.
- Do not attempt to disassemble, repair, or modify the dashcam yourself. Contact qualified service personnel for assistance.
- Ensure the dashcam is securely mounted and does not obstruct the driver's view or interfere with airbag deployment.
- Use only the original power adapter and accessories provided with the device.
- Format the SD card regularly to ensure optimal recording performance.
3. Package Contents
Please check the package contents upon opening. If any items are missing or damaged, contact your retailer.
- Zhiroad 1080P FHD Dashcam
- Suction Cup Mount
- Car Charger
- USB Cable
- 32GB Micro SD Card
- User Manual
4. Product Overview
Familiarize yourself with the components of your Zhiroad Dashcam.

Image 1: The Zhiroad 1080P FHD Dashcam, showing the main unit, suction cup mount, and included 32GB Micro SD card. The dashcam features a front-facing camera lens and a 3-inch IPS display.

Image 2: The Zhiroad Dashcam installed on a car's windshield using the suction cup mount, providing a clear view of the road ahead. The compact design ensures minimal obstruction.
Dashcam Components:
- Front Lens: Captures 1080P Full HD video.
- 3-inch IPS Display: For live view, playback, and menu navigation.
- Power Button: Turns the device on/off.
- Menu Button: Accesses settings and options.
- Up/Down Buttons: Navigates through menu options.
- OK Button: Confirms selections and starts/stops recording.
- Micro SD Card Slot: For inserting the memory card.
- Mini USB Port: For power connection and data transfer.
- Reset Button: For factory reset (small pinhole).
5. Setup
5.1 Installing the Dashcam
- Clean the area on your windshield where you intend to mount the dashcam.
- Attach the suction cup mount to the dashcam.
- Press the suction cup firmly against the windshield and flip the lever to secure it. Ensure it does not obstruct your view.
- Connect the car charger to the dashcam's Mini USB port and plug the other end into your vehicle's cigarette lighter socket. Route the cable neatly to avoid interference.

Image 3: A visual guide demonstrating the easy installation of the dashcam. The image shows the dashcam mounted on the windshield with the power cable routed along the edge of the car's interior, ensuring a tidy setup.
5.2 Inserting the SD Card
- Ensure the dashcam is powered off.
- Insert the provided 32GB Micro SD card into the SD card slot until it clicks into place.
- To remove, gently push the card in until it springs out.
Note: It is recommended to format the SD card before first use and periodically thereafter to ensure stable recording.
6. Operating Instructions
6.1 Power On/Off
- Automatic Power On/Off: The dashcam will automatically power on and begin recording when connected to car power and the vehicle ignition is turned on. It will power off automatically when the ignition is turned off.
- Manual Power On/Off: Press and hold the Power button for a few seconds to manually turn the dashcam on or off.
6.2 Menu Navigation
- Press the Menu button to enter the settings menu.
- Use the Up/Down buttons to navigate through menu options.
- Press the OK button to select an option or confirm a setting.
- Press the Menu button again to exit the menu.
6.3 Recording Modes
- Loop Recording: The dashcam records video in continuous loops (e.g., 1, 3, or 5 minutes). When the SD card is full, the oldest unlocked video files will be automatically overwritten by new recordings. This ensures continuous recording without manual intervention.

Image 4: A visual representation of the loop recording function. The dashcam continuously records, and older, unlocked video segments are automatically overwritten as the memory card fills up, ensuring uninterrupted recording.
- G-Sensor (Emergency Recording): The built-in G-sensor detects sudden shakes or collisions. When triggered, it automatically locks the current video segment, preventing it from being overwritten by loop recording. These locked files are stored in a separate folder on the SD card.
6.4 Parking Monitoring
When enabled, the parking monitor function allows the dashcam to automatically start recording and lock the video if it detects a shake or collision while the car is parked. This feature requires a continuous power supply, which may necessitate an additional hardwire kit (sold separately) for 24-hour monitoring.
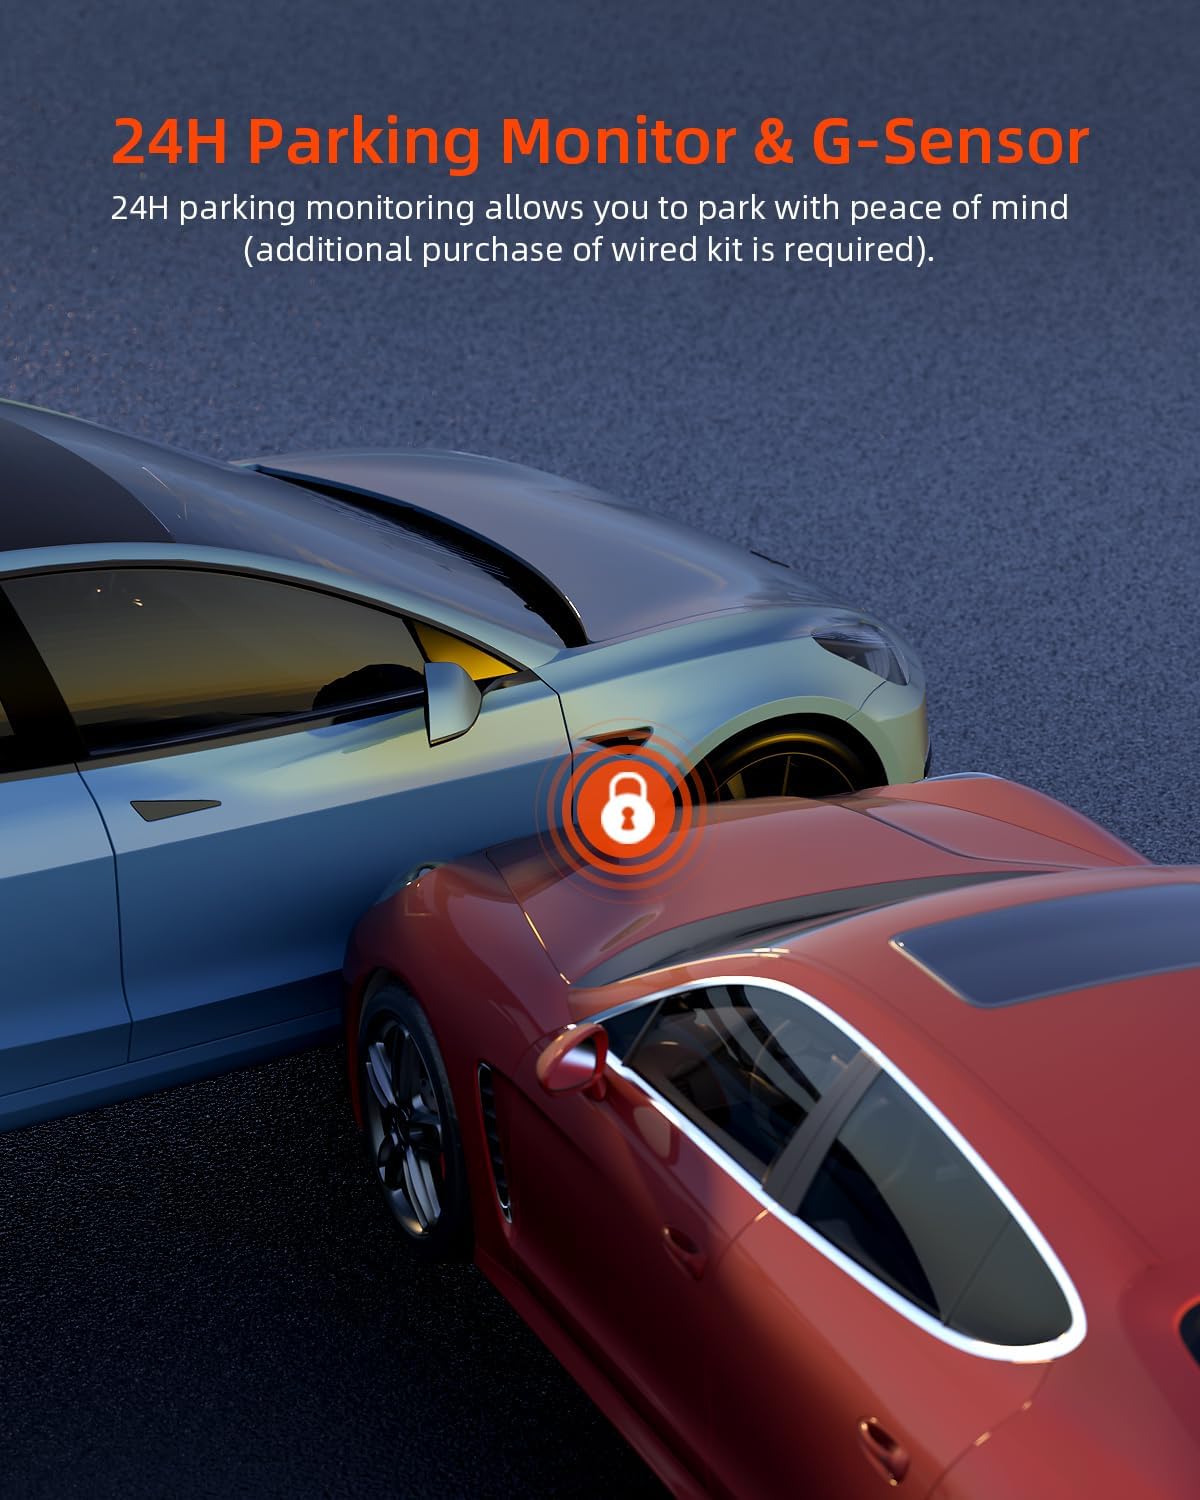
Image 5: An illustration depicting the 24-hour parking monitoring feature. The image shows two parked cars with a lock icon, symbolizing the dashcam's ability to detect and record incidents even when the vehicle is stationary.
6.5 Super Night Vision & WDR
The dashcam is equipped with Super Night Vision and Wide Dynamic Range (WDR) technology. These features enhance video clarity and color accuracy in various lighting conditions, especially in low-light environments or when transitioning between bright and dark areas, ensuring clear recordings day and night.

Image 6: A simulated view from the dashcam at night, demonstrating the effectiveness of Super Night Vision and WDR technology. The image shows improved visibility of the road and surrounding vehicles in low-light conditions.
6.6 Playback
- While in recording mode, press the Mode button to switch to playback mode.
- Use the Up/Down buttons to browse through recorded video files.
- Press the OK button to play the selected video.
- Press the Mode button again to return to recording mode.
6.7 Date/Time Setting
- Enter the settings menu by pressing the Menu button.
- Navigate to the 'Date/Time' or 'Time Setting' option.
- Use the Up/Down buttons to adjust the values and the OK button to move to the next field.
- Confirm your settings to save.
7. Maintenance
7.1 Cleaning
- Use a soft, dry cloth to clean the dashcam body.
- For the lens, use a specialized lens cleaning cloth to avoid scratches. Do not use abrasive cleaners.
7.2 SD Card Management
- It is highly recommended to format the Micro SD card within the dashcam's settings every 2-4 weeks to prevent data corruption and ensure smooth operation.
- Use a Class 10 or higher speed Micro SD card for optimal performance.
7.3 Firmware Updates
Periodically check the official Zhiroad website for any available firmware updates. Firmware updates can improve performance, add new features, or fix bugs. Follow the instructions provided with the firmware update package carefully.
8. Troubleshooting
If you encounter issues with your dashcam, refer to the following common problems and solutions:
| Problem | Possible Cause | Solution |
|---|---|---|
| Dashcam does not power on. | No power supply; faulty car charger; dead internal battery. | Check car charger connection and car's cigarette lighter socket. Try a different power source. Charge the dashcam for a few hours. |
| Recording stops unexpectedly. | SD card full or corrupted; slow SD card; G-sensor sensitivity too high. | Format the SD card. Use a Class 10 or higher SD card. Lower G-sensor sensitivity in settings. |
| Video footage is blurry or unclear. | Lens is dirty; protective film on lens; windshield is dirty. | Clean the lens and windshield. Remove any protective film from the lens. |
| Dashcam freezes or crashes. | Firmware issue; SD card issue. | Press the reset button (pinhole). Format the SD card. Update firmware if available. |
| Parking monitor not working. | Not hardwired; feature not enabled. | Ensure continuous power supply (hardwire kit may be needed). Enable parking monitor in settings. |
If the problem persists after trying these solutions, please contact Zhiroad customer support.
9. Specifications
| Feature | Detail |
|---|---|
| Model Number | Q22 |
| Video Resolution | 1080P Full HD |
| Screen Size | 3-inch IPS Display |
| Lens Angle | 176° Wide Angle |
| Storage | Supports Micro SD Card (up to 32GB included) |
| Special Features | Loop Recording, G-Sensor, Parking Monitoring, Super Night Vision, WDR |
| Power Source | Lithium-ion Battery (included), Car Charger |
| Color | Black |
10. Warranty and Support
Zhiroad is committed to providing reliable products and excellent customer service.
- 30-Day Return Policy: Enjoy a 30-day return period without needing to provide a reason.
- 3-Year Free Return and Exchange: The product is covered by a 3-year warranty for free returns and exchanges.
- 24-Hour Email Response: Our customer support team aims to respond to all email inquiries within 24 hours.
- Technical Support: We offer comprehensive technical support to provide satisfactory solutions for any issues you may encounter.
For support, please contact us via the contact information provided on the product packaging or the official Zhiroad website.
Related documentsQ22


Ask a question about this manual
Ask about setup, troubleshooting, compatibility, parts, safety, or missing instructions. Manuals+ will review the question and use this page’s manual context to help answer it.