
1. Introduction
This manual provides essential information for the safe and efficient operation, installation, and maintenance of your Durastar DRAW06F1B Mini Split Wall Mount Indoor Unit. This unit is designed to provide both cooling and heating capabilities for your space. Please read this manual thoroughly before installation and operation, and keep it for future reference.
Important Note: This is an indoor evaporator unit only. An outdoor condenser unit is required for proper functionality. Mini split systems must be installed by a qualified HVAC professional in accordance with all local codes and regulations. Failure to do so will void the manufacturer's warranty.
2. Safety Information
Your safety and the safety of others are very important. Please read and follow all safety messages outlined in this manual.
- Professional Installation Required: Installation, maintenance, and repair of this unit must be performed by a certified HVAC technician. Improper installation can lead to electric shock, fire, water leakage, or other serious injuries.
- Power Supply: Ensure the power supply matches the unit's specifications (208 / 230 Volt). Always disconnect power before performing any maintenance or service.
- Grounding: The unit must be properly grounded to prevent electric shock.
- Clearances: Maintain adequate clearances around the indoor unit for proper airflow and maintenance access.
- Children and Pets: Keep children and pets away from the unit during operation and maintenance.
- Flammable Materials: Do not place flammable materials or spray aerosols near the unit.
3. Product Features and Technologies
The Durastar DRAW06F1B unit incorporates several features designed for enhanced comfort and efficiency:
- Swing/Gentle Airflow: Allows for optimized air circulation and direction throughout the room, ensuring even temperature distribution.
- Sleep Mode: Reduces energy consumption by gradually adjusting the temperature and automatically turning off after 8 hours, returning to normal operation.
- Wireless Remote Control with "Follow Me" Technology: The remote control features a built-in temperature sensor. When activated, the unit will optimize the temperature based on the remote's location, providing maximum comfort where you are.
- Auto Restart: In the event of a power failure, the unit will automatically restart with the previously set operating parameters once power is restored.
- 24-Hour Timer Feature: Allows you to program the unit to automatically turn on or off at a specified time within a 24-hour period.
- Anti-Corrosive Fin Coating (Golden Fin Coating): Both indoor and outdoor units feature this specialized coating to protect against corrosion, enhancing the longevity and reliability of the system.
- Quiet Operation: Engineered for low noise levels, ensuring a peaceful indoor environment.
4. Setup and Installation
As previously stated, the installation of this mini split indoor unit requires professional expertise. This section provides a general overview for informational purposes.
4.1. Pre-Installation Check
- Verify that all components are present and undamaged.
- Ensure the installation location meets clearance requirements and can support the unit's weight.
- Confirm compatibility with your outdoor condenser unit.
4.2. Installation Steps (Overview for Professional)
- Mounting Plate Installation: Securely attach the mounting plate to the wall, ensuring it is level.
- Wall Hole Drilling: Drill a hole through the wall for refrigerant piping, drain hose, and electrical wiring.
- Piping and Wiring Connection: Connect the refrigerant lines, drain hose, and electrical cables between the indoor and outdoor units. This step requires specialized tools and knowledge.
- Indoor Unit Mounting: Carefully mount the indoor unit onto the mounting plate.
- Vacuuming and Refrigerant Charging: Evacuate the refrigerant lines and charge the system with the correct amount of refrigerant.
- Test Run: Perform a test run to ensure proper operation and check for leaks.

Image: The Durastar mini split indoor unit seamlessly integrated into a modern living room, demonstrating its wall-mounted design. Adjacent to this, an outdoor condenser unit is shown installed on the side of a house, illustrating the complete system setup.
5. Operating Instructions
Your Durastar mini split unit is operated primarily via the wireless remote control.

Image: The Durastar indoor unit, a sleek white rectangular device designed for wall mounting, is shown alongside its compact wireless remote control. The remote features a digital display and various buttons for mode selection, temperature adjustment, and fan speed.
5.1. Remote Control Functions
- Power Button: Turns the unit on or off.
- Mode Button: Cycles through operating modes: Auto, Cool, Dry, Heat, Fan.
- Temperature Adjustment Buttons (Up/Down Arrows): Increases or decreases the set temperature.
- Fan Speed Button: Adjusts the fan speed (Auto, Low, Medium, High).
- Swing Button: Activates or deactivates the automatic louver swing for even air distribution.
- Sleep Button: Activates Sleep Mode for energy-efficient nighttime operation.
- Timer Button: Sets the 24-hour on/off timer.
- "Follow Me" Button: Activates the "Follow Me" function, allowing the unit to sense temperature at the remote's location.
5.2. Basic Operation
- Point the remote control directly at the indoor unit.
- Press the Power button to turn the unit on.
- Press the Mode button to select your desired operating mode (e.g., Cool for cooling, Heat for heating).
- Use the Temperature Adjustment buttons to set your desired room temperature.
- Adjust the Fan Speed or activate the Swing function as needed for comfort.
6. Maintenance
Regular maintenance ensures optimal performance and longevity of your mini split system. Always disconnect power to the unit before performing any maintenance.
6.1. Air Filter Cleaning
- The air filters should be cleaned every two weeks, or more frequently depending on usage and air quality.
- Open the front panel of the indoor unit.
- Remove the air filters.
- Clean the filters with a vacuum cleaner or wash them with lukewarm water and mild detergent.
- Allow filters to dry completely before reinstalling.
6.2. Coil Cleaning
- The indoor coil should be inspected and cleaned annually by a professional technician.
- The outdoor coil should also be cleaned regularly to remove dirt, leaves, and debris.
6.3. General Inspection
- Check for any unusual noises or odors.
- Ensure the drain hose is clear and not obstructed.
- Inspect electrical connections for any signs of wear or damage.
7. Troubleshooting
Before contacting customer support, please refer to the following common issues and solutions. For complex problems, always consult a qualified technician.
| Problem | Possible Cause | Solution |
|---|---|---|
| Unit does not turn on. | No power supply; Remote control batteries dead; Circuit breaker tripped. | Check power connection; Replace remote batteries; Reset circuit breaker. |
| Insufficient cooling/heating. | Dirty air filters; Blocked outdoor unit; Incorrect mode setting; Low refrigerant. | Clean air filters; Clear obstructions from outdoor unit; Select correct mode; Contact technician for refrigerant check. |
| Unusual noise from unit. | Loose parts; Obstruction in fan; Normal expansion/contraction sounds. | Check for loose parts (professional); Remove obstructions; Normal sounds are usually minor clicks or gurgles. |
| Water leakage from indoor unit. | Clogged drain hose; Improper installation angle. | Clear drain hose; Contact technician for re-installation or inspection. |
8. Specifications
Key technical specifications for the Durastar DRAW06F1B Mini Split Indoor Unit:
| Specification | Value |
|---|---|
| Brand | Durastar |
| Model Number | DRAW06F1B |
| Cooling Capacity | 6,000 BTU |
| Heating Capacity | 7,000 BTU |
| Voltage | 208 / 230 Volts |
| Installation Type | Wall Mount |
| Noise Level | 56 dB (Max) |
| Dimensions (D x W x H) | 7.88"D x 11.5"W x 11.5"H |
| Color | White |
| Special Features | Remote Controlled, Auto Restart, 24-Hour Timer, Anti-Corrosive Fin Coating |
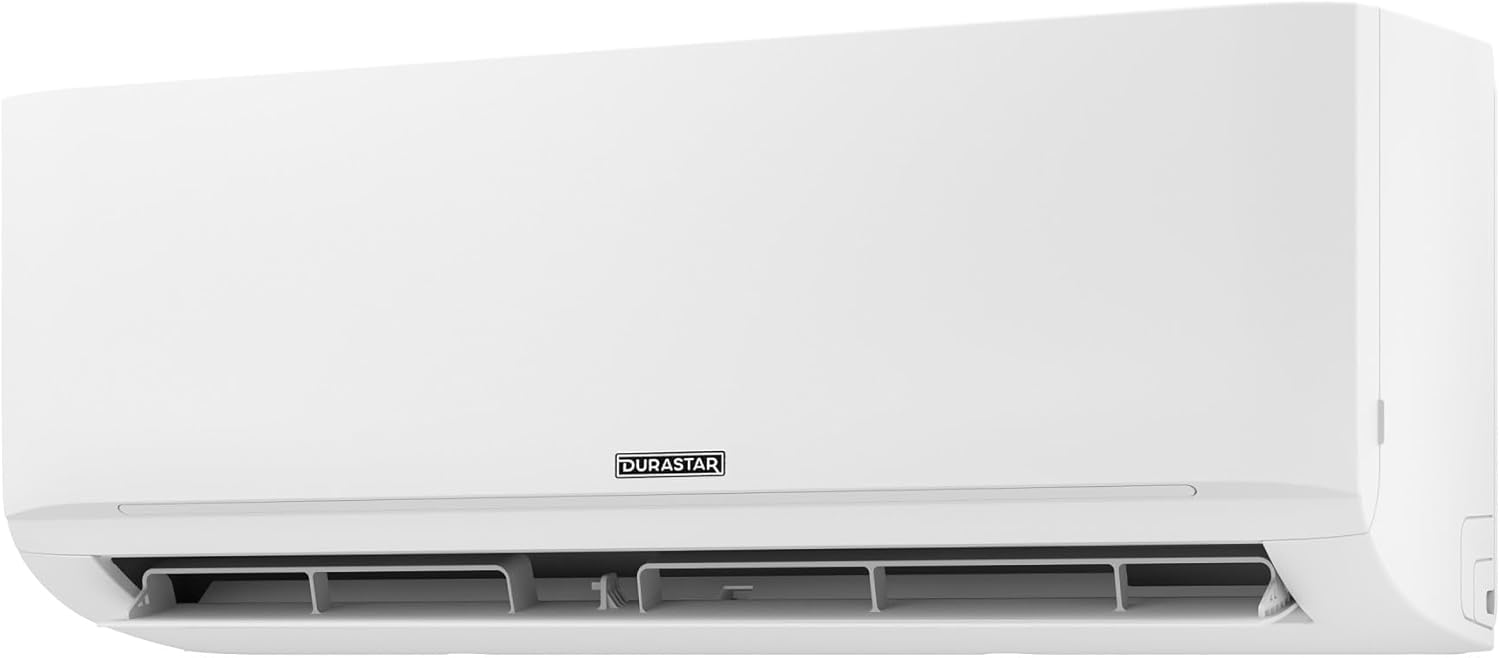
Image: A side profile view of the Durastar indoor unit, highlighting its slim design and wall-mounting capabilities.
9. Warranty and Support
Durastar products are engineered for durability and performance.
9.1. Warranty Information
Please note that any manufacturer warranty for this mini split unit will be voided if the installation is not performed by a professional in accordance with local codes. For specific warranty terms and conditions, please refer to the warranty card included with your product or contact Durastar customer service.
9.2. Customer Support
For questions, assistance with multi-zone systems, or technical support, please contact Durastar experts at:
Phone: (855) 484-3292
Our support team is available to assist you with any inquiries regarding your Durastar mini split system.


