1. Introduction
This manual provides comprehensive instructions for the proper use, assembly, and maintenance of Neutrik NC3FXX Female and NC3MXX Male XLR connectors. These connectors are designed for professional audio applications, ensuring reliable and high-quality signal transmission.
2. Product Overview
The Neutrik NC3FXX and NC3MXX are industry-standard 3-pin XLR connectors. The NC3FXX is a female connector, typically used on the input side of devices or as the cable end connecting to a microphone. The NC3MXX is a male connector, commonly found on microphones or as the cable end connecting to mixers, amplifiers, or audio interfaces. Both models feature a robust design for durability and a secure locking mechanism for stable connections.
These connectors are compatible with a wide range of audio equipment, including microphones, amplifiers, mixers, audio interfaces, and speakers.
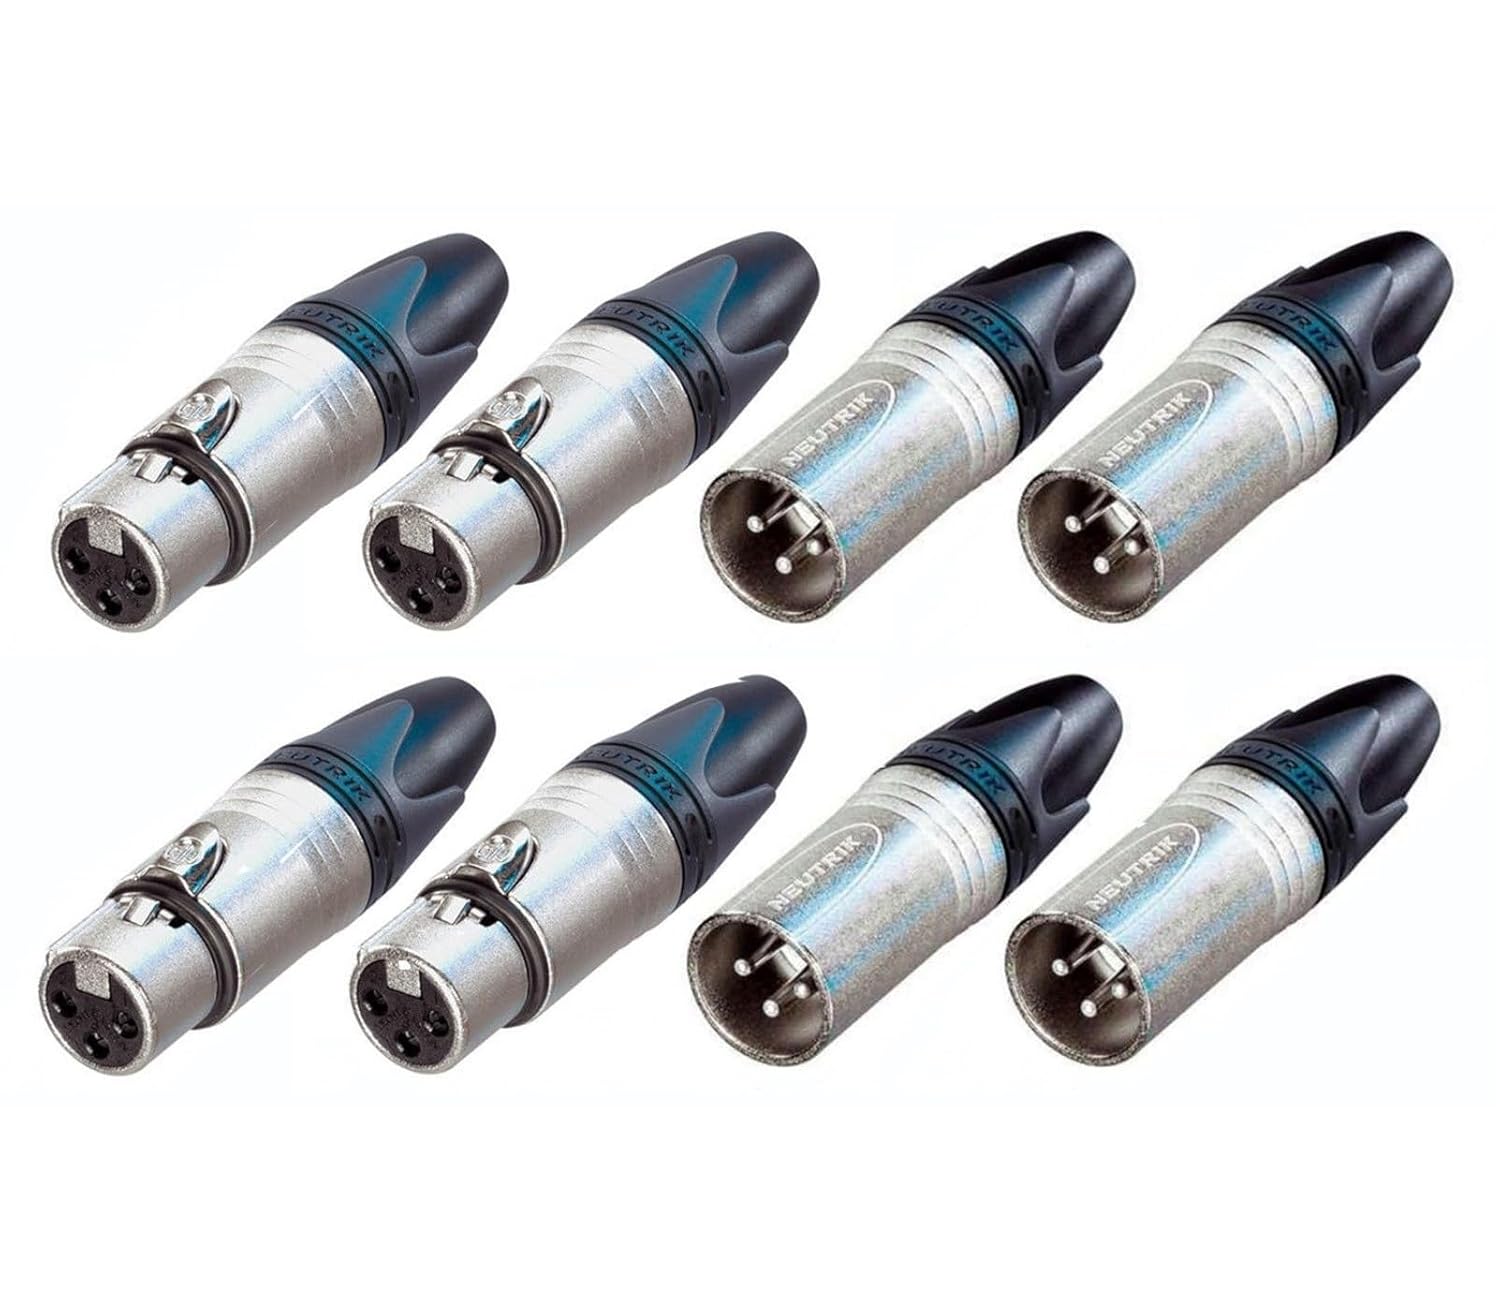
This image displays a set of eight Neutrik XLR connectors. The top row features four female XLR connectors, identifiable by their three pin receptacles. The bottom row shows four male XLR connectors, identifiable by their three protruding pins. All connectors have a silver-colored metal body and a black strain relief boot, with 'Neutrik' branding visible on the male connectors.
3. Setup and Assembly
Neutrik XLR connectors are designed for field assembly, allowing for custom cable lengths and repairs. Proper assembly ensures optimal performance and longevity.
Required Tools:
- Soldering Iron and Solder
- Wire Strippers
- Small Flat-head Screwdriver (for strain relief)
- Multimeter (for continuity testing)
Pin Assignment (Standard Balanced Audio):
- Pin 1: Ground (Shield)
- Pin 2: Hot (+) (Positive Polarity)
- Pin 3: Cold (-) (Negative Polarity)
Assembly Steps:
- Disassemble the Connector: Unscrew the housing from the insert. Slide the boot and housing onto the cable in the correct order.
- Prepare the Cable: Strip the outer jacket of the cable to expose the shield and inner conductors. Strip a small amount of insulation from each inner conductor.
- Tin the Wires: Apply a small amount of solder to the exposed ends of the conductors and the shield.
- Solder Connections: Carefully solder each tinned wire to its corresponding pin on the connector insert (Pin 1 to shield, Pin 2 to hot, Pin 3 to cold). Ensure clean solder joints and no short circuits between pins.
- Test Continuity: Before reassembly, use a multimeter to check for proper continuity between pins and to ensure there are no shorts.
- Reassemble the Connector: Slide the housing over the soldered insert and screw it securely into place. Adjust the strain relief boot to grip the cable firmly.
4. Operating Instructions
Connecting an XLR Cable:
- Align the male XLR connector (NC3MXX) with the female XLR receptacle (NC3FXX) on your equipment or cable.
- Push the connectors together firmly until you hear or feel a click. This indicates that the locking mechanism has engaged, securing the connection.
Disconnecting an XLR Cable:
- Locate the small latch release button on the female XLR connector.
- Press and hold the latch release button.
- While holding the button, gently pull the male connector straight out from the female receptacle. Avoid twisting or yanking the cable.
5. Maintenance
Regular maintenance helps ensure optimal performance and extends the lifespan of your Neutrik XLR connectors.
- Cleaning Contacts: Periodically inspect the pins and receptacles for dirt, dust, or corrosion. Clean with a soft, dry cloth or a specialized electrical contact cleaner if necessary. Avoid abrasive materials.
- Inspecting for Damage: Check the connector housing, strain relief, and pins for any signs of physical damage, bending, or wear. Replace damaged connectors to prevent signal issues.
- Proper Storage: Store cables with connectors in a clean, dry environment, ideally coiled neatly to prevent strain on the connectors and cables.
6. Troubleshooting
If you experience issues with your audio connections, consider the following troubleshooting steps:
- No Signal or Intermittent Signal:
- Ensure connectors are fully seated and locked.
- Check for damaged cables or connectors (bent pins, frayed wires).
- Verify correct wiring (Pin 1, 2, 3) if the cable was custom-assembled.
- Test with a different cable or connector to isolate the fault.
- Hum or Buzz:
- Ensure Pin 1 (Ground) is properly connected at both ends.
- Check for ground loops in your audio system.
- Verify shield continuity in the cable.
7. Specifications
| Feature | Detail |
|---|---|
| Brand | Neutrik (Generic in listing, but product is Neutrik) |
| Model Numbers | NC3FXX (Female), NC3MXX (Male) |
| Connector Type | XLR (3-Pin) |
| Cable Type Compatibility | XLR Cable |
| Compatible Devices | Microphone, Amplifier, Mixer, Audio Interface, Speaker |
| Item Weight (approx.) | 12 ounces (for the 8-pack) |
8. Warranty and Support
For specific warranty information or technical support regarding your Neutrik XLR connectors, please refer to the documentation provided by your retailer or contact the manufacturer directly. Keep your purchase receipt as proof of purchase.


