
1. Introduction
Thank you for choosing the Scheppach HC06 6L 8 Bar Air Compressor. This manual provides essential information for the safe and efficient operation, maintenance, and troubleshooting of your new air compressor. Please read this manual thoroughly before initial use and keep it for future reference. This portable, oil-free compressor is designed for various tasks, including inflating, powering pneumatic tools, and operating spray painting equipment.
2. Safety Instructions
Always observe basic safety precautions to reduce the risk of fire, electric shock, and personal injury. Failure to follow these instructions may result in serious injury or property damage.
General Safety
- Read all instructions: Familiarize yourself with the controls and proper use of the equipment.
- Electrical Safety: Ensure the power supply matches the voltage specified on the compressor. Use a grounded outlet and avoid using extension cords unless absolutely necessary and rated for the compressor's power requirements.
- Operating Environment: Operate the compressor in a well-ventilated area. Do not use in damp or wet conditions, or near flammable liquids or gases.
- Personal Protective Equipment (PPE): Always wear safety glasses or goggles. Hearing protection is recommended due to the noise level (97 dB).
- Children and Bystanders: Keep children and unauthorized persons away from the operating area.
- Pressure Safety: Never exceed the maximum operating pressure of the compressor or the tool being used. Do not direct compressed air at people or animals.
- Maintenance: Disconnect the power supply before performing any maintenance or adjustments.
3. Product Overview
The Scheppach HC06 is a compact and portable air compressor designed for ease of use and transport. It features an oil-free motor for reduced maintenance.

Figure 1: Scheppach HC06 Air Compressor with a coiled air hose, tire inflator with gauge, and blow gun.
Key Components:
- Air Tank: 6-liter capacity for storing compressed air.
- Motor: 1200W powerful, oil-free motor.
- Pressure Gauges: Displays tank pressure and regulated outlet pressure.
- Pressure Regulator: Allows adjustment of the output air pressure.
- Quick Connector: For easily attaching air hoses and tools.
- Drain Valve: Located at the bottom of the tank for draining condensation.
- Carry Handle: Integrated handle for easy portability.

Figure 2: The compact design and integrated handle make the HC06 easy to transport.
4. Setup
Follow these steps for initial setup of your air compressor.
- Unpacking: Carefully remove the compressor and all accessories from the packaging. Inspect for any shipping damage.
- Placement: Place the compressor on a stable, level surface. Ensure there is adequate ventilation around the unit.
- Electrical Connection: Connect the power cord to a grounded 230V electrical outlet.
- Attach Air Hose: Connect your air hose to the quick connector on the compressor. Ensure a secure fit.
- Initial Run: Before connecting any tools, turn on the compressor and allow it to build pressure until it automatically shuts off. Check for any unusual noises or air leaks.

Figure 3: The compressor is ready for use on a stable workbench.
5. Operating Instructions
This section details how to operate your Scheppach HC06 air compressor for various applications.
Starting and Stopping
- To Start: Flip the ON/OFF switch to the 'ON' position. The compressor will begin to build pressure.
- Automatic Shut-off: The compressor will automatically shut off once the maximum tank pressure (8 bar) is reached. It will restart automatically when the pressure drops below a certain threshold.
- To Stop: Flip the ON/OFF switch to the 'OFF' position.
Adjusting Output Pressure
- Ensure the compressor is running and the tank is pressurized.
- Turn the pressure regulator knob (usually red) to increase or decrease the output pressure. Observe the regulated pressure gauge.
- Always set the output pressure according to the requirements of your air tool or application.
Using with Accessories and Tools

Figure 4: Inflating a car tire with the HC06 compressor and included accessories.
- Tire Inflation: Attach the tire inflator to the air hose. Connect the inflator to the tire valve and monitor the pressure gauge on the inflator.
- Blowing/Cleaning: Attach the blow gun to the air hose. Use short bursts of air for cleaning surfaces or drying.
- Pneumatic Tools: Connect your pneumatic tool to the air hose. Ensure the tool's operating pressure matches the regulated output pressure of the compressor.

Figure 5: The HC06 can power various pneumatic tools, such as this circular saw.
6. Maintenance
The Scheppach HC06 is an oil-free compressor, requiring minimal maintenance. Regular checks ensure longevity and optimal performance.
Draining Condensation
Compressed air contains moisture, which condenses in the tank. This water must be drained regularly to prevent corrosion and maintain tank capacity.
- Ensure the compressor is turned off and disconnected from the power supply.
- Place a suitable container under the drain valve located at the bottom of the tank.
- Slowly open the drain valve to release the condensed water and any remaining air pressure.
- Close the drain valve securely once all water has been expelled.
General Cleaning and Storage
- Cleaning: Wipe down the exterior of the compressor with a damp cloth. Do not use harsh chemicals or abrasive cleaners.
- Storage: Store the compressor in a dry, clean, and protected area when not in use. Ensure the tank is drained of condensation before storage.
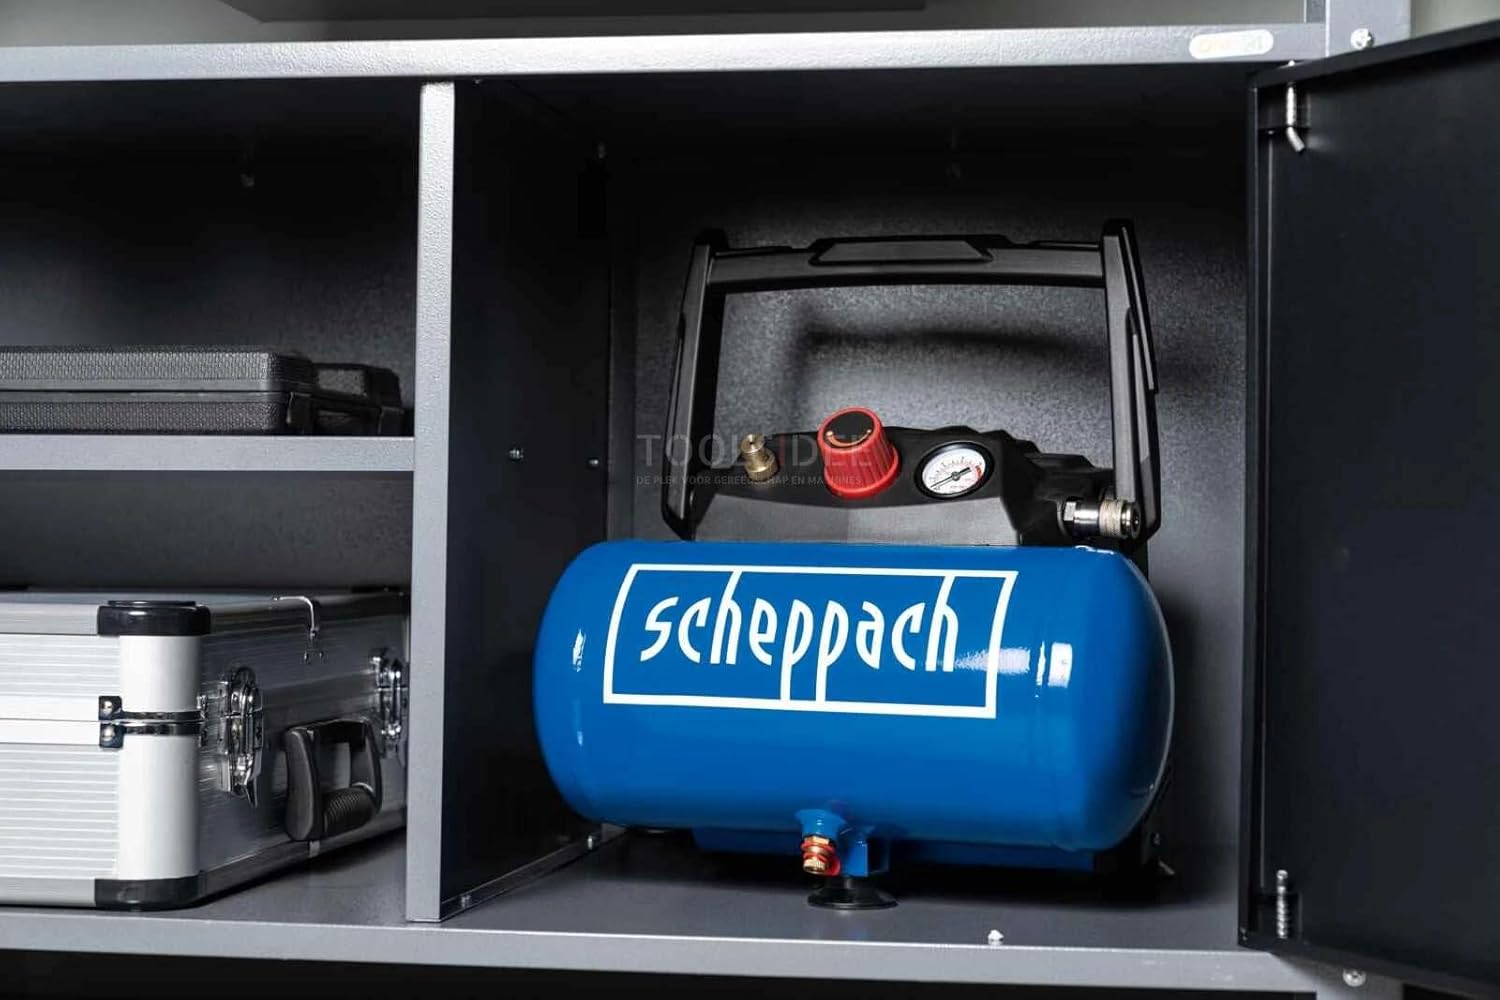
Figure 6: Proper storage helps protect the compressor and prolong its lifespan.
7. Troubleshooting
This section provides solutions to common issues you might encounter with your air compressor.
| Problem | Possible Cause | Solution |
|---|---|---|
| Compressor does not start | No power supply ON/OFF switch in 'OFF' position Thermal overload activated | Check power connection and outlet Flip switch to 'ON' Allow compressor to cool down, then restart |
| Low or no air pressure at outlet | Pressure regulator set too low Air leak in hose or connections Tank pressure too low | Adjust regulator knob Check all connections for leaks, tighten or replace Allow compressor to build full tank pressure |
| Compressor runs continuously | Air leak in tank or connections Pressure switch malfunction | Check for leaks, tighten connections Contact customer support for service |
| Excessive noise or vibration | Loose components Compressor not on a level surface | Check and tighten all visible fasteners Place on a stable, level surface |
8. Specifications
| Feature | Specification |
|---|---|
| Brand | Scheppach |
| Model | HC06 |
| Power | 1200 W |
| Tank Volume | 6 Liters |
| Maximum Operating Pressure | 8 Bar |
| Air Flow Capacity | 200 Liters Per Minute |
| Voltage | 230 Volts |
| Noise Level | 97 dB |
| Item Weight | 11.7 Kilograms (25.7 pounds) |
| Product Dimensions (L x W x H) | 12.76" x 10.87" x 13.78" |
| Special Feature | Portable, Oil-free |
| Included Components | Accessories (hose, tire inflator, blow gun, adapters) |
9. Warranty and Support
Scheppach products are manufactured to high-quality standards. This product comes with a manufacturer's warranty against defects in materials and workmanship. Please refer to the warranty card included with your purchase for specific terms and conditions, including the warranty period and claim procedures.
For technical assistance, spare parts, or warranty claims, please contact Scheppach customer support. Ensure you have your model number (HC06) and proof of purchase available when contacting support.
EU Spare Part Availability Duration: 7 Years


