1. Introduction
The NUX Mighty Space is a versatile 30W portable, rechargeable wireless modeling guitar and bass amplifier. Designed for practice, jamming, and even small gigs, it offers a wide range of authentic tones, amp models, and effects. With its built-in rechargeable battery, wireless transmitter, and Bluetooth connectivity, the Mighty Space provides exceptional convenience and performance.
Video: NUX Mighty Space Gig-Ready Tone in a Portable Package! - This video provides a brief overview of the amplifier's features and portability.
2. What's in the Box
- NUX Mighty Space Amplifier
- NUX B-5RC Wireless Transmitter
- NMP-2 Dual Footswitch
- 15V 2.5A Power Adapter
- USB-C Cable
3. Product Overview
3.1 Top Panel Controls
Image: Top view of the NUX Mighty Space amplifier, highlighting the input, wireless indicator, gain, volume, channel selector, EQ knobs (bass, middle, treble), presence, reverb, master volume, and power switch.
- Input Jack: Connect your instrument directly or insert the wireless transmitter.
- Wireless Indicator: LED indicates wireless connection status.
- Gain: Adjusts the input gain for your instrument.
- Volume: Controls the overall output volume of the amplifier.
- Channel Button: Cycles through the 7 built-in presets/channels.
- Bass, Middle, Treble: 3-band equalizer for tone shaping.
- Presence: Adjusts the high-frequency clarity.
- Reverb: Controls the amount of reverb effect.
- Master: Master volume control for the amplifier.
- Power Switch: Turns the amplifier on/off.
3.2 Rear Panel Connections

Image: Rear view of the NUX Mighty Space amplifier, displaying the DC In, two footswitch jacks, USB-C port, Aux In/Bluetooth volume knob, Speaker Out, Phones, and Aux In jacks.
- DC IN (15V 2.5A): Power input for the included adapter to power and recharge the amplifier.
- Foot Switch (Channel): Connect the NMP-2 footswitch for channel switching.
- Foot Switch (Tip:Drum, Ring:Loop): Connect the NMP-2 footswitch for drum machine and looper control.
- USB (Type-C): For firmware updates and using the amplifier as a USB audio interface.
- Volume (Aux In / BT): Adjusts the volume for auxiliary input and Bluetooth audio.
- Speaker Out: Connect to an external speaker cabinet (supports 4, 8, or 16 ohm).
- Phones: Stereo headphone output for silent practice.
- Aux In: 3.5mm stereo input for connecting external audio devices.
4. Setup
4.1 Powering On
To power on the NUX Mighty Space, simply press the Power Switch located on the top panel. The power indicator LED will illuminate.
4.2 Wireless Connection
The Mighty Space comes with a dedicated NUX B-5RC wireless transmitter for seamless wireless playing. To connect:
- Ensure both the amplifier and the wireless transmitter are powered on.
- Press the Wireless button on the amplifier's top panel. The wireless indicator LED will blink.
- Insert the transmitter into the Input Jack of the amplifier. The devices will automatically pair, and the wireless indicator LED will turn solid green.
The B-5RC transmitter is compatible with both guitar and bass, supporting active and passive pickups.
Video: NUX Mighty Space Wireless Modeling Guitar Amplifier - This video demonstrates the top panel controls and how to set up the wireless connection.
4.3 Charging the Wireless Transmitter
To recharge the B-5RC wireless transmitter:
- Ensure both the amplifier and the transmitter are powered on.
- Plug the transmitter into the Input Jack of the Mighty Space amplifier.
- The transmitter's LED will turn red, indicating it is charging. Once fully charged, the LED will turn off.
5. Operation
5.1 Selecting Channels/Presets
The Mighty Space features 7 built-in channels (presets). To cycle through them, simply press the Channel button on the top panel. The LED color next to the button will change to indicate the currently selected channel.
5.2 Adjusting Tones
Use the dedicated knobs on the top panel to fine-tune your sound:
- Gain: Controls the amount of overdrive/distortion.
- Volume: Adjusts the output level of the selected channel.
- Bass, Middle, Treble: Sculpt your low, mid, and high frequencies.
- Presence: Adds brightness and cut to your tone.
- Reverb: Controls the depth of the reverb effect.
- Master: Overall output volume of the amplifier.
5.3 Using the Footswitch
The included NMP-2 Dual Footswitch expands the control capabilities of your Mighty Space amplifier. Connect it to the dedicated Foot Switch jacks on the rear panel.
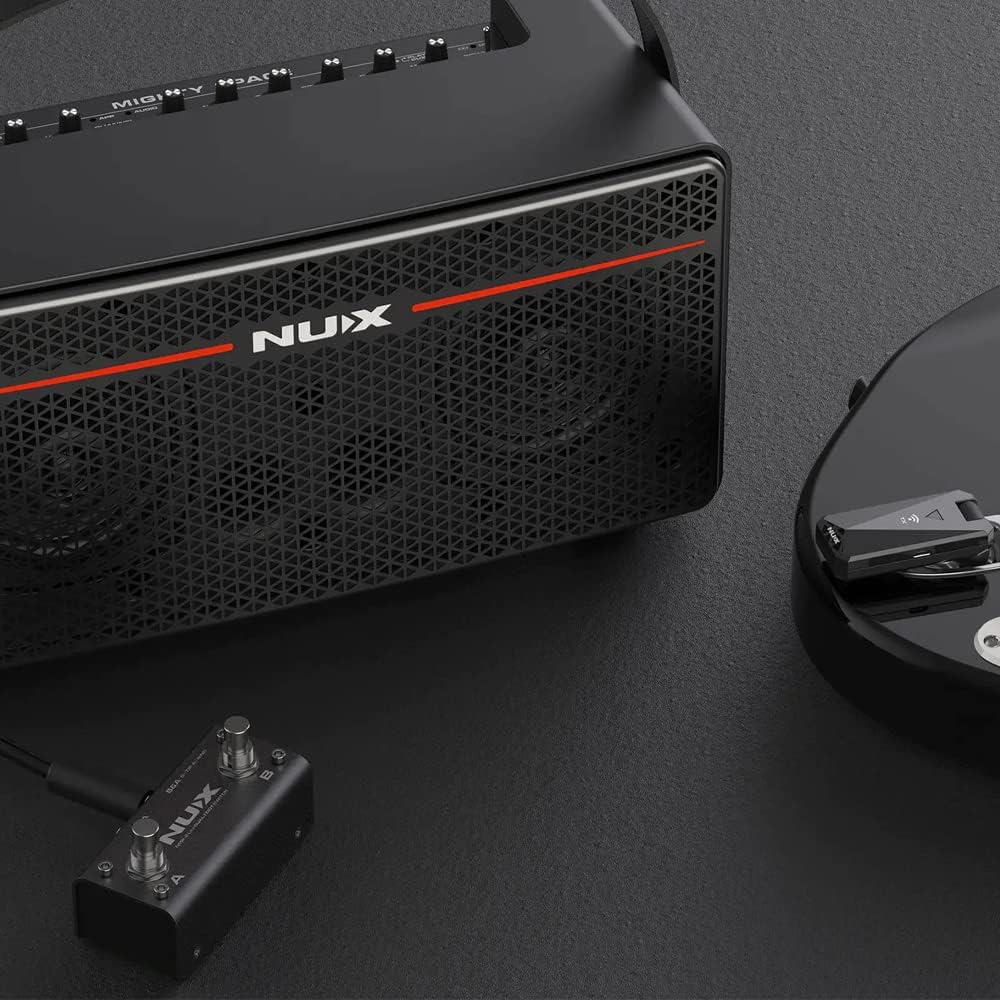
Image: The NUX Mighty Space amplifier shown with the NMP-2 Dual Footswitch, demonstrating its use for hands-free control.
- Channel Switching: Use one footswitch to toggle through your saved channels/presets.
- Drum Machine / Looper Control: Use the other footswitch to control the built-in drum machine or looper functions.
6. Advanced Features
6.1 Mighty Space App
Unlock the full potential of your Mighty Space amplifier by connecting it to the dedicated NUX Mighty Space app (available for smartphone and desktop). The app provides deep editing capabilities, allowing you to customize amp models, effects, and create your own unique presets beyond the onboard controls.
6.2 USB Audio Interface
The USB-C port on the rear panel allows the Mighty Space to function as a USB audio interface. This enables direct recording to your computer or other compatible devices, providing a high-quality digital audio signal.
6.3 External Speaker Output
The Speaker Out jack on the rear panel allows you to connect the Mighty Space to an external speaker cabinet. This transforms the unit into an amp head, capable of driving 4, 8, or 16 ohm cabinets for increased volume and different tonal characteristics.
7. Maintenance
To ensure the longevity and optimal performance of your NUX Mighty Space amplifier:
- Keep the amplifier clean by wiping it with a soft, dry cloth.
- Avoid exposing the unit to extreme temperatures, humidity, or direct sunlight.
- Do not attempt to disassemble or repair the amplifier yourself. Refer to qualified service personnel for any issues.
- Store the wireless transmitter securely when not in use.
8. Troubleshooting
8.1 No Sound Output
- Check if the amplifier is powered on and the power LED is illuminated.
- Ensure the instrument cable or wireless transmitter is securely connected to the Input Jack.
- Verify that the Volume and Master knobs are turned up.
- If using the wireless transmitter, ensure it is paired correctly (solid green wireless LED) and charged.
- Check your instrument's volume and battery (if applicable).
8.2 Wireless Connection Issues
- Ensure the transmitter is fully charged.
- Re-pair the transmitter by inserting it into the amplifier's input jack while both are powered on.
- Ensure no other wireless devices are causing interference nearby.
8.3 Amplifier Not Charging
- Verify the power adapter is correctly connected to the DC IN port and a working power outlet.
- Ensure the power adapter is the original NUX 15V 2.5A adapter.
9. Specifications
| Feature | Detail |
|---|---|
| Output Power | 30W |
| Battery Life (Amplifier) | Up to 7 hours on a single charge |
| Power Input | DC 15V 2.5A |
| Wireless System | NUX B-5RC (included) |
| External Speaker Impedance | 4, 8, or 16 Ohm |
| Connectivity | Bluetooth, USB-C |
10. Warranty and Support
NUX products are designed and manufactured to the highest quality standards. For detailed warranty information and technical support, please visit the official NUX website or contact your local distributor. Keep your purchase receipt as proof of purchase for warranty claims.
Official NUX Website: www.nuxefx.com


