
Introduction
Thank you for choosing the Klarstein Julieta 20L Microwave with Grill. This appliance combines the convenience of a microwave with the versatility of a grill, offering efficient cooking, reheating, and defrosting capabilities. To ensure safe and optimal performance, please read this instruction manual thoroughly before operating the appliance and keep it for future reference.
This microwave features an 800-watt microwave output and a 1000-watt grill, a 20-liter capacity, 5 power levels, and 8 automatic cooking programs, all housed in a stylish vintage stainless steel design.
Safety Instructions
Always follow basic safety precautions when using electrical appliances to reduce the risk of fire, electric shock, injury, or exposure to excessive microwave energy.
- Do not attempt to operate this oven with the door open, as this can result in harmful exposure to microwave energy.
- Do not place any object between the oven front face and the door, or allow soil or cleaner residue to accumulate on sealing surfaces.
- Do not operate the oven if it is damaged. It is particularly important that the oven door closes properly and that there is no damage to the: (1) door (bent), (2) hinges and latches (broken or loosened), (3) door seals and sealing surfaces.
- The oven should not be adjusted or repaired by anyone except properly qualified service personnel.
- Ensure the appliance is properly grounded.
- Do not use corrosive chemicals or vapors in this appliance.
- Close supervision is necessary when the appliance is used by or near children.
- Liquids or other foods must not be heated in sealed containers since they are liable to explode.
- Only use utensils that are suitable for use in microwave ovens.
- When heating food in plastic or paper containers, keep an eye on the oven due to the possibility of ignition.
- If smoke is observed, switch off or unplug the appliance and keep the door closed in order to stifle any flames.
- Do not overcook food.
- Do not use the cavity for storage purposes. Do not store items such as bread, cookies, etc., inside the oven.
- Remove wire twist-ties from paper or plastic bags before placing them in the oven.
- The contents of feeding bottles and baby food jars shall be stirred or shaken and the temperature checked before consumption, in order to avoid burns.
- Eggs in their shell and whole hard-boiled eggs should not be heated in microwave ovens since they may explode, even after microwave heating has ended.
Product Components
The Klarstein Julieta Microwave with Grill comes with the following components:
- Microwave Oven Unit
- Glass Turntable
- Rotating Ring (for turntable support)
- Grill Rack
- Multilingual User Manual

Image: Interior view of the Klarstein Julieta microwave, displaying the glass turntable and the included metal grill rack for various cooking methods.
Setup
- Unpacking: Carefully remove the microwave oven and all packing materials from the carton and oven cavity.
- Placement: Place the oven on a flat, stable surface that can withstand the weight of the oven and the heaviest food likely to be cooked in it. Ensure there is adequate ventilation space: at least 20cm of free space above the oven, 10cm at the rear, and 5cm on both sides. Do not block any ventilation openings.
- Turntable Assembly:
- Place the rotating ring inside the oven cavity.
- Position the glass turntable securely on top of the rotating ring. Ensure it sits correctly in the center support.
- Power Connection: Plug the power cord into a standard 220V AC electrical outlet. Ensure the outlet is properly grounded.
- Initial Cleaning: Before first use, wipe the interior and exterior of the oven with a damp cloth.
Operating Instructions

Image: Detailed view of the control panel, featuring the LED display, function buttons, and the central rotary dial for time and weight adjustments.
Control Panel Overview
The control panel consists of an LED display, function buttons, and a rotary dial:
- LED Display: Shows time, power level, and program indicators.
- Microwave Button: Selects microwave cooking mode and power levels.
- Defrost/Menu/Clock Button: Used for defrosting, selecting auto programs, and setting the clock.
- Grill Button: Activates the grill function.
- STOP/LOCK Button: Stops cooking, clears settings, or locks the control panel.
- START/+30sec Button: Starts cooking or adds 30 seconds to cooking time.
- Time/Weight Rotary Dial: Adjusts cooking time, weight for defrosting, or selects menu items.
Setting the Clock
- Press the Defrost/Menu/Clock button once. The hour digits will flash.
- Turn the Time/Weight dial to set the hour.
- Press the Defrost/Menu/Clock button again. The minute digits will flash.
- Turn the Time/Weight dial to set the minutes.
- Press the Defrost/Menu/Clock button to confirm the time.
Microwave Cooking
- Place food in a microwave-safe container on the glass turntable. Close the door.
- Press the Microwave button repeatedly to select the desired power level (P100, P80, P50, P30, P10). P100 is full power (800W).
- Turn the Time/Weight dial to set the cooking time.
- Press the START/+30sec button to begin cooking.
Grill Cooking
- Place food on the grill rack, then place the rack on the glass turntable. Close the door.
- Press the Grill button. The display will show 'G'.
- Turn the Time/Weight dial to set the grilling time.
- Press the START/+30sec button to begin grilling.
Defrost Function
The appliance offers defrosting by weight or by time.
- Place the frozen food on the glass turntable. Close the door.
- Press the Defrost/Menu/Clock button twice for defrost by weight (d-1) or three times for defrost by time (d-2).
- For defrost by weight (d-1): Turn the Time/Weight dial to select the food weight.
- For defrost by time (d-2): Turn the Time/Weight dial to set the defrosting time.
- Press the START/+30sec button to begin defrosting.
Automatic Programs
The microwave has 8 pre-set automatic programs for common foods. Refer to the detailed manual for specific program codes and weights.
- Place food in the oven. Close the door.
- Press the Defrost/Menu/Clock button until the desired program number (e.g., A-1 for popcorn) appears.
- Turn the Time/Weight dial to select the appropriate weight or quantity for the program.
- Press the START/+30sec button to start the program.
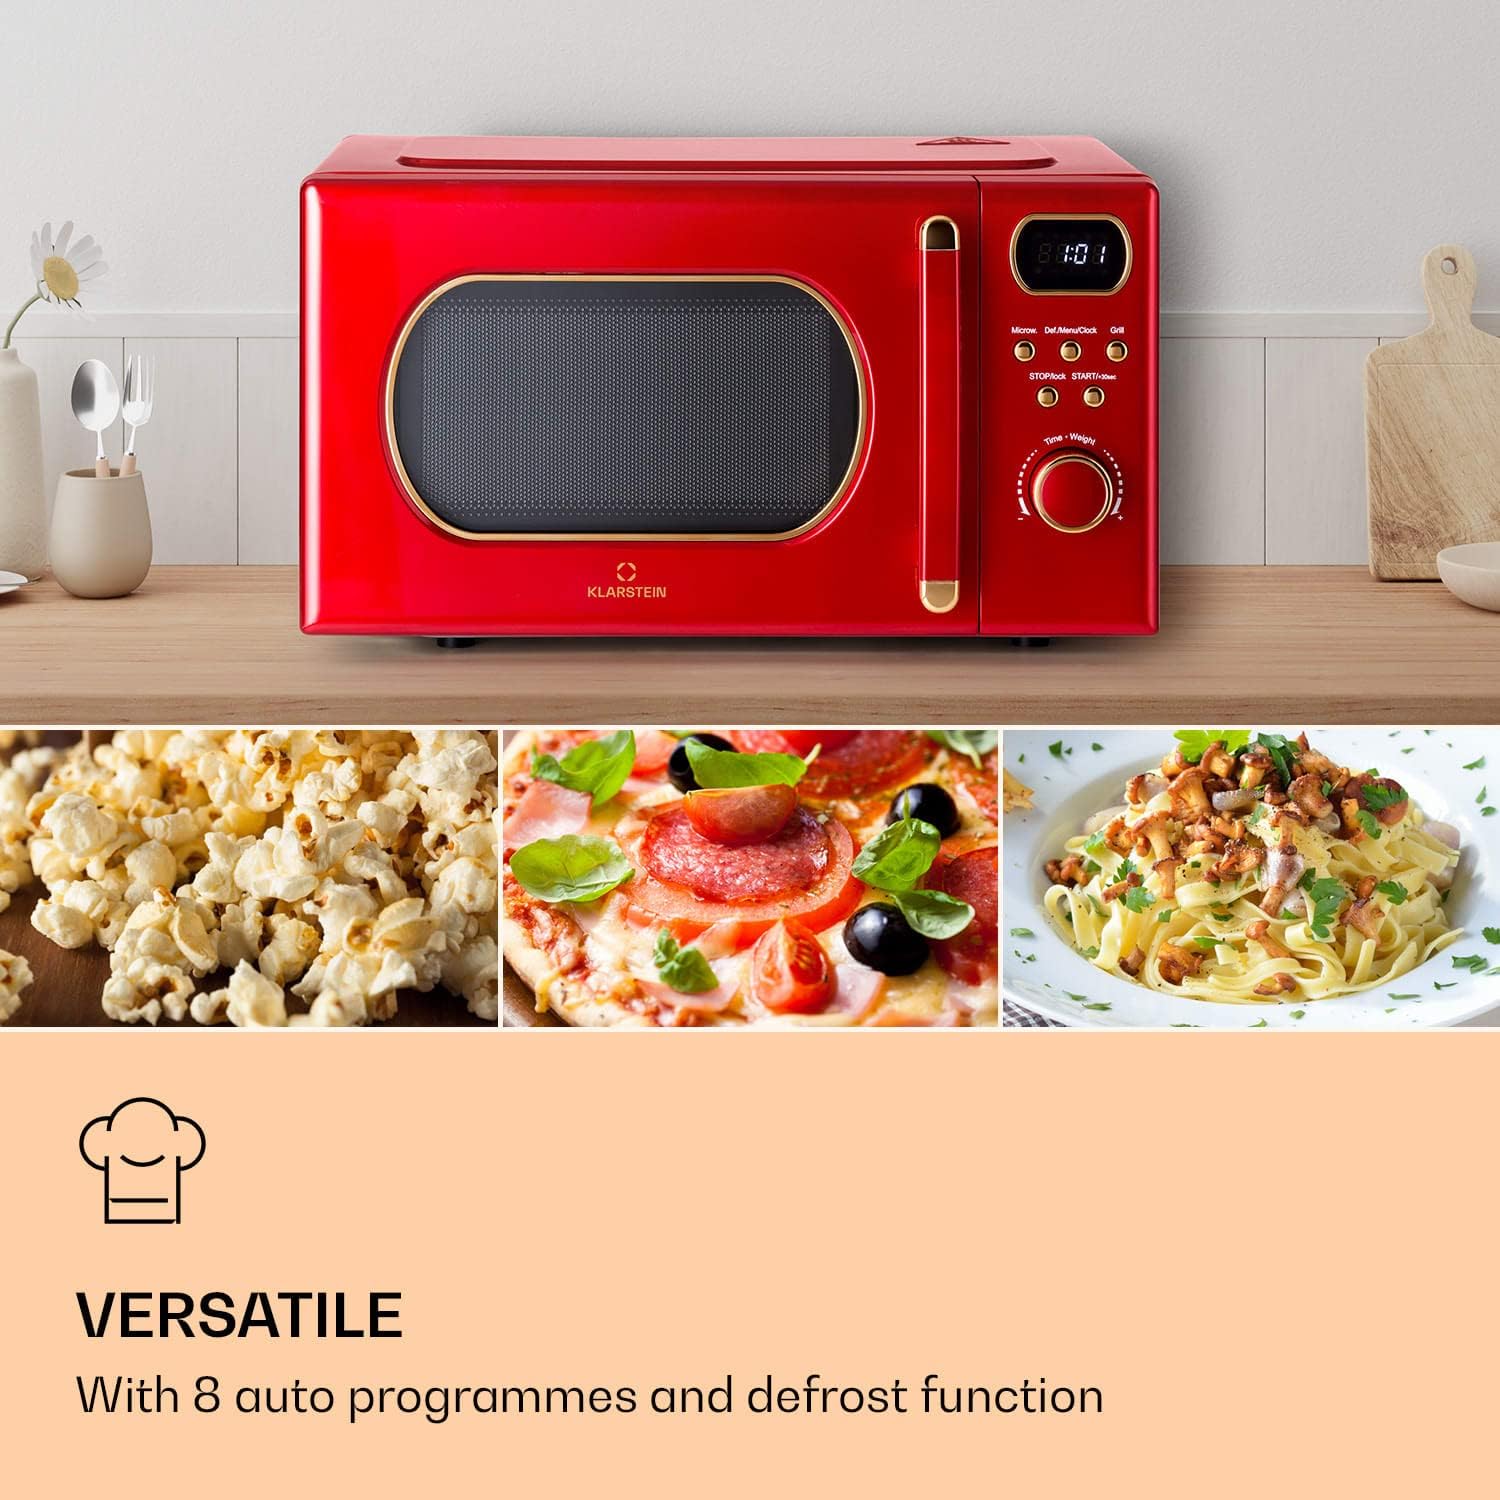
Image: The Klarstein Julieta microwave showcasing its ability to prepare diverse meals such as popcorn, pizza, and pasta, demonstrating its versatile cooking functions.
Maintenance and Cleaning
Regular cleaning and maintenance will ensure the longevity and efficient operation of your microwave oven.
General Cleaning
- Before Cleaning: Always unplug the oven from the power outlet before cleaning.
- Oven Interior: Wipe the inside of the oven with a damp cloth after each use. For stubborn stains, use a mild detergent or a microwave-safe cleaner. Avoid abrasive cleaners or scouring pads.
- Oven Exterior: Clean the exterior surface with a damp cloth and mild soap. Dry thoroughly. Do not allow water to enter the ventilation openings.
- Door and Door Seals: Wipe the door, door seals, and adjacent parts frequently with a damp cloth to remove any spills or spatters.
- Glass Turntable and Rotating Ring: The glass turntable and rotating ring can be washed in warm soapy water or in a dishwasher. Ensure they are completely dry before placing them back in the oven.
- Grill Rack: Wash the grill rack with warm soapy water and dry thoroughly.
Odor Removal
To remove odors from the oven cavity, combine a cup of water with the juice and skin of one lemon in a microwave-safe bowl. Microwave on high power for 5 minutes. Let it stand in the oven for a few minutes before removing and wiping the interior with a soft cloth.
Troubleshooting
If you encounter any issues with your microwave oven, please refer to the following table for common problems and solutions. If the problem persists, contact customer support.
| Problem | Possible Cause | Solution |
|---|---|---|
| Oven will not start | Power cord not plugged in; Fuse blown or circuit breaker tripped; Door not closed properly. | Ensure power cord is securely plugged in; Check household fuse or reset circuit breaker; Close door securely. |
| Food not heating | Door not closed properly; Incorrect cooking time/power level set; Food quantity too large. | Close door securely; Adjust cooking time and power level; Reduce food quantity or increase cooking time. |
| Turntable not rotating | Turntable not properly seated; Rotating ring dirty or damaged; Obstruction. | Ensure turntable is correctly placed on the rotating ring; Clean or replace rotating ring; Remove any obstructions. |
| Excessive noise during operation | Turntable or rotating ring not properly seated; Foreign object in cavity. | Re-seat turntable and rotating ring; Check for and remove any foreign objects. |
| Display shows error code | Internal malfunction. | Unplug the oven for a few minutes, then plug it back in. If the error persists, contact customer support. |
Specifications
| Brand | KLARSTEIN |
| Model Name | Retro (Julieta) |
| Model Number | KS-1 / TK49-Julieta-20-red |
| Capacity | 20 Liters |
| Microwave Power | 800 Watts |
| Grill Power | 1000 Watts |
| Number of Power Levels | 5 |
| Number of Programs | 8 (Automatic) |
| Control Type | Tactile (Touchpad) / Rotary Dial |
| Material | Stainless Steel (Interior and Exterior) |
| Product Dimensions (D x W x H) | 45P x 33l x 26,5H centimeters (45 x 33 x 26.5 cm) |
| Cavity Dimensions (L x P x H) | 30.15 x 21.3 x 30.2 cm |
| Turntable Diameter | 25.5 Centimeters |
| Weight | 12.7 Kilograms |
| Voltage | 220 Volts (AC) |
| Special Feature | Grill Function, Defrost Function |
Warranty and Support
Your Klarstein Julieta Microwave with Grill is covered by a manufacturer's warranty. Please refer to the warranty card included in your packaging for specific terms and conditions, including the duration of coverage and what is included.
For technical support, service, or warranty claims, please contact your retailer or the Klarstein customer service department. You can typically find contact information on the Klarstein official website or within the product packaging.
When contacting support, please have your model number (KS-1) and purchase date available to assist them in providing efficient service.


