1. Introduction
This manual provides essential instructions for the proper setup, operation, and maintenance of your Twotrees Flexible Spring Steel Magnetic Build Plate. This product features a double-sided PEI sheet (textured and smooth) designed for enhanced 3D printing adhesion and easy print removal. Please read this manual thoroughly before use to ensure optimal performance and longevity of your build plate.
2. Product Features
- Dual-Sided PEI Surface: Offers both a smooth and a textured PEI surface to accommodate various filament types and desired print finishes.
- Flexible Spring Steel: Allows for easy removal of printed models by bending the plate once cooled.
- Strong Magnetic Base: Ensures secure attachment to your 3D printer's heated bed.
- High Temperature Resistance: PEI coating is heat resistant up to 200℃ without deformation.
- Authentic 3M Adhesive: Provides strong, long-lasting adhesion for the magnetic base.
3. Setup and Installation
Follow these steps to properly install your Twotrees Flexible Spring Steel Magnetic Build Plate:
- Prepare the Printer Bed: Ensure your 3D printer's heated bed is clean and free of any debris or old adhesive residues.
- Install the Magnetic Base:

Image: The 3M magnetic sticker being applied to a 3D printer's heated bed. The backing paper is being peeled off to reveal the adhesive side.
Carefully peel off the backing paper from the 3M magnetic sticker. Align the magnetic base precisely with your printer's heated bed and firmly press it down, ensuring no air bubbles are trapped. This forms the permanent magnetic layer on your printer bed. - Remove Protective Film:

Image: A hand peeling a transparent protective film from the smooth side of the PEI spring steel sheet.
Locate the transparent protective film on the smooth PEI side of the spring steel plate. This film must be removed before printing. If you observe any bubbles on this film, they are not a defect and will disappear once the film is removed. - Place the Spring Steel Plate: Position the spring steel PEI plate onto the installed magnetic base. The magnetic force will hold it securely in place.
- Adjust Z-Offset: After installation, it is crucial to check and adjust your printer's Z-offset. The thickness of the new build plate may differ from your previous one, and an incorrect Z-offset can lead to poor first layer adhesion or damage to the build surface.
4. Operating Instructions
The Twotrees Flexible Spring Steel Magnetic Build Plate offers two distinct printing surfaces:
4.1 Choosing Your Printing Surface
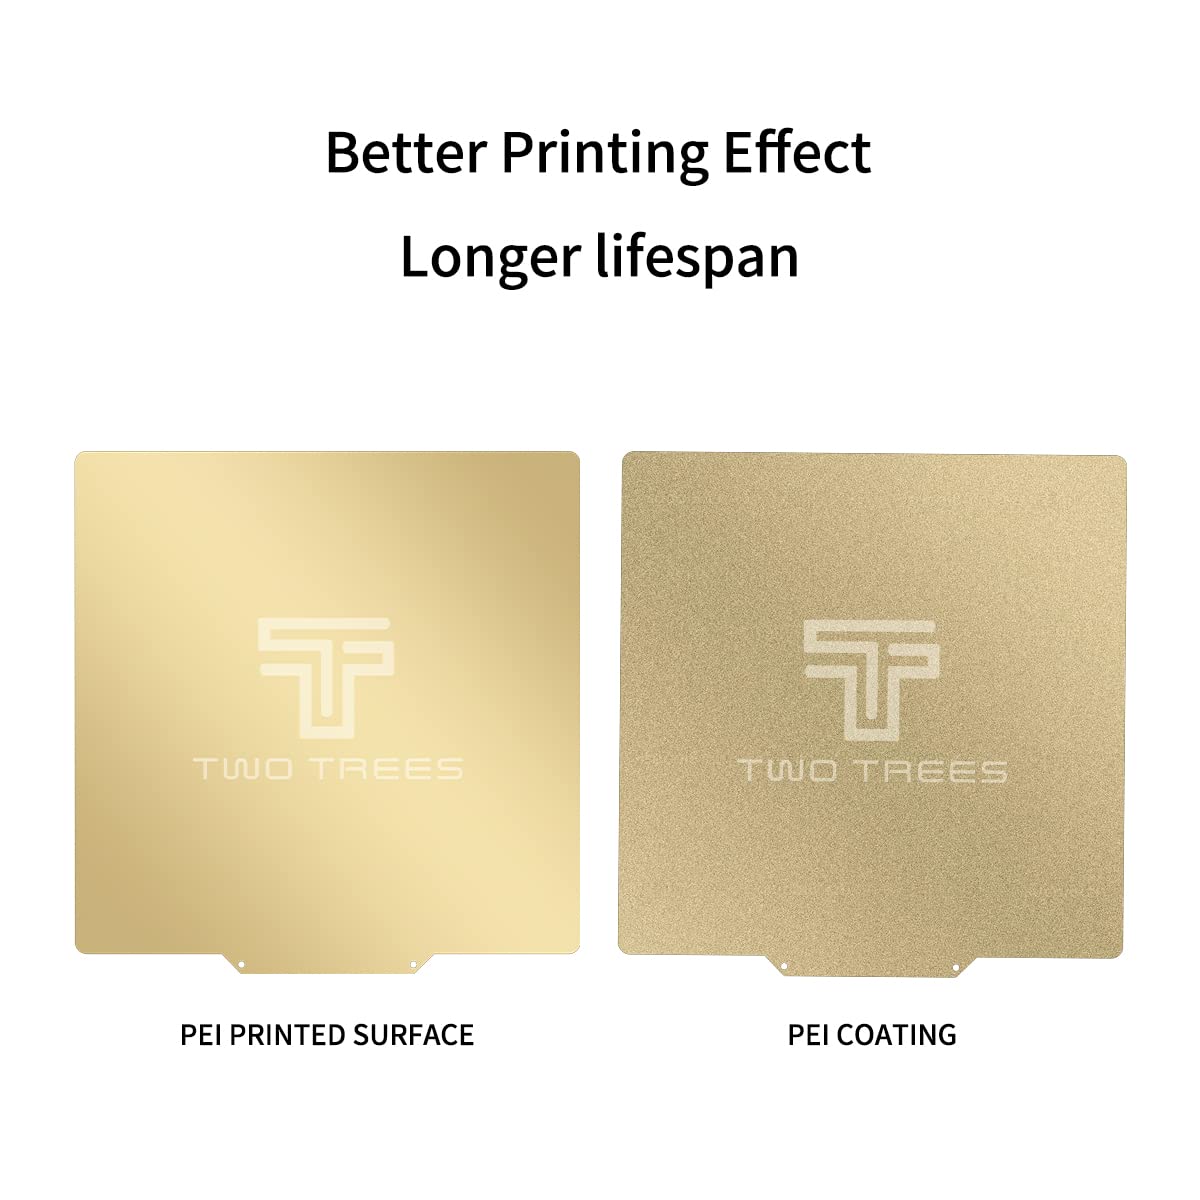
Image: A side-by-side comparison showing the smooth PEI surface on the left and the textured PEI surface on the right, both with the Twotrees logo.
- Textured PEI Surface: Provides a matte, frosted finish to the bottom of your prints. It is suitable for PLA, ABS, PETG, TPU, and Nylon filaments.
- Smooth PEI Surface: Delivers a smooth, glass-like, reflective finish to the bottom of your prints. It is primarily suitable for PLA and ABS filaments.
4.2 Print Removal
Once your print is complete and the build plate has cooled down, models can be easily removed:

Image: Hands gently bending the flexible PEI spring steel sheet, causing a 3D printed model (a small castle) to detach from the surface.
Gently bend the flexible spring steel plate. The printed object will typically detach with minimal effort. Avoid using sharp tools to pry off prints, as this can damage the PEI surface.
5. Maintenance
Proper maintenance ensures consistent adhesion and extends the lifespan of your build plate:
- Cleaning: Before and after each print, wipe the print surface with isopropyl alcohol (IPA) to remove oils and residues. This maintains maximum bed adhesion strength.
- Avoid Over-Compression: Ensure your Z-offset is correctly calibrated. Printing too close to the bed can cause filament to fuse into the build surface, making removal difficult and potentially damaging the plate.
- Restoring Adhesion: After numerous prints, if adhesion decreases, lightly scour the PEI surface with fine steel wool (400 grit) or clean it thoroughly with alcohol and allow it to dry completely.
6. Troubleshooting
- Poor First Layer Adhesion:
- Verify Z-offset calibration.
- Clean the PEI surface with isopropyl alcohol.
- Ensure correct bed temperature for your filament type.
- Prints Sticking Too Strongly:
- Allow the build plate to cool completely before attempting removal.
- Ensure Z-offset is not too low, causing excessive compression.
- For PETG/TPU on the smooth side, adhesion can be very strong. Consider using the textured side for these filaments or applying a release agent if necessary.
- Bubbles on Protective Film: If you notice bubbles on the transparent protective film upon unboxing, this is normal and not a quality issue. These bubbles will be removed along with the film before use.
7. Specifications

Image: A diagram illustrating the 310mm x 310mm dimensions of the build plate and listing compatible 3D printer models.
| Feature | Detail |
|---|---|
| Product Dimensions | 310mm x 310mm (12.2 x 12.2 inches) |
| Material | Polyethylene (PEI), Spring Steel, 3M Magnetic Sticker |
| Temperature Resistance | PEI coating up to 200℃, Magnetic base up to 130℃ |
| Model Number | Twotrees042202 |
| Compatible Printers | Creality CR-10, CR-10S, Ender 3 MAX, Tevo Tornado, Nereus, Anet A8+, E12, and similar 310x310mm beds. |
8. Support
For any questions regarding product quality, suggestions, or technical assistance, please contact Twotrees customer support. We aim to respond to all inquiries within 24 hours.
Please refer to the retailer's website or your purchase documentation for specific contact methods.


