
Briloner LTS2407023
Briloner LED Ceiling Light 3401-016 User Manual
Model: LTS2407023
Introduction
This manual provides comprehensive instructions for the installation, operation, and maintenance of your Briloner LED Ceiling Light 3401-016. Please read this manual carefully before use and retain it for future reference.
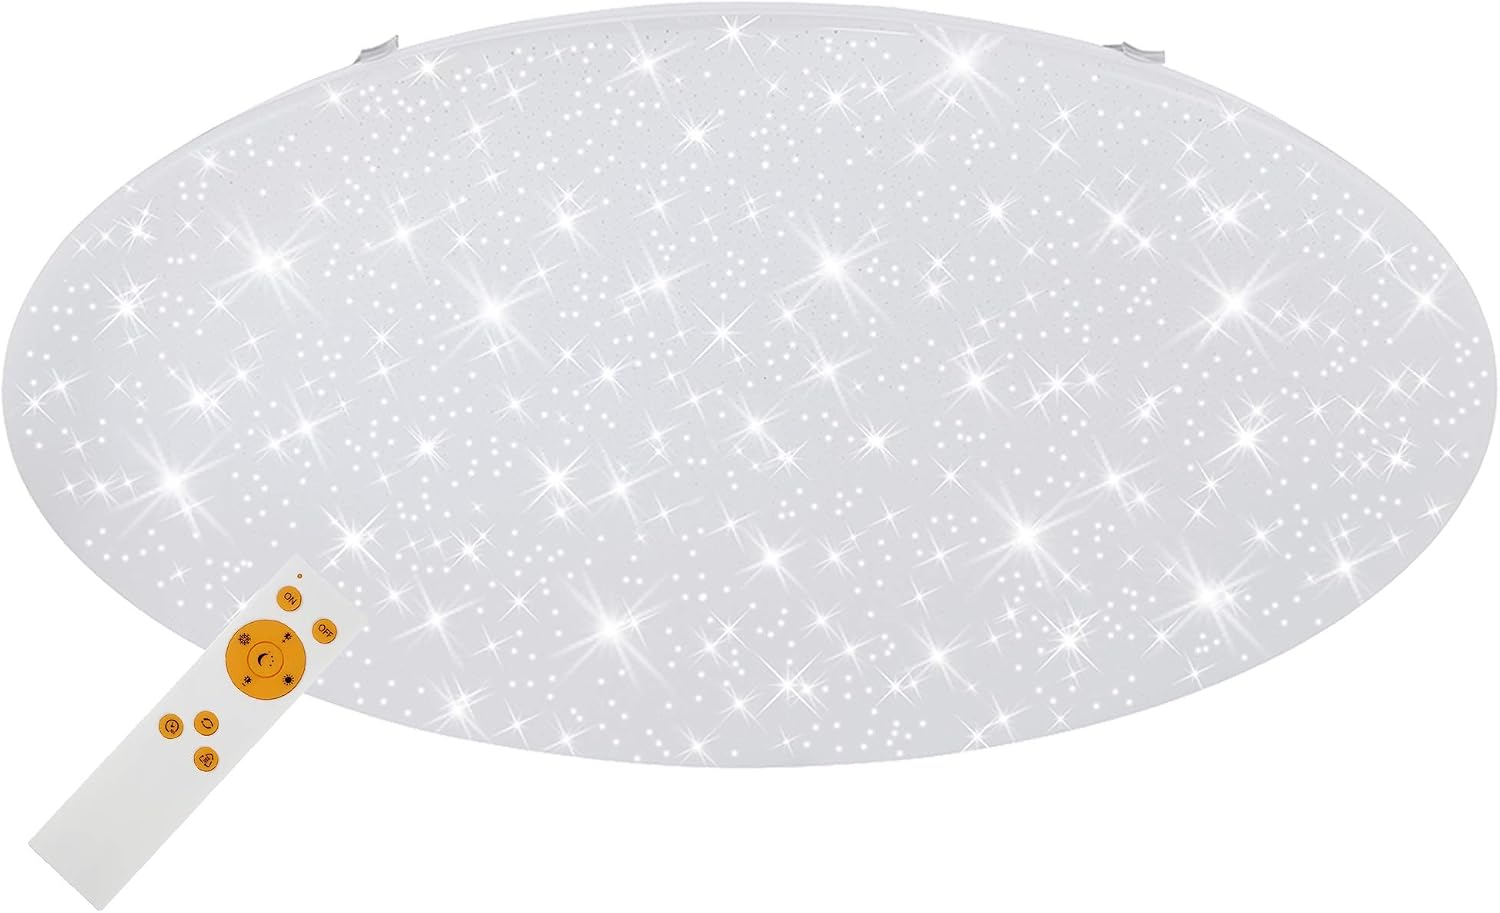
Image: The Briloner LED Ceiling Light 3401-016, an oval-shaped fixture with a starry effect, accompanied by its remote control.
Important Safety Instructions
- Always disconnect power before installation, maintenance, or cleaning.
- Installation should be performed by a qualified electrician in accordance with local wiring regulations.
- Do not modify the product in any way.
- Ensure the mounting surface can support the weight of the fixture.
- This product is rated IP20, suitable for indoor use only. Avoid exposure to water or high humidity.
- Keep packaging materials away from children.
Package Contents
Please check that all components are present and undamaged:
- Briloner LED Ceiling Light fixture
- Remote Control (batteries included)
- Mounting hardware (screws, anchors)
- User Manual
Specifications
| Model Number | LTS2407023 |
| Dimensions (L x W x H) | 76 x 76 x 10.5 cm |
| Weight | 3 Kilograms |
| Material | Aluminium |
| Power | 60 Watts |
| Luminous Flux | 5850 Lumen |
| Voltage | 230 Volts |
| Protection Rating | IP20 |
| Color Temperature Range | 3000K - 6000K (Warm White to Cool White) |
| Control Method | Remote Control, WiFi App Control |

Image: Technical drawing illustrating the dimensions of the ceiling light: 760mm diameter and 125mm height.
Setup and Installation
1. Mounting the Fixture
- Preparation: Ensure the power supply to the installation area is turned off at the main circuit breaker.
- Marking: Use the mounting bracket (if separate) or the fixture itself as a template to mark the drilling points on the ceiling.
- Drilling: Drill holes at the marked points. Insert appropriate wall anchors if necessary.
- Wiring: Connect the household wiring to the fixture's terminals. Ensure correct polarity (Live, Neutral, Earth).
- Securing: Attach the fixture securely to the ceiling using the provided screws.
2. Initial Power On
Once the fixture is securely mounted and wired, restore power at the main circuit breaker. The light should turn on or be ready for remote/app control.
3. Remote Control Pairing (if needed)
The remote control is usually pre-paired. If not, refer to the specific pairing instructions in the remote control section of this manual or the separate remote manual.
4. WiFi and App Control Setup
- Download App: Download the Briloner Smart Home app from your device's app store (iOS or Android).
- Register/Login: Create an account or log in to the app.
- Add Device: Follow the in-app instructions to add a new device. This typically involves putting the light into pairing mode (often by cycling power a few times) and connecting to your home WiFi network (2.4GHz only).
- Control: Once connected, you can control the light's functions via the app.
Operating Instructions
Remote Control Functions

Image: The remote control for the Briloner LED Ceiling Light, with buttons labeled for various functions including ON/OFF, dimming, color temperature adjustment, night light, and timer.
- ON/OFF: Press the ON button to turn the light on, and OFF to turn it off.
- Dim Up/Down: Use the Dim Up and Dim Down buttons to adjust the brightness level.
- Color Temperature Change:
- Press Colour temperature cool white to shift towards a cooler, bluer light (e.g., 6000K).
- Press Colour temperature warm white to shift towards a warmer, yellower light (e.g., 3000K).
- The Light colour change button may cycle through preset color temperatures or enable continuous adjustment.
- Night Light Function: Press the Nightlight function button to activate a low-brightness, warm light setting suitable for night use.
- Timer: Use the Timer button to set a timed shutdown for the light. Refer to the app for more precise timer settings.

Image: Visual representation of the light's key features: adjustable white light from 3000K to 6000K, dimmability via remote control, and a dedicated night light function.

Image: The ceiling light displaying different color temperatures: warm white, neutral white, and cool white, along with a "Dimmable" label.

Image: A bedroom scene with the Briloner LED Ceiling Light providing a soft illumination, highlighting its night light function, with a parent attending to a baby.
App Control Functions
The Briloner Smart Home app offers advanced control features:
- Full Brightness & Color Temperature Control: Precisely adjust brightness and color temperature using sliders or presets.
- Scheduling: Set schedules for the light to turn on/off or change settings at specific times.
- Scenes: Create and save custom lighting scenes for different moods or activities.
- Group Control: If you have multiple Briloner smart lights, group them for simultaneous control.
- Voice Control Integration: Connect with compatible voice assistants (e.g., Amazon Alexa, Google Assistant) for hands-free control.
Maintenance
- Cleaning: Ensure the power is off before cleaning. Wipe the fixture with a soft, dry, or slightly damp cloth. Do not use abrasive cleaners or solvents.
- LEDs: The LED light source is integrated and not user-replaceable. Do not attempt to open the fixture.
- Remote Control Batteries: Replace batteries in the remote control when its range decreases or it stops responding. Use the specified battery type.
Troubleshooting
| Problem | Possible Cause | Solution |
|---|---|---|
| Light does not turn on. | No power, loose wiring, faulty switch. | Check circuit breaker. Verify wiring connections. Test with another switch if possible. |
| Remote control not working. | Dead batteries, out of range, not paired. | Replace batteries. Ensure you are within range. Re-pair the remote control if necessary (refer to pairing instructions). |
| Cannot connect to WiFi/App. | Incorrect WiFi password, 5GHz network, light not in pairing mode, network interference. | Ensure correct 2.4GHz WiFi network and password. Cycle power to put light in pairing mode. Move closer to router. Disable other devices temporarily. |
| Light flickers or dims unexpectedly. | Unstable power supply, loose connection, incompatible dimmer (if external). | Check power supply stability. Verify wiring. This fixture is dimmable via remote/app, not external wall dimmers. |
Warranty and Support
Briloner products are designed for quality and reliability. For warranty information, please refer to the documentation provided at the time of purchase or visit the official Briloner website.
For technical support, troubleshooting assistance, or to inquire about spare parts, please contact Briloner customer service through their official channels. Have your model number (LTS2407023) and purchase details ready.
Briloner Leuchten GmbH
www.briloner.com
Related documentsLTS2407023


Ask a question about this manual
Ask about setup, troubleshooting, compatibility, parts, safety, or missing instructions. Manuals+ will review the question and use this page’s manual context to help answer it.