Introduction
Thank you for purchasing the MEIKEE 20W LED PIR Motion Sensor Security Floodlight. This manual provides essential information for the safe installation, operation, and maintenance of your new floodlight. Please read these instructions carefully before use and retain them for future reference.
Important Safety Instructions
- Always disconnect power before installation or servicing.
- Installation should be performed by a qualified electrician or in accordance with local electrical codes.
- Ensure the power supply voltage matches the product specifications (85-265VAC).
- Do not look directly into the LED light source when illuminated, as it may cause eye damage.
- Do not modify the product in any way, as this will void the warranty and may pose safety risks.
- Keep packaging materials away from children.
Package Contents
Please check the package for the following items:
- 1x MEIKEE 20W Motion Sensor Floodlight
- 1x Screw Package (Mounting Hardware)
- 1x User Manual (this document)
Product Overview
The MEIKEE 20W LED PIR Motion Sensor Security Floodlight is designed for outdoor use, featuring a sensitive motion sensor and durable, waterproof construction. It provides warm white illumination for enhanced security and convenience.

Figure 1: Front view of the MEIKEE 20W LED PIR Motion Sensor Security Floodlight, showing the main light panel, integrated motion sensor, and mounting bracket.
Key Features:
- Wattage: 20W LED
- Lumen Output: 1700lm
- Color Temperature: Warm White
- Motion Sensor: PIR (Passive Infrared) with 180° detection angle and up to 12m detection distance.
- Waterproof Rating: IP66 for floodlight, IP65 for sensor.
- Adjustable Settings: Time duration and light sensitivity (LUX).
- Durable Construction: Aluminum body, nano-material front cover.
Installation Instructions
Before installation, ensure the power supply is turned off at the main circuit breaker.
- Choose a Mounting Location: Select a suitable location for the floodlight, ideally between 9.84ft (3m) and 16.4ft (5m) high for optimal detection range and light coverage. Consider the 120° beam angle and 12m detection distance.

Figure 2: Illustration of optimal mounting height (9.84ft - 16.4ft) and detection range (max 39ft / 12m) for the floodlight, showing a 120° beam angle.
- Mark Drilling Points: Use the mounting bracket as a template to mark the drilling points on the wall or mounting surface.
- Drill Holes: Drill holes at the marked points and insert appropriate wall plugs (if necessary, depending on the surface).
- Secure the Bracket: Attach the mounting bracket to the surface using the provided screws.
- Wire the Floodlight: Connect the floodlight's cable to your main power supply. The 1.5m cable includes three wires: Live (Brown), Neutral (Blue), and Earth (Yellow/Green). Ensure correct polarity and secure connections.

Figure 3: Rear view of the floodlight, illustrating the adjustable mounting bracket and the power cable connection point.
- Adjust Sensor Angle: The motion sensor can be rotated 360° horizontally and 270° vertically to cover the desired detection area.

Figure 4: Close-up of the motion sensor showing the TIME and LUX adjustment dials protected by a waterproof soft rubber cover, and illustrations of the sensor's 360° horizontal and 270° vertical rotation capabilities.
- Restore Power: Once installation is complete and all connections are secure, restore power to the circuit.
Operation
The MEIKEE floodlight features two adjustable settings on the motion sensor: TIME and LUX. These settings are located under a waterproof soft rubber cover on the sensor unit.
Figure 5: Detailed view of the TIME and LUX adjustment dials on the motion sensor.
1. TIME Setting:
This dial controls the duration the light stays on after motion is detected and the sensor is triggered. Rotate the dial to select the desired time:
- 10s: Light stays on for approximately 10 seconds.
- 45s: Light stays on for approximately 45 seconds.
- 120s: Light stays on for approximately 120 seconds (2 minutes).
- 600s: Light stays on for approximately 600 seconds (10 minutes).
2. LUX Setting:
This dial determines the ambient light level at which the sensor will activate the floodlight. Rotate the dial to select the desired mode:
- "SUN" (Daylight Mode): The sensor will work continuously, activating the light both during the day and at night when motion is detected.
- "MOON" (Night Mode): The sensor will only activate the light when motion is detected during low light conditions or at night.
Note: The detection range defaults to a maximum of 12 meters (39 feet).
Maintenance
- Cleaning: Periodically clean the floodlight and sensor lens with a soft, damp cloth to ensure optimal performance. Do not use abrasive cleaners or solvents.
- Inspection: Regularly inspect the power cable and housing for any signs of damage. If damage is found, disconnect power and have it repaired by a qualified technician.
- No User-Serviceable Parts: The LED light source and sensor unit are not user-replaceable. Do not attempt to open or repair the unit.
Troubleshooting
| Problem | Possible Cause | Solution |
|---|---|---|
| Light does not turn on. | No power supply. LUX setting is too low (Moon mode during day). Sensor is obstructed. Faulty sensor. | Check power connections and circuit breaker. Adjust LUX setting to "SUN" for testing, or wait until night. Clear any obstructions from the sensor's view. Contact customer support. |
| Light stays on continuously. | Continuous motion in detection area. LUX setting is too high (Sun mode at night). Faulty sensor. | Ensure no constant movement is triggering the sensor. Adjust LUX setting to "MOON" for night-only operation. Contact customer support. |
| Light turns on for too short/long a period. | Incorrect TIME setting. | Adjust the TIME dial to the desired duration (10s/45s/120s/600s). |
| Reduced detection range or sensitivity. | Sensor lens is dirty. Sensor angle is incorrect. Ambient temperature too high (reduces PIR effectiveness). | Clean the sensor lens. Adjust the sensor angle to cover the desired area. This is normal behavior for PIR sensors in very warm conditions. |
Specifications
| Model Number | FLB020 |
| Wattage | 20W |
| Voltage | 85-265VAC |
| Luminous Flux | 1700lm |
| Luminous Color | Warm White |
| Beam Angle | 120° |
| Working Temperature | -25°C to 40°C |
| Sensor Detection Angle | 180° |
| Detection Distance | Up to 12m |
| Waterproof Rating (Floodlight) | IP66 |
| Waterproof Rating (Sensor) | IP65 |
| Cable Length | 1.5m |
| Material | Aluminum (body), Nano-material (front cover) |
| Dimensions (approx.) | 140mm x 98mm x 60mm (excluding bracket) |
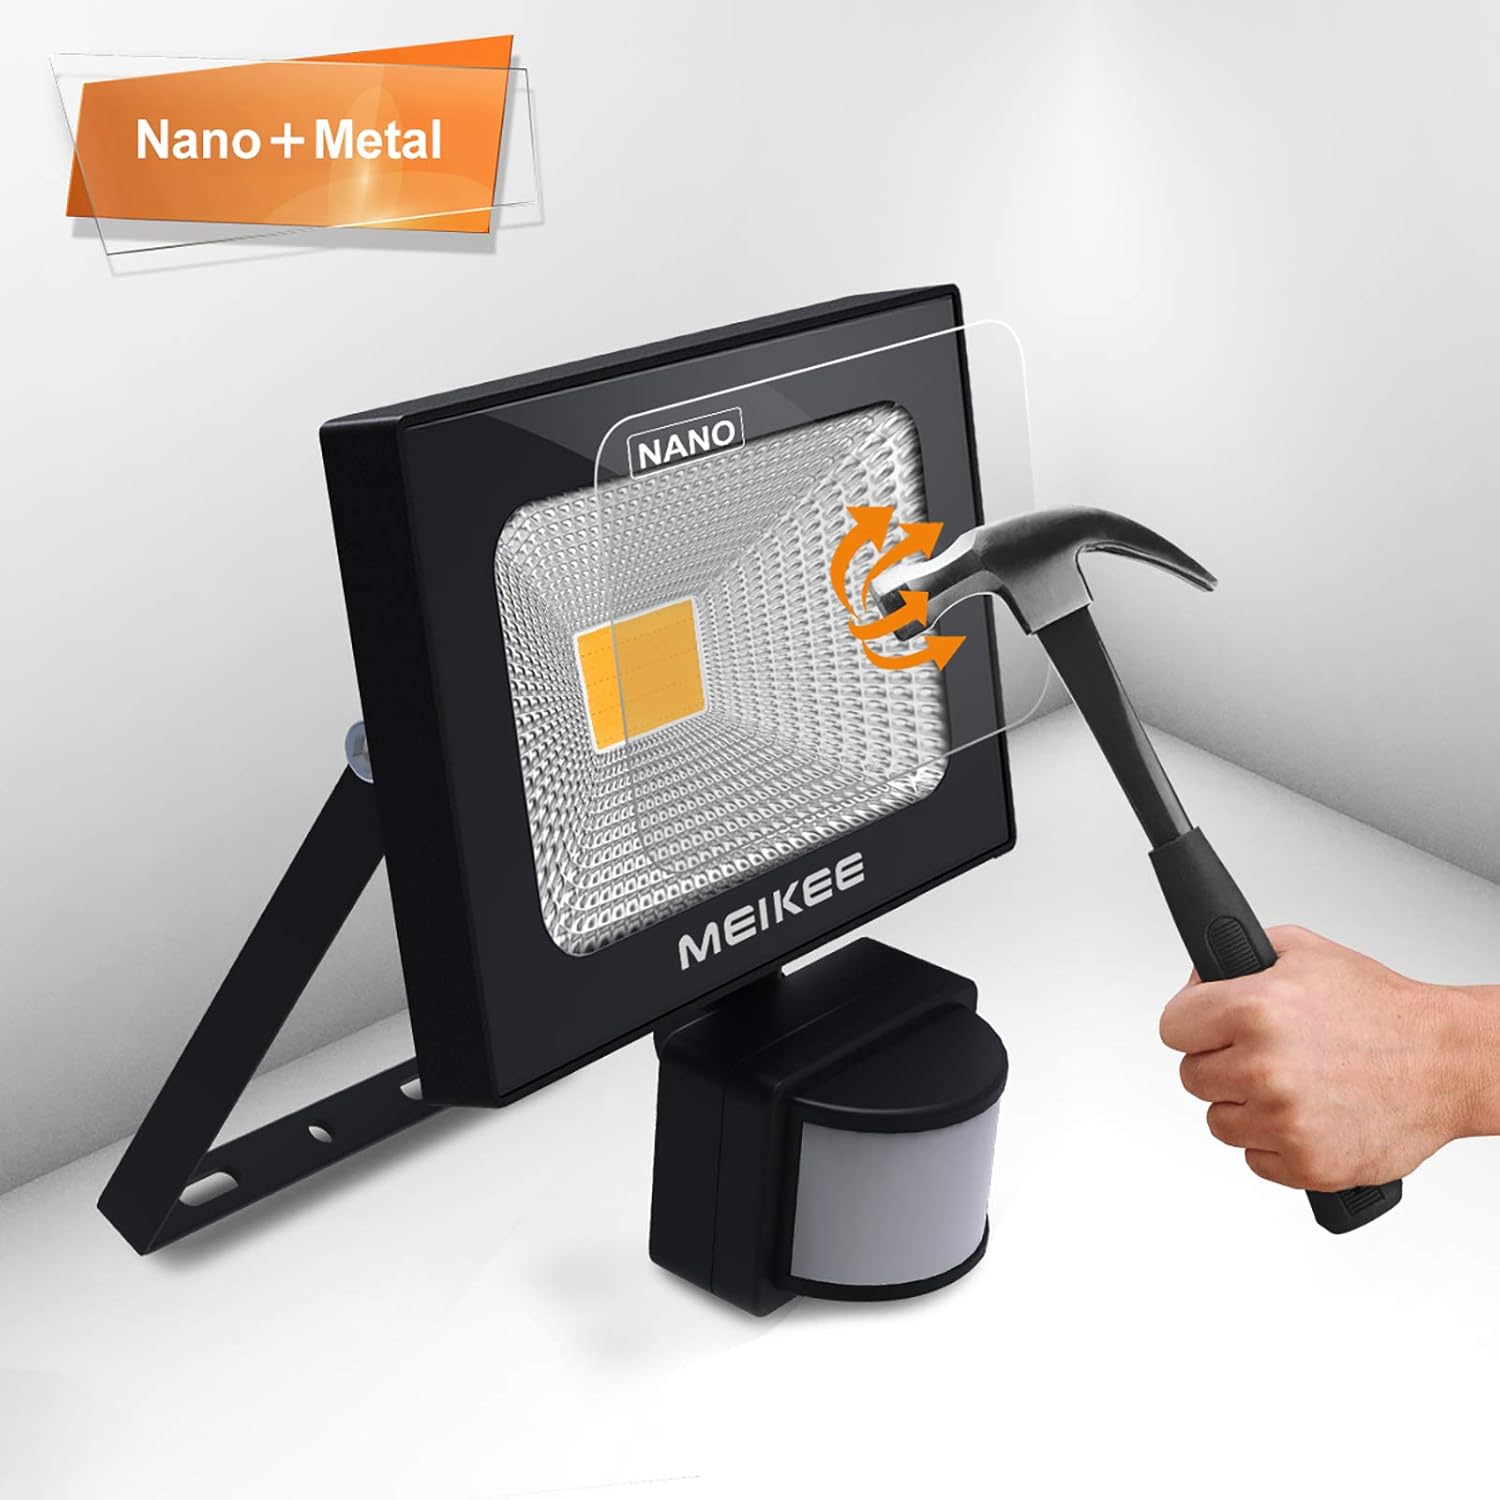
Figure 6: Diagram showing the approximate dimensions of the floodlight: 140mm (5.51in) width, 98mm (3.82in) height, and 60mm (2.4in) depth (excluding the sensor and bracket).
For detailed product information and energy efficiency, please refer to the official EPREL database: EPREL Product Information Sheet
Warranty and Support
MEIKEE products are designed for durability and performance. For warranty information or technical support, please contact your retailer or visit the official MEIKEE website. Please retain your proof of purchase for warranty claims.


