
1. Introduction
Thank you for choosing the BDL Wall Mounted Pull Up Bar. This manual provides essential information for the safe assembly, operation, and maintenance of your new fitness equipment. Please read all instructions carefully before installation and use.
This versatile pull-up bar offers two distinct training modes: a fixed position for traditional pull-ups and a 360-degree rotating mode for dynamic climbing training. Constructed from heavy-duty alloy steel, it is designed to support users up to 440 lbs, providing a stable and reliable platform for a comprehensive upper body and core workout.
2. Important Safety Information
WARNING: Failure to follow these safety instructions may result in serious injury or property damage.
- Wall Type: This pull-up bar must only be installed on solid walls. Recommended wall types include concrete walls and cement walls. Do NOT install on drywall, plasterboard, hollow brick, or other non-solid surfaces.
- Weight Capacity: Do not exceed the maximum weight capacity of 440 lbs (200 kg).
- Professional Installation: If you are unsure about your wall's suitability or the installation process, consult a qualified professional.
- Pre-Use Check: Before each use, ensure all bolts, nuts, and connections are securely tightened. Check for any signs of wear, damage, or loose parts. Do not use if any components are damaged.
- Clearance: Ensure adequate clearance around the pull-up bar to prevent accidental collisions during exercise.
- Medical Advice: Consult with a physician before starting any exercise program, especially if you have pre-existing medical conditions.
- Children and Pets: Keep children and pets away from the equipment during use and ensure they do not play on or around it.
3. Package Contents
Please verify that all components are present and undamaged before proceeding with assembly.
- Main Pull Up Bar Frame
- Wall Mounting Brackets (2)
- Expansion Screws and Washers (for wall mounting)
- Assembly Hardware (bolts, nuts, washers for connecting frame parts)
- Loading Pin (for securing fixed mode)
4. Setup and Installation
Proper installation is critical for the safety and stability of your pull-up bar. Follow these steps carefully.
4.1 Wall Requirements
As stated in the safety section, this pull-up bar is designed for installation on solid walls only. Concrete or cement walls are highly recommended. Do not install on hollow walls or walls with insufficient structural integrity.

Figure 4.1: Wall Mounted Requirements. Only install on solid concrete or cement walls.
4.2 Assembly Steps
- Prepare the Wall: Choose a suitable location on a solid wall. Use a level to mark the precise positions for drilling the mounting holes for the wall brackets. Ensure the marked points are level and correctly spaced according to the product dimensions.
- Drill Holes: Using an appropriate drill bit for your wall type (e.g., masonry drill bit for concrete), carefully punch holes in the wall at the marked locations. The depth and diameter of the holes should match the expansion screws provided.
- Mount Brackets: Insert the expansion screws into the drilled holes. Align the wall mounting brackets with the screws and securely tighten them. Ensure the brackets are firmly attached to the wall and do not wobble.
- Assemble Pull Up Bar: Connect the main pull up bar frame components using the provided assembly hardware (bolts, nuts, washers). Do not fully tighten all bolts until the entire frame is loosely assembled.
- Attach Bar to Brackets: Carefully lift the assembled pull up bar frame and attach it to the mounted wall brackets. Secure it with the remaining hardware.
- Final Tightening: Once the entire unit is in place, systematically tighten all bolts and nuts. Double-check every connection to ensure maximum stability.

Figure 4.2: Easy Installation Steps.

Figure 4.3: Example of Wall Mounting.
5. Operating Instructions
The BDL Wall Mounted Pull Up Bar offers two distinct modes for varied training.
5.1 Two Training Modes
- Fixed Pull-Up Mode: For traditional pull-ups and chin-ups, ensure the fixed latch is securely plugged in. This locks the bar in a stable position, allowing for standard exercises targeting the back, shoulders, chest, and arms.
- 360° Rotating Climbing Training Mode: To engage the climbing training mode, unplug the fixed latch. This allows the bar to rotate 360 degrees, providing a dynamic challenge that enhances reflexes and strengthens core control.

Figure 5.1: Two Training Modes and Structural Stability.

Figure 5.2: Detail of the Rotation Mechanism and Loading Pin.
5.2 Exercise Variations
The ultra-wide bar design allows for various grip positions (wide, parallel, narrow) to target different muscle groups effectively. This equipment is suitable for exercising your back, shoulders, chest, arms, triceps, biceps, lats, and abdominal muscles.
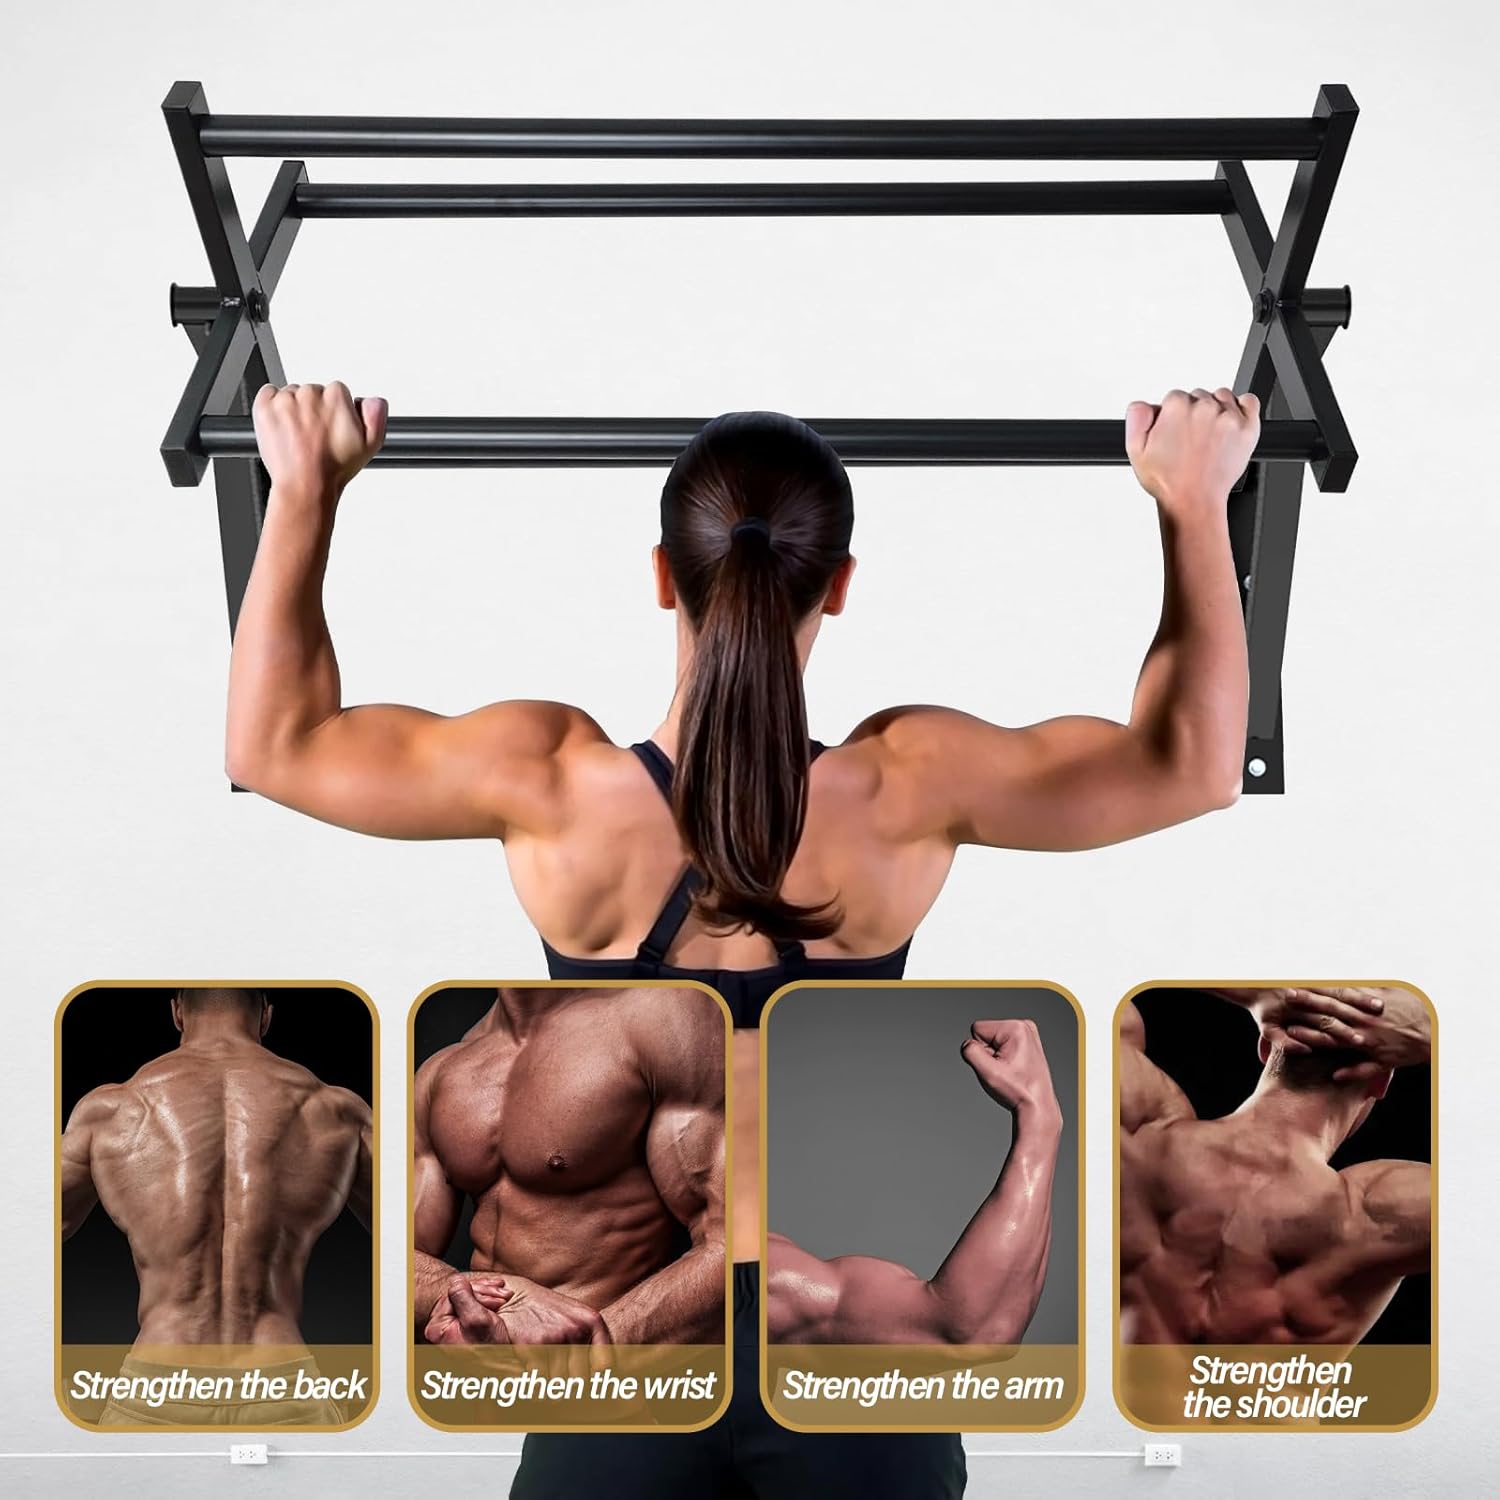
Figure 5.3: Targeted Muscle Groups.
5.3 Instructional Video
Video 5.1: This video demonstrates the two operating modes (fixed and rotating) and general usage of the BDL Wall Mounted Pull Up Bar, highlighting how to switch between modes and perform exercises.
6. Maintenance
Regular maintenance ensures the longevity and safe operation of your pull-up bar.
- Regular Inspection: Periodically check all bolts, nuts, and connections for tightness. Re-tighten any loose fasteners.
- Damage Check: Inspect the frame for any cracks, bends, or signs of metal fatigue. If any damage is found, discontinue use immediately and contact customer support.
- Cleaning: Wipe down the pull-up bar with a damp cloth after use to remove sweat and dirt. Avoid abrasive cleaners that could damage the finish.
- Lubrication: If the rotating mechanism becomes stiff, apply a small amount of silicone-based lubricant to the pivot points.
7. Troubleshooting
If you encounter issues with your pull-up bar, refer to the following common problems and solutions.
| Problem | Possible Cause | Solution |
|---|---|---|
| Bar feels unstable or wobbly | Loose mounting bolts; unsuitable wall type; incorrect installation. | Ensure all mounting bolts are fully tightened. Verify the pull-up bar is installed on a solid concrete or cement wall. Review installation steps. |
| Difficulty rotating the bar (in climbing mode) | Fixed latch is still engaged; pivot points are dry or dirty. | Ensure the fixed latch is fully disengaged. Clean and apply a small amount of silicone lubricant to the pivot points. |
| Squeaking noises during use | Loose connections; friction at pivot points. | Check and tighten all assembly bolts. Lubricate pivot points if the noise persists. |
8. Product Specifications
| Feature | Detail |
|---|---|
| Brand | BDL |
| Model | Climbing Pull Up Bar |
| Material | Alloy Steel |
| Mounting Type | Wall Mount |
| Maximum Weight Capacity | 440 Pounds (200 kg) |
| Item Weight | 31 Pounds (14 kg) |
| Bar Diameter | 1.3 inches |
| Overall Width | 40 inches |
| Depth from Wall | 19.4 inches |
| Mounting Bracket Height | 18.5 inches |
| Bar Width (approx.) | 34.6 inches |
| Bar Depth (approx.) | 15.6 inches |

Figure 8.1: Product Dimensions.
9. Support
For any questions regarding your BDL Wall Mounted Pull Up Bar, including assembly, operation, or troubleshooting, please contact BDL customer support directly. We are committed to providing the best possible service, and all inquiries will be answered within 24 hours.
Contact information can typically be found on the product packaging or through your purchase platform.

