
EVISTR L157
EVISTR 32GB Digital Voice Recorder User Manual
Model: L157
1. Introduction
This manual provides detailed instructions for the operation and maintenance of your EVISTR 32GB Digital Voice Recorder, Model L157. Please read this manual thoroughly before using the device to ensure proper functionality and to maximize its features.
2. Product Features
- Upgraded Recording Quality: Dynamic noise cancellation microphone for 1536kpbs crystal clear audio.
- Easy File Transfer: Supports MP3 (128kpbs, 64kpbs) / WAV (1536kpbs) recording quality. Simple transfer to computer via USB cable.
- Simple & Powerful Operation: One-button recording (Rec) and saving (Stop). Features A-B repeat, fast forward, and rewind during playback.
- Voice Activated Recording (AVR): Records only when voice is detected, reducing blank space.
- Auto Record Function: Schedule automatic recording at specific times.
- Easy File Management: Recordings include time stamps for easy organization.
- MP3 Player Functionality: Supports MP3/WAV/FLAC/APE/OGG/WMA formats for music playback.
- Compact and Lightweight Design: Portable and comfortable to hold.

Image: The EVISTR Digital Voice Recorder showcasing its 1536Kbps CPM recording capability, indicating high-quality audio capture with a professional audio chip.
3. Package Contents
Please check the package carefully to ensure all items are present:
- 1 x EVISTR Digital Voice Recorder (Model L157)
- 1 x USB Cable
- 1 x User Manual

Image: Contents of the EVISTR Digital Voice Recorder package, showing the recorder, a braided USB cable, and the printed user manual, all neatly arranged next to the product box.
4. Product Layout and Controls
Familiarize yourself with the buttons and ports on your EVISTR Digital Voice Recorder:
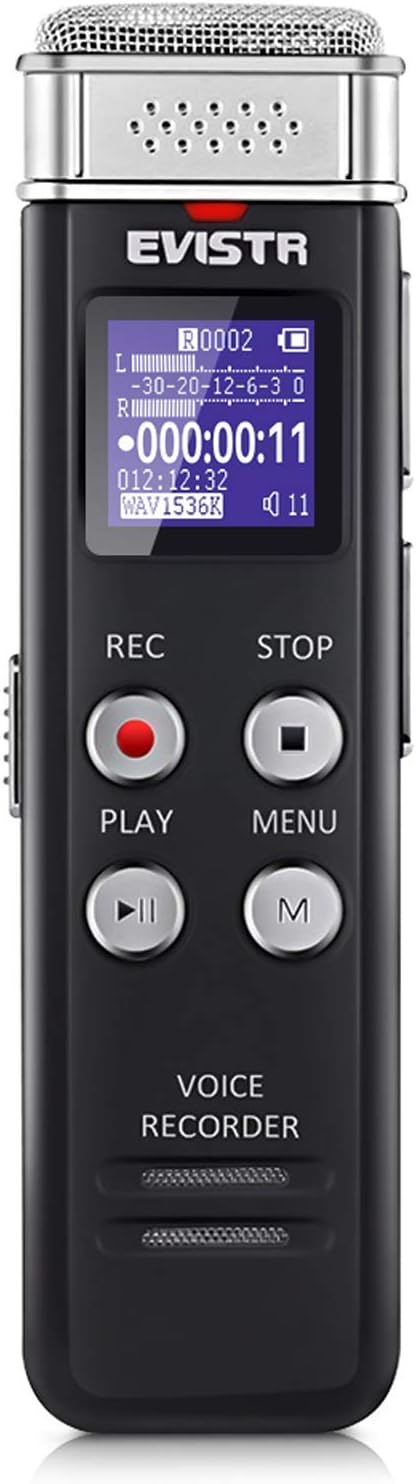
Image: Front view of the EVISTR Digital Voice Recorder, displaying its metallic microphone grille, LCD screen, and control buttons including REC, STOP, PLAY, MENU, and M (Mode).
- Microphone: Located at the top for audio input.
- LCD Display: Shows recording status, time, battery, and menu options.
- REC Button (Red Circle): Press to start recording.
- STOP Button (Square): Press to stop recording and save the file.
- PLAY Button (Triangle): Press to play back recordings or music.
- MENU Button: Accesses device settings and options.
- M Button: Used for mode selection or specific functions within menus.
- Volume Buttons (+/-): Adjust playback volume.
- USB Port: For charging and connecting to a computer.
- Headphone Jack: For private listening.
- Power Switch (ON/OFF): Located on the side to power the device on or off.
5. Initial Setup
5.1 Charging the Device
Before first use, fully charge the voice recorder. Connect the supplied USB cable to the device's USB port and the other end to a computer's USB port or a USB wall adapter (not included). The battery indicator on the display will show charging status. A full charge typically takes a few hours.

Image: The EVISTR Digital Voice Recorder connected to a laptop via its USB cable, illustrating the process for charging the device and transferring files.
5.2 Powering On/Off
- To Power On: Slide the Power switch to the "ON" position. The display will light up.
- To Power Off: Slide the Power switch to the "OFF" position. The device will shut down.
5.3 Setting Date and Time
Accurate date and time stamps are crucial for file management. Refer to the on-screen menu options to set the current date and time. Typically, this is found under the 'Settings' or 'System' menu.
6. Operating Instructions
6.1 Basic Recording
- Ensure the device is powered on.
- Press the REC button (red circle) to start recording. The recording indicator will appear on the screen.
- To stop recording and save the file, press the STOP button (square). The file will be saved automatically with a time stamp.

Image: A hand demonstrating the simple operation of the EVISTR Digital Voice Recorder, showing a finger pressing the 'REC' button to initiate recording and the 'STOP' button to save.
6.2 Playback
- From the main screen, navigate to the desired recording using the navigation buttons.
- Press the PLAY button (triangle) to start playback.
- Use the Volume buttons (+/-) to adjust the sound level.
- During playback, you can use the fast forward/rewind functions (often by holding volume buttons or dedicated navigation buttons).
- Press the STOP button to pause or stop playback.
6.3 Voice Activated Recording (AVR)
The AVR function allows the recorder to start recording automatically when sound is detected and pause when silence occurs, saving memory space.
- Access the device's MENU.
- Navigate to 'Recording Settings' or 'AVR Mode'.
- Enable the AVR function and set the sensitivity level if available.
- Once enabled, press REC to start recording in AVR mode. The device will only record when sound is present.

Image: The EVISTR Digital Voice Recorder illustrating its Voice Activated Recording feature, showing how it captures only talking and reduces silence, with a visual representation of sound waves and recording time.
6.4 Auto Record
This feature allows you to schedule recordings to start and stop automatically at predefined times.
- Go to the MENU and find 'Auto Record' or 'Timer Record' settings.
- Set the desired start time, end time, and frequency (e.g., once, daily, weekdays).
- Ensure the device has sufficient battery life or is connected to power if scheduling long recordings.
6.5 MP3 Player Functionality
The device can also function as an MP3 player. Transfer music files (MP3/WAV/FLAC/APE/OGG/WMA) to the device's non-recording folders via USB connection.
- Connect the device to your computer.
- Drag and drop music files into a folder other than the 'RECORD' folder (e.g., 'MUSIC' folder if present, or create one).
- Disconnect safely.
- On the device, navigate to the music folder and select a track to play using the PLAY button.
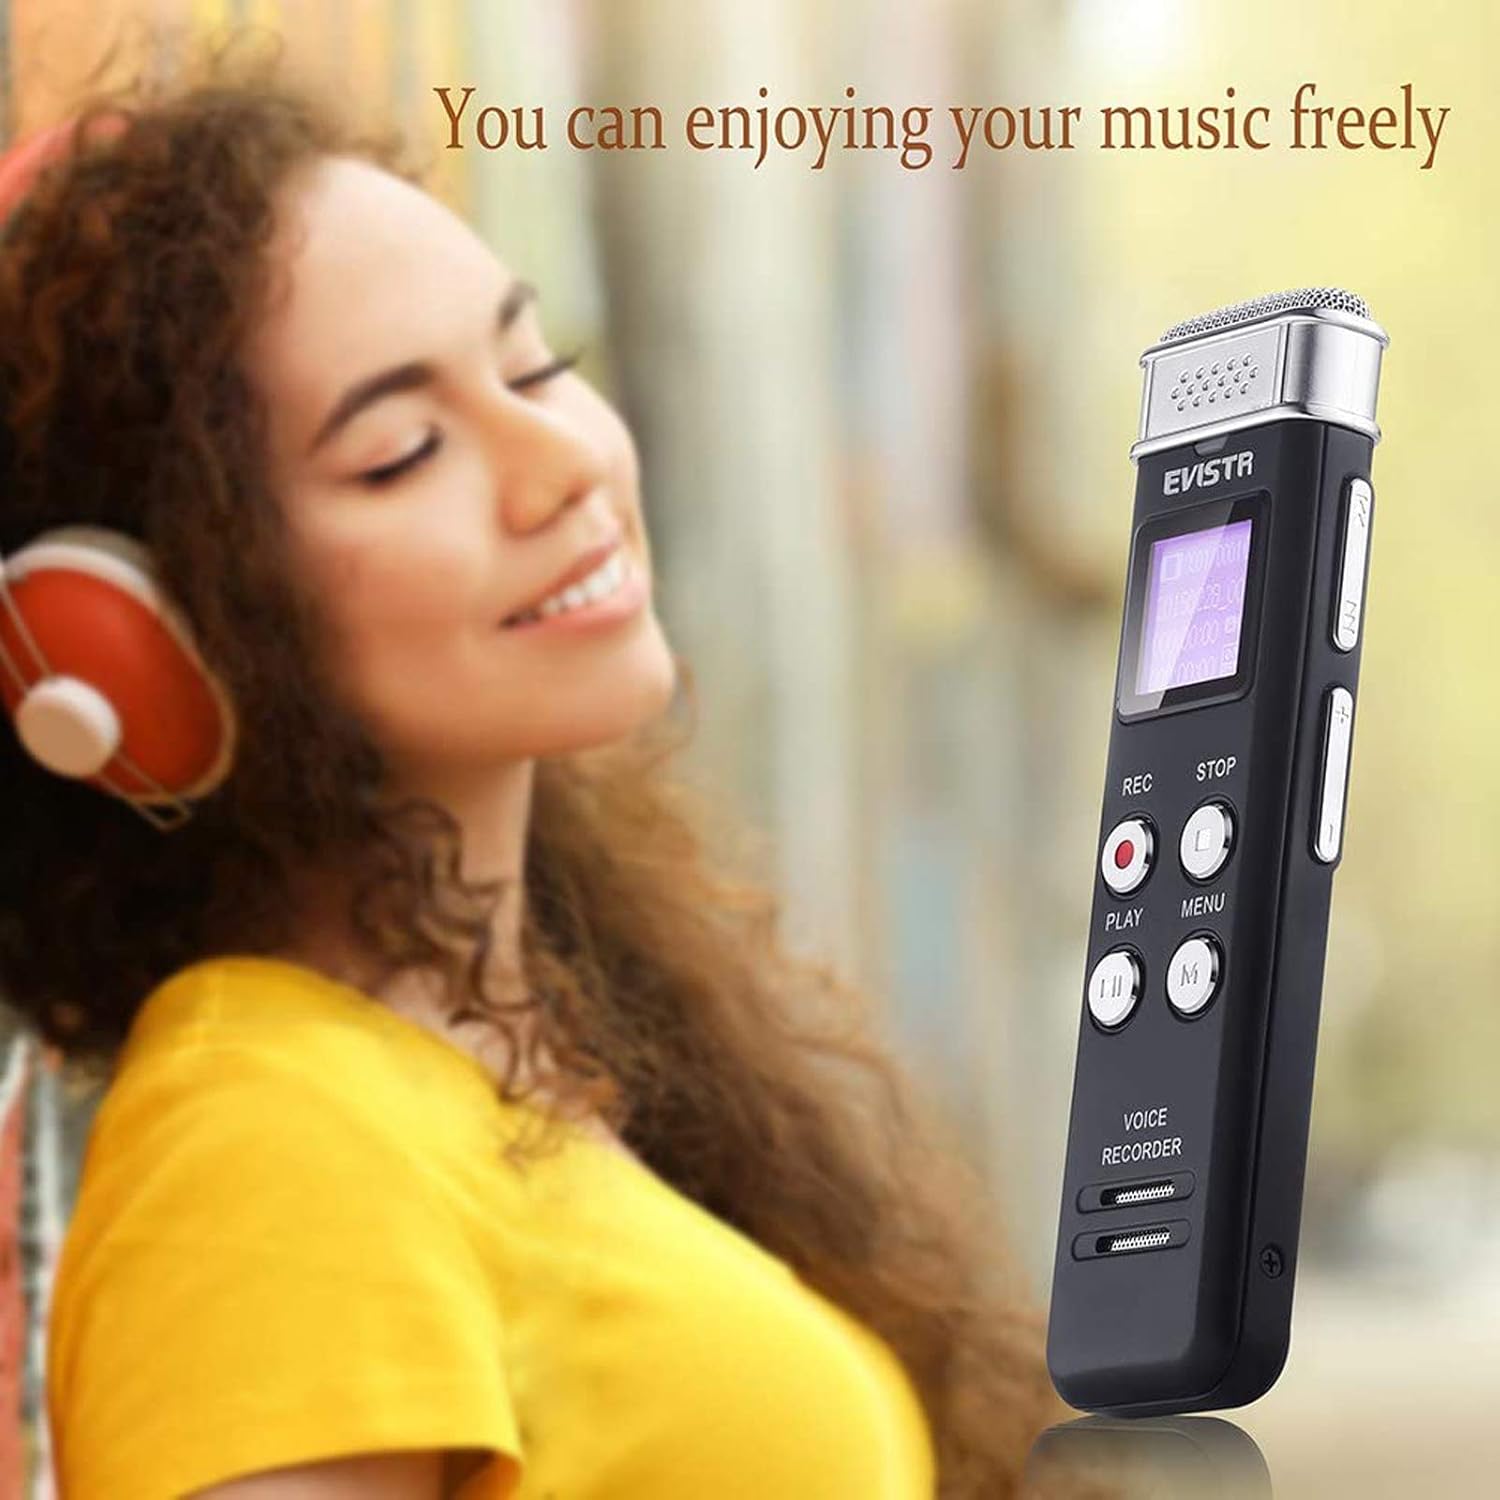
Image: A person wearing headphones and smiling, holding the EVISTR Digital Voice Recorder, demonstrating its capability to play music.
7. Connecting to a Computer
To transfer recordings or music files, connect the recorder to your computer using the provided USB cable.
- Connect the small end of the USB cable to the recorder's USB port.
- Connect the standard USB end to an available USB port on your computer.
- The recorder will appear as a removable disk drive (e.g., "EVISTR" or "Removable Disk") on your computer.
- Open the drive to access your recorded files (typically in a folder named 'RECORD' or similar).
- You can copy, paste, delete, or move files as needed.
- Always safely eject the device from your computer before disconnecting the USB cable to prevent data corruption.
Image: The EVISTR Digital Voice Recorder connected to a laptop via its USB cable, illustrating the process for charging the device and transferring files.
8. Specifications
| Feature | Detail |
|---|---|
| Brand | EVISTR |
| Model | L157 |
| Memory Storage Capacity | 32 GB |
| Recording Quality | 1536kpbs (WAV), 128kpbs/64kpbs (MP3) |
| Digital Recording Time | 28 hours |
| Microphone Form Factor | Built-In |
| Microphone Operation Mode | Noise Cancellation |
| Headphones Jack | 3.5 millimeters |
| Hardware Interface | USB |
| Batteries | 1 Lithium Polymer battery (included) |
| Item Weight | 5.9 ounces (0.17 Kilograms) |
| Package Dimensions | 5.08 x 4.09 x 1.02 inches |
9. Troubleshooting
| Problem | Possible Cause / Solution |
|---|---|
| Device does not power on. | Battery is depleted. Charge the device fully. Ensure the power switch is in the "ON" position. |
| Cannot record. | Memory is full. Delete old files to free up space. Battery is low. Charge the device. Device might be in playback mode; ensure it's ready for recording. |
| Poor recording quality / Static noise. | Microphone is obstructed. Ensure no objects are covering the microphone. Recording distance is too far or too close. Adjust distance. High background noise. Try recording in a quieter environment. Check recording settings (e.g., bit rate). |
| Cannot connect to computer. | USB cable is faulty. Try a different USB cable. USB port on computer is faulty. Try a different USB port. Device is not powered on. Ensure the device is on when connecting. Drivers might be needed (usually plug-and-play, but check manufacturer website if issues persist). |
| Playback has no sound. | Volume is too low. Increase volume using the +/- buttons. Headphones are not properly connected or faulty. Try re-inserting headphones or using a different pair. Built-in speaker might be disabled in settings. |
| Device freezes or becomes unresponsive. | Perform a soft reset by sliding the power switch to OFF, waiting a few seconds, then sliding it back to ON. If issues persist, contact customer support. |
10. Warranty and Support
EVISTR products are designed for reliability and performance. This product comes with an 18-month warranty from the date of purchase, covering manufacturing defects.

Image: A golden shield emblem with a red ribbon stating "18 MONTHS WARRANTY", symbolizing the product's warranty period.
Customer Support:
For technical assistance, warranty claims, or any questions regarding your EVISTR Digital Voice Recorder, please contact our customer support team. Refer to the contact information provided on the product packaging or the official EVISTR website.
Note: Please retain your proof of purchase for warranty service.
Related documentsL157


Ask a question about this manual
Ask about setup, troubleshooting, compatibility, parts, safety, or missing instructions. Manuals+ will review the question and use this page’s manual context to help answer it.