
1. Product Overview
The Briloner LED Dimmable Ceiling Light, Model 3318-016, is a modern lighting solution designed for indoor use. It features an integrated LED module offering adjustable light intensity and color temperature, ranging from warm white (3000K) to cool white (6000K). Additional functions include a night light mode and a timer, all conveniently controlled via the included remote control. The light is constructed from durable metal and plastic with a subtle starry decor effect.
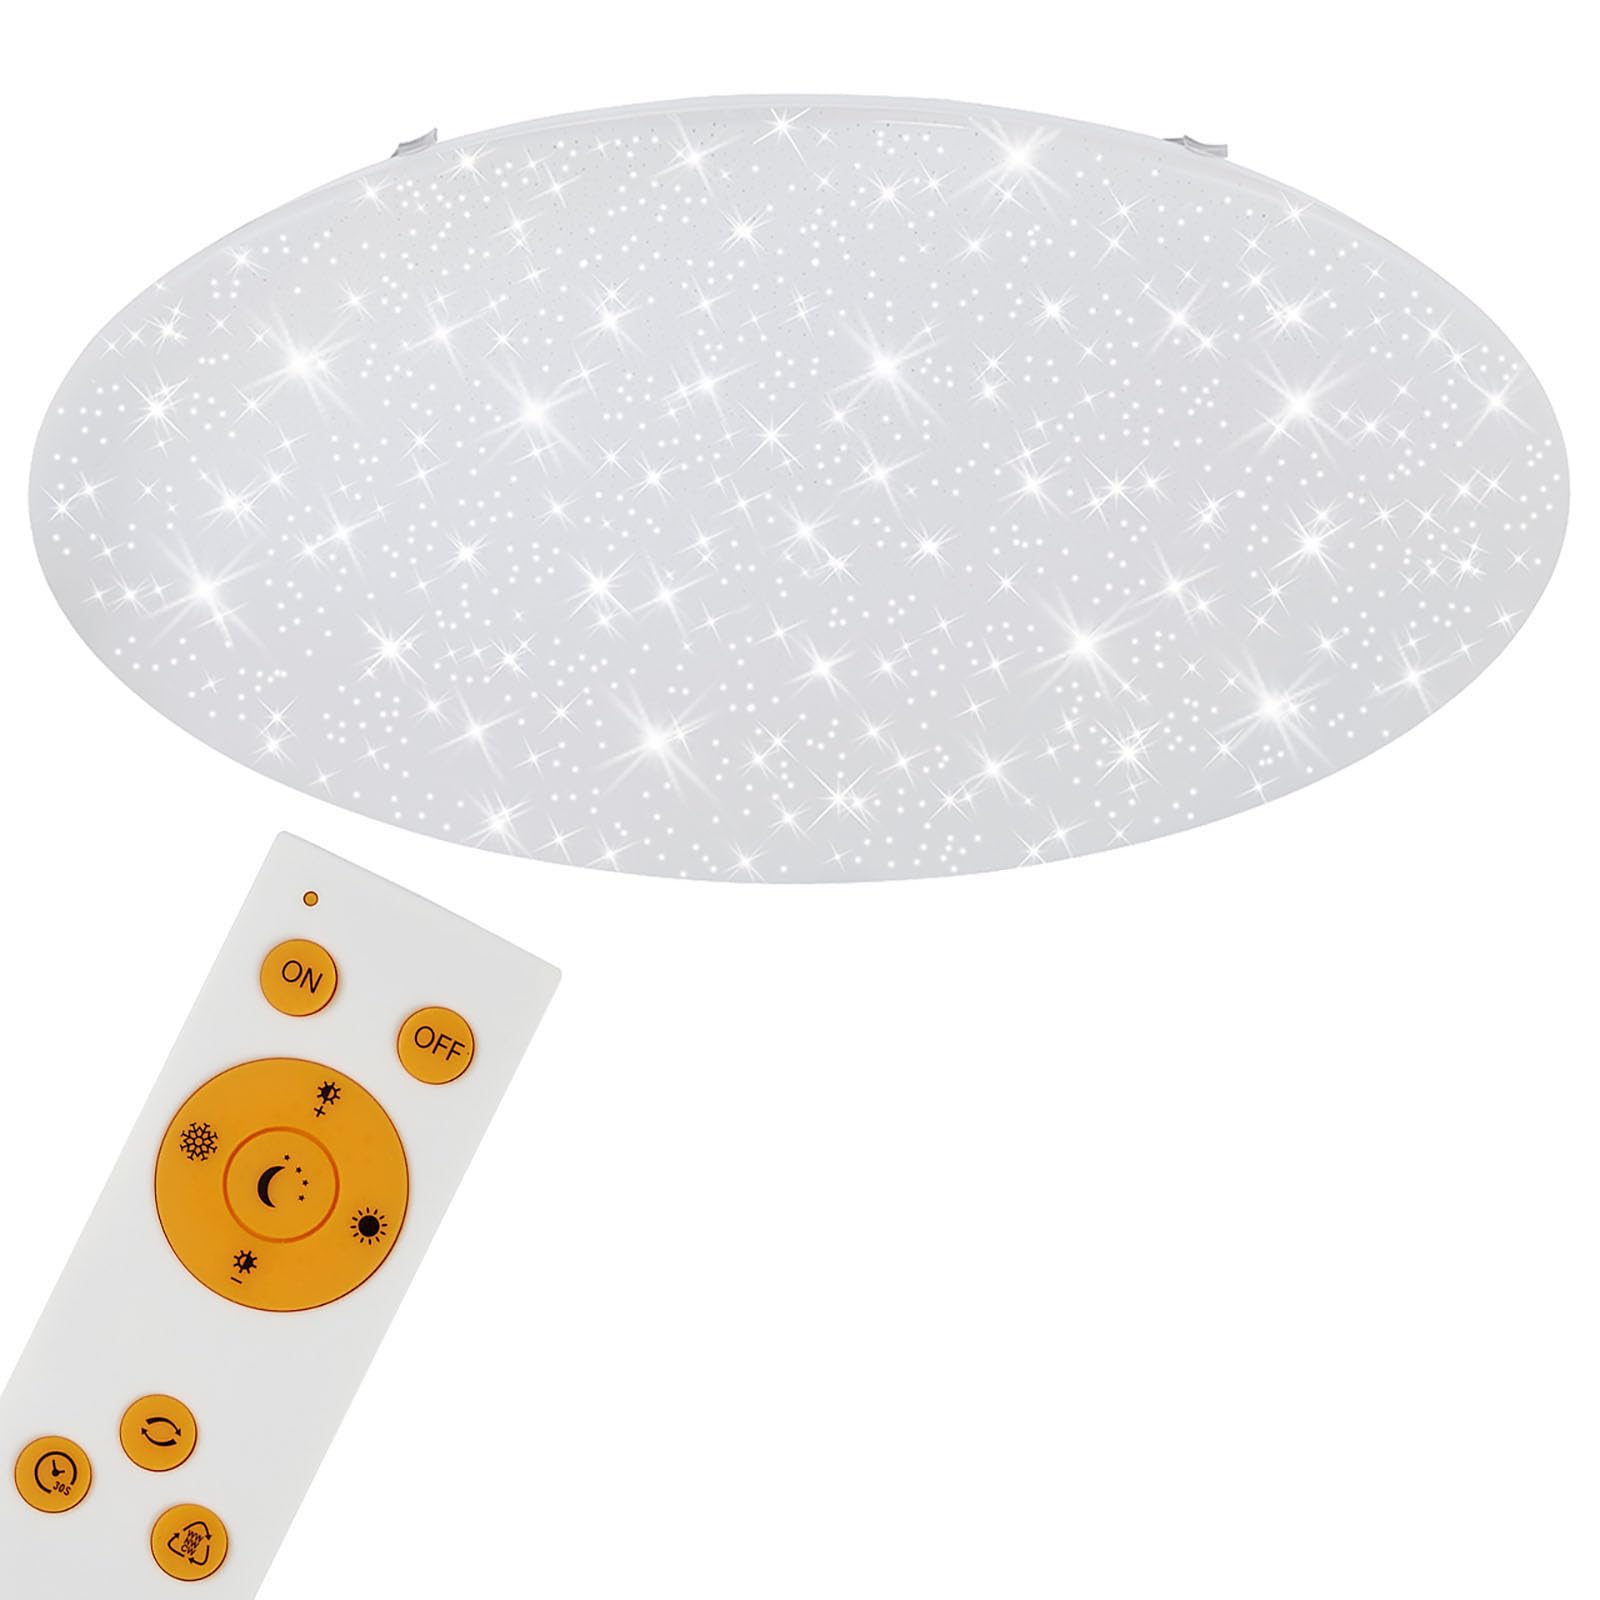
Image: The Briloner LED Dimmable Ceiling Light, showcasing its sleek design and the included remote control. Icons indicate key features: white color temperature change (3000K-6500K), dimmable via remote, and night light function.
2. Important Safety Instructions
- Read all instructions carefully before installation and use.
- Electrical Installation: Installation should only be performed by a qualified electrician to prevent electric shock or fire hazards. Ensure the main power supply is switched off at the circuit breaker before beginning any installation work.
- Indoor Use Only: This product is designed exclusively for indoor environments. Do not expose to moisture or outdoor elements.
- Power Source: Connect the light fixture only to a 230V AC power supply.
- Cleaning: Disconnect power before cleaning. Use a soft, dry cloth. Do not use abrasive cleaners or solvents.
- Damage: Do not operate the light if it appears damaged in any way. Contact customer support for assistance.
- Light Source: The LED module is integrated and not user-replaceable.
3. Package Contents
Please check the package for the following items:
- 1 x Briloner LED Dimmable Ceiling Light (Model 3318-016)
- 1 x Remote Control
- 2 x AAA Batteries (for remote control)
- Mounting Hardware (screws, wall plugs)
- User Manual (this document)
4. Installation Guide
Professional installation by a qualified electrician is strongly recommended for this product.
- Power Disconnection: Before starting installation, ensure the main power supply to the installation area is switched off at the circuit breaker.
- Mounting Location: Choose a suitable location on the ceiling, ensuring it can support the weight of the fixture and has access to electrical wiring.
- Prepare Mounting Plate: Detach the mounting plate from the light fixture. Use the mounting plate as a template to mark the drilling points on the ceiling.
- Drill Holes: Drill holes at the marked positions and insert the appropriate wall plugs (provided).
- Secure Mounting Plate: Attach the mounting plate to the ceiling using the provided screws. Ensure it is securely fastened.
- Electrical Connection: Connect the household electrical wires to the terminal block on the light fixture. Ensure correct polarity (Live, Neutral, Earth) according to local electrical codes.
- Attach Light Fixture: Carefully attach the light fixture to the secured mounting plate. Ensure all wires are tucked away safely and not pinched.
- Final Check: Double-check all connections and ensure the fixture is firmly mounted.
- Restore Power: Once installation is complete, restore power at the circuit breaker.

Image: Technical drawing illustrating the dimensions of the ceiling light: 800mm diameter and 90mm height.
5. Operating Instructions
The Briloner LED Ceiling Light is controlled using the included remote control. Ensure the 2 AAA batteries are correctly inserted into the remote control before use.
5.1 Remote Control Functions

Image: Detailed diagram of the remote control, highlighting each button's function for easy identification and use.
- ON / OFF: Press to turn the light on or off.
- Dim Up / Dim Down: Use the '+' and '-' buttons to increase or decrease the light intensity (brightness).
- Color Temperature Adjustment:
- Warm White: Press the 'Warm White' button (sun icon) to set the light to a warmer tone (approx. 3000K).
- Cool White: Press the 'Cool White' button (snowflake icon) to set the light to a cooler tone (approx. 6000K).
- Light Colour Change: Use the dedicated button to cycle through or fine-tune the color temperature between warm and cool white.
- Night Light Function: Press the 'Night Light' button (moon icon) to activate a low-intensity, warm light setting, ideal for ambient or children's rooms.
- Timer Function: Press the 'Timer' button (clock icon) to set a timed shutdown for the light. Refer to the remote's specific markings for available timer durations.
5.2 Dimmable and Color Change Features

Image: Visual representation of the stepless dimming capability and the adjustable color temperature range from warm white to neutral white to cool white.
The light offers stepless dimming, allowing you to adjust the brightness precisely to your preference. The color temperature can be seamlessly transitioned from a cozy warm white (3000K) to a bright cool white (6000K), providing versatile lighting for any mood or activity.
6. Maintenance
To ensure the longevity and optimal performance of your Briloner LED Ceiling Light, follow these simple maintenance guidelines:
- Cleaning: Always disconnect the power supply before cleaning. Use a soft, dry, lint-free cloth to wipe the surface of the light fixture. Do not use liquid cleaners, abrasive materials, or chemical solvents, as these can damage the finish or electrical components.
- Bulb Replacement: The LED module is integrated and cannot be replaced by the user. If the LED module fails, the entire fixture may need to be replaced.
- Remote Control Batteries: Replace the AAA batteries in the remote control when its range or responsiveness decreases. Ensure correct polarity when inserting new batteries.
- Inspection: Periodically inspect the fixture for any signs of damage or loose connections. If any issues are found, disconnect power and contact a qualified electrician or customer support.
7. Troubleshooting
If you encounter any issues with your Briloner LED Ceiling Light, please refer to the following common problems and solutions:
| Problem | Possible Cause | Solution |
|---|---|---|
| Light does not turn on. | No power supply; loose wiring; remote control batteries depleted. | Check circuit breaker. Ensure all electrical connections are secure (consult an electrician). Replace remote control batteries. |
| Remote control not working. | Batteries depleted or incorrectly inserted; remote out of range; obstruction. | Replace batteries, ensuring correct polarity. Ensure remote is pointed at the light and within range. Remove any obstructions. |
| Light flickers or dims unexpectedly. | Unstable power supply; loose connection; faulty LED module. | Check household electrical supply. Verify wiring connections (consult an electrician). If problem persists, contact customer support. |
| Color temperature or brightness cannot be adjusted. | Remote control issue; light in a fixed mode. | Ensure remote batteries are fresh. Try resetting the light by turning off and on at the main switch. |
If the problem persists after attempting these solutions, please contact Briloner customer support.
8. Technical Specifications
| Feature | Specification |
|---|---|
| Model Number | 3318-016 |
| Dimensions (Diameter x Height) | 76 cm x 12.5 cm (approx. 29.9 x 4.9 inches) |
| Weight | 2.44 Kilograms (approx. 5.38 lbs) |
| Power Consumption | 80 Watts |
| Luminous Flux | 6500 Lumens |
| Color Temperature | 3000K (Warm White) - 6000K (Cool White) |
| Voltage | 230 Volts |
| Dimmable | Yes |
| Control Method | Remote Control (Infrared) |
| Light Source | Integrated LED Module |
| Material | Metal and Plastic |
| Energy Efficiency Class | A+ |
| Batteries for Remote | 2 x AAA (included) |
| Usage | Indoor use only (Living room, bedroom, children's room as night light) |
9. Warranty Information
Briloner products are manufactured with high-quality materials and undergo strict quality control. This product is covered by a standard manufacturer's warranty against defects in materials and workmanship from the date of purchase. Please retain your proof of purchase for any warranty claims.
The warranty does not cover damage caused by improper installation, misuse, accidents, unauthorized repairs, or normal wear and tear. For specific warranty terms and conditions, please refer to the documentation provided with your purchase or contact Briloner customer support.
10. Customer Support
If you have any questions, require technical assistance, or need to make a warranty claim, please contact Briloner customer support:
- Website: Visit the official Briloner website for support resources and contact information.
- Email: Refer to your product packaging or the Briloner website for the appropriate support email address.
- Phone: Contact details for regional support lines can be found on the Briloner website.
Please have your product model number (3318-016) and proof of purchase ready when contacting support.


