1. Introduction
This manual provides detailed instructions for the installation, operation, and maintenance of your Topeak DeFender XC1 (front) and XC11 (rear) bicycle fender set. Designed for 29-inch wheels, these fenders offer superior protection from mud and spray, enhancing your riding experience in various conditions.
2. Safety Information
- Ensure all components are securely fastened before each ride. Loose parts can lead to accidents.
- Regularly inspect fenders for damage or wear. Replace any damaged parts immediately.
- Verify proper clearance between the fender and tire to prevent rubbing, especially during suspension travel.
- Do not modify the fenders or use them for purposes other than intended.
- Keep small parts away from children.
3. Package Contents
Your Topeak DeFender XC1/XC11 set includes:
- 1 x Topeak DeFender XC1 Front Fender
- 1 x Topeak DeFender XC11 Rear Fender
- Mounting hardware for both fenders (bolts, spacers, clamps)

Image 1: The Topeak DeFender XC1 front fender (top) and XC11 rear fender (bottom) with their respective mounting mechanisms.
4. Setup and Installation
4.1. Front Fender (XC1) Installation
- Identify Mounting Point: The XC1 front fender mounts to the fork lowers. Ensure your fork has a suitable hole for the quick-release bolt attachment. The recommended fork stanchion diameter is typically 19-30mm for proper fitment.
- Select Spacers: Choose the appropriate spacer blocks to ensure the fender is positioned correctly and does not interfere with the downtube during fork travel.
- Attach Fender: Insert the quick-release bolt through the fender and the selected spacers, then secure it into the fork's mounting hole.
- Adjust Angle: The XC1 features multiple adjustment points. Loosen the adjustment screws, position the fender for optimal tire coverage and clearance, then tighten the screws securely.

Image 2: The Topeak DeFender XC1 front fender mounted on a bicycle, showing its position relative to the front wheel and fork.
4.2. Rear Fender (XC11) Installation
- Assemble Mount: Attach the slip-joint clamp to the rear fender. Ensure the components are aligned correctly.
- Attach to Seat Tube: Open the slip-joint clamp and position it around your bicycle's seat tube. Tighten the screw to secure the clamp firmly.
- Adjust Angle: Utilize the adjustment points on the rear fender to achieve the desired angle and coverage over the rear wheel. Ensure it does not interfere with pedaling or other bike components.

Image 3: A close-up view of the quick-release clamp mechanism for the Topeak DeFender XC11 rear fender, designed for easy attachment to the seat post.

Image 4: The Topeak DeFender XC11 rear fender mounted on a bicycle, showing its extended coverage over the rear wheel.
5. Operating the Fenders
Once installed, the Topeak DeFender XC1/XC11 set operates passively, providing continuous protection. The moto-inspired design ensures broad coverage, keeping mud and spray away from the rider and bicycle components. The flexible trailing edge of the fenders is designed to absorb impacts and resist cracking, maintaining functionality even in challenging conditions.
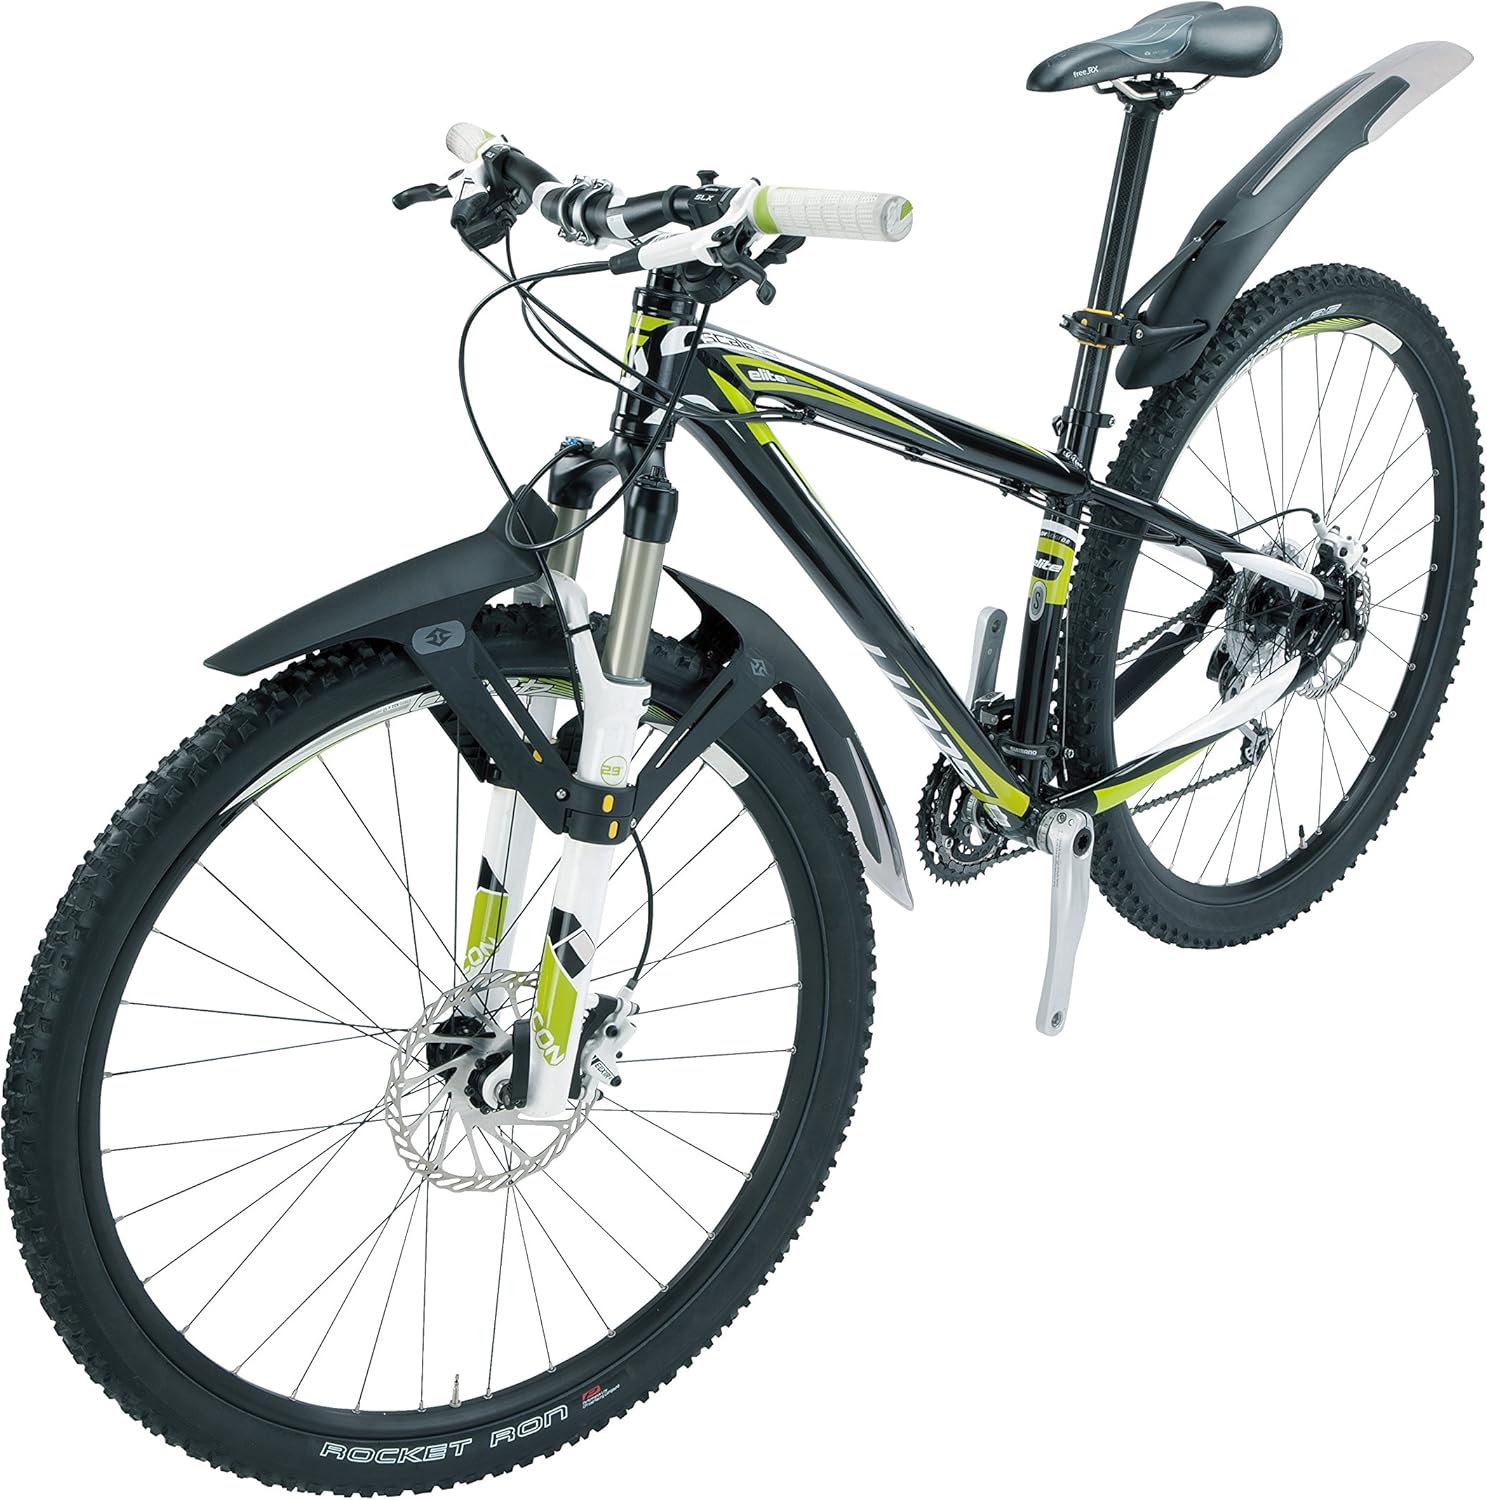
Image 5: A bicycle equipped with both the Topeak DeFender XC1 front and XC11 rear fenders, demonstrating their integrated appearance and coverage.
6. Maintenance
- Cleaning: The highly polished underside of the fenders is designed to prevent mud accumulation. After rides, especially in wet or muddy conditions, wipe down the fenders with a damp cloth to remove dirt and debris. This maintains their appearance and performance.
- Inspection: Periodically check all mounting points, bolts, and clamps for tightness. Vibrations from riding can loosen fasteners over time.
- Damage Check: Inspect the fender material for any cracks, bends, or signs of impact damage. While durable, extreme impacts can cause damage. Replace any compromised fenders to ensure continued protection.
7. Troubleshooting
- Fender Rubbing Tire: If the fender rubs against the tire, loosen the adjustment screws and reposition the fender to increase clearance. Ensure the fender is centered over the wheel.
- Fender Feels Loose: Re-tighten all mounting bolts and clamps. For the front fender, ensure the correct spacer blocks are used to provide a snug fit within the fork crown.
- Fender Breaks: The fenders are made from high-impact durable plastic. In the event of a break due to a crash or severe impact, contact Topeak customer support for replacement options.
8. Specifications
| Feature | Detail |
|---|---|
| Model | DeFender XC1 (Front) + XC11 (Rear) |
| Wheel Size Compatibility | 29" (also compatible with 27.5" - 29" bikes) |
| Front Fender Mount | Quick-release bolt to fork lowers |
| Rear Fender Mount | Slip-joint clamp to seat tube |
| Material | High-impact durable plastic with flexible trailing edge |
| Key Features | Moto-inspired design, multiple adjustment points, polished underside to prevent mud buildup |
9. Warranty and Support
Topeak products are designed for durability and performance. For warranty information, product support, or to inquire about replacement parts, please visit the official Topeak website or contact their customer service department. Keep your purchase receipt as proof of purchase.


