Introduction
This manual provides detailed instructions for the safe installation, operation, and maintenance of your Kichler South Hope 17.75" Outdoor Wall Light. Please read all instructions carefully before beginning installation.
Safety Information
- WARNING: Risk of electric shock. Disconnect power at the fuse box or circuit breaker before installation or servicing.
- All electrical connections must be in accordance with local codes, ordinances, or the National Electric Code (NEC). Contact a qualified electrician if you are unfamiliar with proper electrical wiring.
- This fixture is UL rated for wet locations, offering full outdoor protection from exposure to sun, rain, water spray, and snow.
- Use only the specified bulb type and wattage. Do not exceed 60W maximum.
- Ensure the mounting surface is structurally sound to support the fixture's weight.
Package Contents
Verify that all components are present before beginning installation.
- Light Fixture (1)
- Mounting Hardware (1 set)
- Satin Etched Cased Opal Glass Shade (1)
- Instruction Manual (1)
Specifications
| Feature | Detail |
|---|---|
| Model Number | 49475RZ |
| Dimensions (H x W x D) | 17.75" H x 7" W x 7.75" D |
| Material | Aluminum frame, Glass shade |
| Finish | Rubbed Bronze |
| Bulb Type | 1 x Medium Base (E26) A15 (60W Max) |
| Voltage | 120 Volts |
| Certification | UL Listed for Wet Locations |
| Weight | 6 pounds |
Note: Bulb not included. Compatible with 13 to 15-watt compact fluorescent (CFL) bulbs or LED equivalents.

Image: A diagram illustrating the height, width, and depth of the Kichler South Hope outdoor wall light.
Setup and Installation
Follow these steps to install your outdoor wall light. Professional installation is recommended if you are unsure about any steps.
- Prepare for Installation:
- Turn off power at the circuit breaker or fuse box.
- Ensure the mounting location is clean, dry, and structurally sound.
- Unpack all components and inspect for any damage.
- Attach Mounting Bracket:
Secure the mounting bracket to the junction box using the provided screws. Ensure the bracket is level and firmly attached.
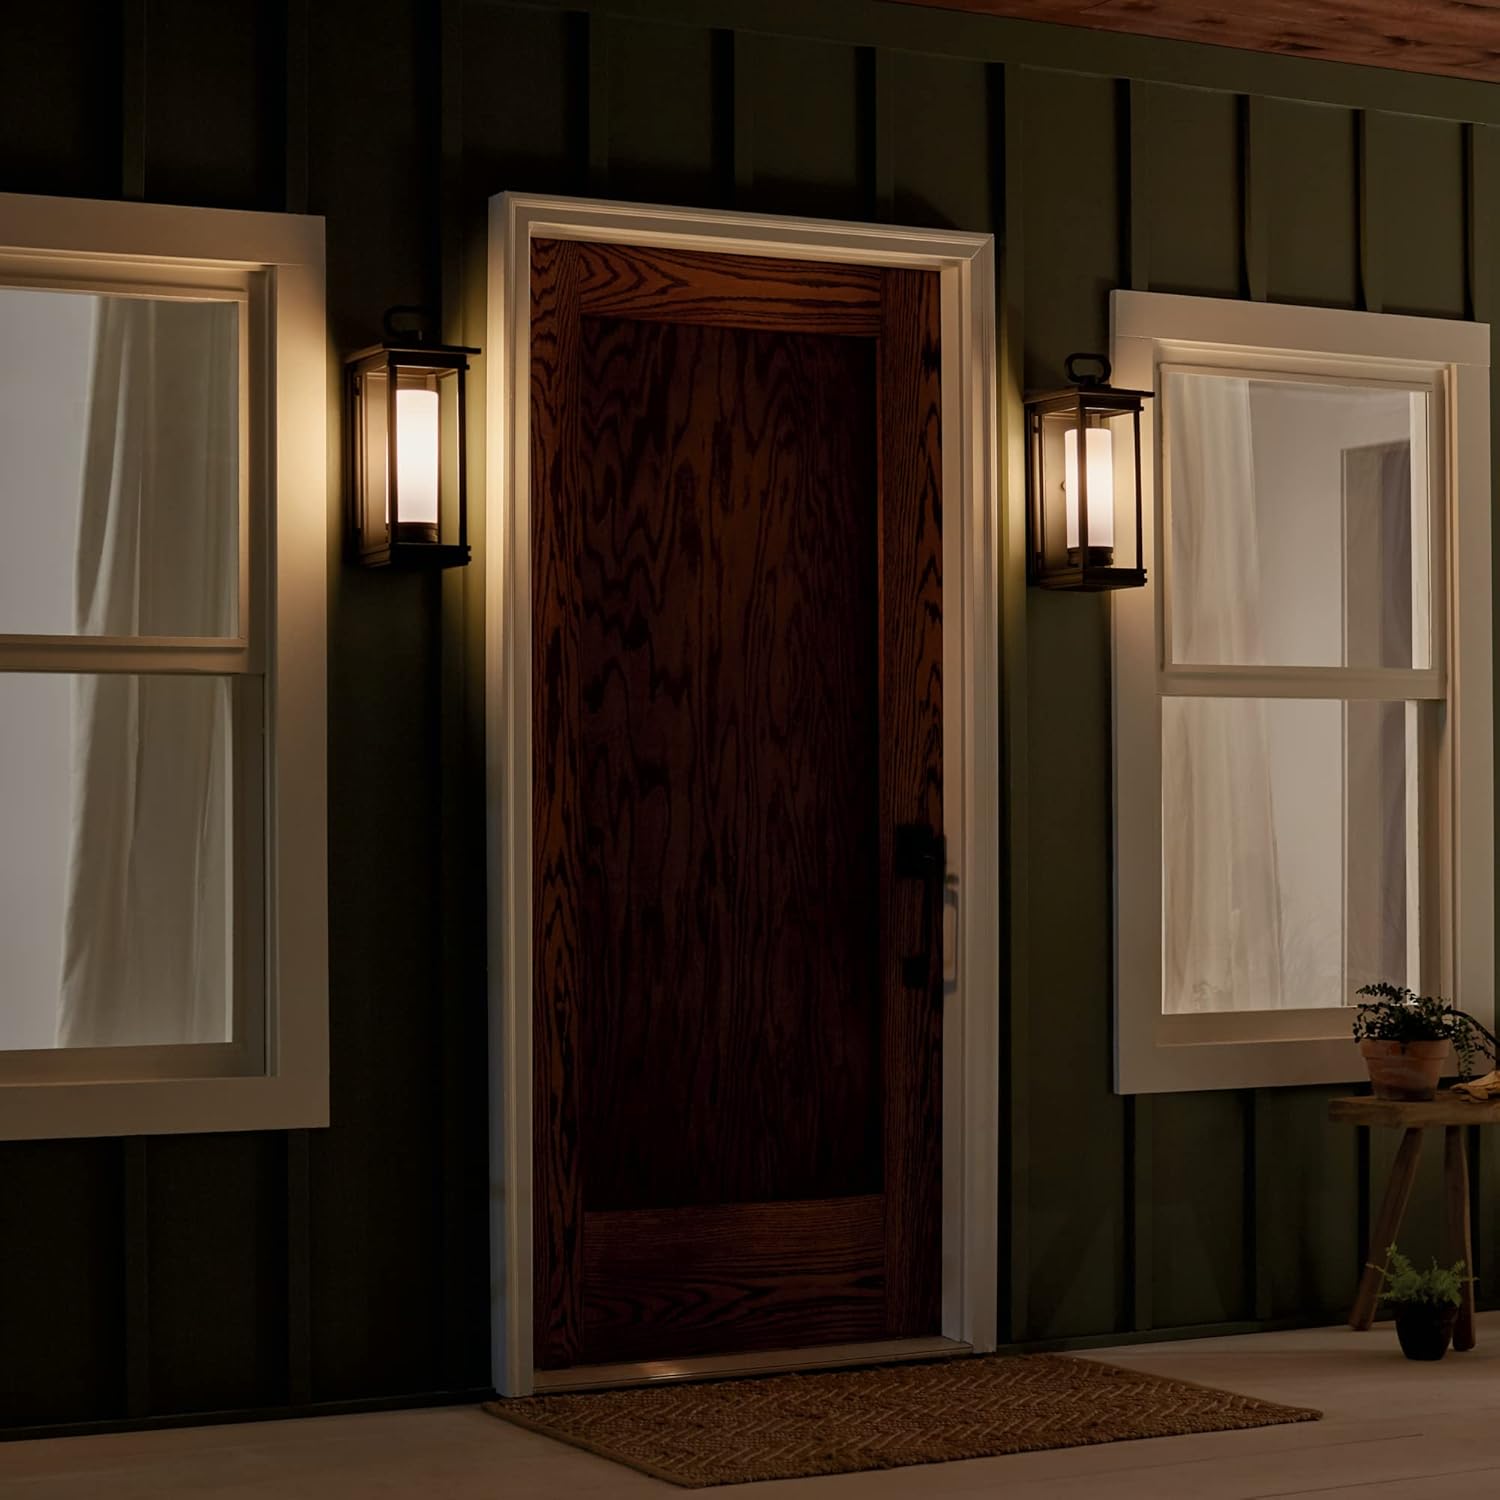
Image: Diagram showing how to attach the mounting bracket to the wall junction box.
- Make Electrical Connections:
- Connect the fixture's black wire to the house's black (hot) wire.
- Connect the fixture's white wire to the house's white (neutral) wire.
- Connect the fixture's ground wire to the house's ground wire and the mounting bracket.
- Secure all connections with wire nuts and wrap with electrical tape.
- Mount the Fixture:
Carefully align the fixture's backplate with the mounting bracket and secure it with the provided screws. Ensure no wires are pinched.

Image: The Kichler South Hope outdoor wall light installed on a wall, viewed from an angle.
- Install the Glass Shade and Bulb:
- Remove the top of the fixture (usually secured by Phillips-head screws) to access the bulb socket.
- Carefully insert the satin etched cased opal glass shade into the fixture.
- Screw in one medium base (E26) A15 bulb (max 60W) into the socket. Do not overtighten.
- Reattach the top of the fixture.
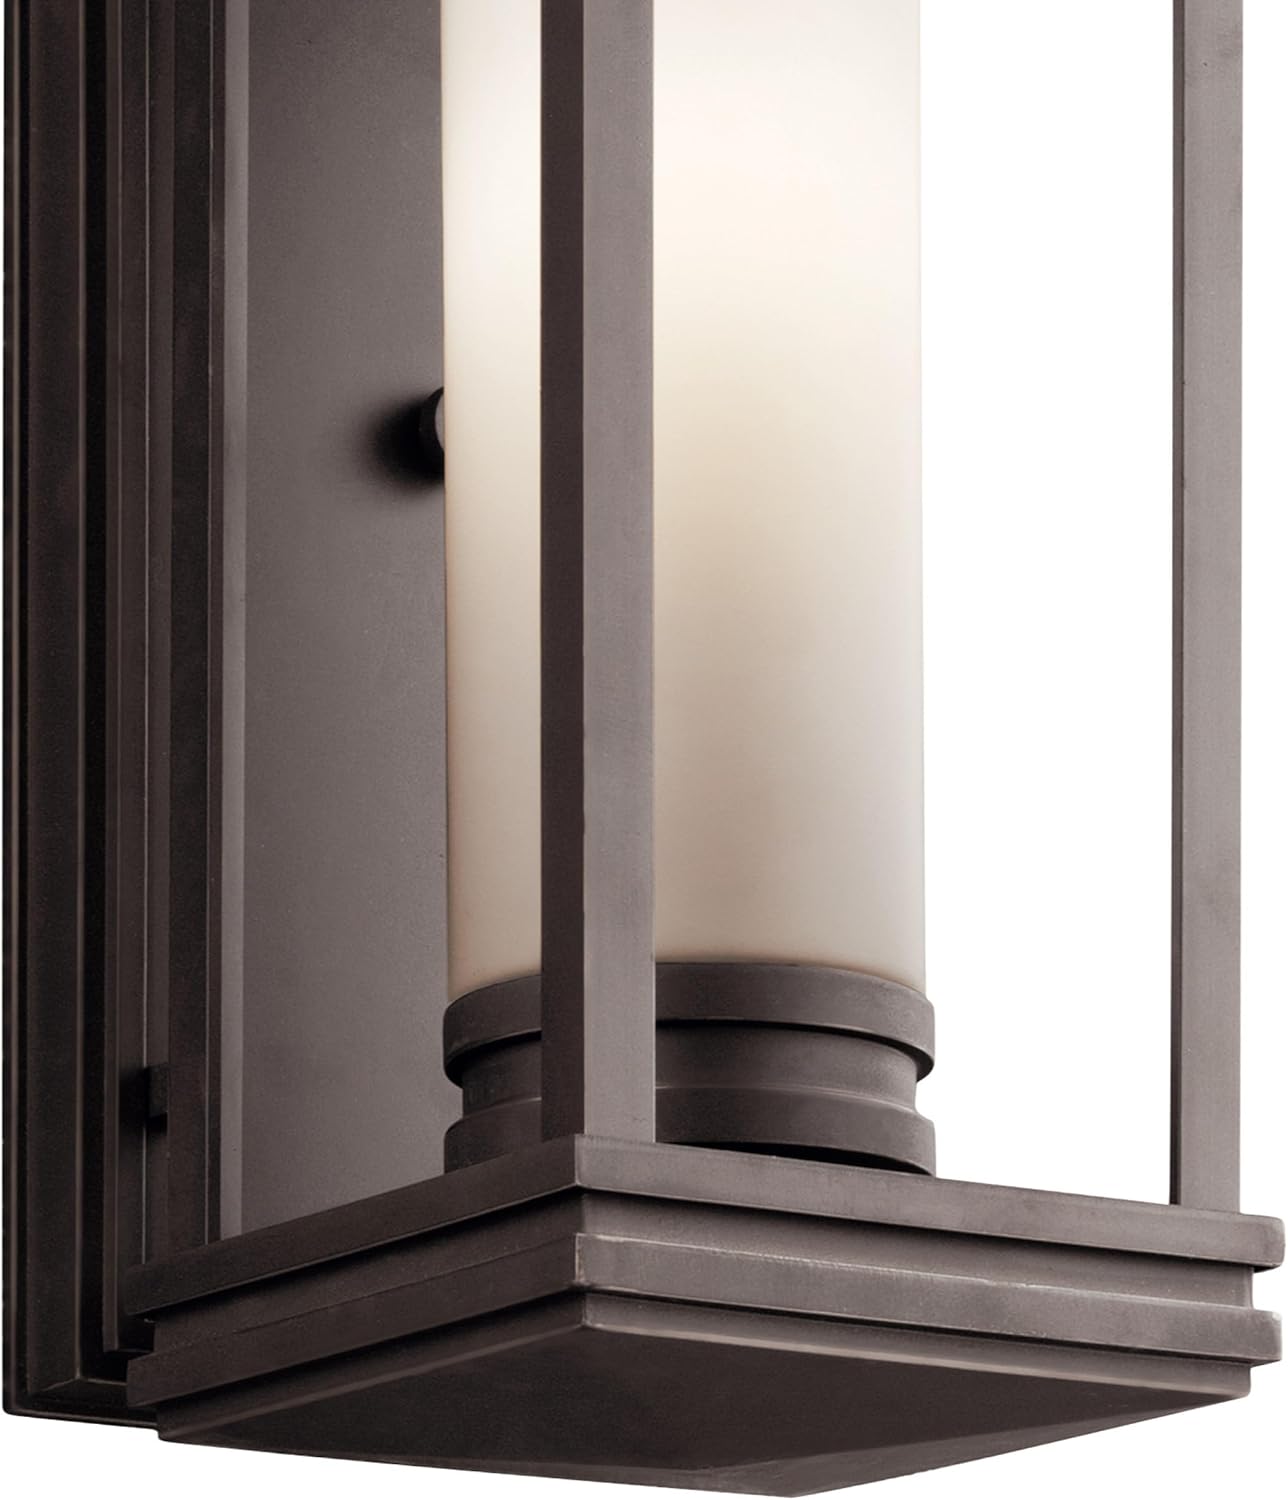
Image: A detailed view of the light fixture's interior, highlighting the glass shade and bulb socket.
- Restore Power:
Turn the power back on at the circuit breaker or fuse box and test the light.
Operation
The Kichler South Hope Outdoor Wall Light operates via your home's standard wall switch or connected smart home system. Ensure the bulb is correctly installed and power is supplied to the fixture.
- Turning On/Off: Use the connected wall switch to control the light.
- Control Method: This fixture supports application-based control if integrated with a compatible smart home system (e.g., smart switch, smart bulb).

Image: Two Kichler South Hope outdoor wall lights providing ambient illumination on a porch at night.
Maintenance
- Cleaning: To clean the fixture, turn off the power and wipe with a soft, damp cloth. Do not use abrasive cleaners or solvents, as these may damage the finish or glass.
- Bulb Replacement:
- Turn off power at the circuit breaker.
- Remove the top of the fixture and carefully remove the glass shade.
- Unscrew the old bulb and replace it with a new medium base (E26) A15 bulb (max 60W).
- Reinstall the glass shade and the fixture top.
- Restore power.
Troubleshooting
| Problem | Possible Cause | Solution |
|---|---|---|
| Light does not turn on. | No power to the fixture. Loose wire connections. Faulty bulb. | Check circuit breaker/fuse. Verify all wire connections are secure (power off). Replace bulb. |
| Light flickers. | Loose bulb. Loose wire connection. Incompatible dimmer switch (if applicable). | Tighten bulb. Check wire connections (power off). Ensure dimmer is compatible with bulb type. |
| Water inside fixture. | Improper sealing during installation. Damaged gasket. | Ensure all seals are properly seated and screws are tightened. Inspect and replace gasket if damaged. |
Warranty and Support
This Kichler product is backed by a 1-year limited warranty against manufacturer defects. For warranty claims or technical support, please contact Kichler customer service.
For more information, visit the official Kichler website or refer to your purchase documentation.
Manufacturer: Kichler Lighting
Website: www.kichler.com


