1. Introduction
This manual provides detailed instructions for the safe installation, operation, and maintenance of your WAC Lighting LTK-F4-408AM/BK Creamery Line Voltage L Track Pendant. Please read this manual thoroughly before installation and retain it for future reference.
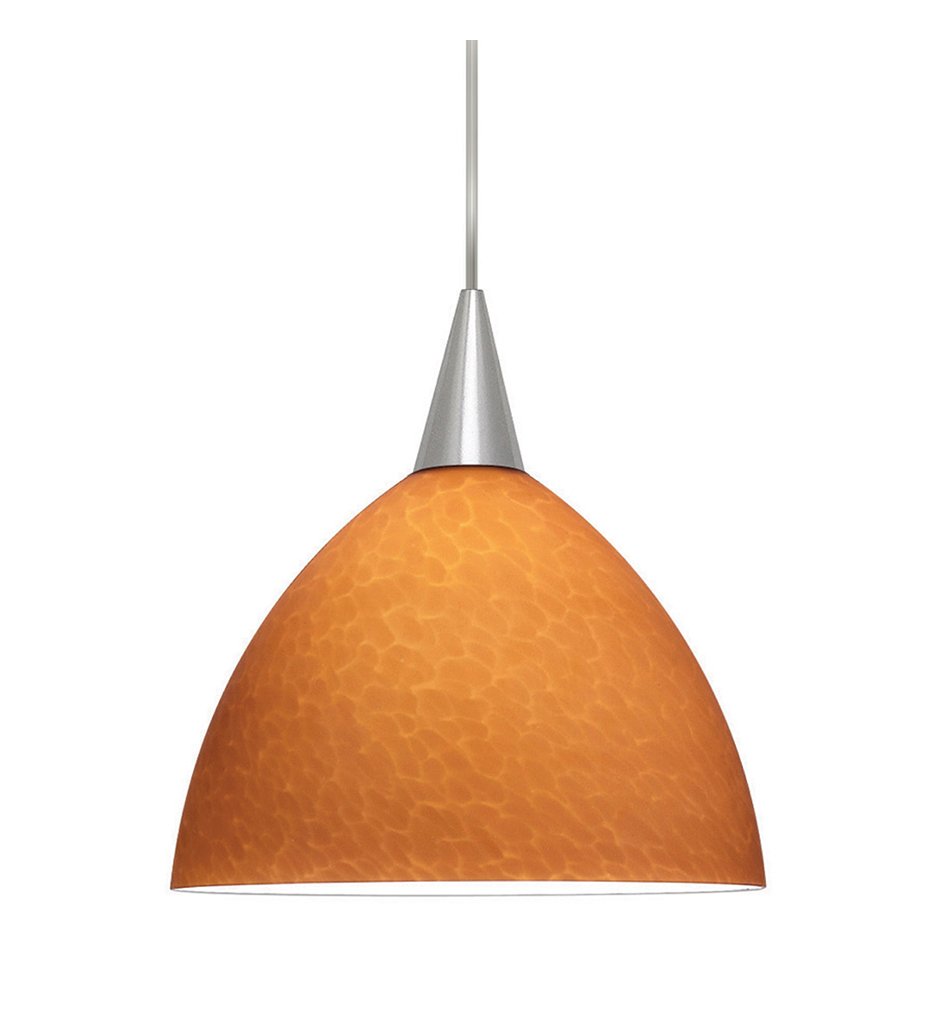
Image 1.1: The WAC Lighting LTK-F4-408AM/BK Creamery Line Voltage L Track Pendant features an amber glass shade and a black socket, designed for L-track systems.
2. Important Safety Instructions
WARNING: Risk of electric shock. Disconnect power at the fuse box or circuit breaker before installation or servicing.
- Read all instructions carefully before beginning installation.
- All electrical connections must be in accordance with local codes, ordinances, or the National Electric Code (NEC).
- Consult a qualified electrician if you are unsure about the installation process.
- Do not install this fixture in wet or damp locations.
- Ensure the fixture is properly grounded.
- Use only the specified lamp type and wattage (A or G30, 100W max).
3. Package Contents
Verify that all components are present before discarding packaging materials.
- 1 x Creamery Line Voltage L Track Pendant (Model: LTK-F4-408AM/BK)
- 1 x Amber Glass Shade
- 1 x Black Socket and Track Fitting
- Installation Hardware (if applicable, not explicitly listed in product data but standard for fixtures)
- Note: Lamp (bulb) is sold separately.
4. Setup and Installation
This pendant is designed for use with L-Track systems. Professional installation is recommended.
4.1 Tools Required (Not Included)
- Screwdriver
- Wire Strippers
- Electrical Tape
- Voltage Tester
4.2 Installation Steps
- Turn Off Power: Locate the circuit breaker or fuse box controlling the track lighting circuit and turn off the power. Verify power is off using a voltage tester.
- Prepare Track: Ensure the L-Track system is properly installed and secured according to its own instructions.
- Attach Track Fitting: Align the pendant's track fitting with the L-Track. Insert the fitting into the track and twist to secure it. Ensure the electrical contacts on the fitting align with the track's conductors.
- Install Lamp (Bulb): Carefully screw an A or G30 type lamp (bulb) with a maximum wattage of 100W into the pendant's socket. Do not overtighten.
- Attach Shade: Secure the amber glass shade to the pendant fixture according to the specific design of the socket. Typically, this involves screwing or clipping the shade into place.
- Adjust Height (if applicable): If the pendant has an adjustable cord, adjust it to the desired hanging length.
- Restore Power: Once installation is complete and all connections are secure, restore power at the circuit breaker or fuse box.
- Test Fixture: Turn on the light switch to ensure the pendant operates correctly.
5. Operating Instructions
Once installed, operating the WAC Lighting Creamery Pendant is straightforward:
- Power On/Off: Use the wall switch connected to your L-Track system to turn the pendant light on or off.
- Bulb Replacement: To replace the bulb, first turn off power at the circuit breaker. Allow the bulb to cool completely. Unscrew the old bulb and screw in a new A or G30 type lamp, 100W maximum. Restore power.
6. Maintenance
Regular maintenance will help preserve the appearance and functionality of your pendant light.
- Cleaning: Turn off power before cleaning. Wipe the fixture with a soft, dry cloth. Do not use abrasive cleaners, solvents, or polishes as they may damage the finish or glass.
- Glass Shade Care: The amber glass shade can be gently wiped with a damp cloth if necessary, then dried immediately with a soft, lint-free cloth.
- Inspection: Periodically inspect the wiring and connections for any signs of wear or damage. If any issues are found, consult a qualified electrician.
7. Troubleshooting
If your pendant light is not functioning correctly, refer to the following common issues and solutions:
| Problem | Possible Cause | Solution |
|---|---|---|
| Light does not turn on. |
|
|
| Light flickers. |
|
|
| Shade is loose. | Shade not properly secured. | Carefully re-secure the amber glass shade to the fixture. |
8. Specifications
| Feature | Detail |
|---|---|
| Brand | WAC Lighting |
| Model Number | LTK-F4-408AM/BK |
| Color | Black (Socket/Fitting), Amber (Shade) |
| Material | Glass (Shade) |
| Style | Art Deco |
| Special Feature | E26/Medium Base |
| Light Source Type | Incandescent (compatible) |
| Finish Type | Ivory (implied for shade interior/finish) |
| Item Weight | 7 Pounds |
| Product Dimensions | 1.31 x 11.75 x 11 inches |
| Lamp (Bulb) | A or G30, 100W max (ordered separately) |
| UPC | 790576154244 |
9. Warranty and Support
Warranty: This product is covered by a Five (5) year manufacturer limited warranty. Please refer to the warranty documentation included with your purchase or visit the WAC Lighting website for full details.
Customer Support: For technical assistance, replacement parts, or warranty claims, please contact WAC Lighting customer service. Contact information can typically be found on the manufacturer's website or product packaging.
WAC Lighting Website: www.waclighting.com


