1. Introduction
This manual provides detailed instructions for the safe installation, operation, and maintenance of your Progress Lighting P7339-30EB 2-Light Non-Metallic Oval Wall or Ceiling Mount fixture. This marine-style light is designed for both indoor and outdoor use, featuring a UV-treated, corrosion and impact-resistant housing, a shatter-proof lens, and an integral photocell for automatic operation. It is ideal for wet environments such as pool areas or docks.
2. Safety Information
WARNING: Risk of electric shock. Disconnect power at the fuse or circuit breaker before installing or servicing. All electrical connections must be in accordance with local codes, ordinances, or the National Electric Code (NEC). Consult a qualified electrician if you are unfamiliar with proper electrical wiring connections.
- Do not install this fixture in areas where it may be submerged in water.
- Ensure all connections are secure and properly insulated.
- Wear safety glasses and gloves during installation.
- Do not exceed the specified wattage for bulbs.
- Keep flammable materials away from the light fixture.
3. Package Contents
Verify that all components are present before beginning installation:
- Light Fixture Assembly (P7339-30EB)
- Mounting Hardware Kit
- Instruction Manual
- Note: Bulbs are not included. This fixture requires (2) 13-Watt 4-pin, triple tube compact fluorescent bulbs.
4. Setup & Installation
This fixture can be mounted on a wall or ceiling. Ensure the mounting surface is structurally sound to support the fixture's weight.
4.1 Tools Required (Not Included)
- Screwdriver (Phillips and Flathead)
- Wire Strippers
- Pliers
- Electrical Tape
- Safety Glasses
4.2 Installation Steps
- Turn Off Power: Before starting, ensure the power to the installation area is turned off at the circuit breaker or fuse box.
- Prepare Mounting Surface: If replacing an existing fixture, carefully remove it. Ensure the junction box is securely mounted and accessible.
- Attach Mounting Bracket: Secure the fixture's mounting bracket to the junction box using the provided screws.
- Make Electrical Connections:
- Connect the black wire from the fixture to the black (hot) wire from the supply circuit.
- Connect the white wire from the fixture to the white (neutral) wire from the supply circuit.
- Connect the green or bare copper ground wire from the fixture to the ground wire from the supply circuit.
- Secure all connections with wire nuts and electrical tape.
- Mount Fixture: Carefully align the fixture with the mounting bracket and secure it using the provided screws. Ensure a tight seal, especially for outdoor or wet locations, to prevent moisture intrusion.
- Install Bulbs: Insert two (2) 13-Watt 4-pin, triple tube compact fluorescent bulbs into the sockets. Ensure they are seated correctly.
- Restore Power: Once installation is complete and all connections are secure, restore power at the circuit breaker.
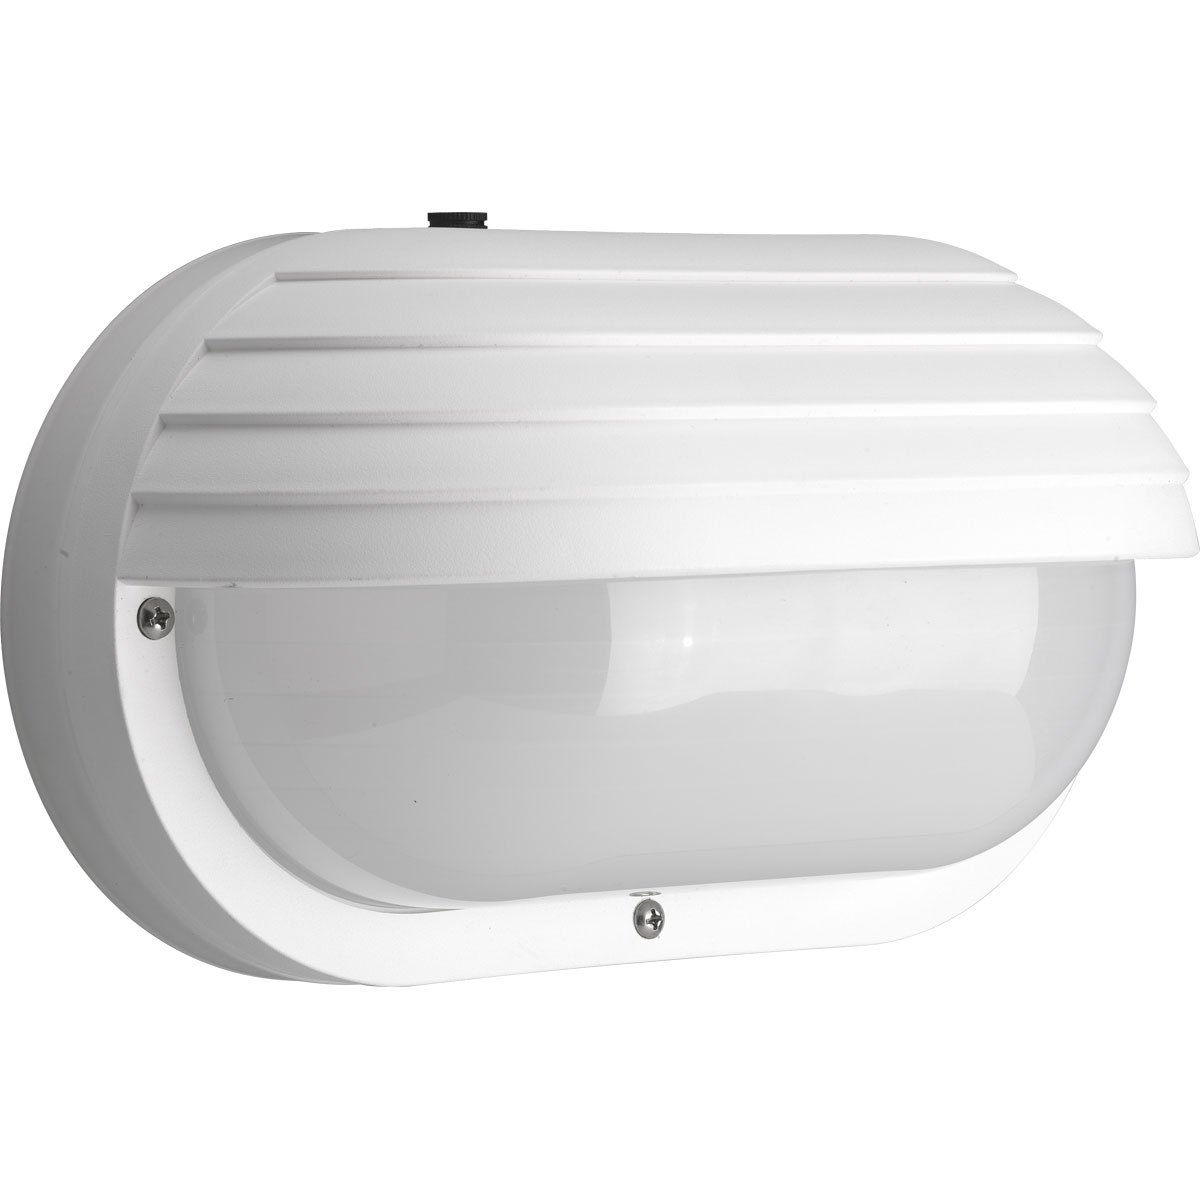
Figure 1: Progress Lighting P7339-30EB 2-Light Non-Metallic Oval Wall or Ceiling Mount Fixture. This image shows the overall design of the light, highlighting its oval shape and non-metallic housing.
5. Operating Instructions
The Progress Lighting P7339-30EB fixture features an integral photocell for automatic dusk-to-dawn operation.
- Automatic Operation: Once power is supplied to the fixture, the integral photocell will detect ambient light levels. The light will automatically turn on when it gets dark and turn off when it gets light.
- Photocell Placement: Ensure the photocell (small clear dome on the fixture) is not obstructed by objects, shadows, or other light sources, as this can interfere with its proper function.
- Initial Test: After installation, cover the photocell to simulate darkness. The light should turn on within a few minutes. Uncover it, and the light should turn off.
6. Maintenance
Regular maintenance ensures optimal performance and longevity of your fixture.
- Cleaning: Clean the exterior of the fixture with a soft, damp cloth. Do not use abrasive cleaners or solvents, as these can damage the finish or lens. Ensure the photocell is clean and free of debris.
- Bulb Replacement:
- Turn off power to the fixture at the circuit breaker.
- Carefully remove the fixture's lens or cover to access the bulbs.
- Allow old bulbs to cool before removing them.
- Replace with new (2) 13-Watt 4-pin, triple tube compact fluorescent bulbs.
- Reattach the lens or cover securely.
- Restore power.
- Inspection: Periodically inspect the fixture for any signs of damage, loose wiring, or corrosion. Address any issues promptly.
7. Troubleshooting
| Problem | Possible Cause | Solution |
|---|---|---|
| Light does not turn on. | No power to the fixture. Faulty bulb(s). Photocell detecting too much light. | Check circuit breaker/fuse. Replace bulb(s). Ensure photocell is not obstructed and is in a dark area. |
| Light stays on during the day. | Photocell obstructed or faulty. External light source interfering. | Clean photocell. Ensure no objects are blocking it. Relocate fixture if external light sources (e.g., streetlights) are directly hitting the photocell. |
| Light flickers or dims. | Loose wiring connection. Incorrect bulb type/wattage. Aging bulb(s). | Turn off power and check all wiring connections. Ensure correct 13-Watt 4-pin triple tube fluorescent bulbs are used. Replace bulb(s). |
8. Specifications
| Model Number | P7339-30EB |
| Brand | Progress Lighting |
| Type | 2-Light Non-Metallic Oval Wall or Ceiling Mount |
| Features | Integral Photocell, UV-treated, Corrosion and Impact Resistant Housing, Shatter-proof lens |
| Color | White |
| Material | Polycarbonate (Housing), Acrylic (Lens) |
| Dimensions (W x H) | 6-3/4 inches Width x 10-5/8 inches Height |
| Bulb Type | (2) 13-Watt 4-pin, triple tube compact fluorescent bulbs (not included) |
| Voltage | 120 Volts |
| Indoor/Outdoor Usage | Indoor, Outdoor (Wet Location Rated) |
| Mounting Type | Wall Mount, Ceiling Mount |
| Item Weight | 2 Pounds |
| Energy Star Certified | Yes |
9. Warranty and Support
This Progress Lighting fixture comes with a 1-year limited warranty from the date of purchase. This warranty covers defects in materials and workmanship under normal use. It does not cover damage resulting from improper installation, accident, misuse, abuse, or unauthorized modifications.
For warranty claims or technical support, please contact Progress Lighting customer service. Refer to your purchase documentation for contact details or visit the official Progress Lighting website.


