TOA NF-2S Window Intercom System

Connect devices
Follow step 1- 3 to install Window Intercom System. For information on Safety precautions, please refer to the instruction manual.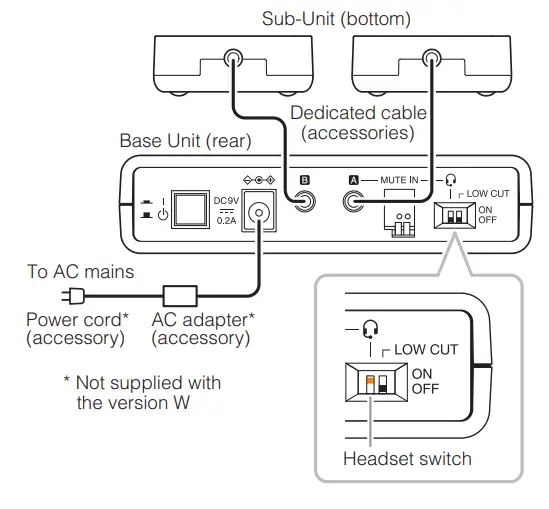
Note When using a headset, set the Base Unit’s headset switch to ON.
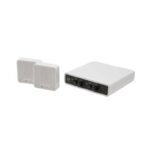
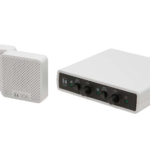
Position the two Sub-Units at speaker face height
When mounting to a partition, use the Sub-Units’ built-in magnets to sandwich (mount on either side of) the partition.
Notes
- When the Sub-Units are positioned too far away from the speaker whose voice may not be picked up accurately. (Refer to the page on the back.)
- To prevent howling, mount the Sub-Units at least 15 cm away from the edge of the partition.
Adjust the Base Unit sound volume
The recommended settings for the volume controls are as follows: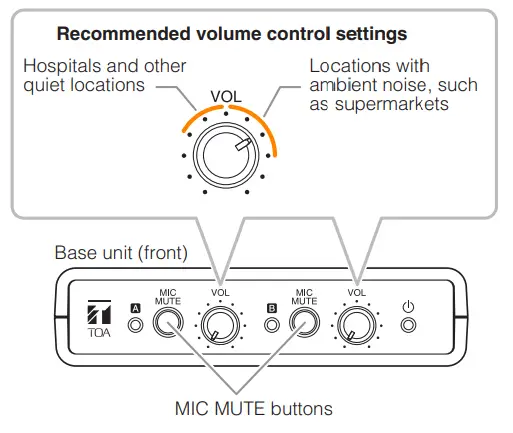
Notes
- Avoid setting the volume too high, as howling could result.
- When no sound is being output, check if:
- The MIC MUTE button is switched ON.
- All connection cables are not firmly connected.
The label of Speak Here is for Sub-Units
Download the template provided on the TOA DATA Library to create new label. https://www.toa-products.com/international/detail.php?h=NF-2S
If the speaker is too far from the Sub-Unit:
Normally, the distance between the speaker’s mouth and the Sub-Unit should be between 20 – 50 cm.
If this distance is greater, there are two things that can be done:
- [Change the mounting position of the Sub-Units]
Even if the Sub-Units cannot be mounted to the partition, they can be installed in appropriate locations using the supplied metal plates.

- [Use a commercially available stand]
The Sub-Units can be installed in closer proximity to the speaker(s) with the use of commercially available stands or the like.

For Increased Privacy:
Sound can be prevented from being heard outside the periphery of the Sub-Units by setting the Base Unit’s rear panel LOW CUT switch to ON.
Muting sound output with an external switch
Sound can be muted as desired by connecting a commercially available switch or similar device to the external control input terminal of MUTE IN.
For details, please read the instruction manual.
For cable arrangement:
Cables can be neatly arranged during installation by using the supplied mounting bases and zip ties.
The instruction manual can be accessed on the TOA DATA Library. Download the manual from QR code* with smartphone or tablet. “QR Code” is registered trademark of DENSO WAVE INCORPORATED in Japan and other countries.
Documents / Resources
 |
TOA NF-2S Window Intercom System [pdf] User Guide NF-2S, Window Intercom System, NF-2S Window Intercom System, Intercom System |
 |
TOA NF-2S Window Intercom System [pdf] Instructions NF-2S Window Intercom System, NF-2S, Window Intercom System, Intercom System |