Product Overview
This document provides essential instructions for the GIRA System 106 push button, detailing procedures for replacing the push button module and its associated label strip.
Applicable Model Numbers:
- 5541 9..
- 5542 9..
- 5543 9..
- 5547 9..
- 5549 9..
Replacing the Push Button
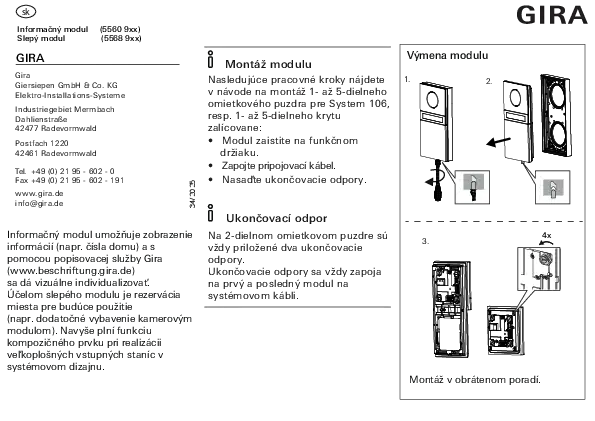
Follow these steps to replace the push button module:
- Open the device housing and carefully remove the function bracket.
- Unlock the module from the bracket and then remove it.
- Using a flat-head screwdriver (blade width approximately 2.5 x 0.4 mm), loosen the retaining screw and gently pull the push button out from the front.
- Insert the new push button from the front and tighten the screw to the specified torque of 0.3 Nm.
- Reassemble the module by following the disassembly steps in reverse order.
Replacing the Label Strip
For push buttons equipped with a label strip:
The label plate, located beneath the clear window, can be replaced with any appropriate tool. This procedure does not require the removal of the push button itself.
⚠️ Caution: The window is made of glass!
Before inserting the nameplate and window, it is crucial to verify that the seal is correctly positioned. If the seal is not properly seated, gently press it into its correct location.
Label Plate Ordering
ℹ️ You can obtain suitable custom label plates through the Gira labeling service by visiting www.beschriftung.gira.de.


