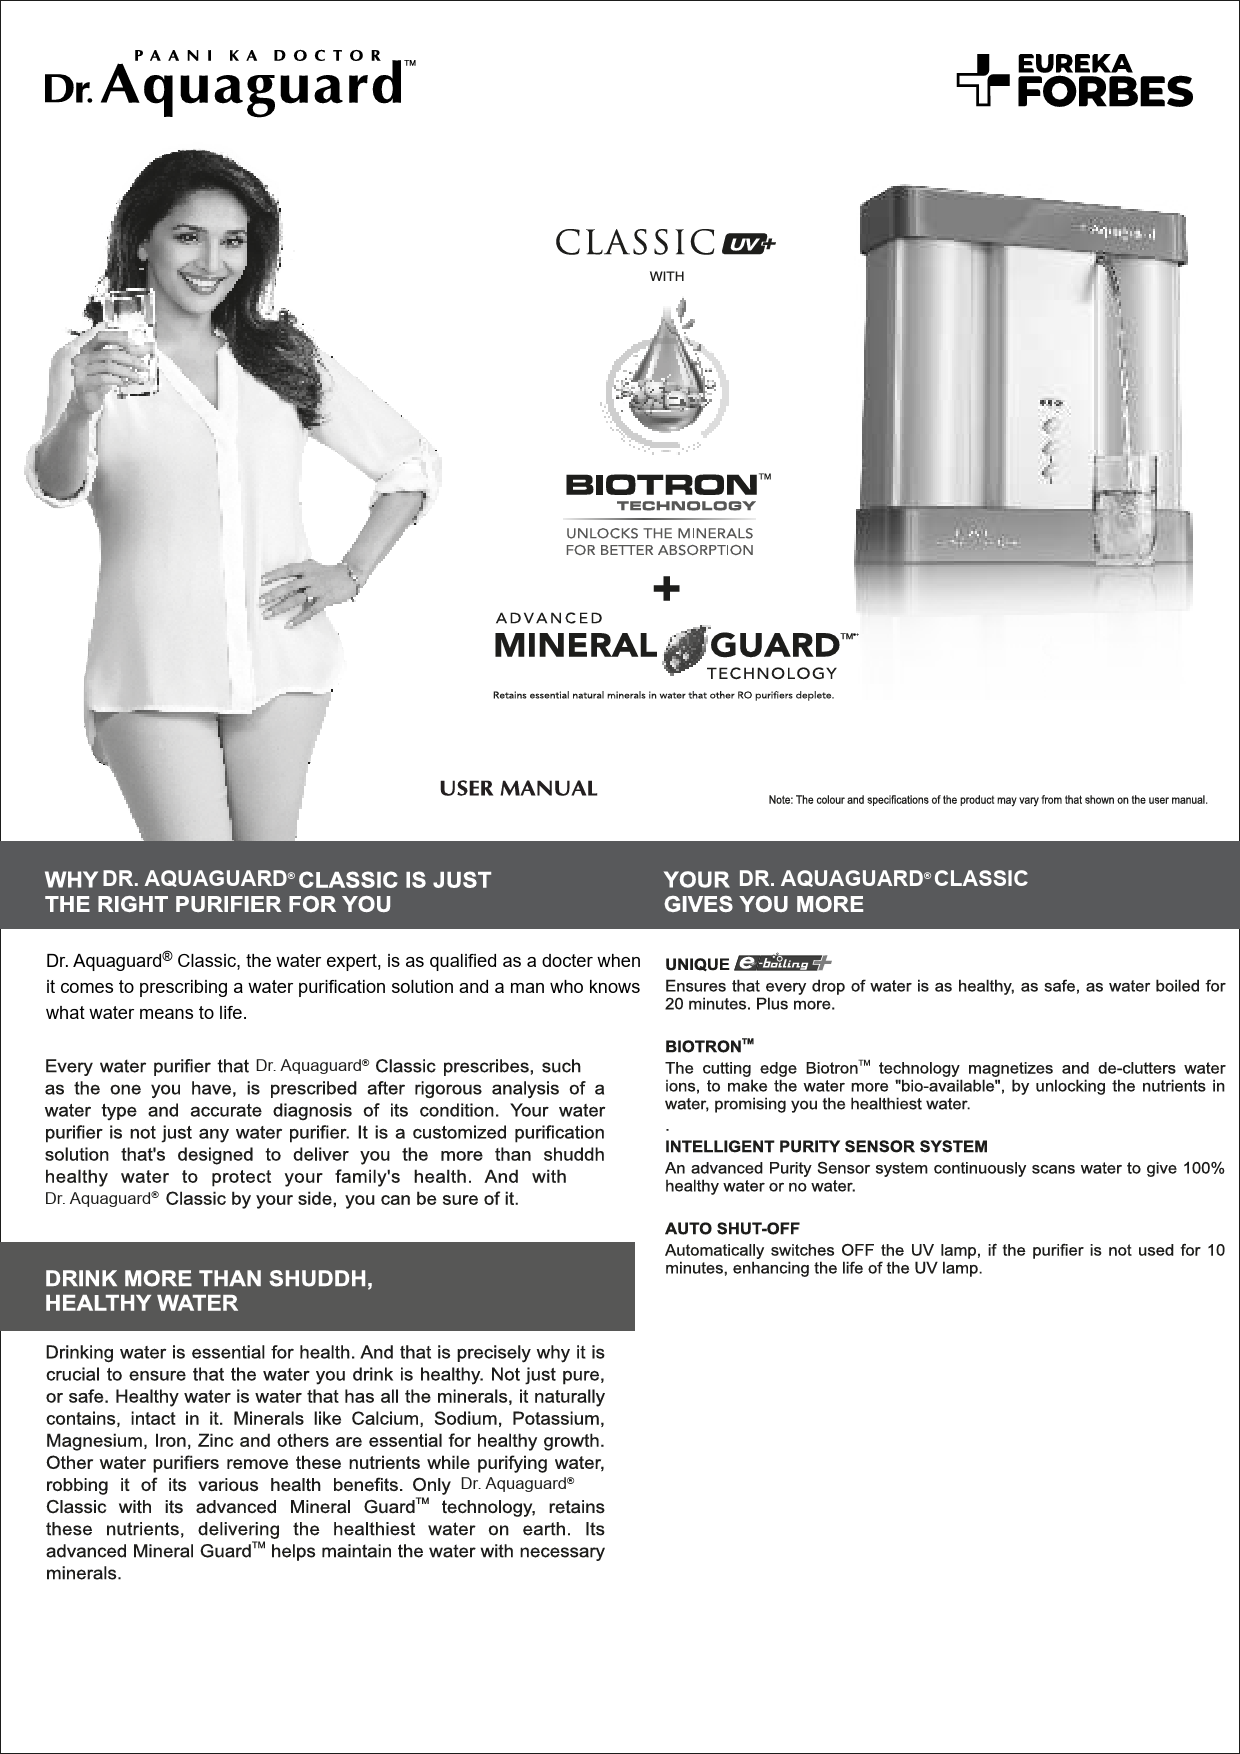
Eureka Forbes Aquaguard Select AWS C-1200 Water Softener
User Manual
Table of Contents
- Technical Specifications
- Softener System Dimensions
- Unpack & Inspect Your Water Softener
- Pre-installation Instructions
- Installation Instructions
- Water Bypass
- Blending Valve
- Programming Guide
- Advanced Settings Display
- System Information Page
- Operation During a Power Failure
- Start-up Instructions
- Maintenance Instructions
- Warranty Terms and Conditions
Technical Specifications
| Model Name | AWS C-1200 |
| Regeneration Type | Up Flow |
| Hardness (Max) (Mg/L) | 1000 |
| Resin Volume (L) | 12 |
| Salt Storage Capacity (Kg) | 15 |
| Max. Flow Rate (LPH) | 1000 |
| Total Unit Weight (Kg) | 11.5 |
| Working Temperature (°C) | 5° to 49° |
| Dimension (HxDxW) cm | 55 x 43.5 x 33.2 |
| Technology | Ion-Exchange Technology |
| Multiport Valve | Automatic |
| Input Power Supply | 220-240VAC/50Hz |
| Iron (Max) (Mg/L) | 1 |
| Turbidity (Max) (NTU) | 1 |
Softener System Dimensions
Diagram showing the dimensions of the C-1200 TANK:
- Height: 550mm
- Width: 332mm
- Depth: 458mm (front to back)
- Internal depth: 288mm
- Internal width: 435mm
- Internal front to back: 467mm
Unpack & Inspect Your Water Softener
Handle the softener unit with care. Do not drop the unit or set on sharp, uneven projections on the floor. Do not turn the softener unit upside down.
NOTE: IF THERE IS A SEVERE LOSS IN WATER PRESSURE WHEN THE SOFTENER UNIT IS INITIALLY PLACED IN SERVICE, THE SOFTENER TANK MAY HAVE BEEN LAID ON ITS SIDE DURING TRANSIT. IF THIS OCCURS, BACKWASH THE SOFTENER TO 'RECLASSIFY' THE MEDIA.
Accessories Contents:
- 2 x Straight Adaptor (with O-ring)
- 1 x Bypass Tool
- 1 x Grease Packet
- 1 x Manual
Pre-installation Instructions
Contact a Eureka Forbes Authorized agent to have a complete water analysis and check your water hardness on your water supply. This will help keep your water softener in proper working condition.
Diagram illustrating the water softener system setup, showing connections for cold soft water, hot soft water, water heater, softener, drain, electrical panel, ground straps, raw water, filter, and water meter.
Installation Instructions
Determine the correct location for the AWS C-1200 Water Softener. Consider the following:
- Locate as close as possible to the water supply source.
- Locate as close as possible to a floor or laundry tub drain.
- Install the water softener in the supply line before the water heater. Temperatures above 49°C can damage water softeners.
- Do not install in a location where freezing temperatures occur, as this can cause permanent damage and void the warranty.
- Allow sufficient space around the unit for easy servicing.
- Additional plumbing may be required for community water supply, public water supply, or for bypassing water to geothermal heat pumps, lawn sprinklers, out-buildings, or high-demand applications. (Refer to Fig. 1)
Tools Required for Installation:
- Two adjustable wrenches.
- Additional tools may be required for home plumbing modifications.
- Always install the included bypass valve or three shut-off valves to allow water shut-off for repairs.
- A 5/8" OD drain line is needed for the drain.
Water Bypass
In case of emergency or maintenance, isolate the water softener from the water supply using the bypass valve. In normal operation, the bypass is open with the ON/OFF knobs aligned with the INLET and OUTLET pipes. To isolate the softener, rotate the knobs to the BYPASS position. Water used while bypassing will be hard. To resume treated service, rotate the knobs back to the SERVICE position.
Ensure bypass knobs are fully open to prevent unsoftened water from bypassing the valve.
Diagrams illustrating the SERVICE and BYPASS positions of the water bypass valve. A crossed-out diagram indicates the BYPASS NOT ALLOWED POSITION.
Blending Valve
To increase water hardness: Rotate the blending valve nut clockwise. A larger rotation angle results in higher water hardness.
To decrease water hardness: Rotate the blending valve nut counter-clockwise to close it completely.
If the input water hardness is low, the output water may be too soft. The blending valve can be adjusted clockwise to increase the output water hardness.
Programming Guide
Familiarise with Key Pad Configuration
- MENU: Enters basic setup information required at installation.
- CONFIRM: Selects an item to change and accepts values.
- UP/DOWN: Scrolls through programming items and adjusts settings.
System Standby Display: Shows Current Time, Last Regen. Time, and Regen. Mode.
Familiarise with Display Icons (Main Menu Display)
- Time ⚙️
- Region & Language ?
- Hardness & People ?
- Holiday Mode ?
- Advanced Settings ⚙️
- System Information ℹ️
Advanced Settings Display
System Regenerate Based On Automatic Calculation:
- Regeneration Mode
- Regeneration Time
- Regeneration Days
- Data Entry
- Regeneration Cycle
- Restore Defaults
System Regenerate Based On Manual Settings:
- Regeneration Mode
- Regeneration Time
- Regeneration Capacity
- Regeneration Days
- Regeneration Cycle
- Restore Defaults
Parameter Descriptions:
| PARAMETER | DESCRIPTION |
| Time | Current time setting. |
| Region | Unit of measure: METRIC (litre) or US (gallon). |
| Language | System language for valve display (10 options). |
| Water Hardness | Hardness of raw water supply, used to calculate system capacity. |
| People Number | Number of people and reserve capacity. Regeneration scheduled when reserve capacity is reached. |
| Holiday Mode | System performs backwash and rinse if no water flow is detected for 7 days. Duration set in Regeneration Cycle. |
| Calendar Clock | Initiates regeneration at the next preset time based on regeneration days interval. |
| Meter Immediately Regen. | Initiates regeneration immediately after system capacity remaining reaches zero. |
| Meter Delayed Regen. | When system capacity remaining reaches zero, regeneration occurs at the next preset regeneration time. |
| Meter Override Regen. Days | When remaining volume falls below system capacity, regeneration occurs at regen. time or when regen. days preset has passed. |
| Regen. Time | Controls the time of day when regeneration starts. |
| Water Usage | Average monthly water usage. |
| Water Capacity | Total water volume the system can treat after one regeneration. |
| Resin Volume | Amount of ion exchange media used; calculates system capacity and refill time. |
| Salt Amount | Determines salt dosage per regeneration; matches BLFC flow washer for refill time calculation. |
| Salt Efficiency | Capacity restored by a certain amount of salt; calculates system capacity and refill time. |
| Reserve Capacity | Used to calculate reserve capacity: Reserve Capacity = No. People x Daily Reserve. |
| Backwash | Controls backwash duration during regeneration cycle. |
| Brine Cycle | Controls brine duration during regeneration cycle. |
| Rinse Cycle | Controls rinse duration during regeneration cycle. |
| Refill Cycle | Controls refill duration during regeneration cycle. |
| Restore Defaults | Restores factory default settings. |
System Information Page
View key system information:
- Total Regenerations: 0 Times
- Total Treated Water: 0 m³
- Regeneration Time: 02:00 AM
- Water Capacity: m³
- Capacity Remaining: m³
- Backwash: 2 Minutes
- Brine: 51 Minutes
- Rinse: 2 Minutes
- Refill: 10 Minutes
- Current Flow Rate: 00.00 m³/h
- Peak Flow Rate: 00.00 m³/h
- Software Version: V1.0
NOTE: Press and hold 'CONFIRM' for 3 seconds to reset 'Total Regenerations', 'Total Treated Water', and 'Peak Flow Rate' to zero.
Operation During a Power Failure
The valve retains programmed settings during a power failure. If power fails during regeneration, it will resume when power is restored. Missed regenerations due to power failure will be queued for the next scheduled regeneration time.
Start-up Instructions
- Add two liters of water into the cabinet for proper capacity during the first regeneration.
- Plug the power adapter into a 220-240 VAC supply and connect the power cord to the valve.
- Upon power supply, the screen will display 'Advancing to Service Wait Please' as it finds the service position.
- Manually step the valve to the Backwash position. If the screen is locked, press and hold 'MENU' for 3 seconds to unlock. Follow the on-screen instructions. Once the valve reaches the Backwash position, unplug the power and leave the valve in Backwash position.
- Press and hold MENU key for 3s to unlock.
- Press and hold CONFIRM key for 3s to advance to MANUAL Regen menu.
- Press CONFIRM key again to let the option flash.
- Press DOWN key to advance to IMMEDIATE option.
- Press CONFIRM key to confirm and press MENU key to have a manual regeneration.
- Slowly open the inlet knob on the bypass valve with the supplied tool. Allow water to enter, letting air escape. Turn the bypass fully open. Run water to drain for 3-4 minutes or until media fines are washed out (clear water in drain hose). Open a cold soft water tap nearby and run water for a few minutes until the system is free of foreign material. Close the tap when water runs clean.
- Press any button to advance to the BRINE position. Press any key to skip BRINE cycle. Press any button to advance to RINSE position. Check drain line flow. Allow water to run for 3-4 minutes or until water is clear.
- Press any button to advance to the REFILL position. Check if the valve is filling the brine tank. Allow the valve to refill for the full duration shown on the screen for proper brine solution.
- The valve will automatically advance to the SERVICE position. Open the outlet knob on the bypass valve with the supplied tool. Open the nearest treated water faucet and run water until clear.
- Add 5 kgs of crystal water softener salt into the C-1200 softener cabinet. The unit will automatically fill the water to the correct level during regeneration.
- Program unit.
NOTE: If 'DELAY' option is selected, regeneration will start at the closest day's REGEN. TIME (default is 02:00).
CAUTION: LIQUID BRINE WILL IRRITATE EYES, SKIN AND OPEN WOUNDS - GENTLY WASH EXPOSED AREA WITH FRESH WATER. KEEP CHILDREN AWAY FROM YOUR WATER CONDITIONER.
Maintenance Instructions
Check the Salt Level
Adequately check the salt level. Remove the lid from the cabinet or brine tank, ensure salt level is always above the brine level.
NOTE: YOU SHOULD NOT BE ABLE TO SEE WATER IN THE CABINET OR BRINE TANK.
Adding Salt
Use only clean salt labeled for water conditioner use, such as crystal, pellet, nugget, button, or solar. Rock salt is discouraged due to insoluble silt and sand that can build up in the brine tank and cause operational problems. Add salt directly to the tank, filling no higher than the top of the brine well.
Bridging
Humidity or the wrong type of salt can create a cavity between water and salt, known as 'bridging'. This prevents brine solution formation, leading to hard water supply.
If salt bridging is suspected, gently pound the outside of the plastic cabinet or pour some warm water over the salt to break the bridge. Follow up by allowing the unit to use remaining salt and then thoroughly cleaning the cabinet. Allow four hours for brine solution production, then manually regenerate the softener.
Figure 5: Diagram illustrating salt bridging within the brine tank.
Warranty Terms and Conditions
The goods are warranted against defects arising from faulty designs, workmanship, and materials for 12 months from the date of installation or 15 months from the date of sale, whichever is earlier, subject to the following conditions:
- Customers must promptly notify the company in writing of any defects and provide adequate opportunity for inspection, testing, and remedy. Deposit goods with the original invoice at the company's office/service centre if required.
- Inspection and test reports from the company's office/service centre are final and binding for determining defects, repairs, alterations, or work certification.
- The Aquaguard Select Water Softener may require initial setting post-installation based on water conditions and power supply. Contact the company's service centre for any service requirements.
- The company or its authorized agent may retain any defective part replaced under warranty.
- Notwithstanding anything to the contrary:
- The company's liability is limited to the first sale of goods to the customer and does not extend to secondary sales.
- The company's liability is limited to defects occurring under normal operation and prescribed use. The warranty does not cover defects due to negligence, abuse, misuse, faulty care, operation, maintenance, repairs, alterations by others, or use on electrical supply for which it is not designed, or damage from lighting or other electrical disturbances.
- The company's liability remains valid only if goods are installed by the company or its authorized agency at the location specified in the invoice.
- Consumable items like sediment filters and regeneration media are not covered under this warranty.
- Customers have no claim against the company, its employees, authorized agents, or franchises for death or injury to any person or loss or damage to property caused by equipment failure, breakdown, accident, fire, operation, or utilization of goods otherwise than in accordance with the User Manual, or due to causes beyond the company's control.
- The company's liability under this warranty shall in no event exceed the price paid by the customer for the goods as stated in the invoice.
General
For the purpose of this warranty, the following expressions have the meanings stated:
- 'Goods': Goods described in the order form.
- 'Customer': Original purchaser of the goods from the company.
- 'Company': Eureka Forbes Limited.
- 'General terms and conditions': Terms and conditions agreed upon by the customer and company on the order form.
- 'Invoice': Invoice issued by the company describing the goods, total purchase price, and customer name.
- 'User Manual': Instructions for installation, use, and maintenance supplied by the company.
Post-warranty
- Customers may be offered a yearly service contract at prevailing company rates and terms.
- If a service contract is not chosen, customers can call the company's service centre for servicing on an actual basis (paying for labor and spares). Service is available in towns/places with company service centres.
- The company provides free servicing of goods brought to its service centre, but the customer bears all transportation costs.
- If components or parts need replacement or repair during servicing, the customer will pay according to the company's prevailing price list.
- Eureka Forbes Limited reserves the right to offer an Annual Maintenance Contract, ensuring spare availability for up to 7 years from the invoice date.