LogTag TRED30-16U External Probe LCD Temperature Data Logger
PRODUCT INFORMATION
As-supplied state
You will receive the logger in hibernate mode, meaning the display (LCD) will be blank.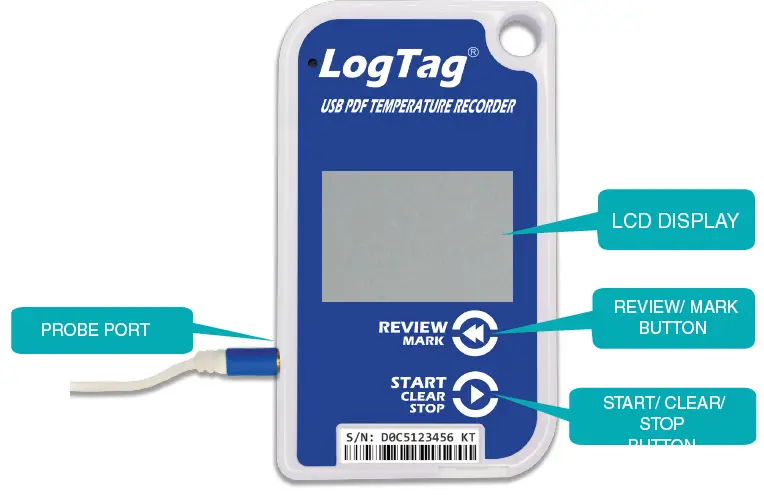
Overview
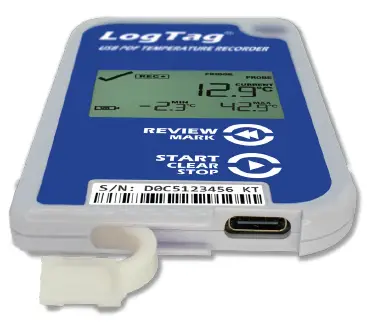
TRED30-16U Display Overview
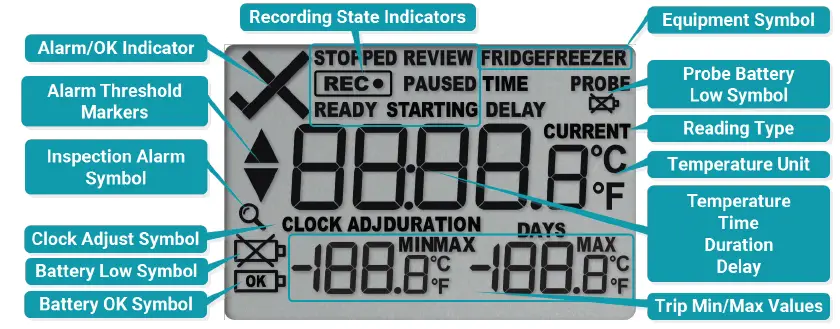
INTRODACTION
Activating the logger
- Press and hold both the REVIEW/MARK and START/CLEAR/STOP buttons simultaneously.
- The word “READY” will flash on the screen.
- Release both buttons when “READY” is solid (Stops Flashing).
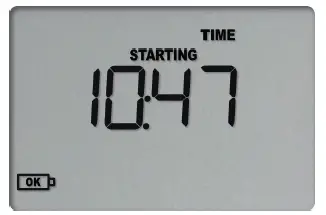
- Screen preparation for clock setup.
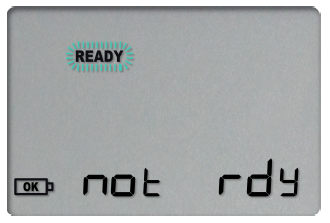
- Screen preparation for clock setup.
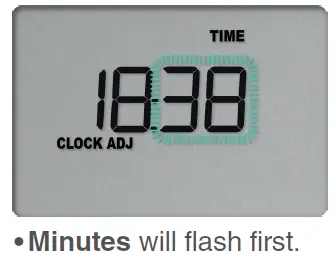
Setting the clock
- The START/CLEAR/STOP button saves the current value on the screen.
- The REVIEW/MARK button adjusts the flashing value.
- Use REVIEW/MARK to adjust the minutes.
- Press START/CLEAR/STOP to save and move to the Hours.
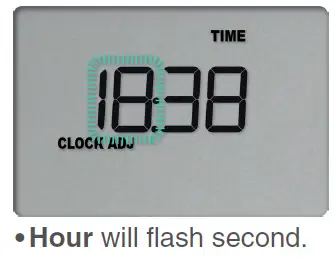
- Repeat the process for hours, adjusting with REVIEW/MARK and saving with START/CLEAR/STOP.
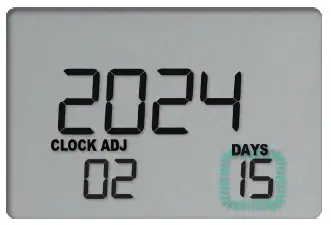
Setting the date
- After setting the time, the Year will flash.
- Use REVIEW/MARK to adjust the year, and press START/CLEAR/STOP to save.
- Adjust the month using REVIEW/MARK and save with START/CLEAR/STOP.
- The next screen will show the Month.
- Finally, adjust the Day the same way and save. The screen will now display the current time and show “READY.”
- Plug in your regular or Smart Probe after the date and time are set, but before starting the logger.
Starting the logger
- With the probe plugged in, press and hold the START/CLEAR/STOP button.
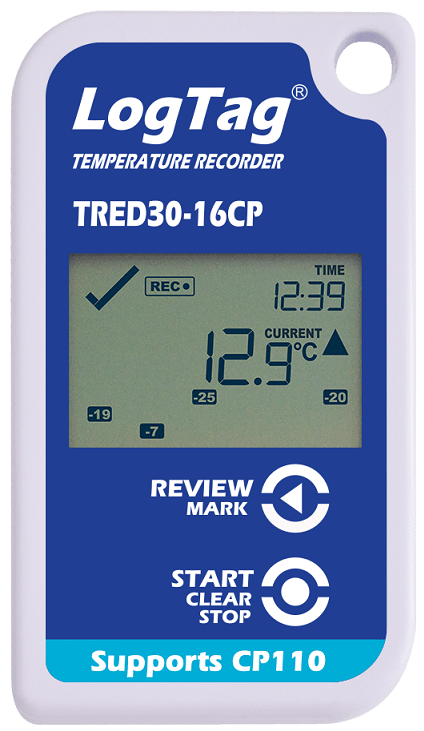
- Release the button when the screen displays Current, Min, and Max temperatures.
- The temperature readings should now be visible, with the minimum and maximum values displayed below the current temperature.
- Your logger is now recording.
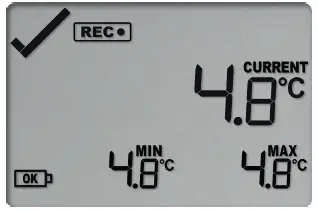
- Your logger is now recording.
Stopping Recording
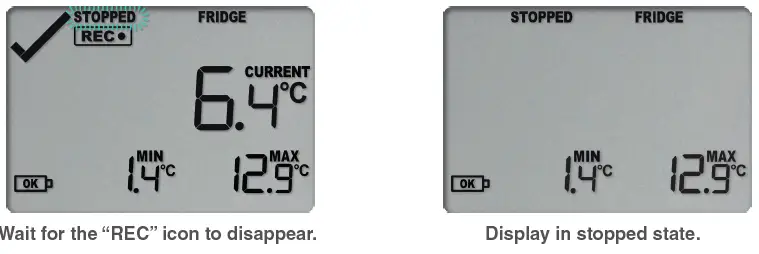
- To stop recording, press and hold the Start/Clear/Stop button.
- Release the button when the “REC” icon disappears, and “STOPPED” appears on the display.
- The display will now show the Min and Max temperatures recorded during the logging period.
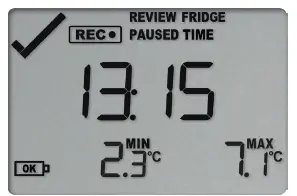
Reviewing Recorded Data
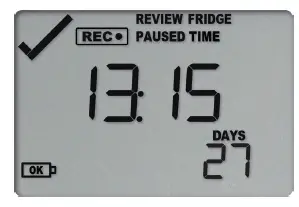
- Press the Review/Mark button to view a summary of your recording.
- The first press will display the current time and the number of days the logger has been recording.
- The second press will show the MIN & MAX temperature recorded and the time.
Downloading Results
- Connect your TRED30-16U to your computer using the USB-C port.
- The display will flash “USB” as the logger generates a PDF or data report.
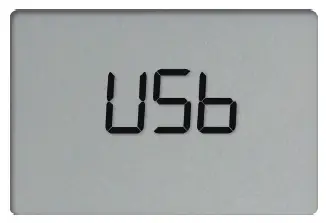
- The data will now appear in your file explorer as a named USB drive. Simply drag and drop the exported files to your desired location.
- Your data is now ready for review!
Custom Configuration
The TRED30-16U is fully operational straight out of the box, having been preconfigured at the factory. You can personalize its settings using LogTag’s free proprietary software, LogTag Analyzer. To find out how to create custom configurations, simply scan the QR code, which will lead you to the TRED30-16U User Manual.
Accessories
Required:
The TRED30-16U requires these items for proper functioning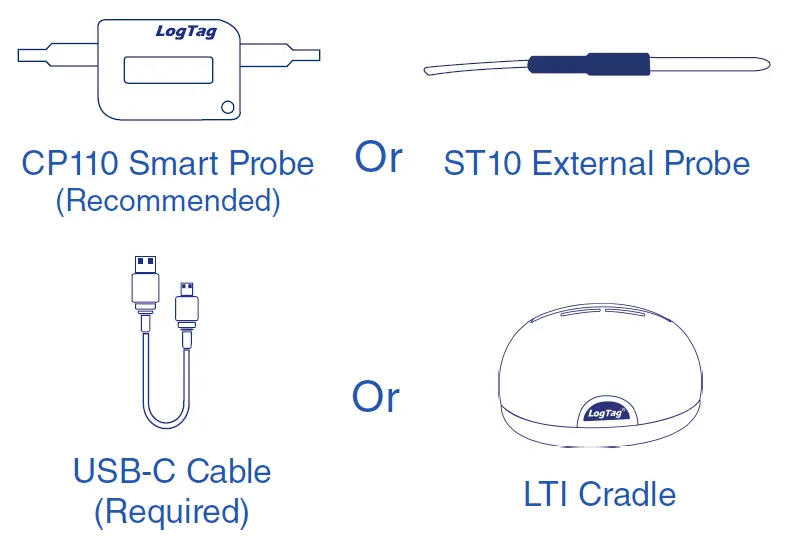
The TRED30-16U features a new USB-C connection, eliminating the need for the LTI interface while the logger retains it’s three-pin for LTI compatibility.
Optional:
The TRED30-16U is compatible with the following accessories.
FAQs
- Q: Can I customize settings on the TRED30-16U?
- A: Yes, you can personalize settings using LogTag’s free software, LogTag Analyzer. Refer to the user manual for details on creating custom configurations.
- Q: What accessories are required for proper functioning?
- A: The TRED30-16U requires a CP110 Smart Probe or ST10 External Probe, a USB-C Cable, and an LTI Cradle for optimal performance.
Documents / Resources
 |
LogTag TRED30-16U External Probe LCD Temperature Data Logger [pdf] User Guide TRED30-16U External Probe LCD Temperature Data Logger, TRED30-16U, External Probe LCD Temperature Data Logger, LCD Temperature Data Logger, Temperature Data Logger, Data Logger |