
1. Introduction
This manual provides detailed instructions for the assembly, operation, maintenance, and troubleshooting of your COBIZI 20x50 Heavy Duty Party Tent. Designed for large outdoor gatherings, this tent offers 1000 square feet of covered space, suitable for various events. Please read these instructions carefully before setup to ensure safe and correct usage.
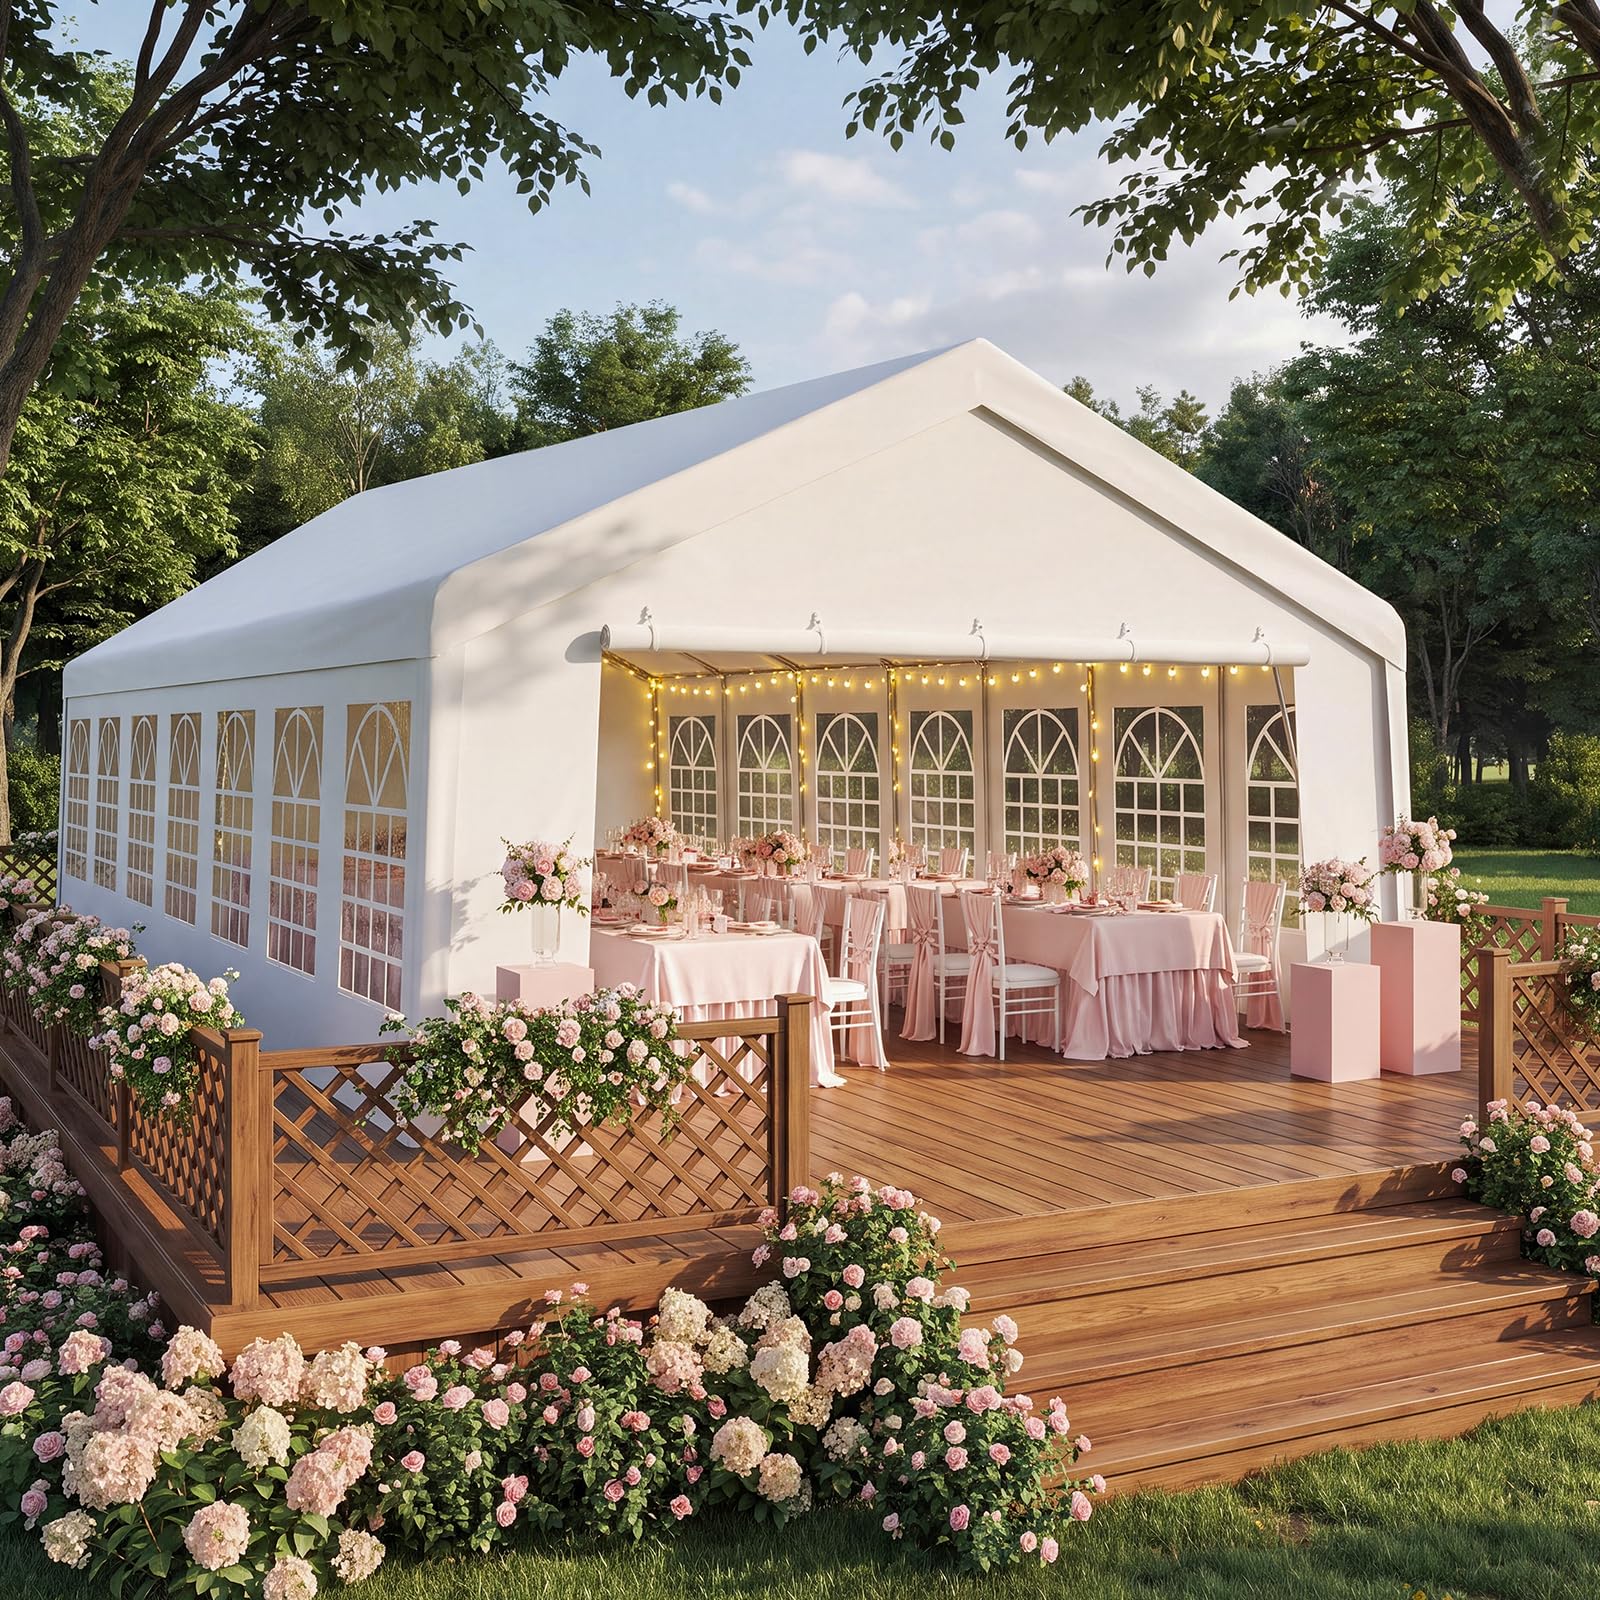
Image: The COBIZI 20x50 Heavy Duty Party Tent, showcasing its large size and windowed sidewalls.
2. Safety Information
- Always ensure the tent is securely anchored to the ground. Use pegs and sandbags on grass, or expansion screws on concrete.
- Do not use the tent in wind speeds exceeding 25 mph (40 km/h) without additional securing measures. High winds can cause structural damage or collapse.
- Keep all flame and heat sources away from the tent fabric. The fabric is not fireproof.
- Clear any accumulated snow or heavy rain from the roof promptly to prevent structural strain.
- Ensure adequate ventilation, especially if using heating or cooking equipment inside the tent.
- Assembly requires 4-6 people for safety and efficiency.

Image: Visual representation of the tent's weather resistance, including waterproof, wind protection, and heavy snow resistance features.
3. Package Contents
Your COBIZI 20x50 Heavy Duty Party Tent is shipped in 4 boxes. Please verify all components are present before beginning assembly.
- Frame Components: Heavy-duty galvanized steel pipes, reinforced connectors, integrated frame beams, ground poles.
- Cover: 160g PE waterproof cover with UV protection.
- Sidewalls: 6 removable sidewalls with 14 church windows.
- Doors: 2 zippered doors.
- Anchoring Kit: Bungee cords, wind ropes (8 pieces), ground nails (40 pieces), built-in sandbags.

Image: Close-up details of various tent components, such as steel pipes, connectors, fabric, and window design.
4. Setup Instructions
Assembly typically takes 4-6 people approximately 60 minutes. Follow these steps carefully:
- Site Selection: Choose a flat, level area for assembly, clear of overhead obstructions and sharp objects.
- Unpack Components: Lay out all frame poles, connectors, and fabric parts. Organize them by type for easier assembly.
- Assemble Base Frame: Connect the horizontal and vertical base poles using the appropriate connectors. Ensure all connections are secure.
- Construct Roof Frame: Assemble the roof truss structure by connecting the roof poles and reinforced triangular trusses. Refer to the diagram for correct orientation.

Image: Illustration of the reinforced triangular truss system for the tent's roof, providing superior stability.
- Attach Roof Frame to Base: Carefully lift and attach the assembled roof frame to the vertical poles of the base frame. This step requires multiple people.

Image: Diagram illustrating the integrated steel frame with full-link ground tubes, highlighting the structural integrity.
- Drape Roof Cover: Carefully spread the main tent cover over the assembled frame. Ensure it is centered and evenly distributed.
- Secure Cover: Use bungee cords and other fasteners to attach the cover to the frame, ensuring a snug fit.
- Install Sidewalls and Doors: Attach the sidewalls and zippered doors using the provided connections. The sidewalls are removable for flexibility.
- Anchor the Tent: Securely anchor the tent to the ground using the wind ropes, ground nails, and built-in sandbags. Fill sandbags with sand or heavy material for added stability.

Image: Components for securing the tent, including built-in sandbags, wind ropes, ground nails, and a view of the reinforced frame.
5. Operating Instructions
- Ventilation: The tent features 14 church windows and 2 zippered doors. Open these as needed to ensure natural airflow and comfortable temperatures inside the tent.
- Sidewall Management: The 6 sidewalls are removable. On sunny days, they can be opened or removed to create an open-air canopy. In rainy or windy conditions, ensure all sidewalls are securely closed to protect occupants and contents.
- Entry/Exit: Use the zippered doors for convenient entry and exit. Ensure zippers are fully closed when not in use to maintain interior conditions.
6. Maintenance
- Cleaning: Clean the tent fabric with mild soap and water. Do not use harsh chemicals or abrasive cleaners, as this can damage the waterproof and UV protective coating. Allow the fabric to dry completely before storage.
- Frame Care: Inspect the powder-coated steel frame periodically for any signs of rust or damage. Clean any dirt or debris from the frame.
- Storage: When not in use, disassemble the tent and store all components in a dry, cool place, away from direct sunlight and extreme temperatures. Ensure all parts are clean and dry to prevent mold or corrosion.
- Component Check: Regularly check all connectors, ropes, and ground nails for wear and tear. Replace any damaged parts immediately to maintain the tent's structural integrity.
7. Troubleshooting
| Problem | Possible Cause | Solution |
|---|---|---|
| Tent instability / swaying | Insufficient anchoring; high winds; loose frame connections. | Ensure all ground nails, ropes, and sandbags are properly deployed and tightened. Check all frame connections for tightness. Disassemble in extreme wind conditions. |
| Water leakage | Improper cover installation; damaged fabric; excessive water pooling. | Verify the cover is taut and correctly positioned over the frame. Inspect fabric for tears and repair if necessary. Regularly clear any water accumulation from the roof. |
| Difficulty with assembly | Incorrect component identification; insufficient personnel. | Refer to the assembly diagrams and ensure correct parts are used. Ensure 4-6 people are assisting with assembly. |
8. Specifications

Image: Key dimensions of the tent, including a height of 10.5FT, side height of 6.6FT, length of 50FT, and width of 20FT.
| Feature | Detail |
|---|---|
| Brand | COBIZI |
| Model Number | Party tent&No2 |
| Dimensions (L x W x H) | 15.24L x 6.1W x 3.3H metres (approx. 50 x 20 x 10.8 feet) |
| Floor Area | 1000 Square Feet |
| Material (Frame) | Alloy Steel (White powder-coated finish) |
| Material (Cover) | 160g PE (Polyethylene) |
| Water Resistance Level | Waterproof |
| UV Protection | 99% (UV50+) |
| Sidewalls | 6 removable sidewalls with 14 church windows |
| Doors | 2 zippered doors |
| Assembly Required | Yes |
| GTIN / UPC | 840561221335 |
9. Warranty and Support
COBIZI provides the following warranty for your party tent:
- Lifetime Replacement Service: Connectors, ground rods, ropes, and elastic cords are covered by a lifetime replacement service.
- 1-Year Warranty: Tent covers and poles are covered by a 1-year warranty from the date of purchase.
For any issues, questions, or to claim warranty service, please contact COBIZI customer support. We are committed to resolving any concerns you may have.


